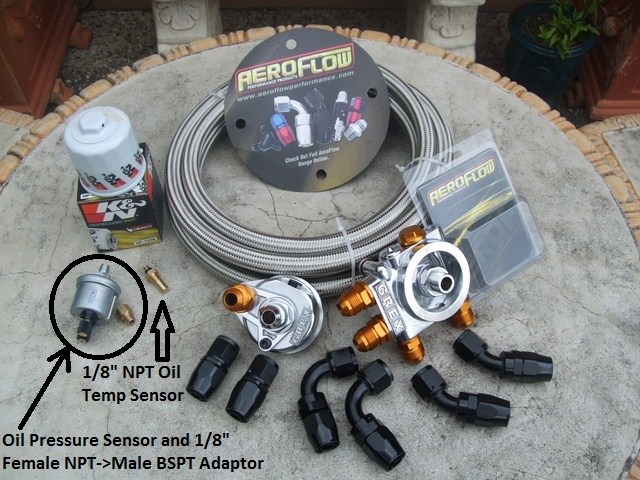
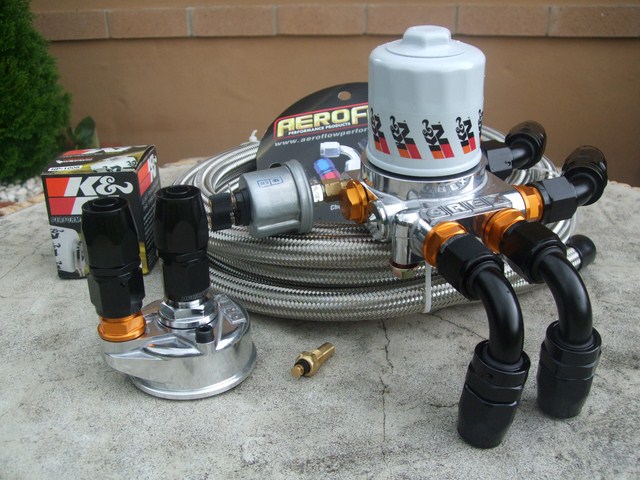
Originally posted by Lokiel, Sun Sep 24, 2017 4:03 pmOriginally posted by Lokiel, Sun Mar 11, 2012 8:02 pm[I started the hose installation today, here's the assembled hoses, along with the 3m of leftover stainless steel hose (I overestimated how much I'd need and suspected I may screw up a few times so ordered extra - never thought I'd be so efficient at assembling stainless steel oil hoses?):
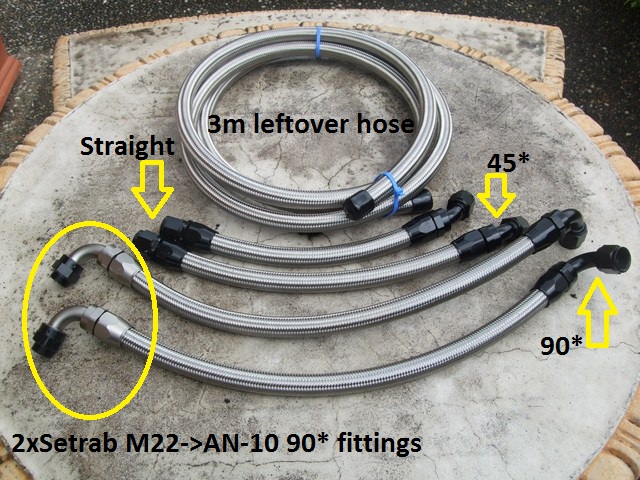
- apologies for the state of the outdoor setting, we had a heavy downpour shortly before this photo was taken so it looks quite grotty here.
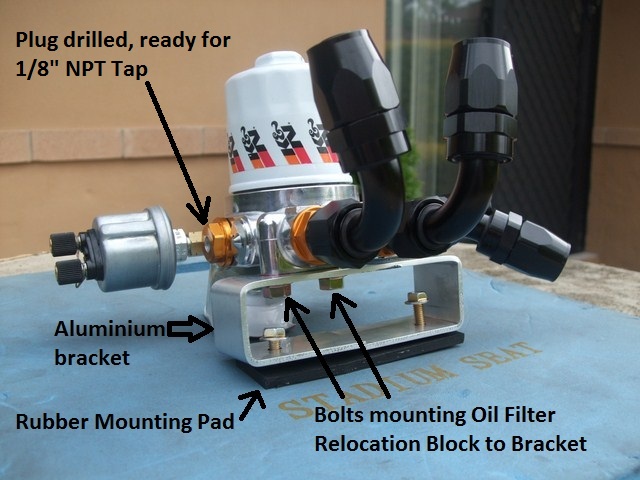
Here's the GREDDY installation instructions - kudos to the Japanese guy that drew the diagram, you don't even need to be able to read Japanese to figure out how to hook it up:
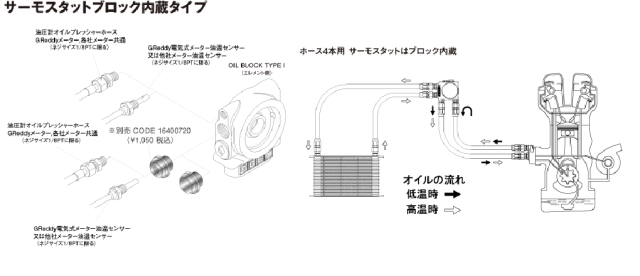
The problems started pretty much straight away.
I decided to fit the hoses from the oil filter relocation block to the engine block first since the hoses on the engine block would be the hardest to get at. Unfortunately for me, stainless steel hoses don't bend much at all and the straight hose fittings I planned to mount to the engine block would not co-operate and thread onto the engine block barbs at all. The fittings are aluminium and the last thing you want to do is force these since they will cross-thread easily, not something you want on oil lines.
No worries I thought, I'll just spin the hoses around 180* and fit the 45* fittings to the engine block instead of the straight fittings. This worked a treat, it only took me about 30 minutes to get both 45* fittings temporarily screwed onto the engine block (it's REALLY awkward to get at those fittings).
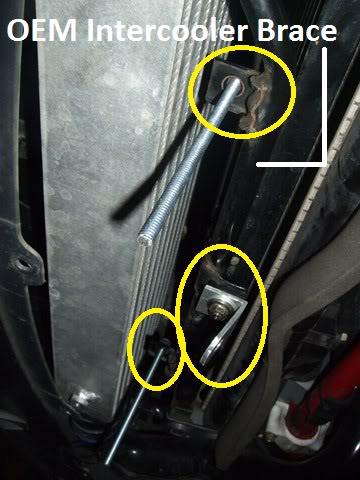
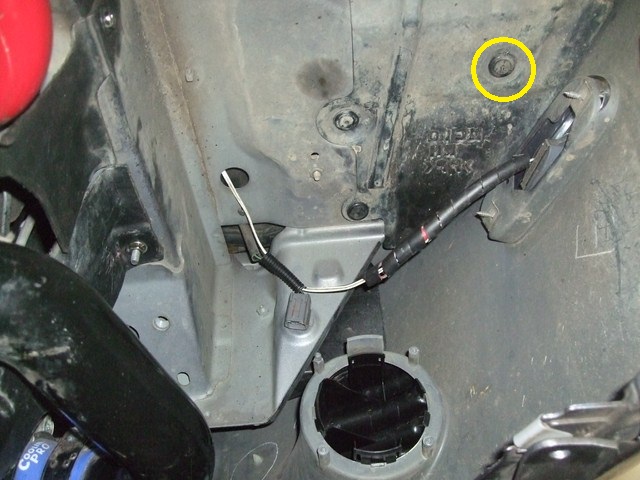
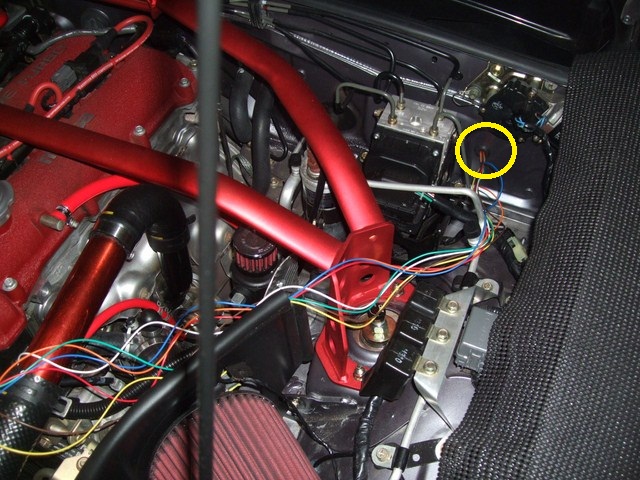
The return hose (circled in yellow on the right in the photo below) fitted perfectly, no obstructions and only needing a mild curve down to the block:
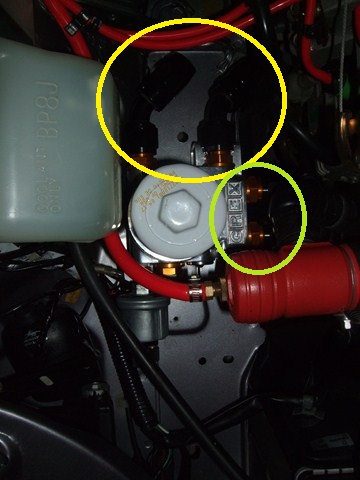
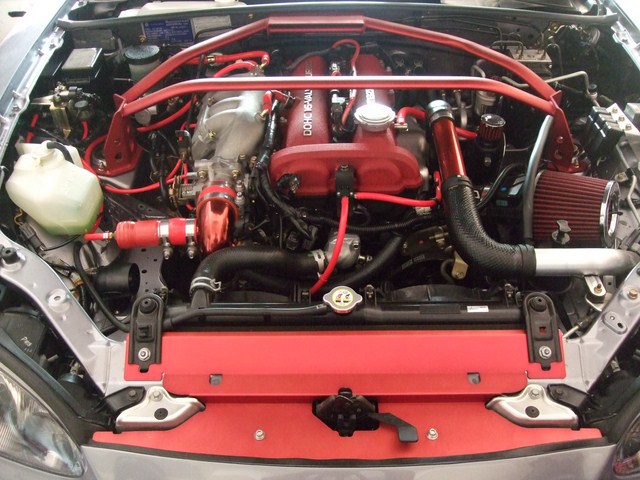
Unfortunately the incoming hose on the left would not fit because of the OEM brace - this is why I needed to use the 45* connector in the first place

. I kicked myself for not over-ruling my initial thoughts on ordering 2 additional 45* fittings in the first place just in case the straight fittings wouldn't work.
There was nothing else to do except order another two 45* fittings

. I couldn't just order one and keep the straight fitting on the return hose because the two hoses would not fit onto the relocation block at the same time. The hoses themselves aren't obstructed between the blocks and don't need to bend much so stainless steel hoses are perfect for this route (ie. nothing to rub against and can be kept short).
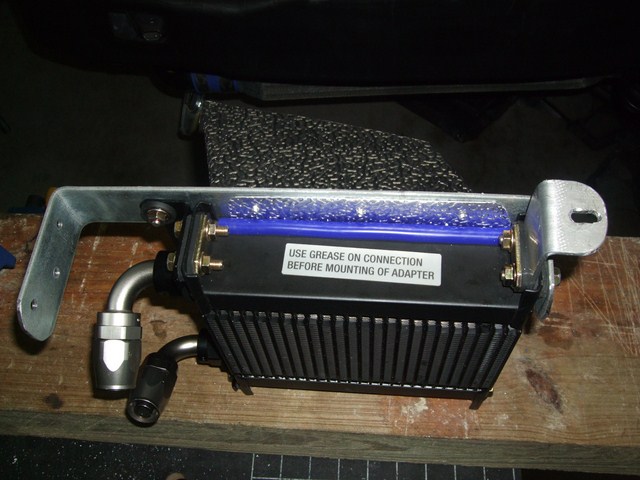
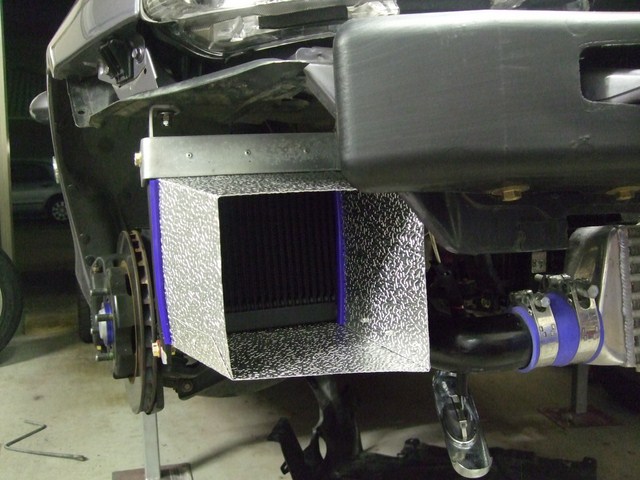
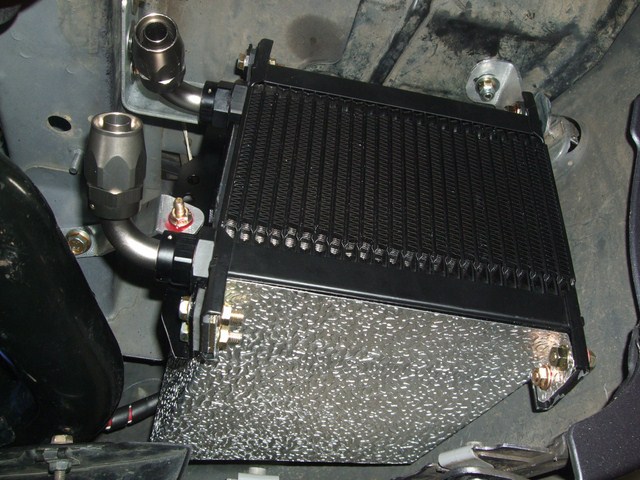
After this let-down, I started on the oil cooler hoses:
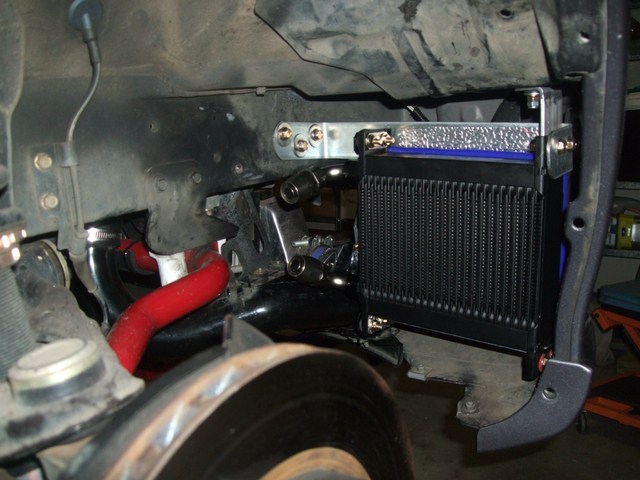
There were 2 BIG problems with these hoses:
1. The 2x90* Setrab fittings are IMPOSSIBLE to thread onto the Setrab oil cooler with the stainless steel lines installed and the oil cooler mounted - the oil cooler would need to be removed and the fittings threaded onto it. Luckily I ordered 2xSetrab M22->10-AN adapters for this very reason, but not an additional 2x90* 10-AN fittings since I over-ruled myself on these too as part of the earlier decision

. FM use these adapters on their kit and I suspect that it's for the same reason. I had to order another 2x90* 10-AN fittings.
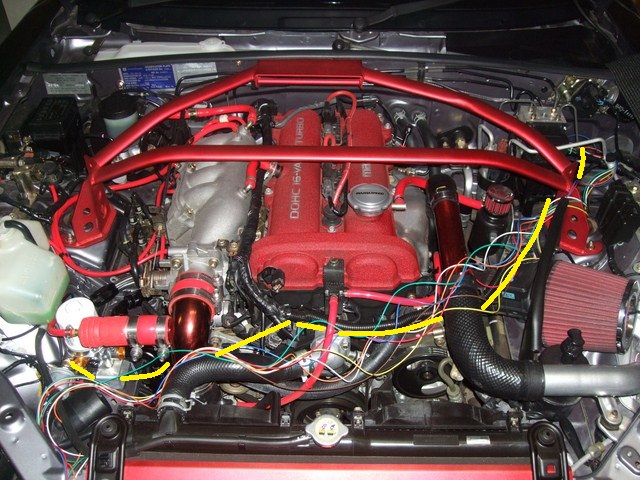
2. The hoses need to route up into the engine bay and I intended them to do so by passing behind that brace (on top of the sway bar) in the photo above. When sizing the hoses individually, this was quite feasible, but with the two hoses fitted simultaneously there was a LOT of rubbing everywhere, which is BAD since stainless steel hoses effectively saw through whatever they touch, and the two hoses together just wouldn't flex enough. Damnit - I had to order some nylon-shielded 10-AN hose too. The nylon hose is more flexible than stainless steel braided hose and won't damage what it contacts - only ordered 2m of the stuff.
So today was pretty much wasted

Ah well, at least I learned 2 valuable lessons:
1. Only use stainless steel hoses if the routes don't require much hose bending and don't contact other surfaces (or can be prevented from contacting them) and
2. When fabricating a custom-kit, have as many options available on hand as you can, otherwise your project is going to be compromised or late.
Originally posted by Lokiel, Sun Mar 18, 2012 7:58 pm[FINALLY! I finished the oil cooler install today, WooHoo! (most of it was actually done yesterday, I just had to put it all back together today).
It took a couple of tries to get the length of the filter->engine block hose lengths correct with the 2 new 45* barb fittings. Stainless steel hoses are a pain in the arse to fit if they're too long and impossible if they're too short; I had to make them slightly longer than optimal to allow me to thread the hoses onto the oil filter block - threading the barbs can be a time-consuming task. I'm happy with the final result, the hoses don't touch anything but the manifold->engine block brace will never again be installed.
I assembled the nylon hoses and noted that they're MUCH more flexible. Surprisingly I found it easier to make the Stainless Steel hoses - when you remove the tape after you've cut the nylon-covered hose, the ends fray out like an "Afro" and you need to give it a haircut - any "hairdresser car" comments will be ignored.
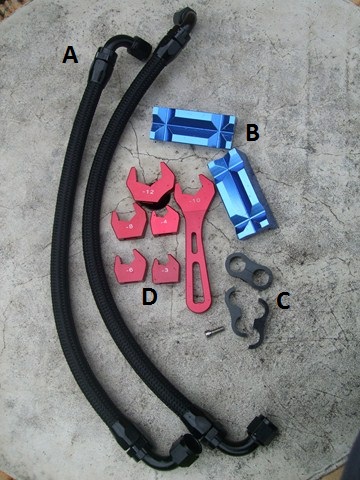
A - Nylon hoses with 90* barbs
B - AN Aluminium Vice Jaws
C - Aluminium AN-10 hose separators (only used one)
D - Aluminium AN Spanner Set
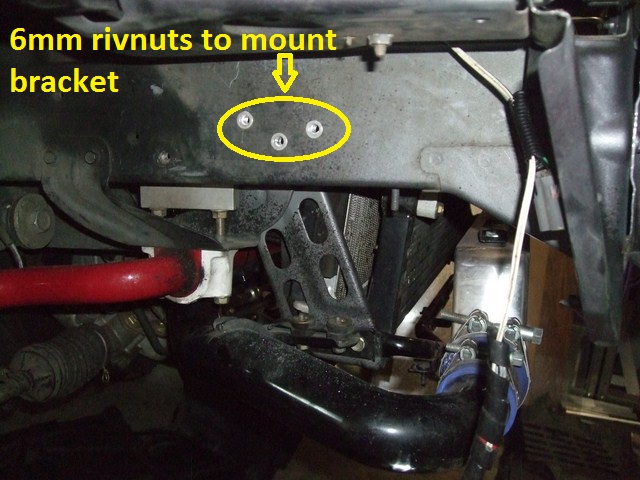
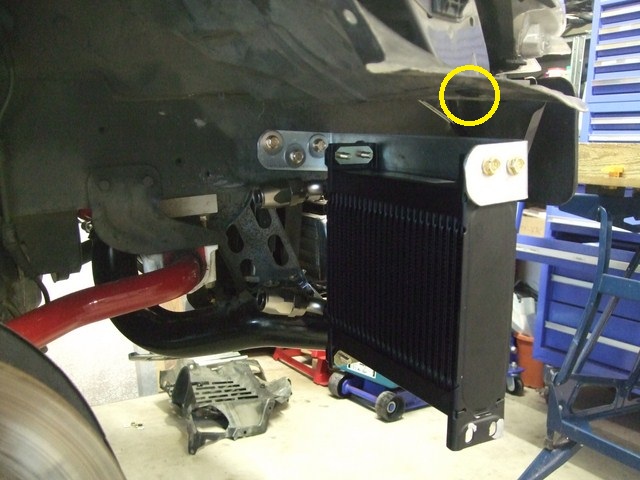
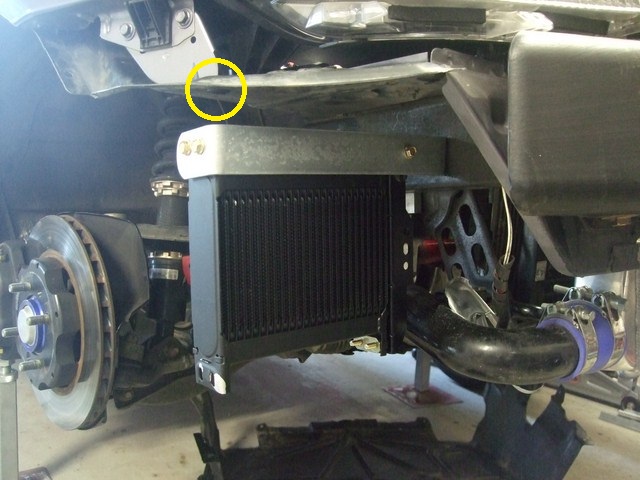
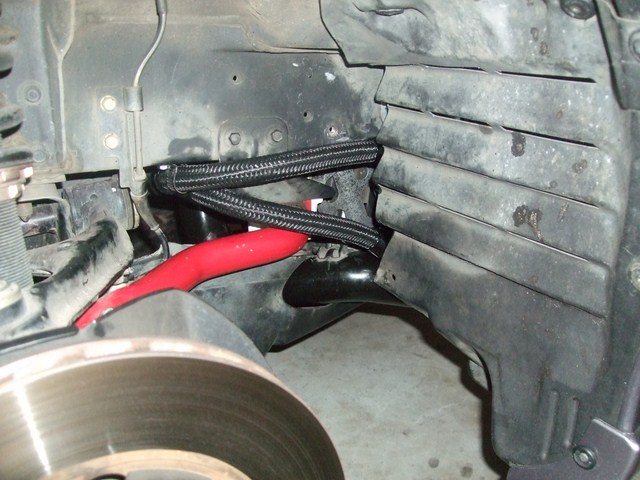
The flexibility of the nylon-clad hoses made routing the oil cooler hoses a cinch. I modified a hose clamp and bolted the top hose to the 6mm OEM undertray mount point and used a hose separator to secure the lower hose to the top hose. This keeps them separated at their closest point and ensures that the lower hose is clear of the sway bar.
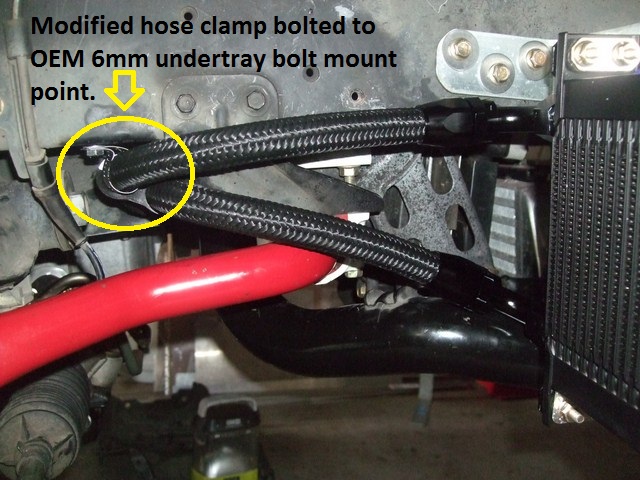
The clamp is not load bearing, it's there to prevent the hose from moving.
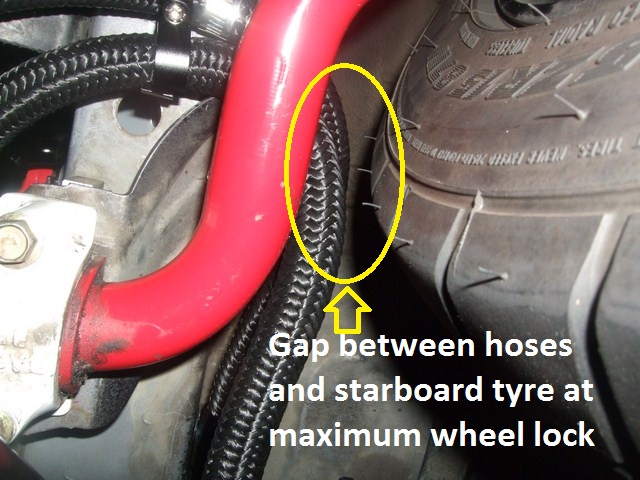
I actually had to do a minor bit of re-work with the above setup when I thought I should test whether or not the tyre would touch the hoses at maximum lock - it did so I had to tighten the hoses slightly. Now there's about 15mm of clearance, not a problem since the hoses do not move at all:
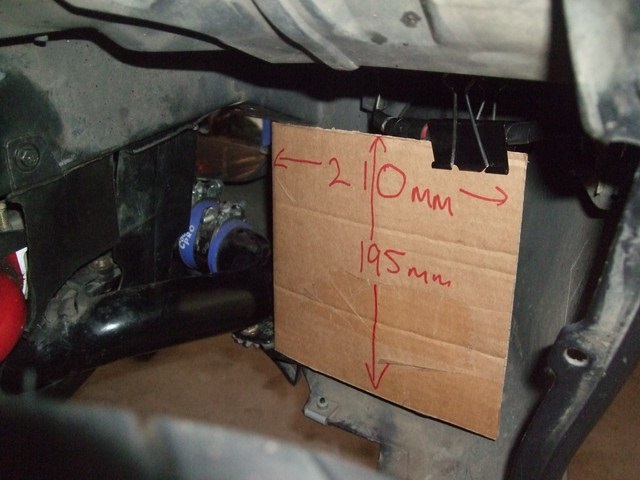
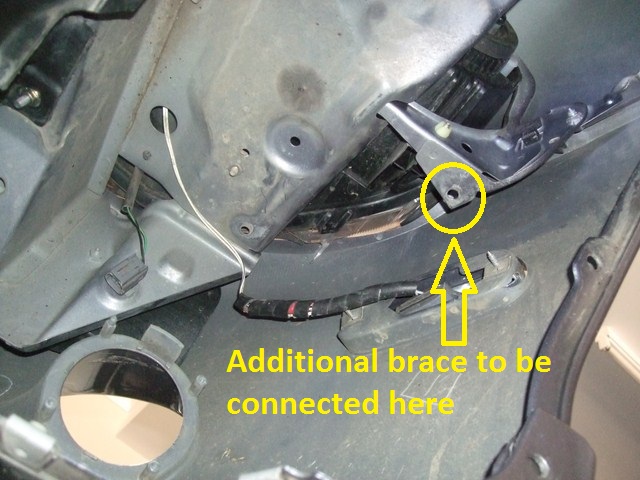
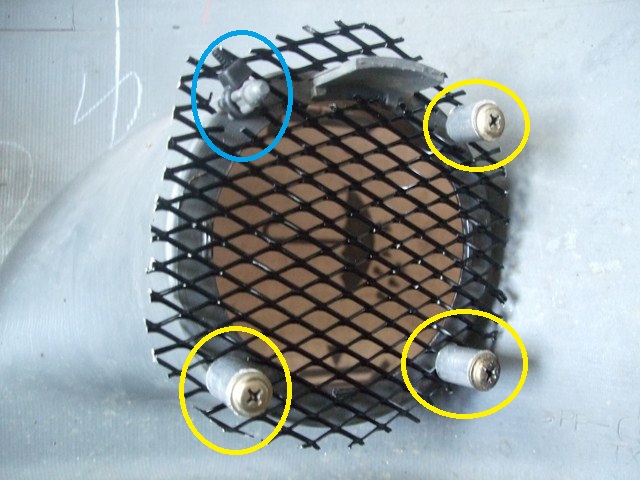
The wheel liner needed to be modified to accommodate the new oil cooler hoses, here's the before and after shots:
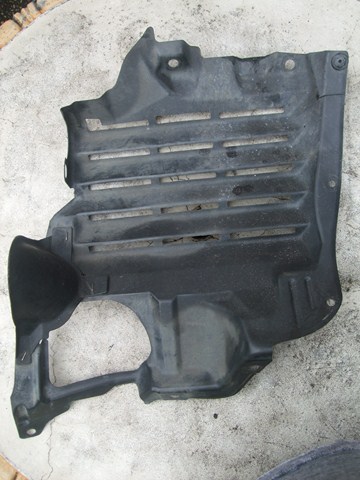
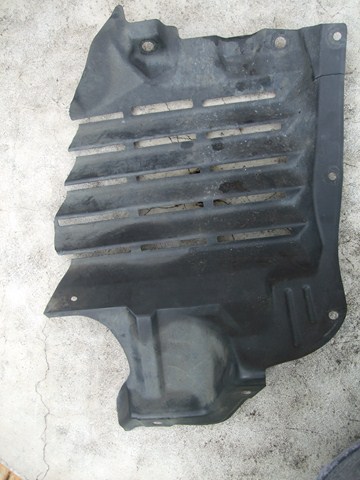
As you can see, I lost a mount point in the N/W corner and one in the S/W corner but it's still held firmly in place.
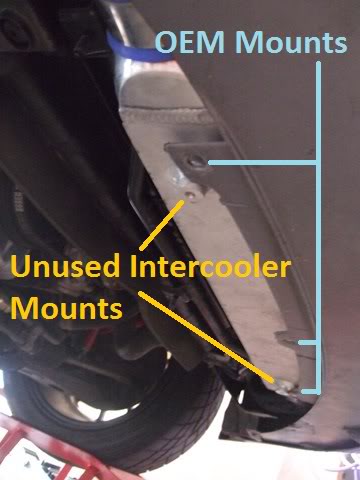
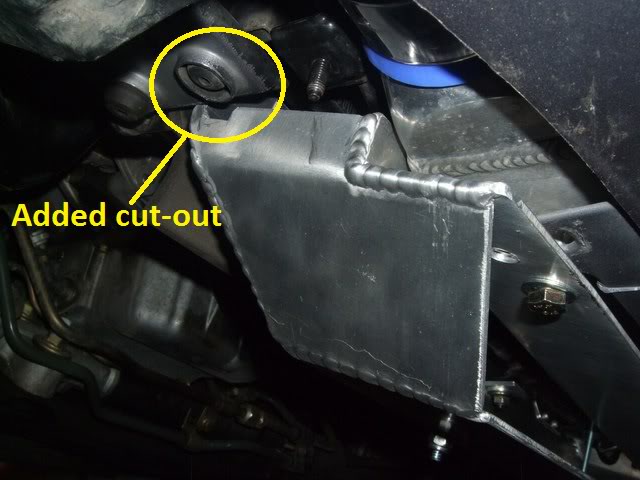
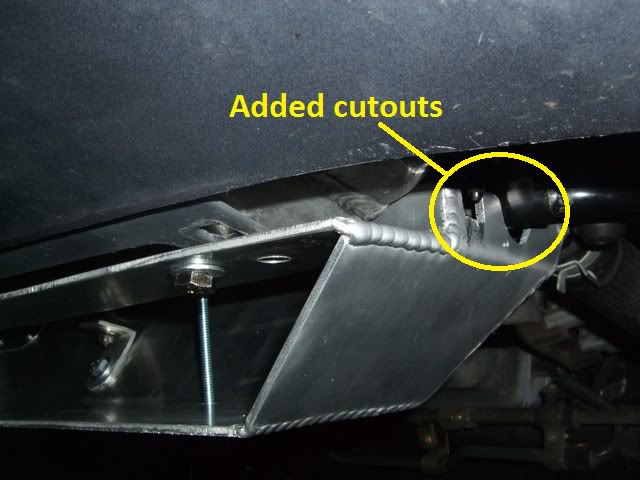
The next stage was to modify the undertray. I was already using a zip-tie to hold some of it together so wasn't too concerned about cutting it up. Here's the before and after shots:
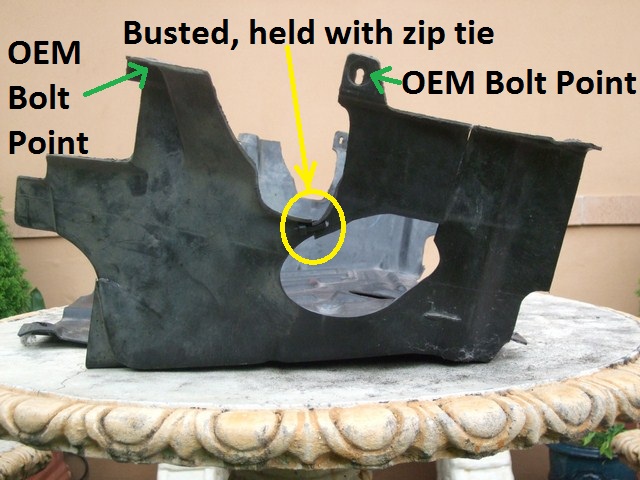
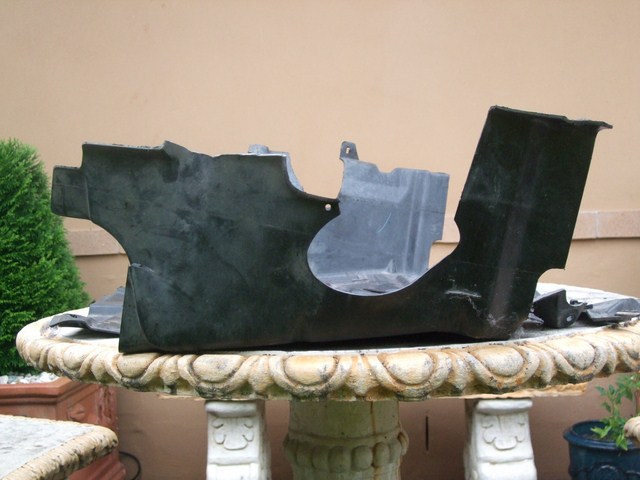
That top left OEM Bolt Point is now used by my modified hose clamp to secure the top oil cooler hose.
I triple-checked/tightened everything, re-filled the oil and gave it a few test starts to check for leaks - I've heard too many horror stories of hose leaks after oil filter relocation installs. My "anality" was good so far, the engine ran smoothly with no leaks - near as I can tell, I used about 4.5L.
Here's how it looks with everything assembled - I used a zip-tie to secure the rear section of the undertray to an OEM brace to stop it flapping about:
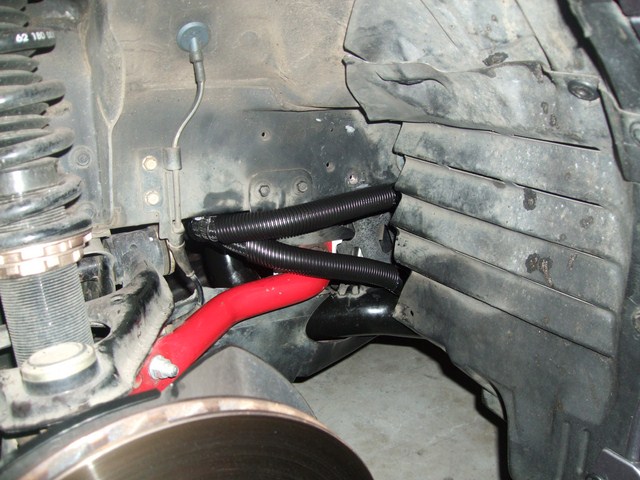
I wasn't too keen on the exposed nylon hoses so clad them in some split loom (split on the underside to prevent moisture accumulation):
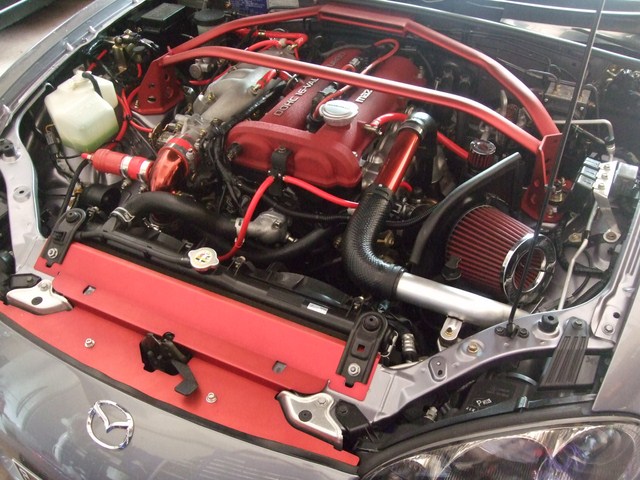
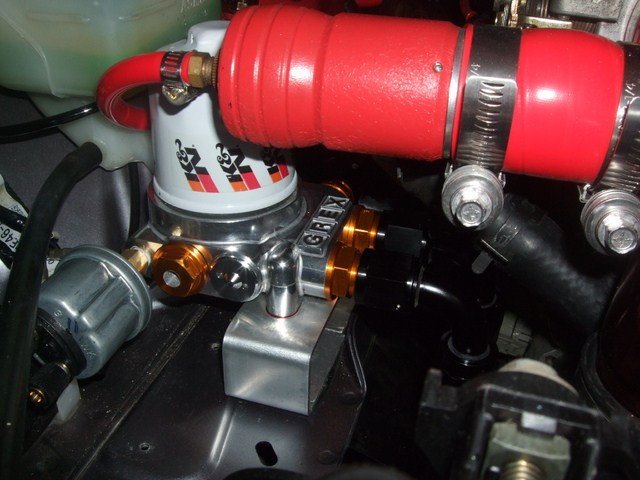
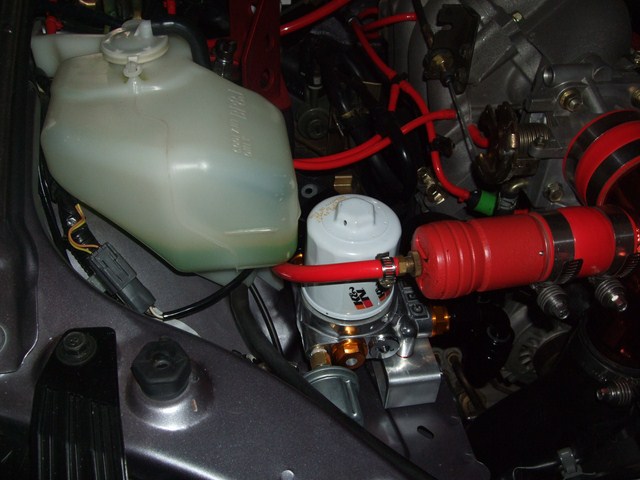
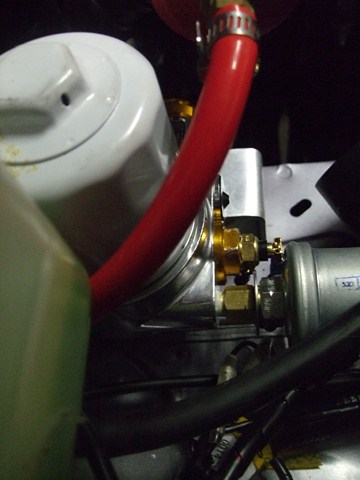
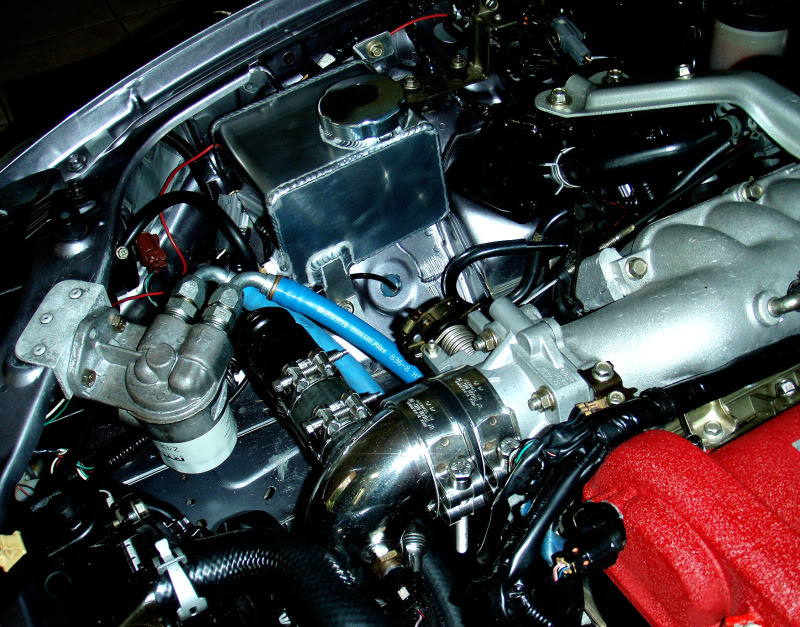
Once the car was back in one piece I took it for a run, stopping regularly to check everything and going again. One thing that does concern me now is that the oil filter is now 7mm away from the radiator overflow bottle:
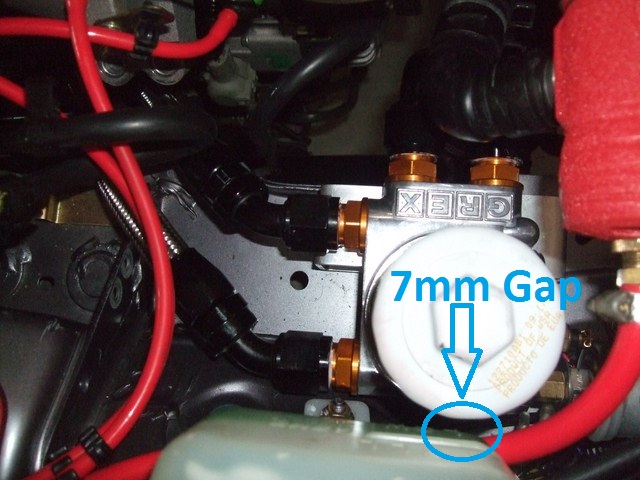
The oil filter gets quite hot so will this melt the radiator overflow bottle or is there enough gap for this not to be a problem?
If it is a problem, I will need to get an aluminium unit.
Next weekend I need to install the sensors to see how effective the oil cooler is (ie. drive the car, note the temperature, stop, note the temperature change, drive and note the temperature change).
Novice1
Novice1
Novice1
)
