16/09/2017
As much as I like to tinker with and modify my car, I also like to make sure that my car is looking presentable too. I personally find that there's something therapeutic about cleaning and washing my car. I generally consider myself to be a clean person and I try to keep my cars the same way by giving them a wash at least once a month, vacuuming the interior, getting rid of any dirt, dust and grime and protecting/prolonging the paintwork.However, ever since I purchased the car back in 2015, it has never had a full detail. It has been washed, sure...but it was never given the full treatment. As a result, fine scratches and spider webbing had appeared on the paintwork which you can't tell from afar but can definitely tell when up close. It's these scratches and webbing which gives the paint a dull appearance. It was time to restore the paintwork and give it the detail that it needs.
I'm by no means a professional car detailer but I know enough to know what to do to help bring back the shine and depth to the paintwork, to remove the scratches as well as how to maintain the paintwork going forward. The steps I used were :
1) Rinse car down to remove as much dirt as possible before hand wash. Using a snowfoam lance would help but I decided to just rinse it down with water.
2) Use two bucket method to hand wash car with super soft lambs wool wash mitts and pH neutral shampoo.
3) After wash, cleanse the paintwork with a claybar to remove any surface contamination. This will lift and remove all the fine dirt on the paint and will result in a smooth glass-like finish.
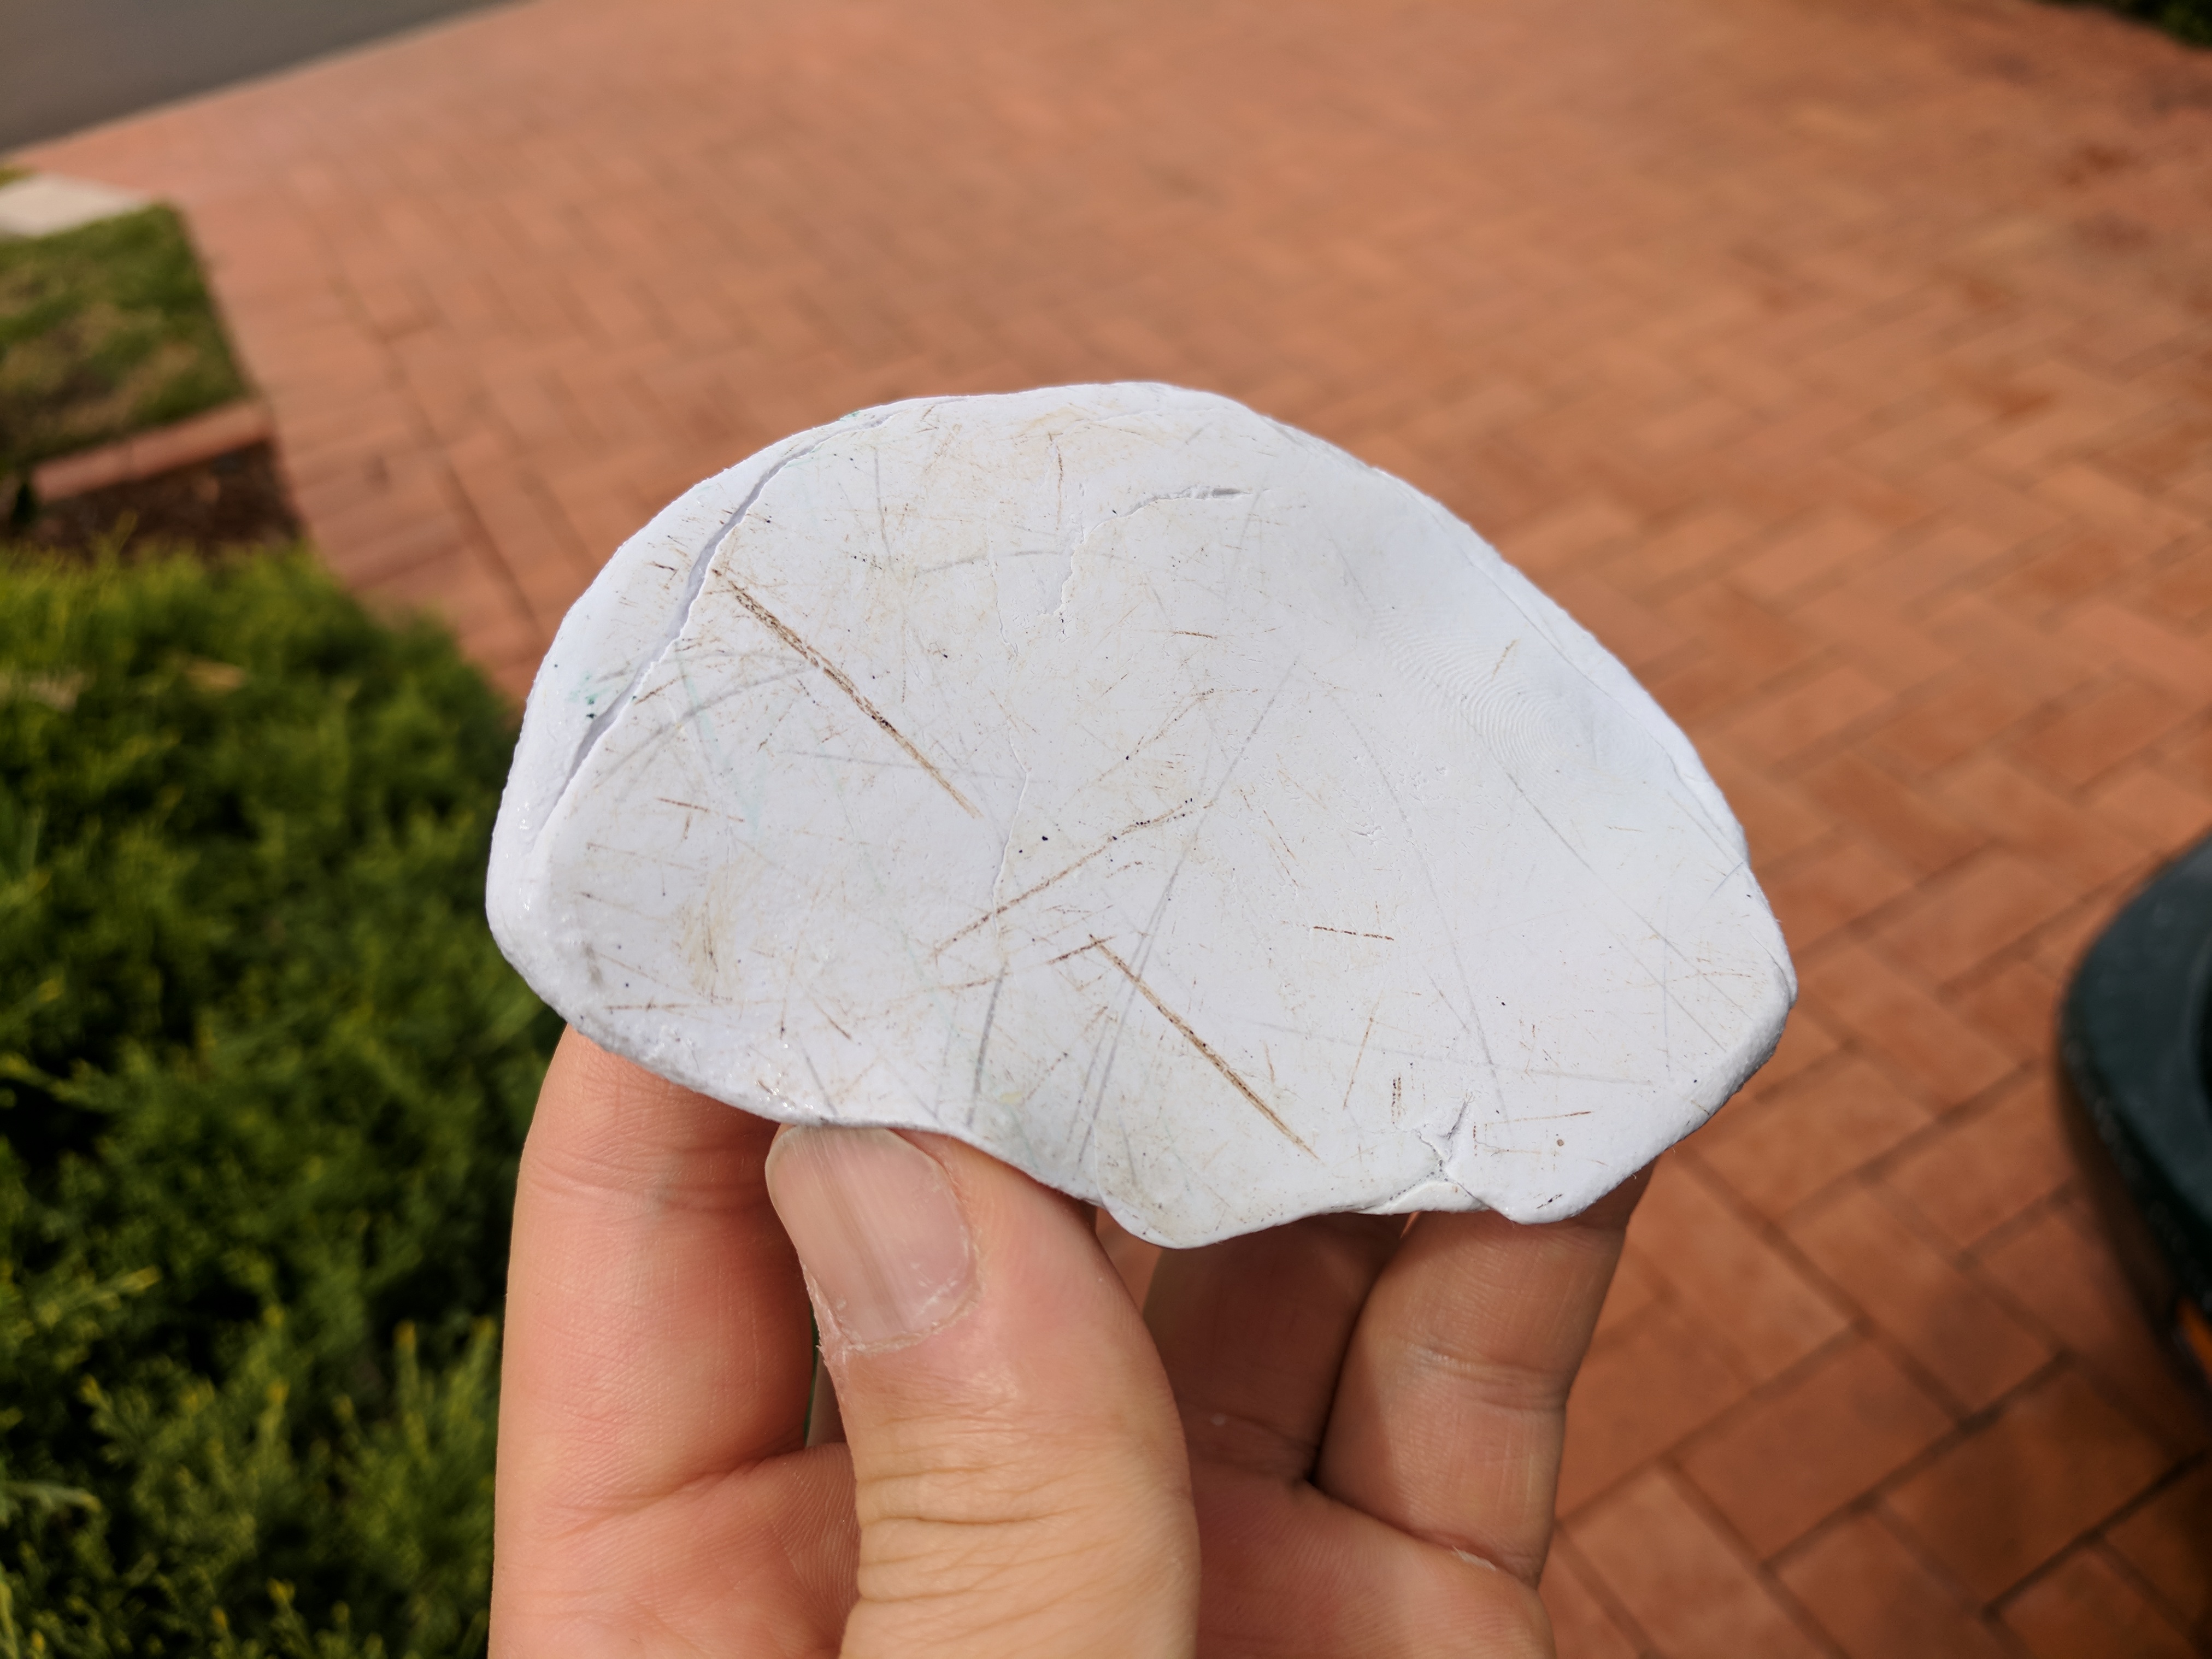
4) Restore dull, faded or heavily swirled paint with a heavy cut polish, cutting pad and random orbital buffer. This was the boot lid for me.
5) Remove moderate swirls and oxidation with a medium cut polish, polishing pad and random orbital buffer. I used this for the rest of the car.
6) Enhance gloss and depth with finishing polish. finishing pad and random orbital buffer. This gives the paintwork that extra shine and a deeper gloss.
The next steps would have been to use a high grade carnauba wax like Swissvax and a paint sealant such as Gyeon MOHS+ but I didn't have either one of these products so I only got as far as polishing and I just finished it off with a quick detailer but I have to say, the paintwork really did come up amazing after all this. The wax and sealant would have topped it off.
Remember to always make sure the car is cool and preferably undercover/in shade before starting any washing or detailing. Never let a product dry on the car unless it states that it must on the label.
I'll let the pictures do the talking.
Rinse down the car with water to remove any loose dirt before hand wash.

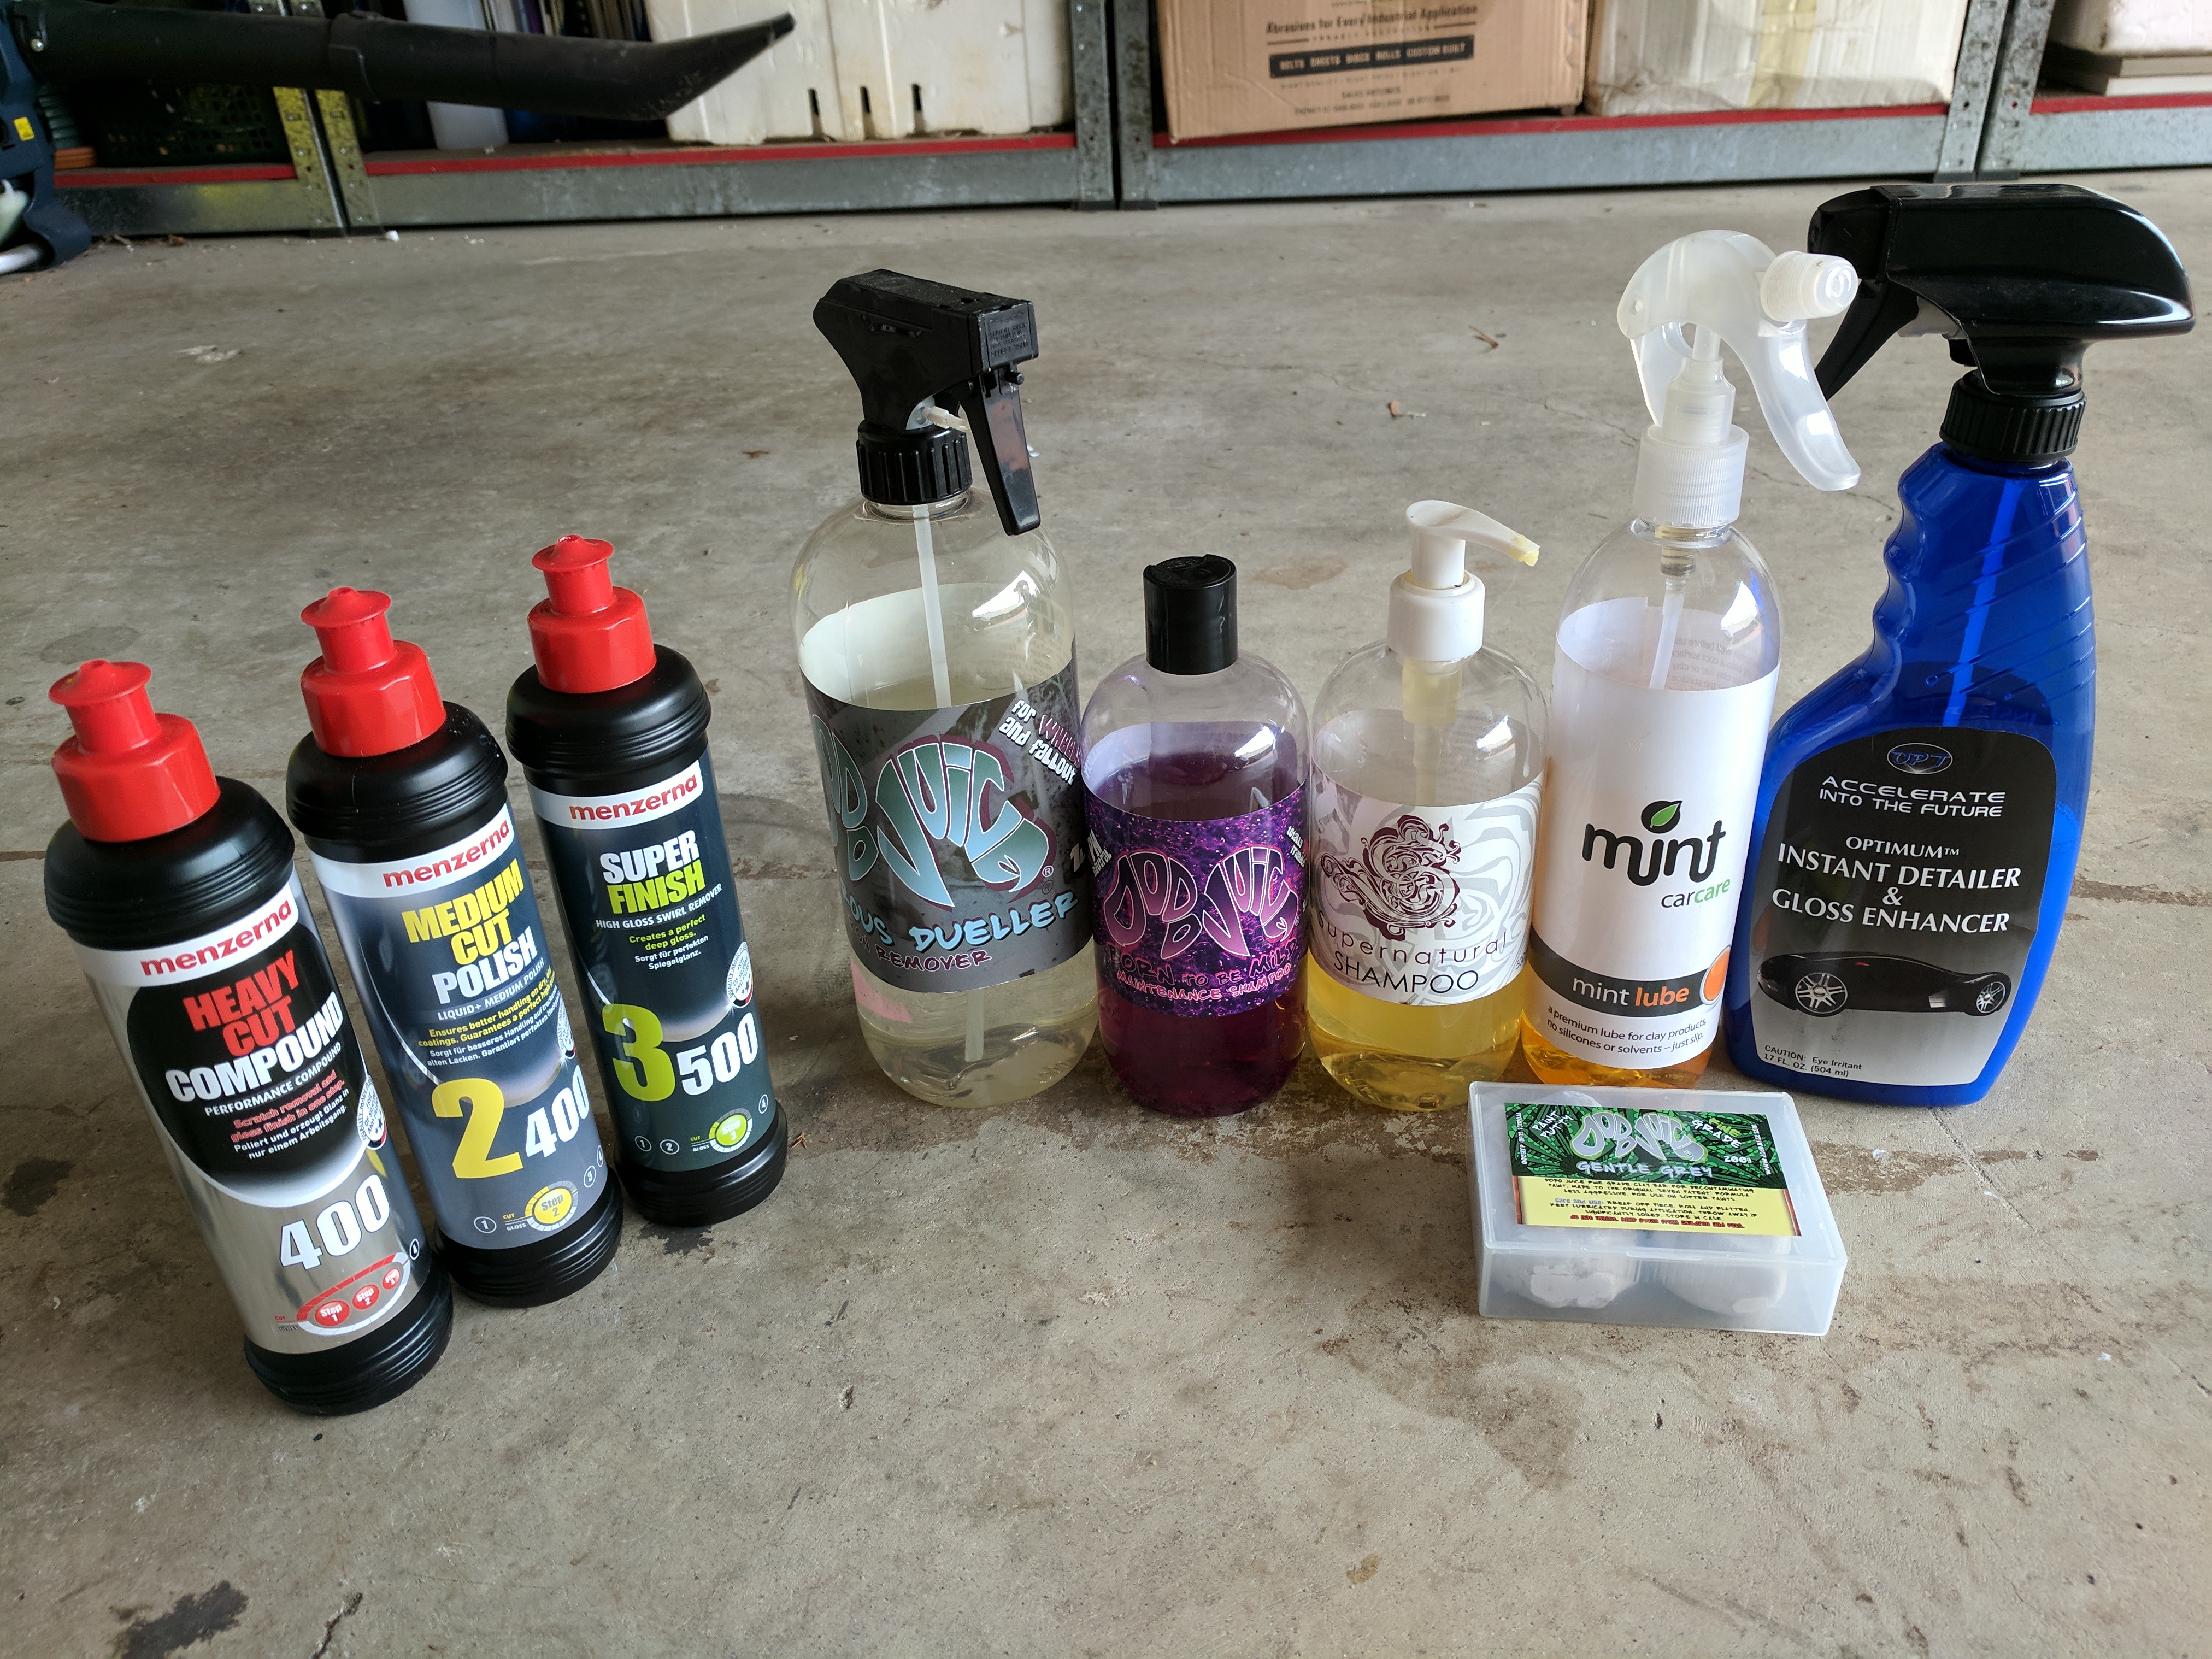
Products I used. From left to right :
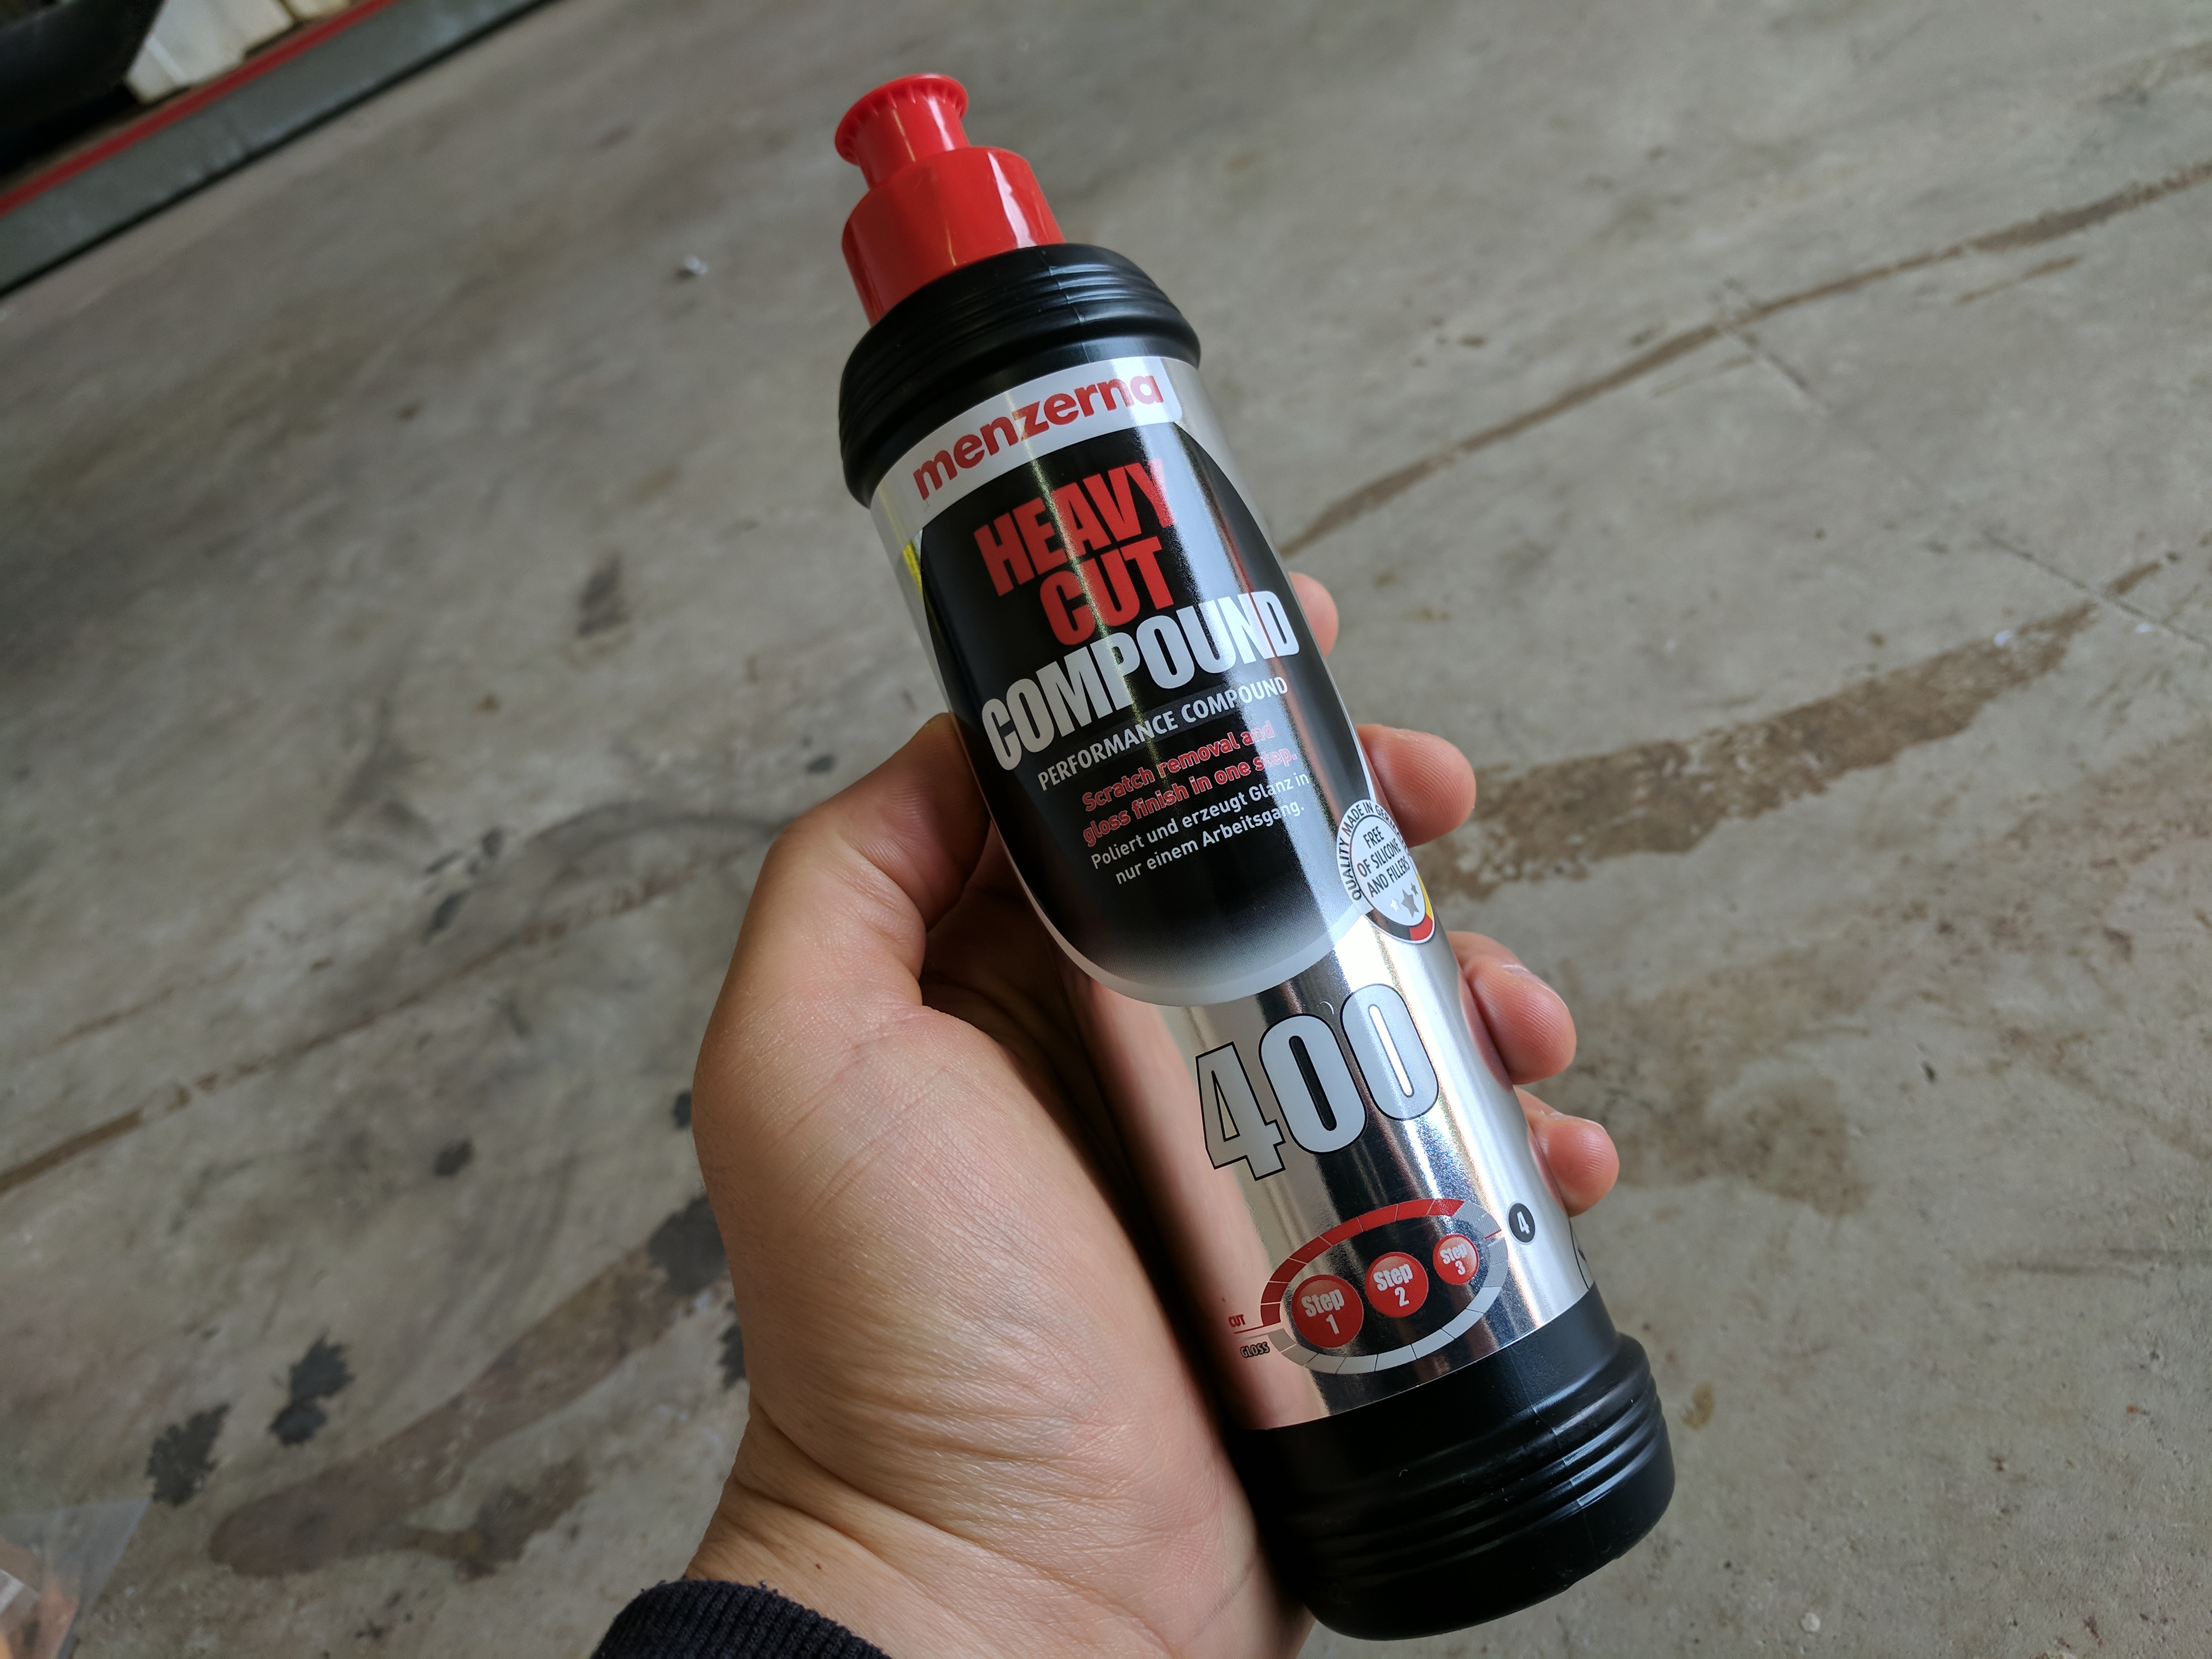
* Menzerna HC400 Heavy Cut Compound
* Menzerna PF2400 Medium Cut Polish
* Menzerna SF3500 Super Finish Polish
* Dodo Juice Ferrous Dueller Iron Remover
* Dodo Juice Born To Be Mild Maintenance Shampoo
* Dodo Juice Supernatural Shampoo
* Dodo Juice Gentle Grey Clay Bar
* Mint Clay Bar Lube
* Optimum Instant Detailer + Gloss Enhancer
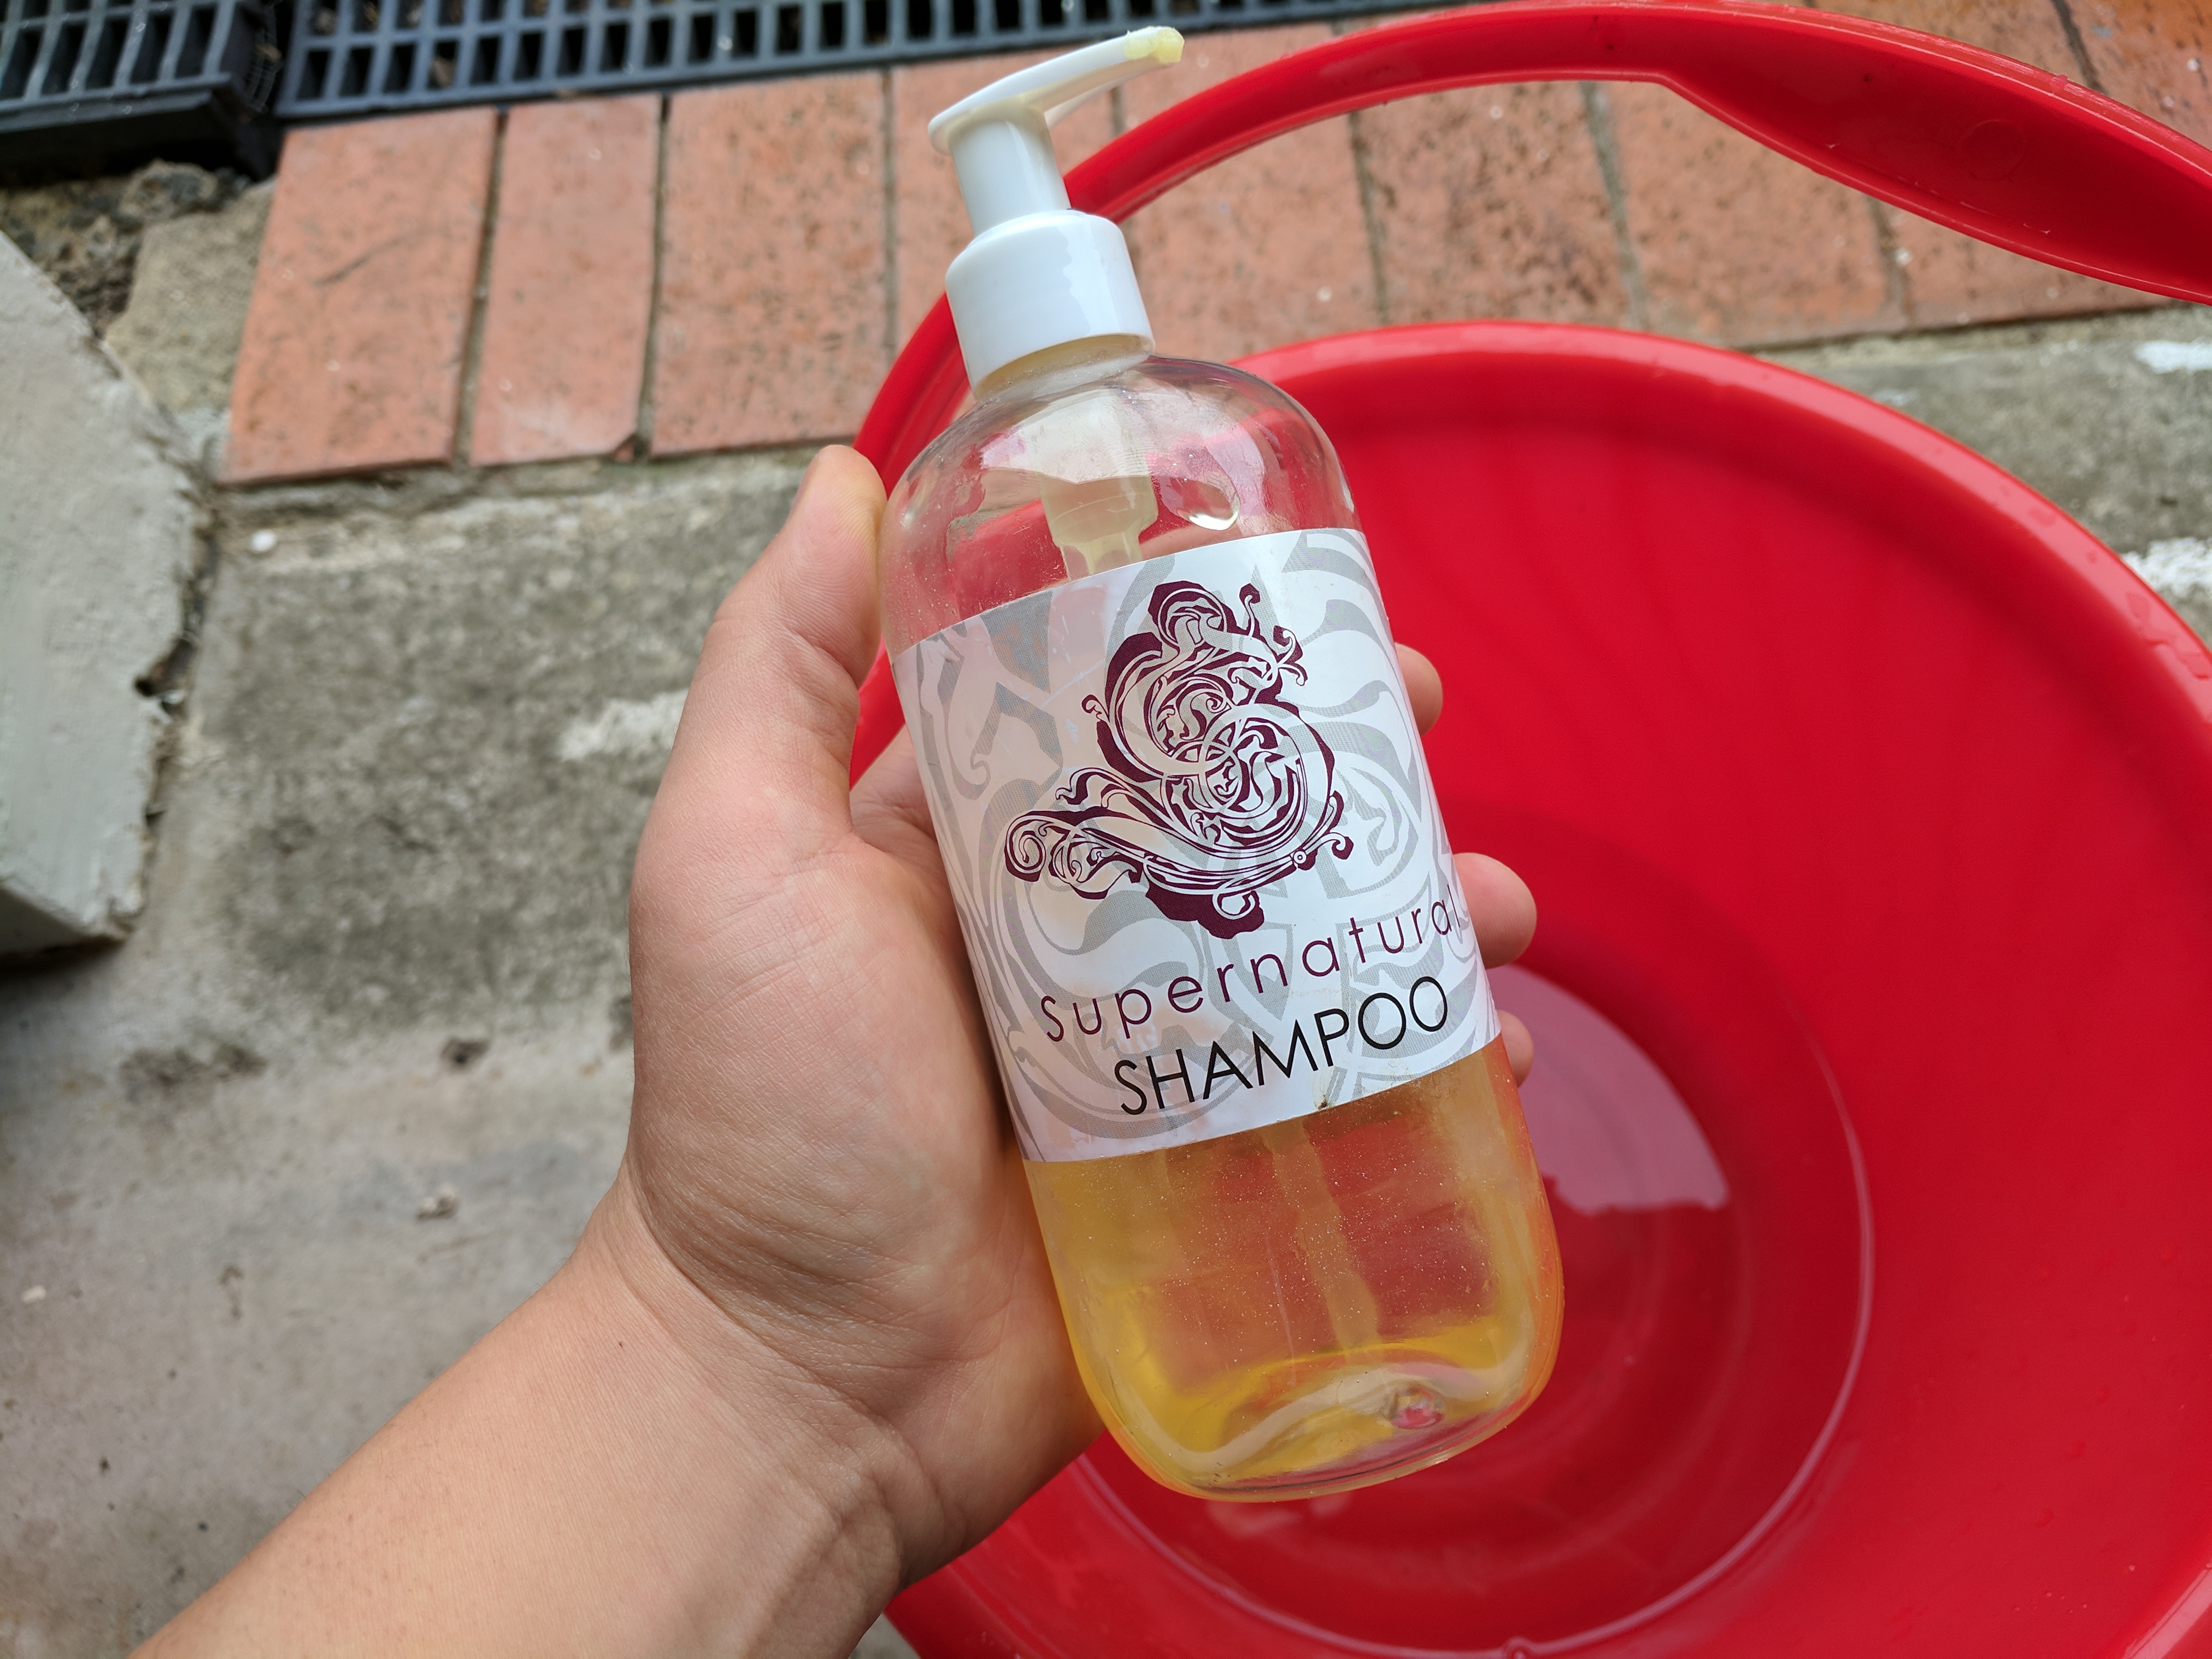
Since I would be doing a full detail, I decided to use the Dodo Juice Supernational Shampoo. pH neutral and a highly concentrated shampoo. One pump for every 3 litres of water.
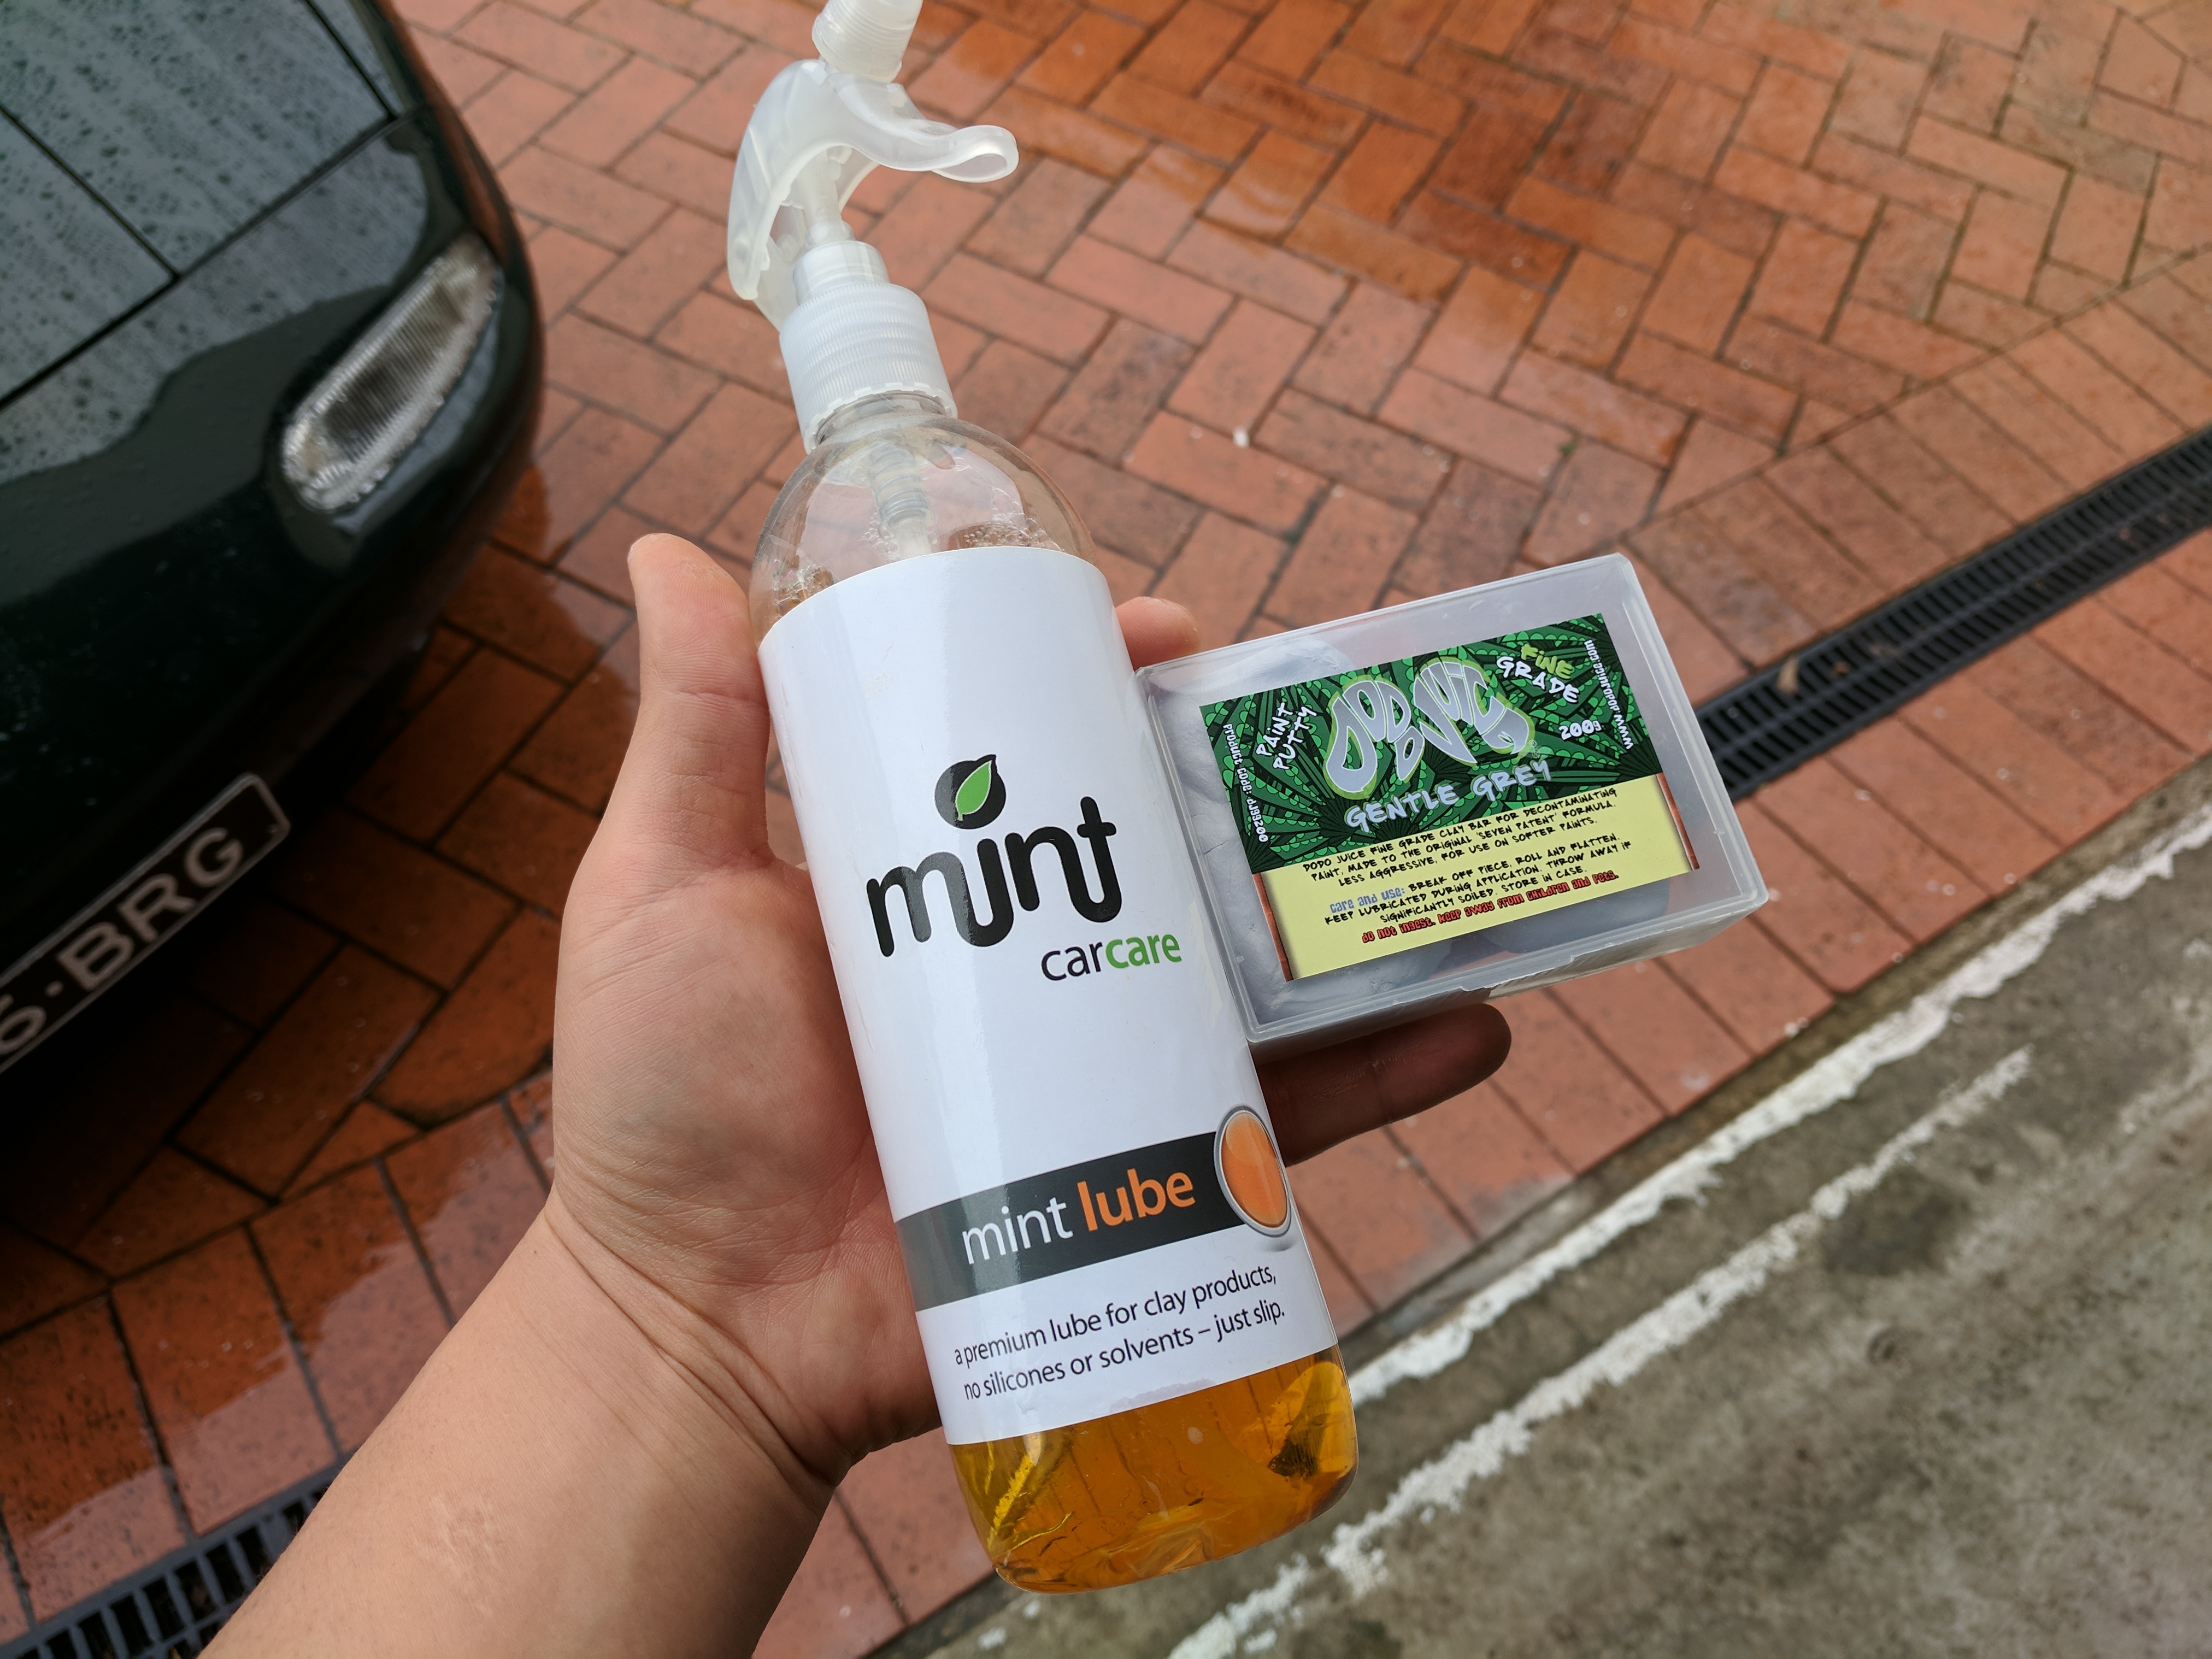
After the wash, I used the Dodo Juice Gentle Grey clay bar and the Mint clay bar lube to clay the car.
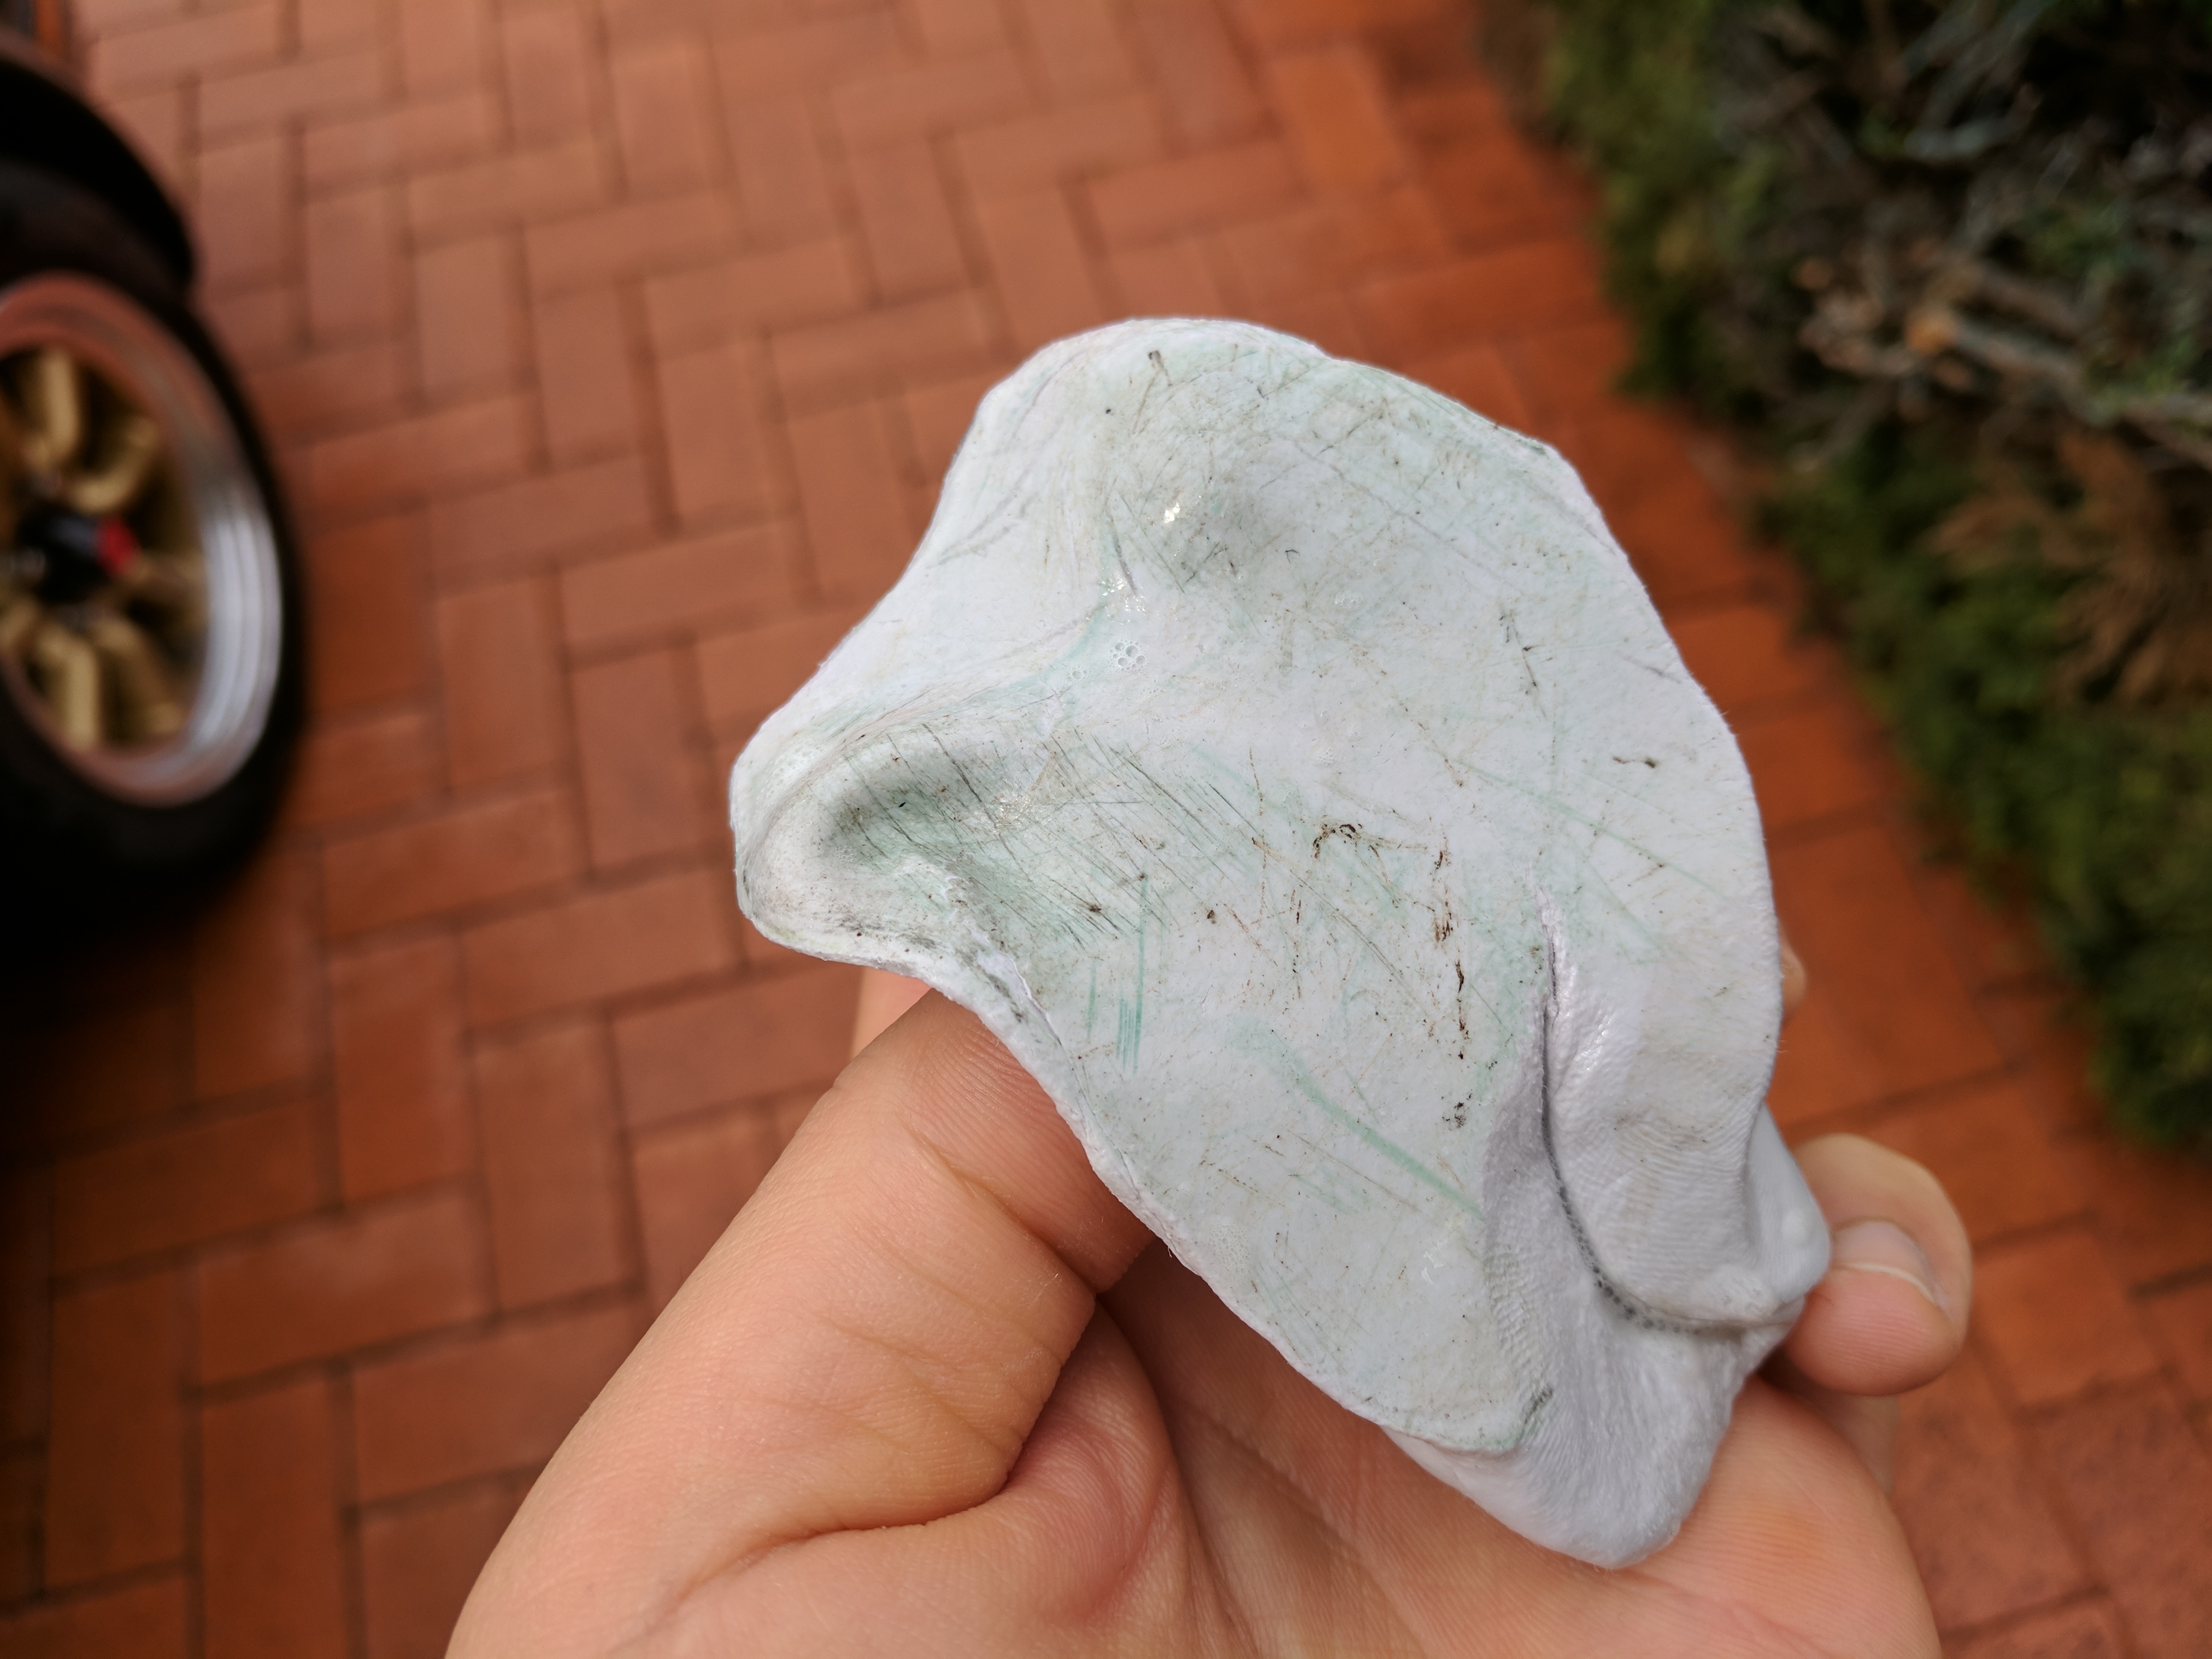
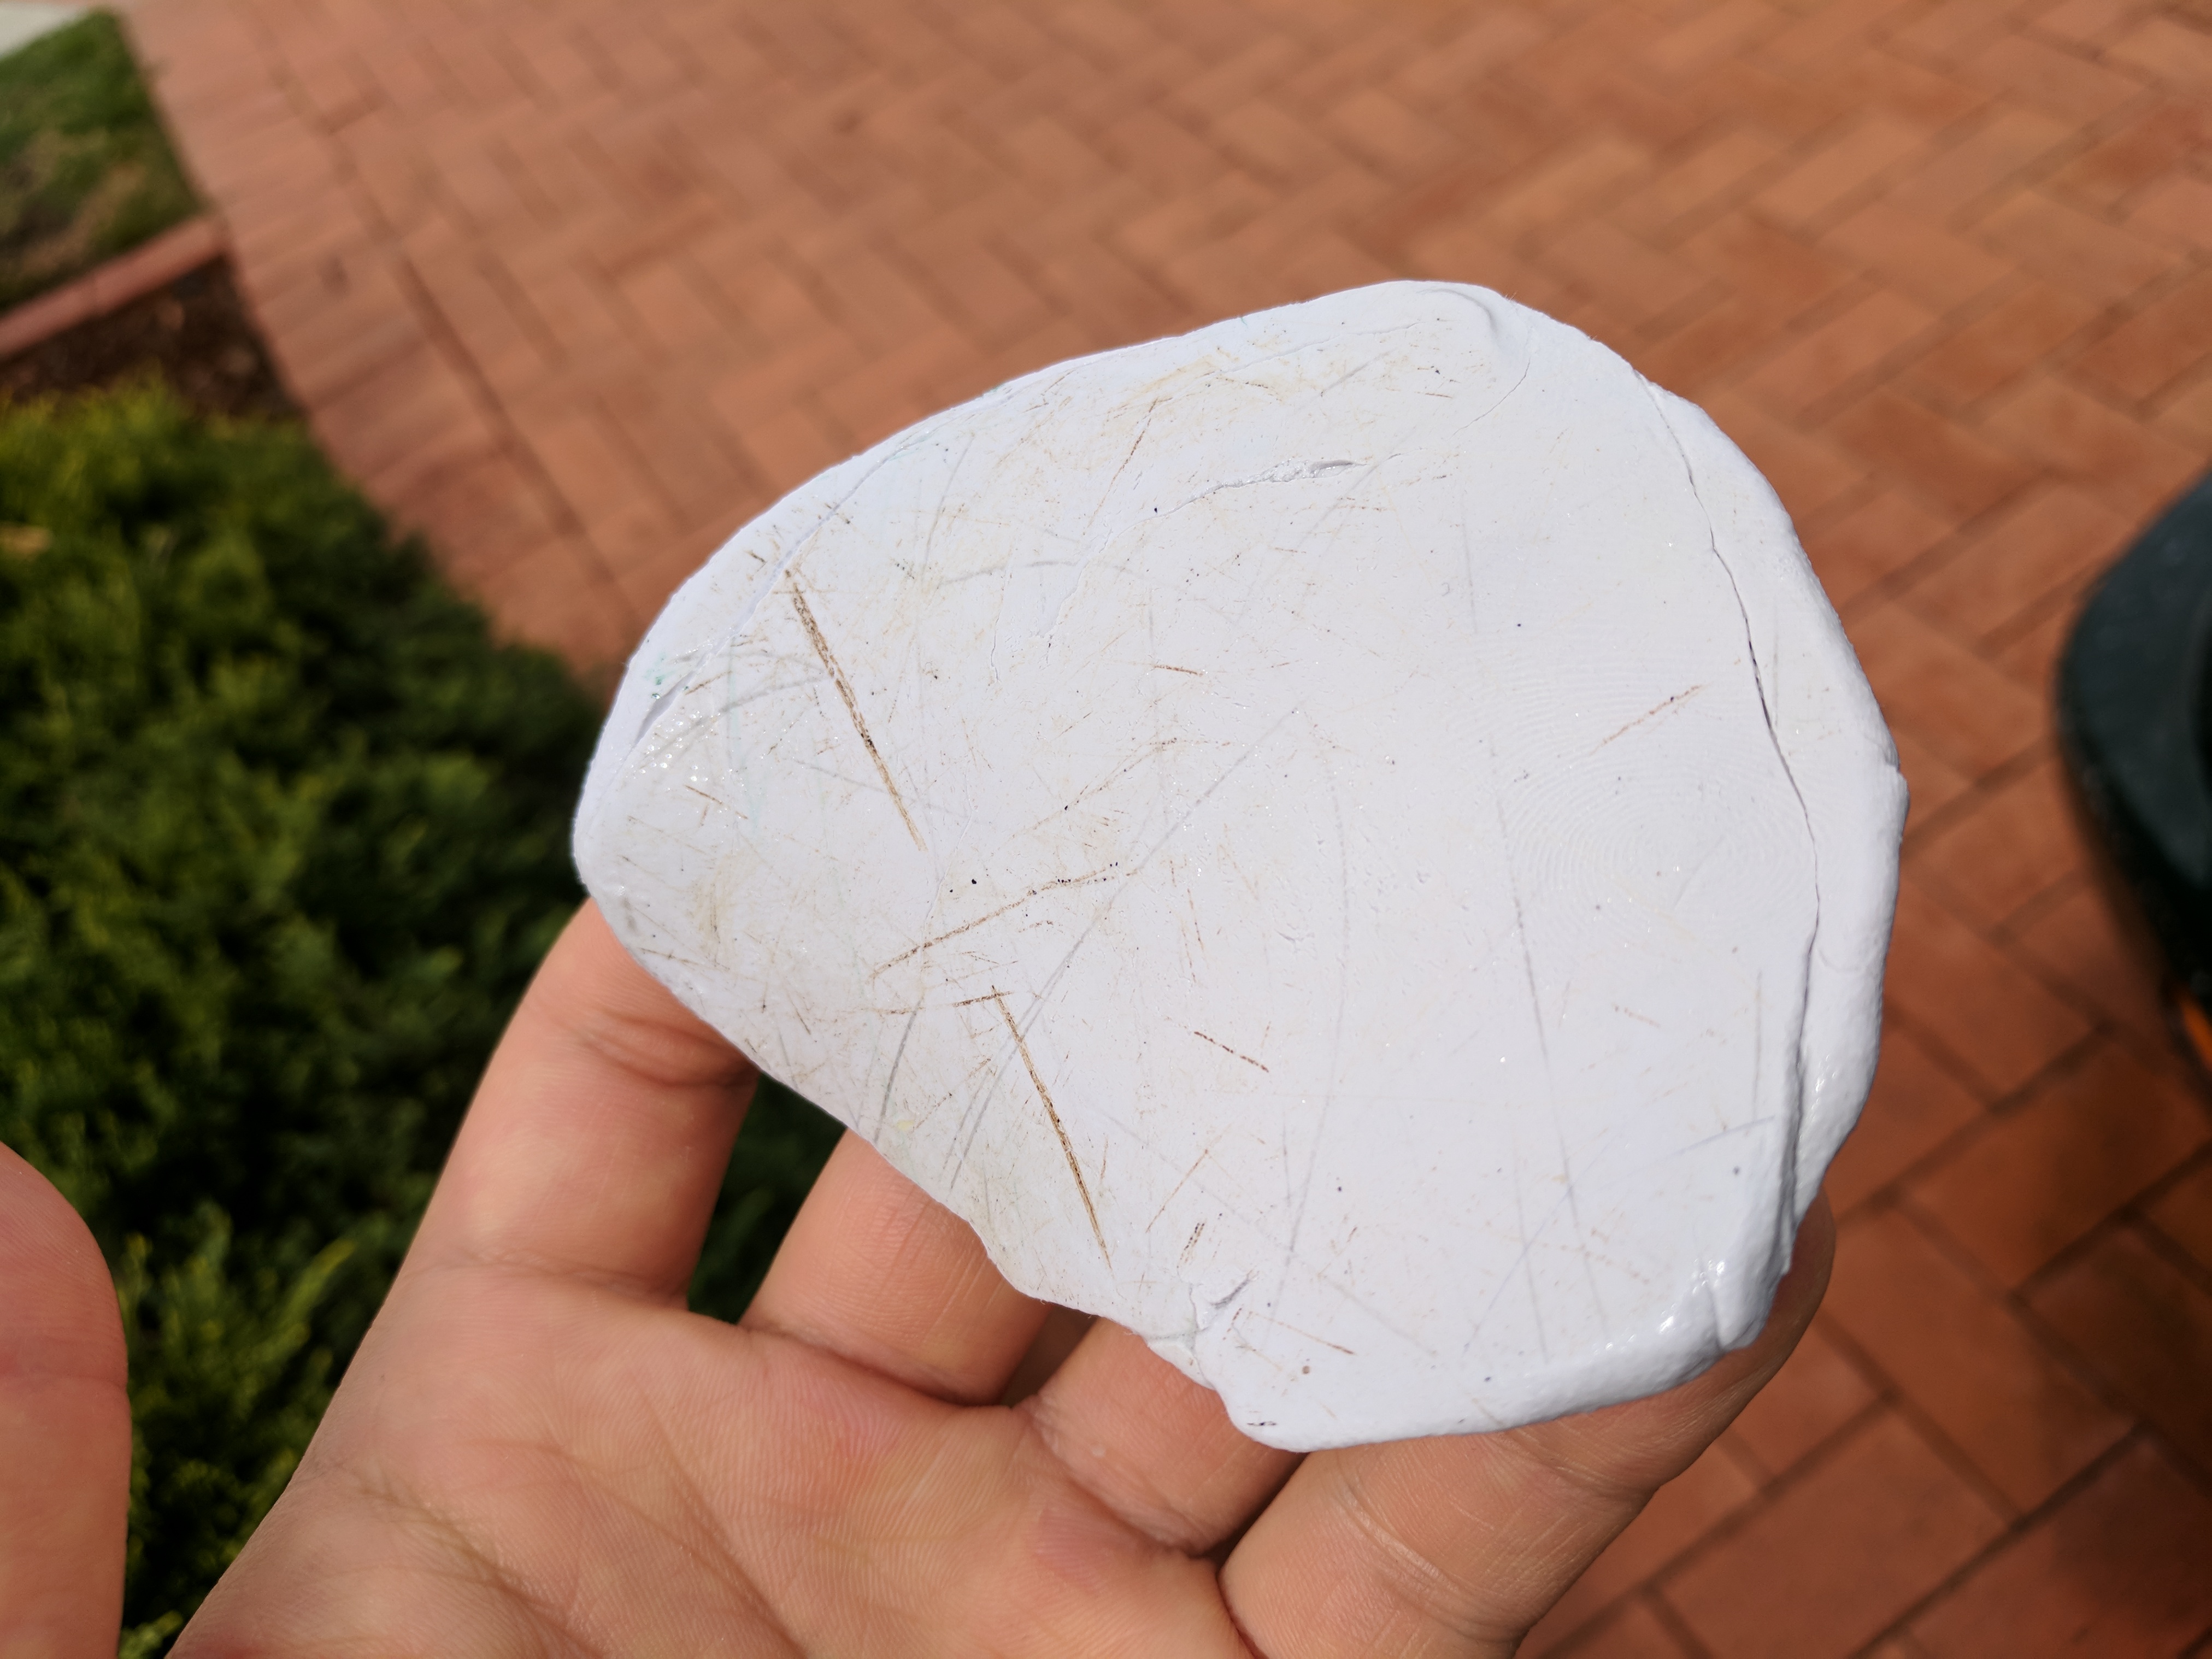
This is the result after one quarter panel. Remember to fold the clay bar to reveal a fresh surface of clay before moving on to a different panel.

This was the boot and rear of the car. Pretty hectic.
This was the door and rear panels.
This was the bonnet.
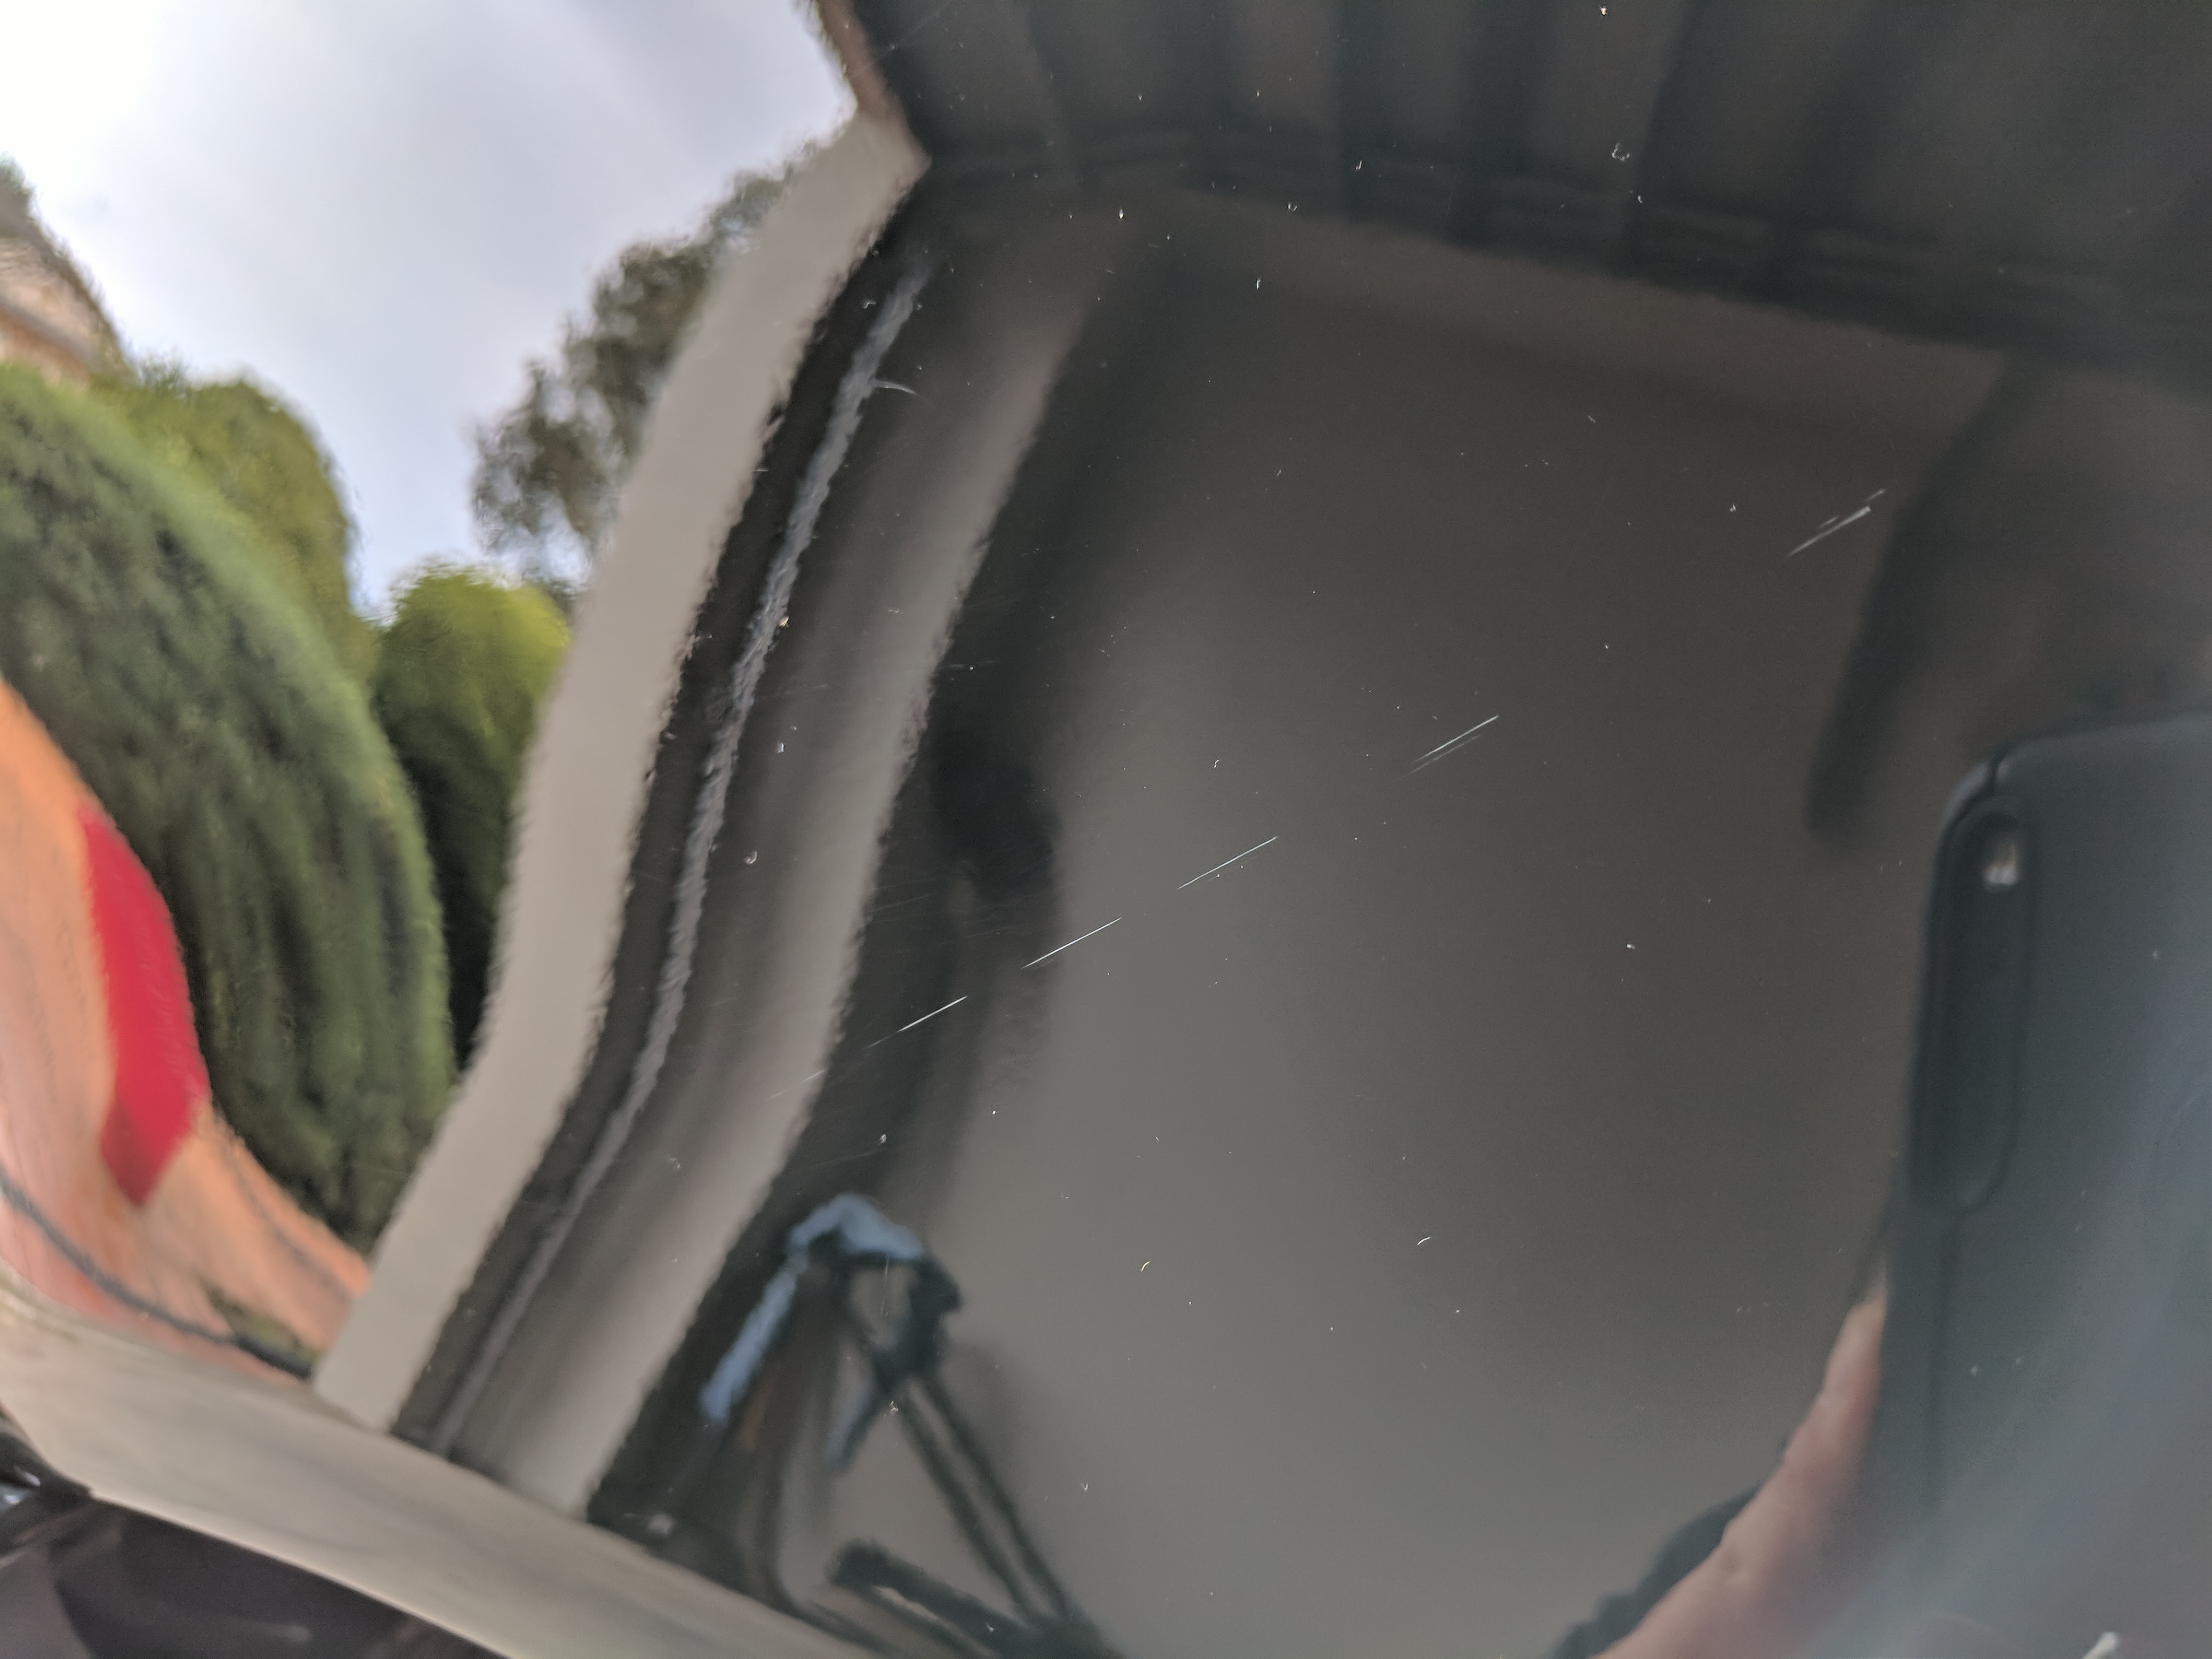
After a wash and clay, you can now see that there are some scratches and marks on the paint. This would be rectified with polish.

More scratches and marks needing attention.
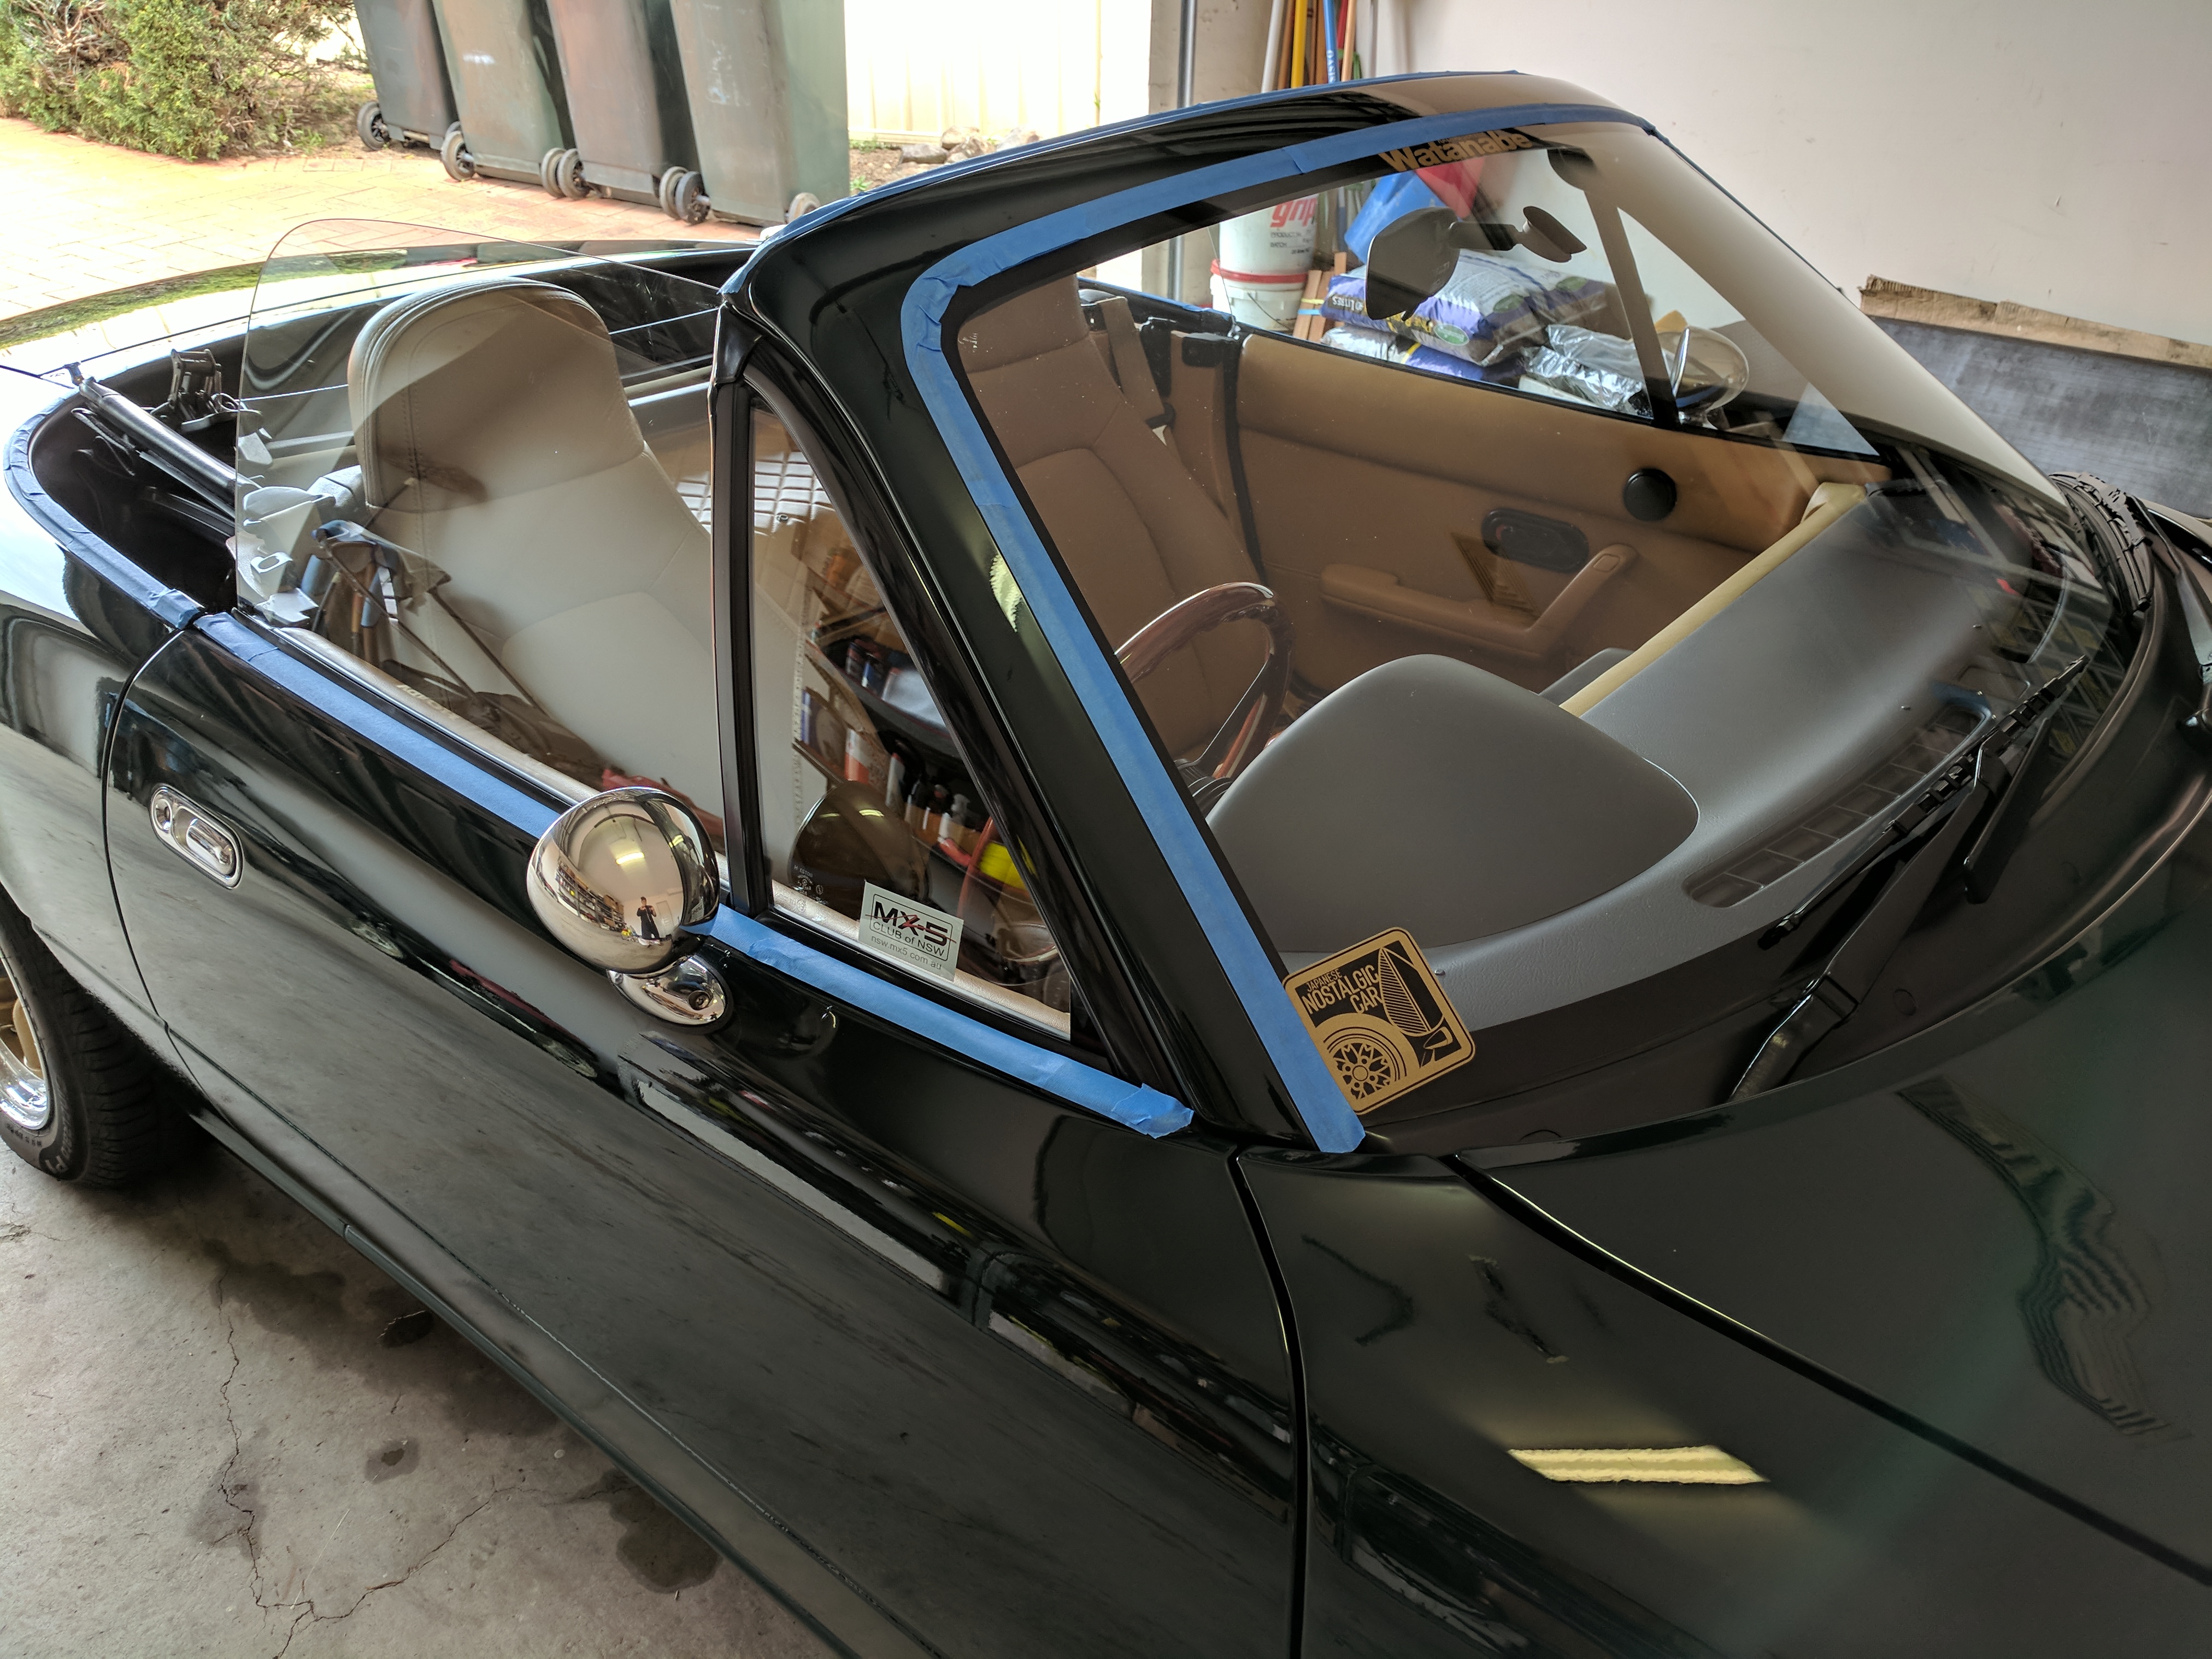
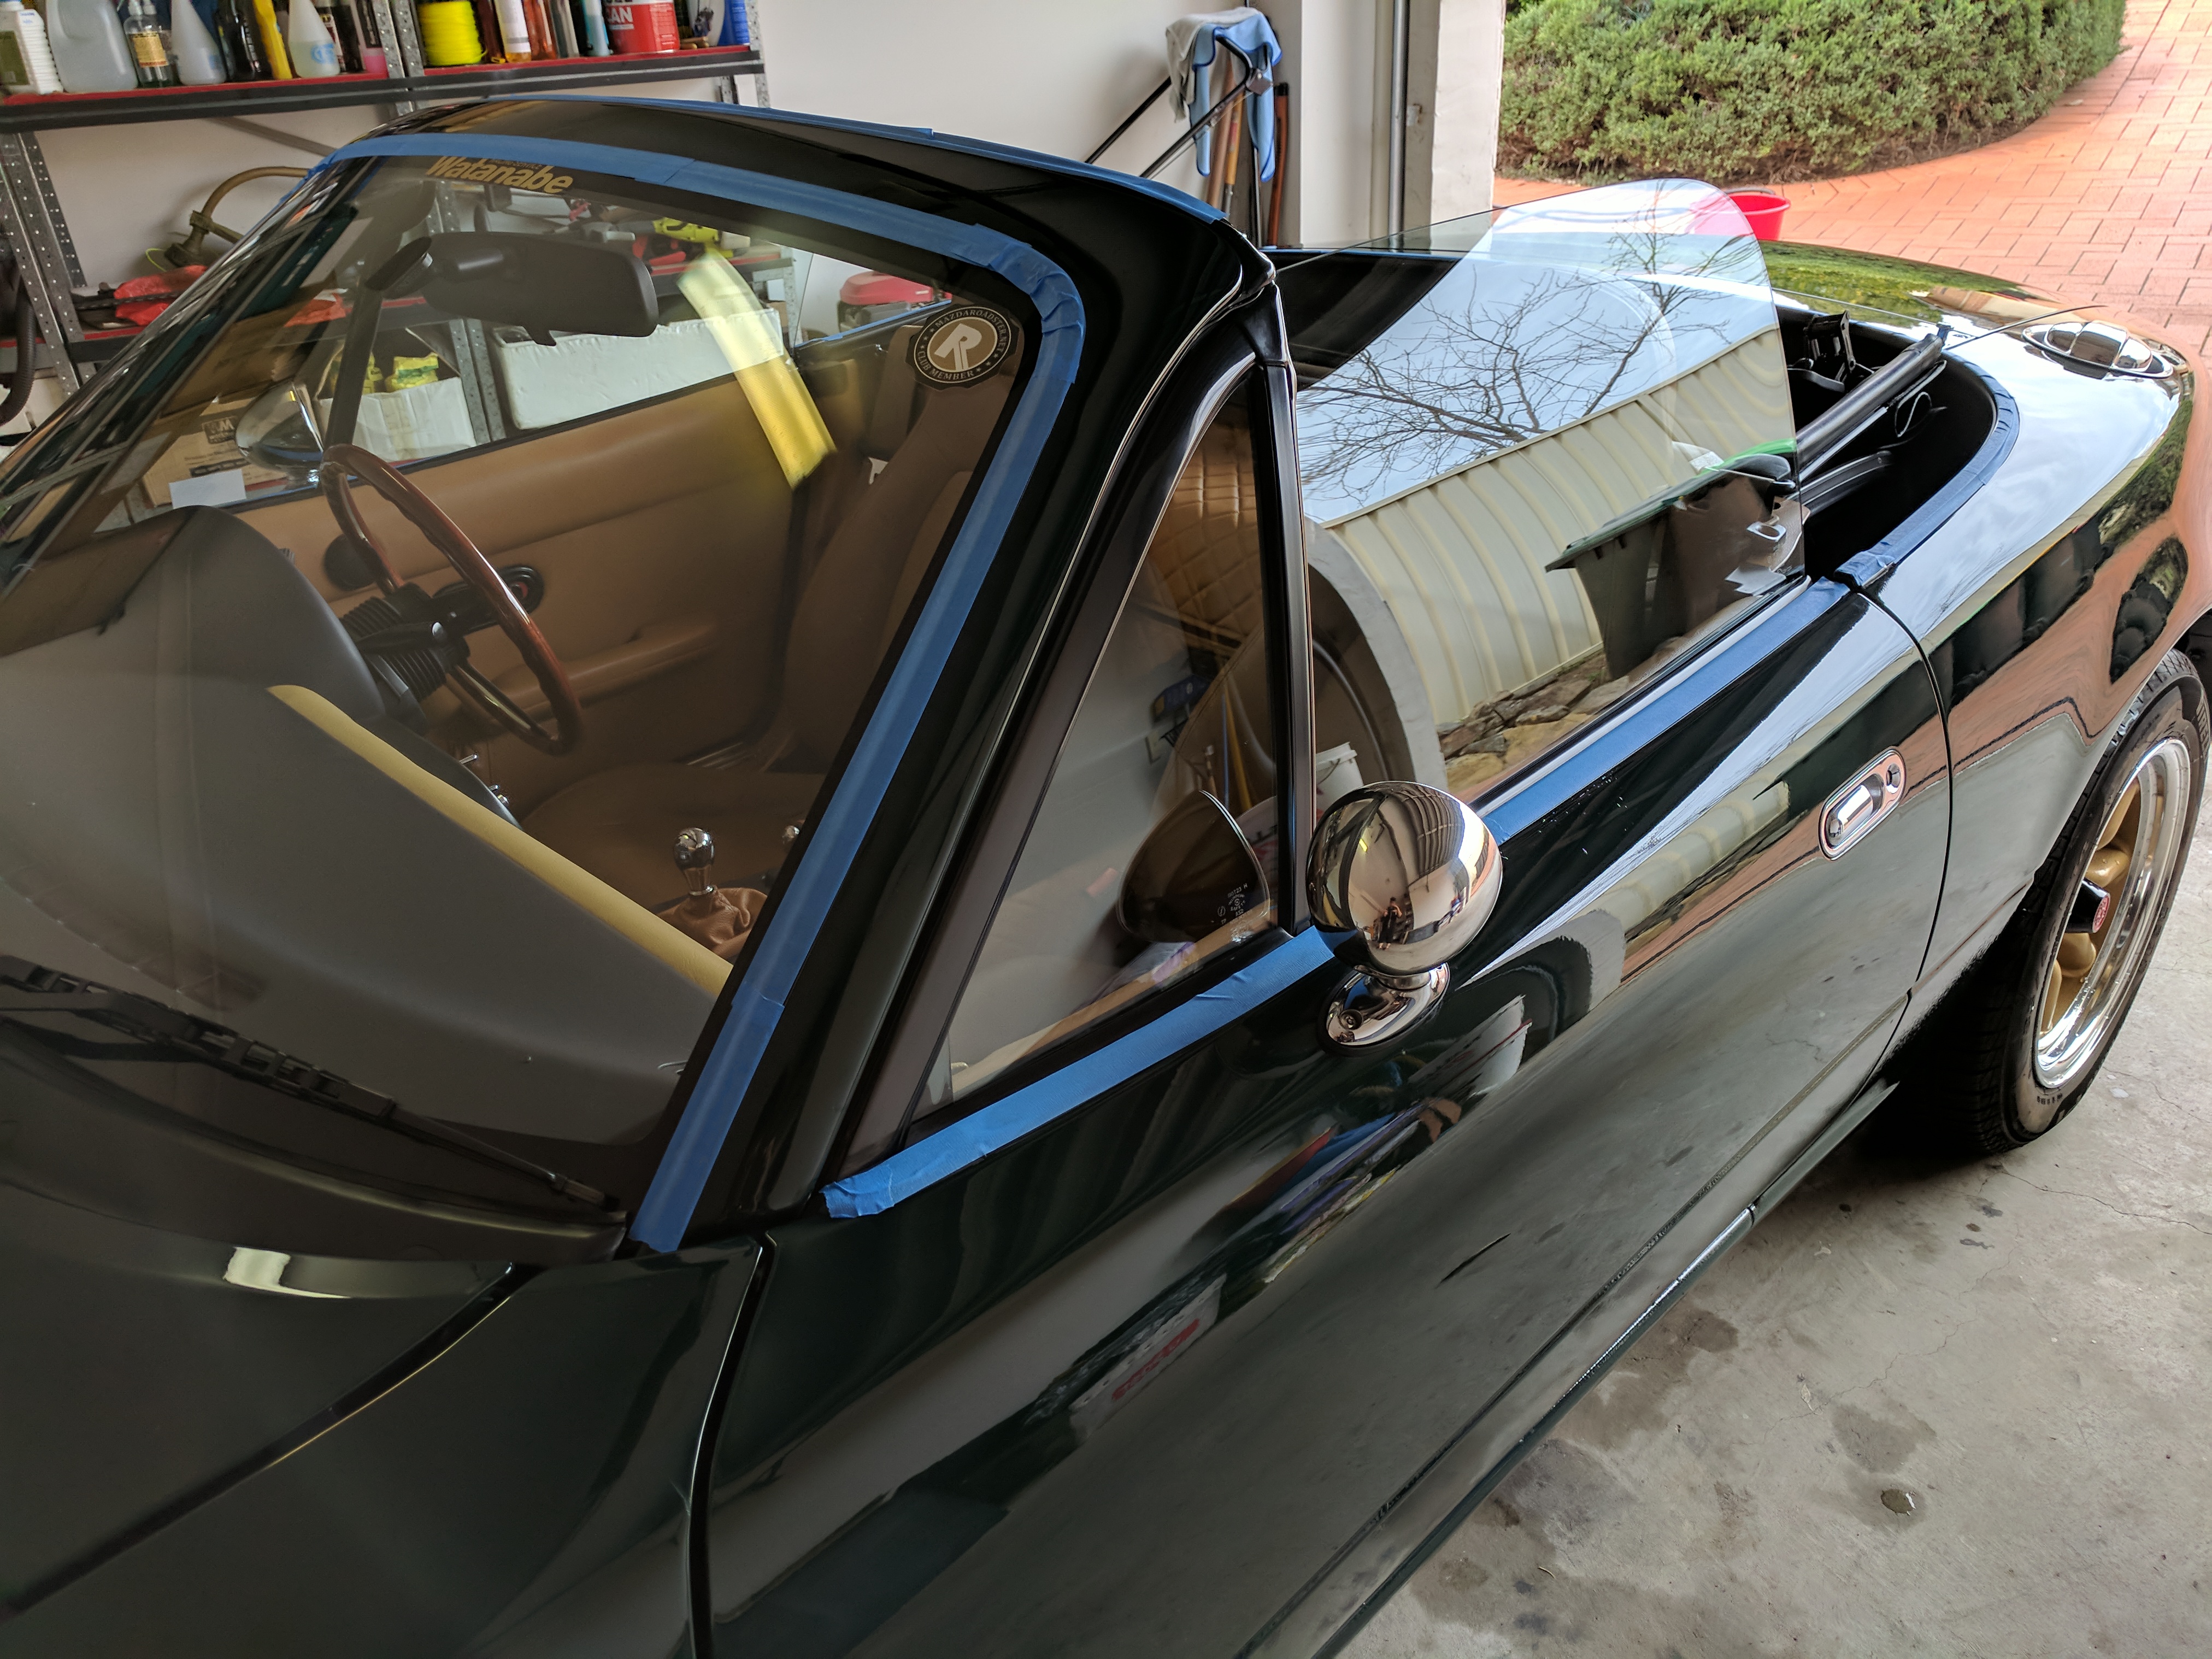
Mask up the rubbers and black plastic trim on the car to prevent it from leaving stains from the polish. If they're not masked up, these can leave a white chalky residue from the polish.
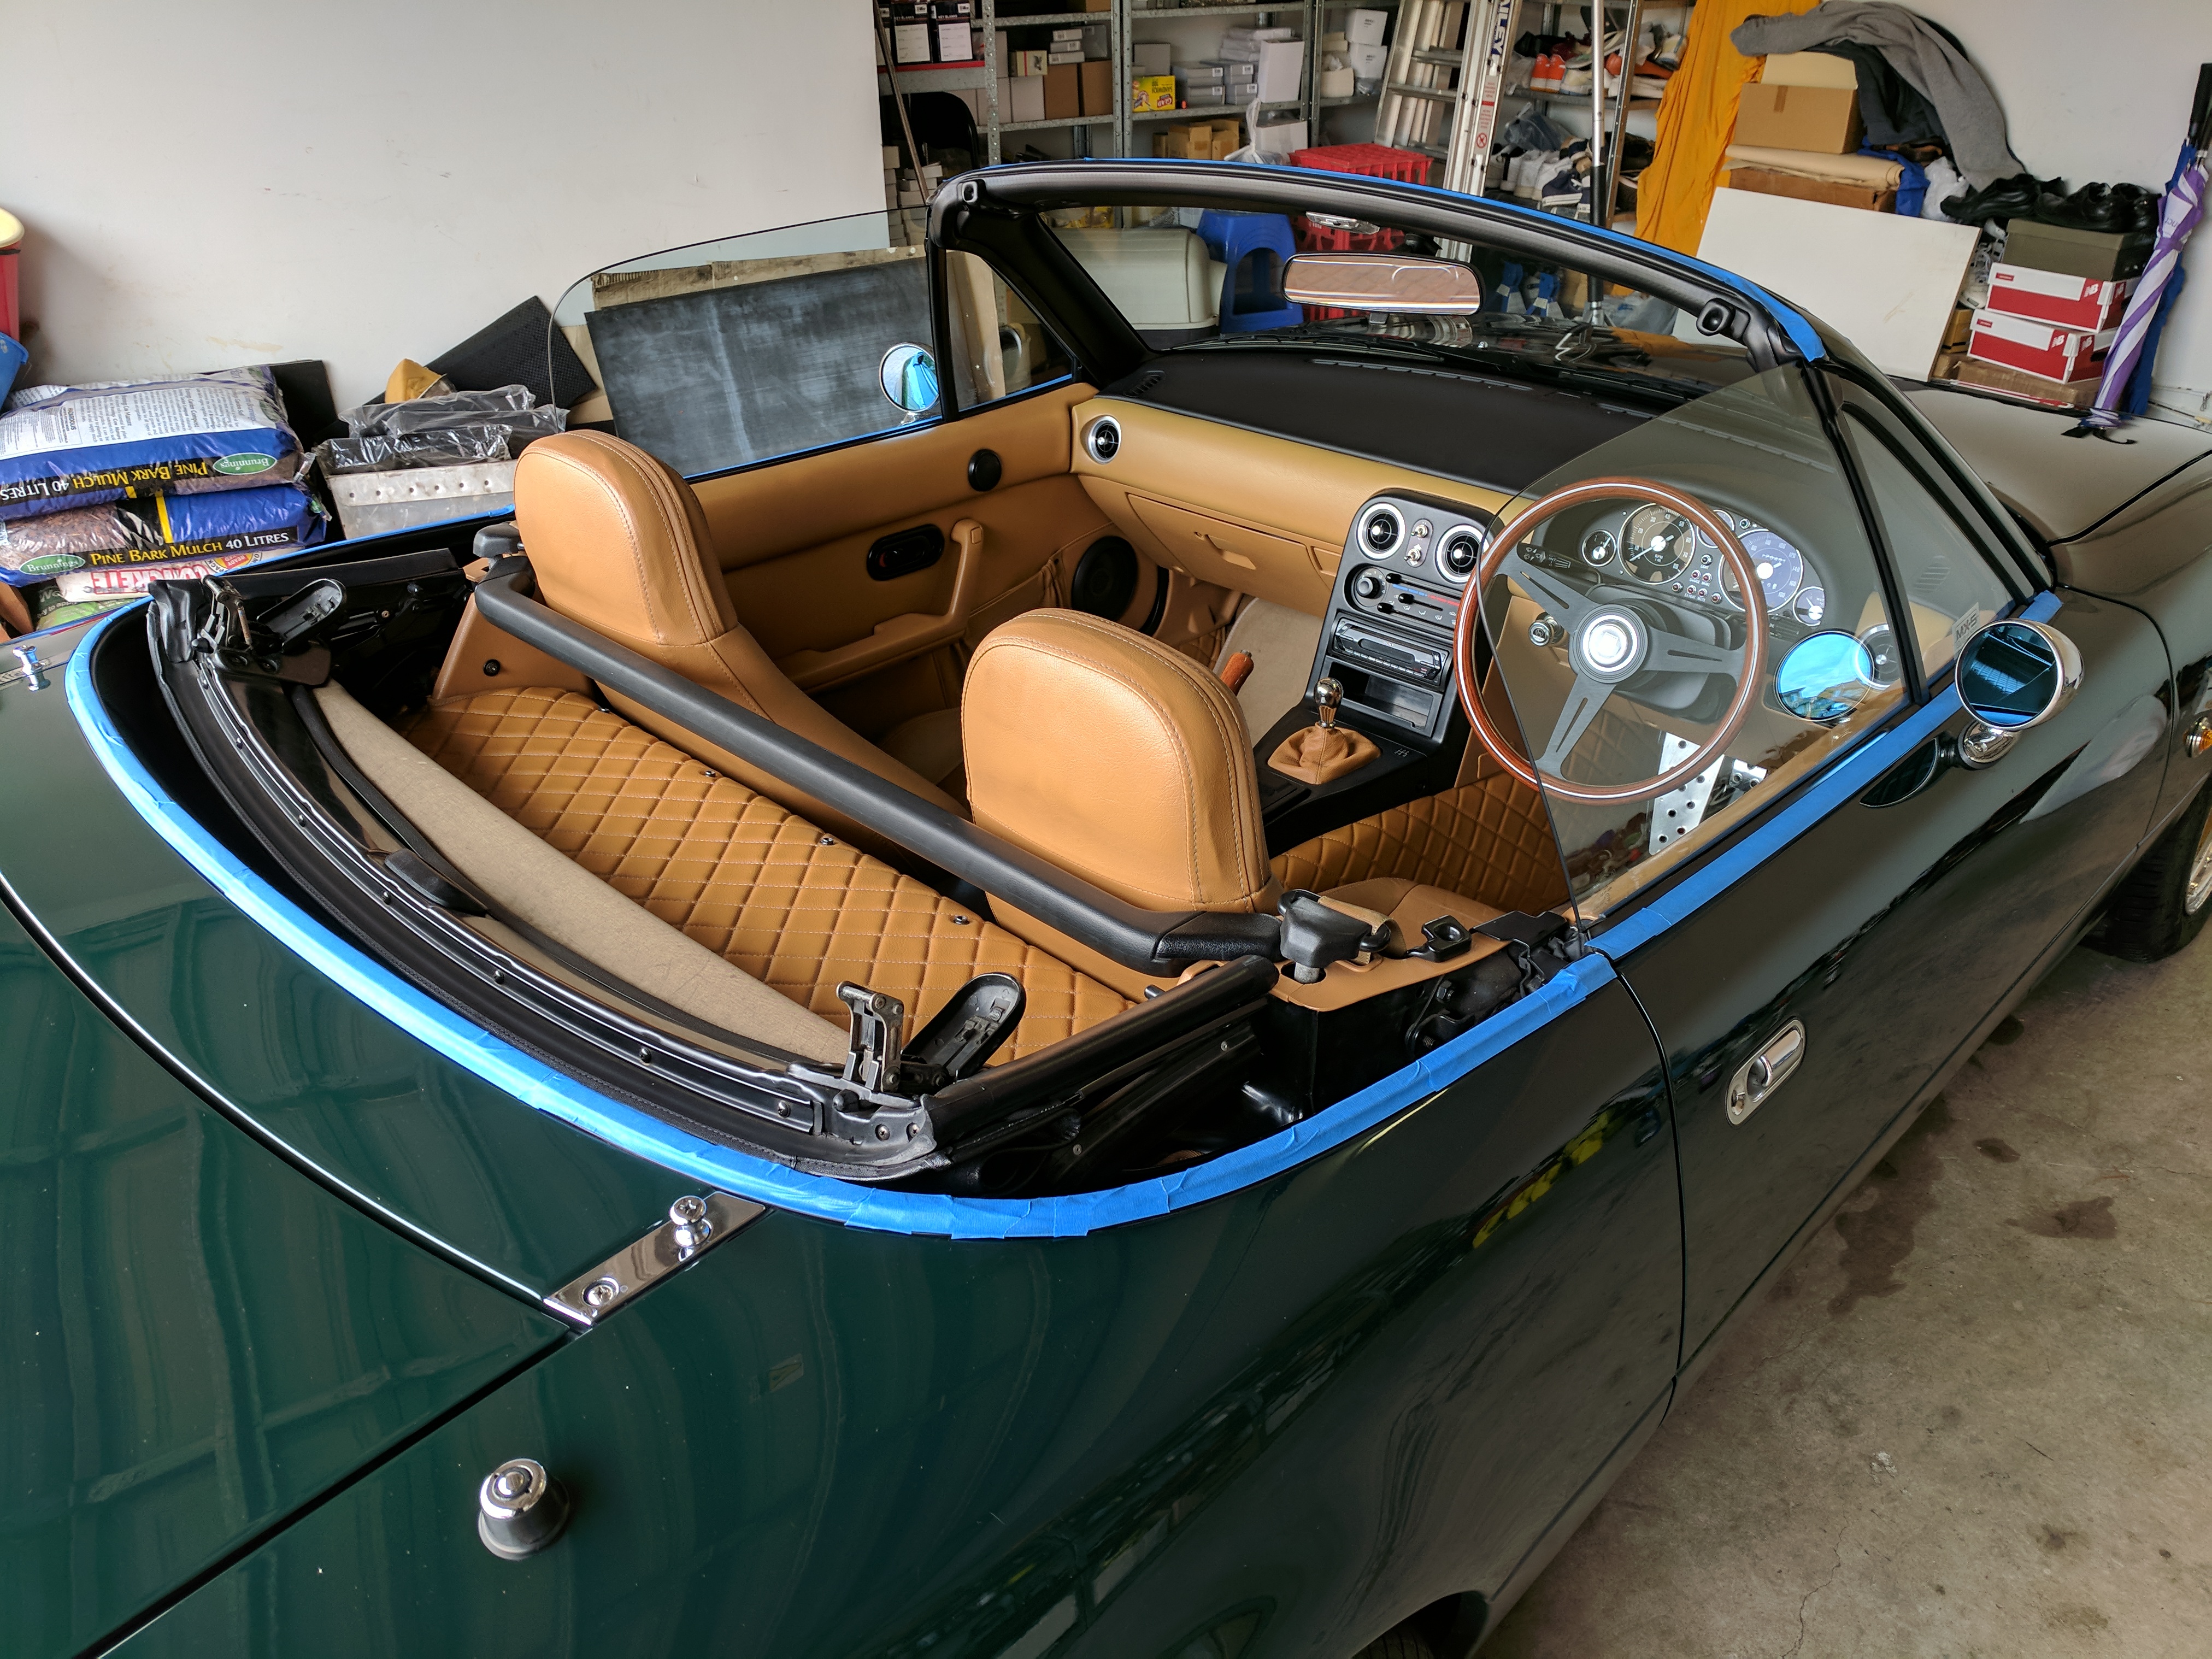
Prepping the car for polish by masking up all the rubbers and black plastics.
My bootlid was particularly bad with all the fine swirls and scratches and spider webbing, so I used Menzerna HC400 heavy cut compound to remove them.
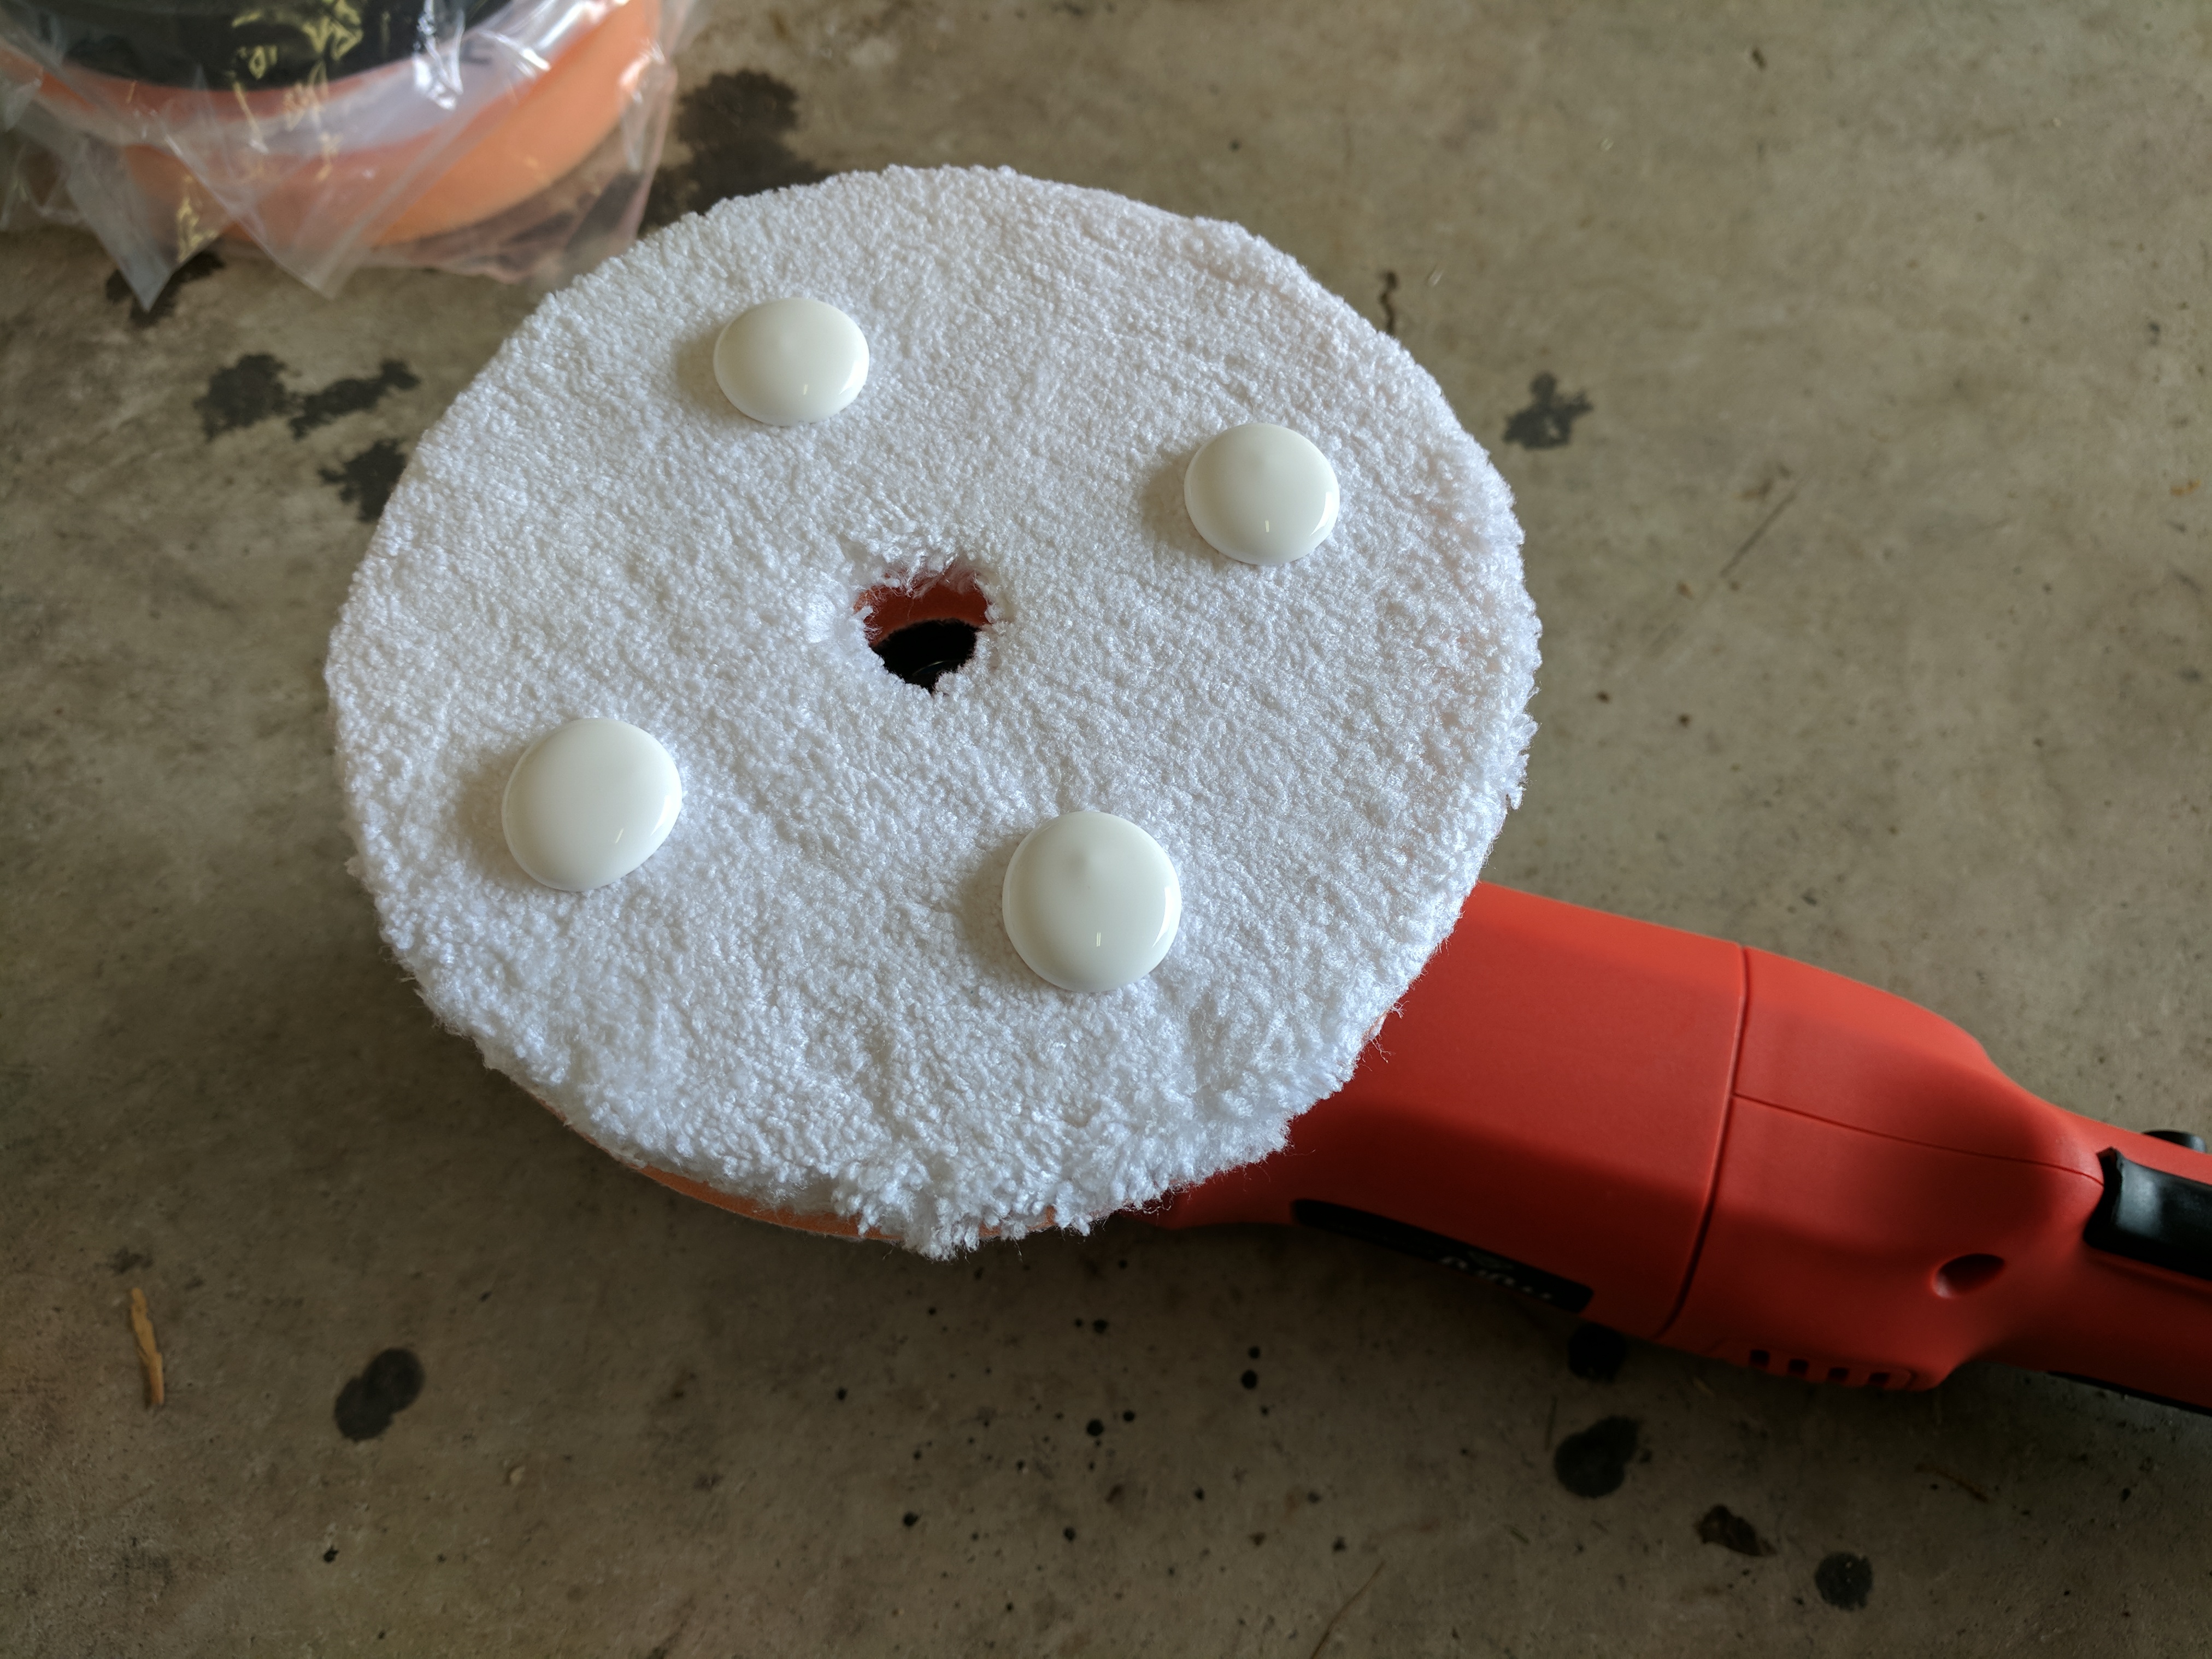
Use a correction buffing pad and put four 5c sized dabs on the pad. This was probably a little bit too much for my application. You can use less than the amount shown here and achieve the same result.
Spread the polish by first dabbing it onto the car with the buffer
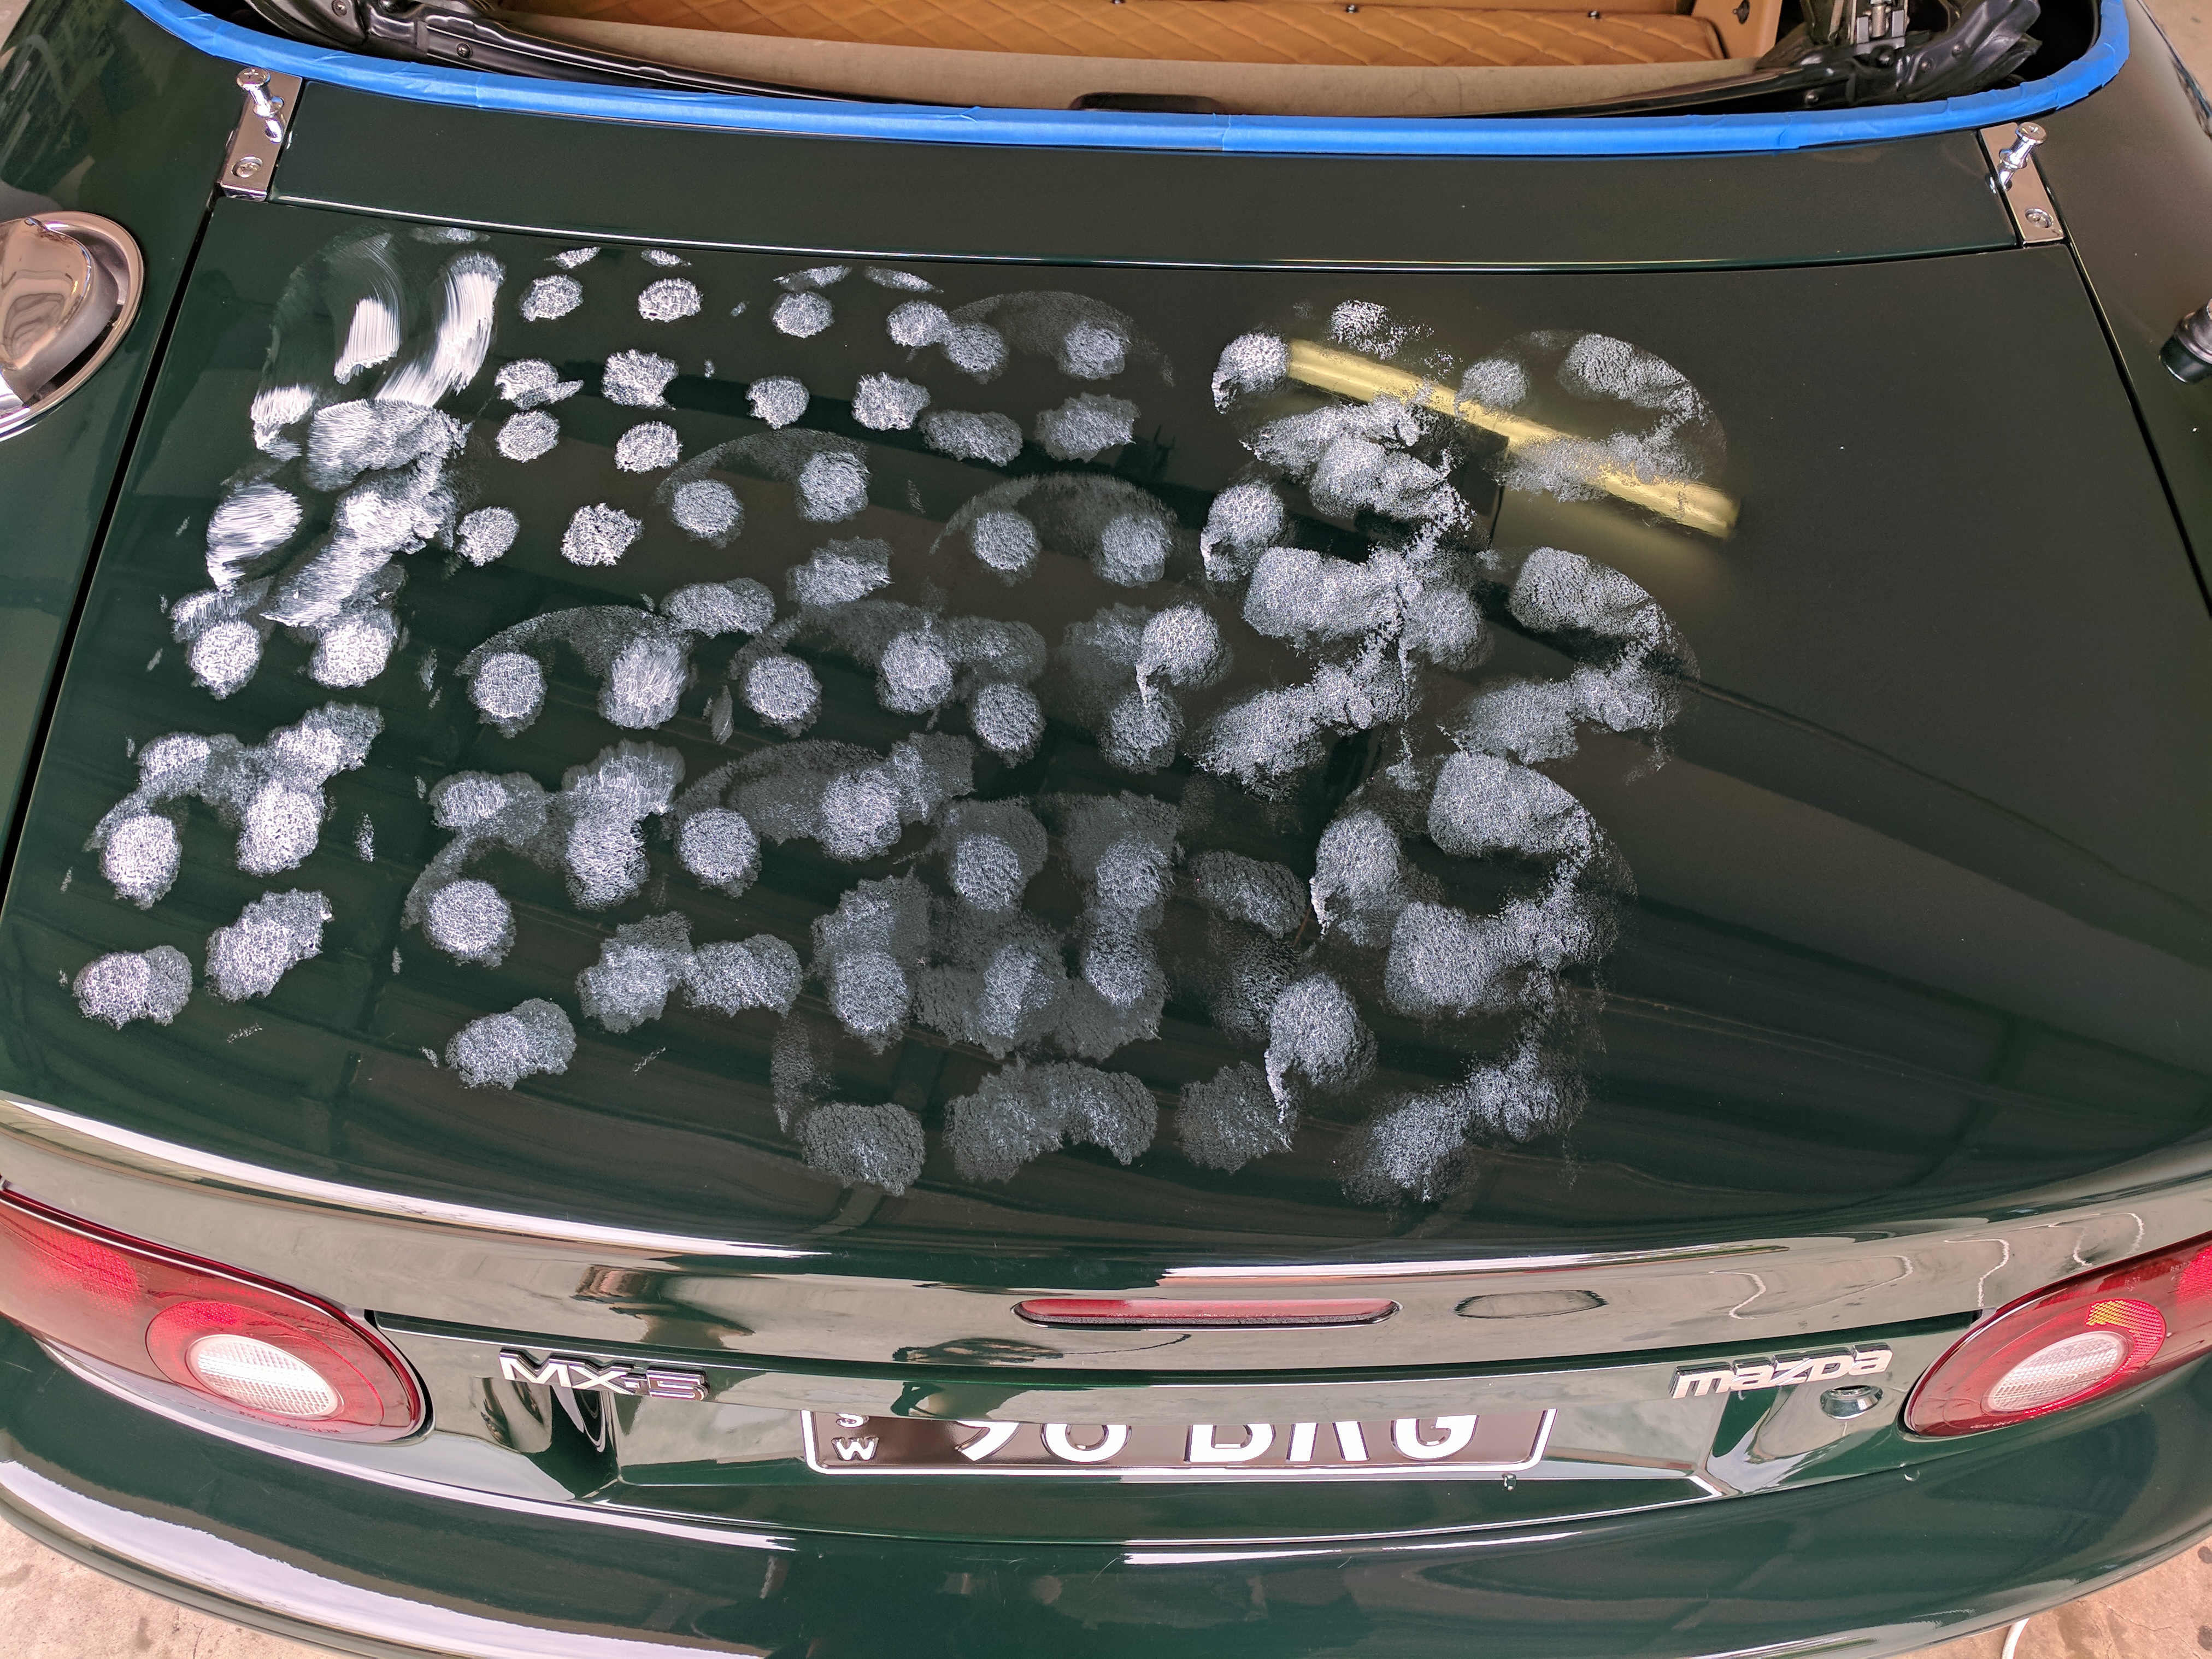
Start with the lowest speed of the buffer and distribute the polish to the area. Go slow and make a few passes with the buffer before gradually increasing the speed until most of the polish has disappeared. Then wipe off the remainder of the polish off with a microfibre cloth.
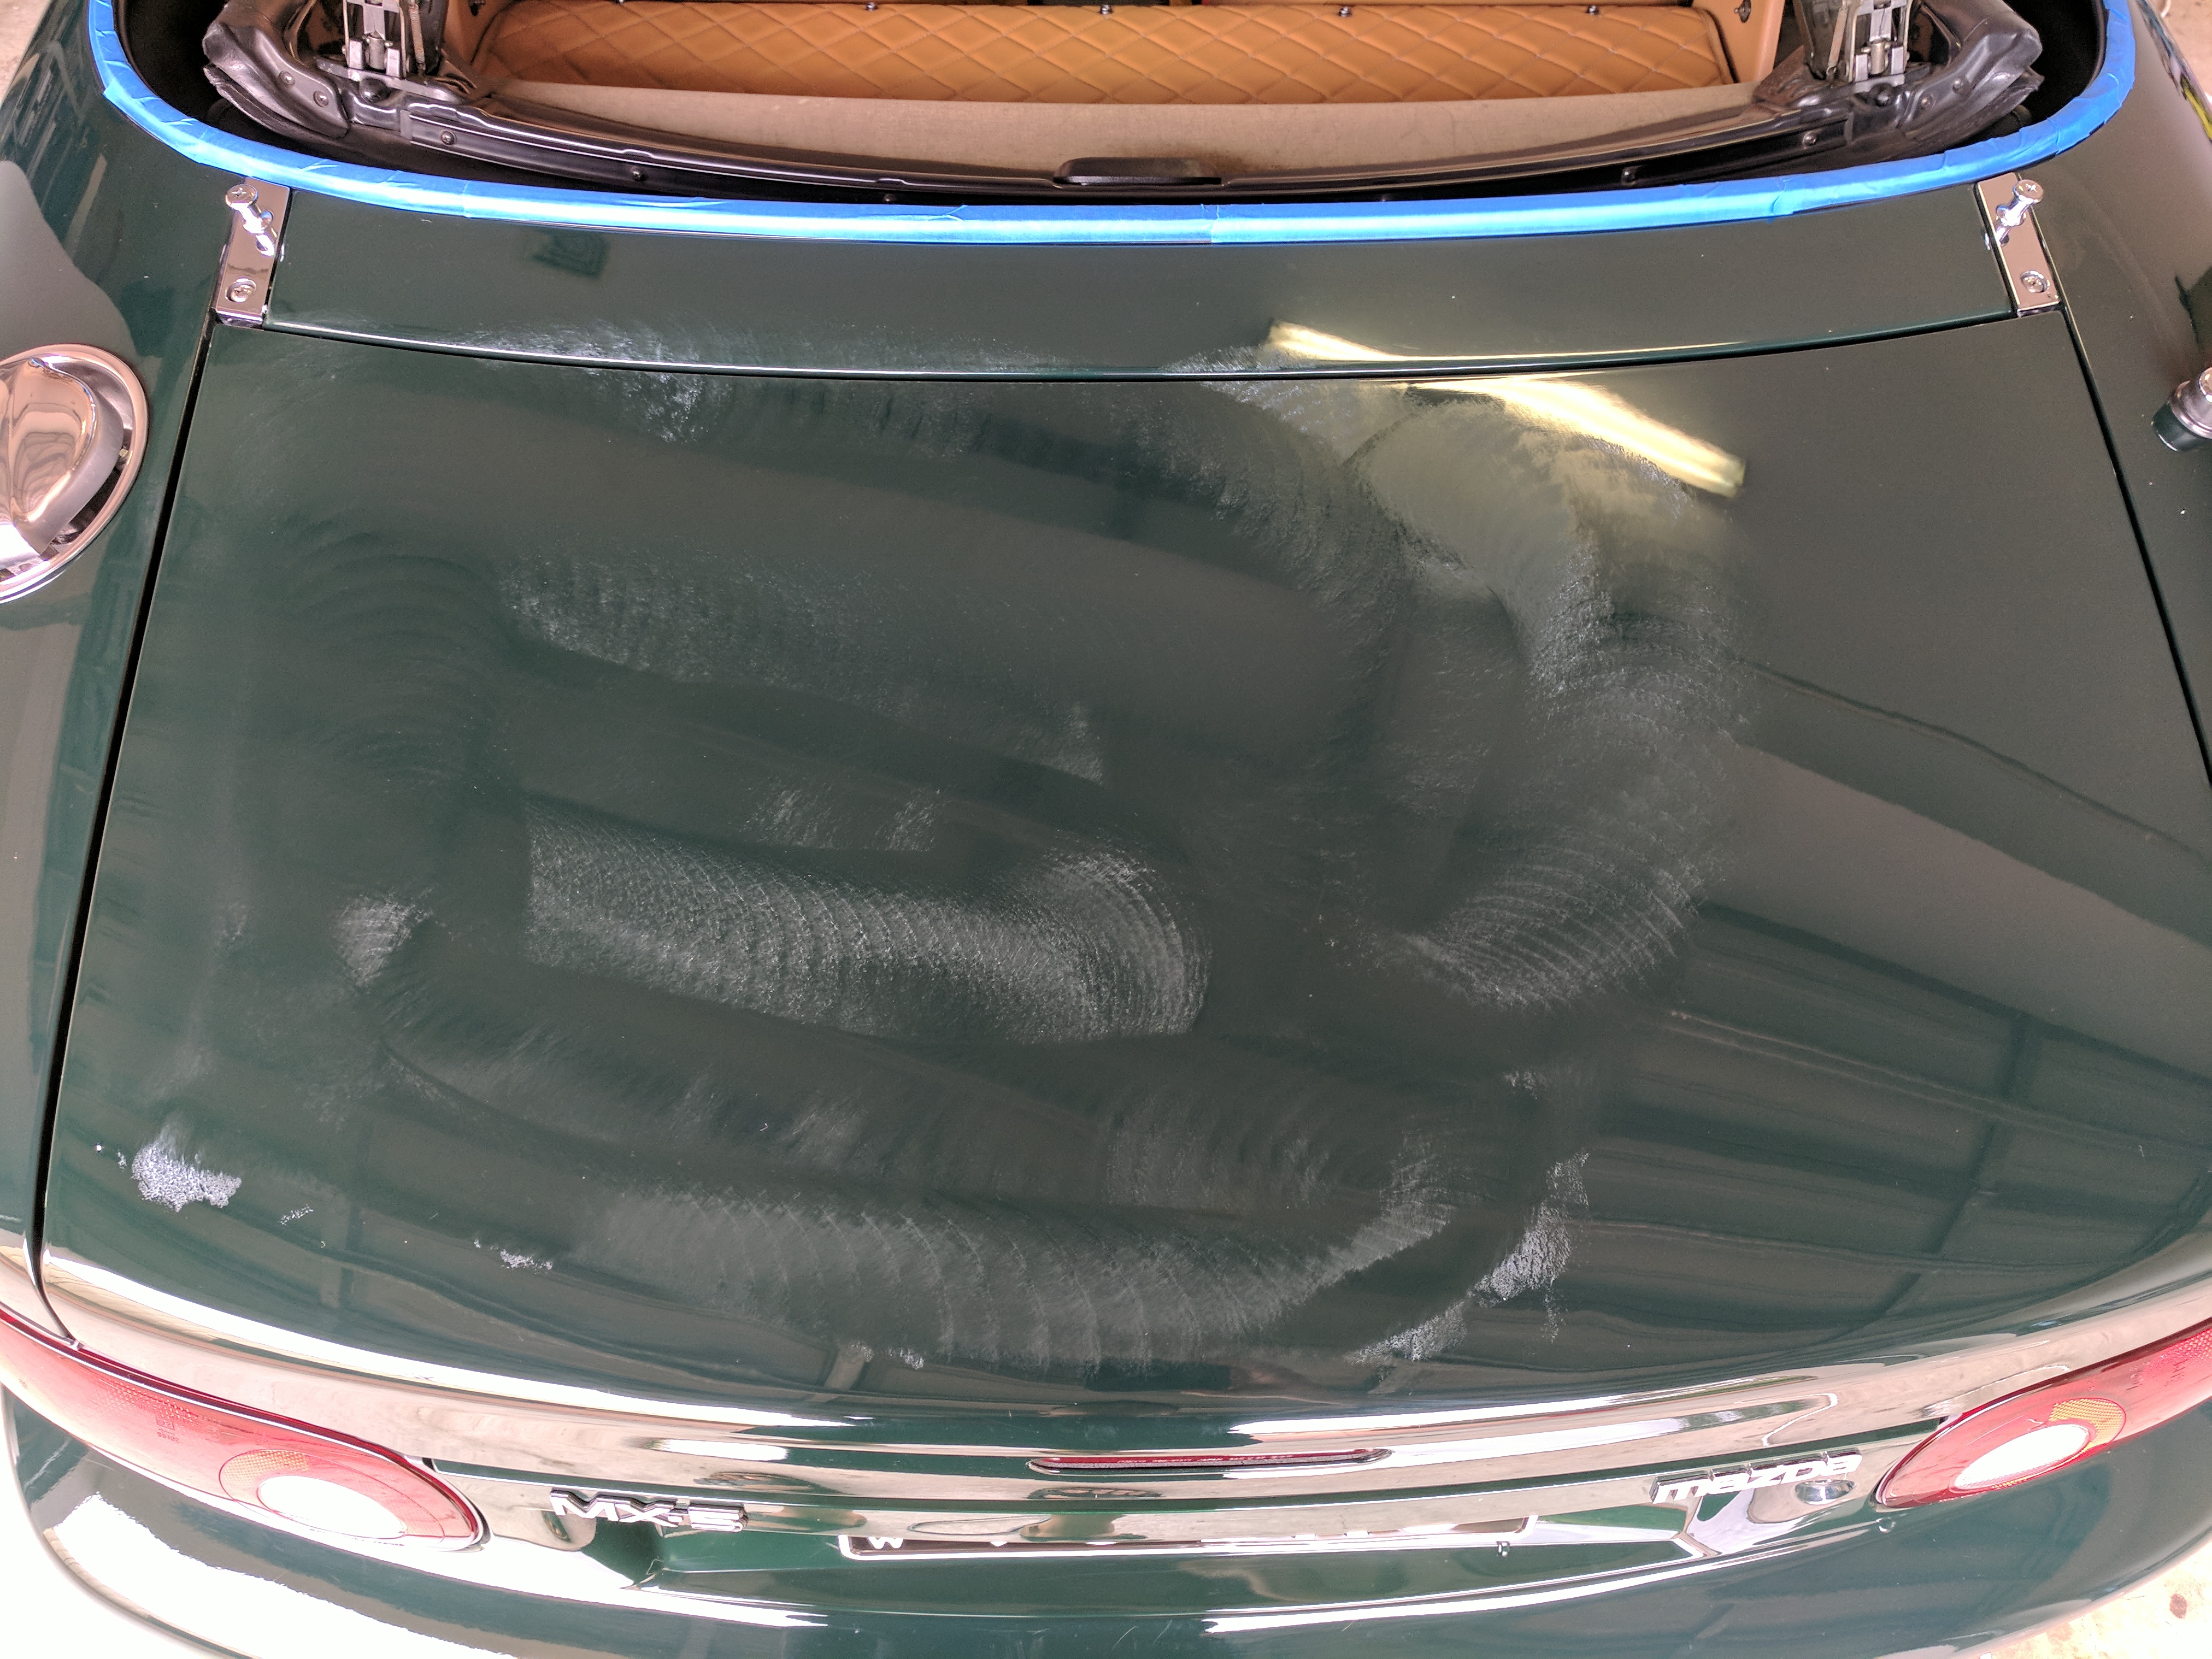
The rest of the car wasn't as bad as my bootlid, so the whole car was then treated with Menzerna PF2400 medium cut polish.
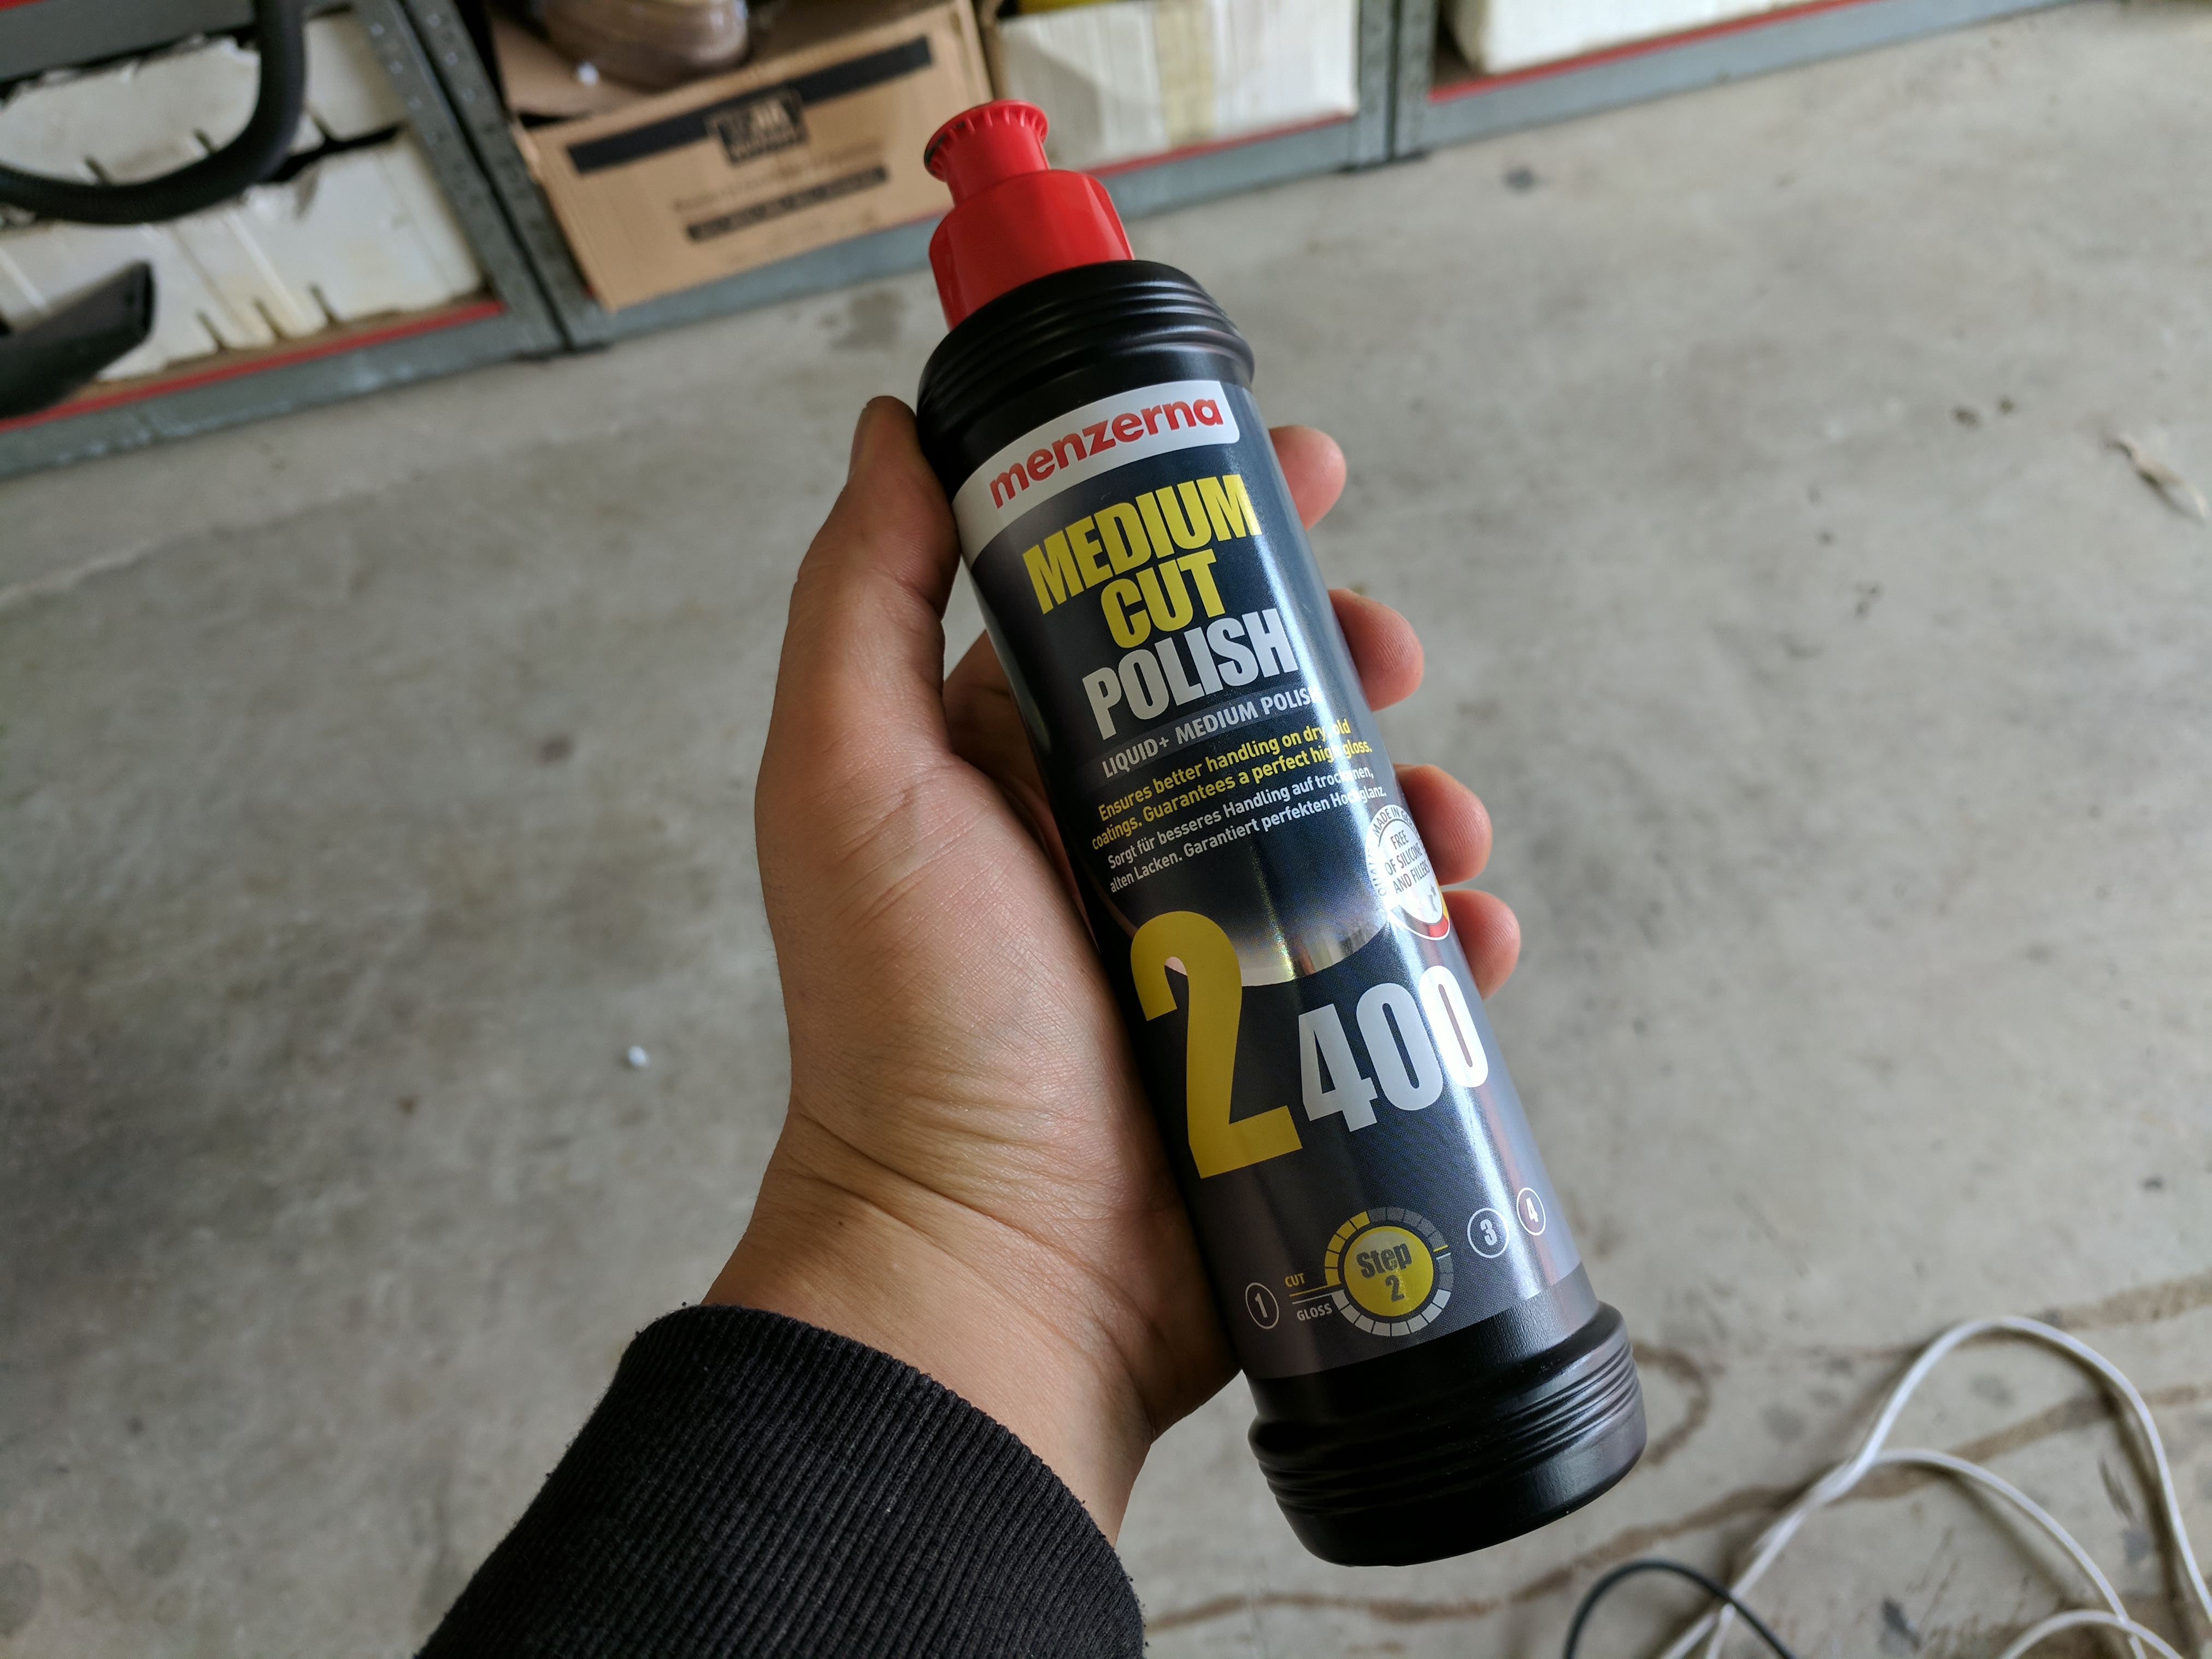
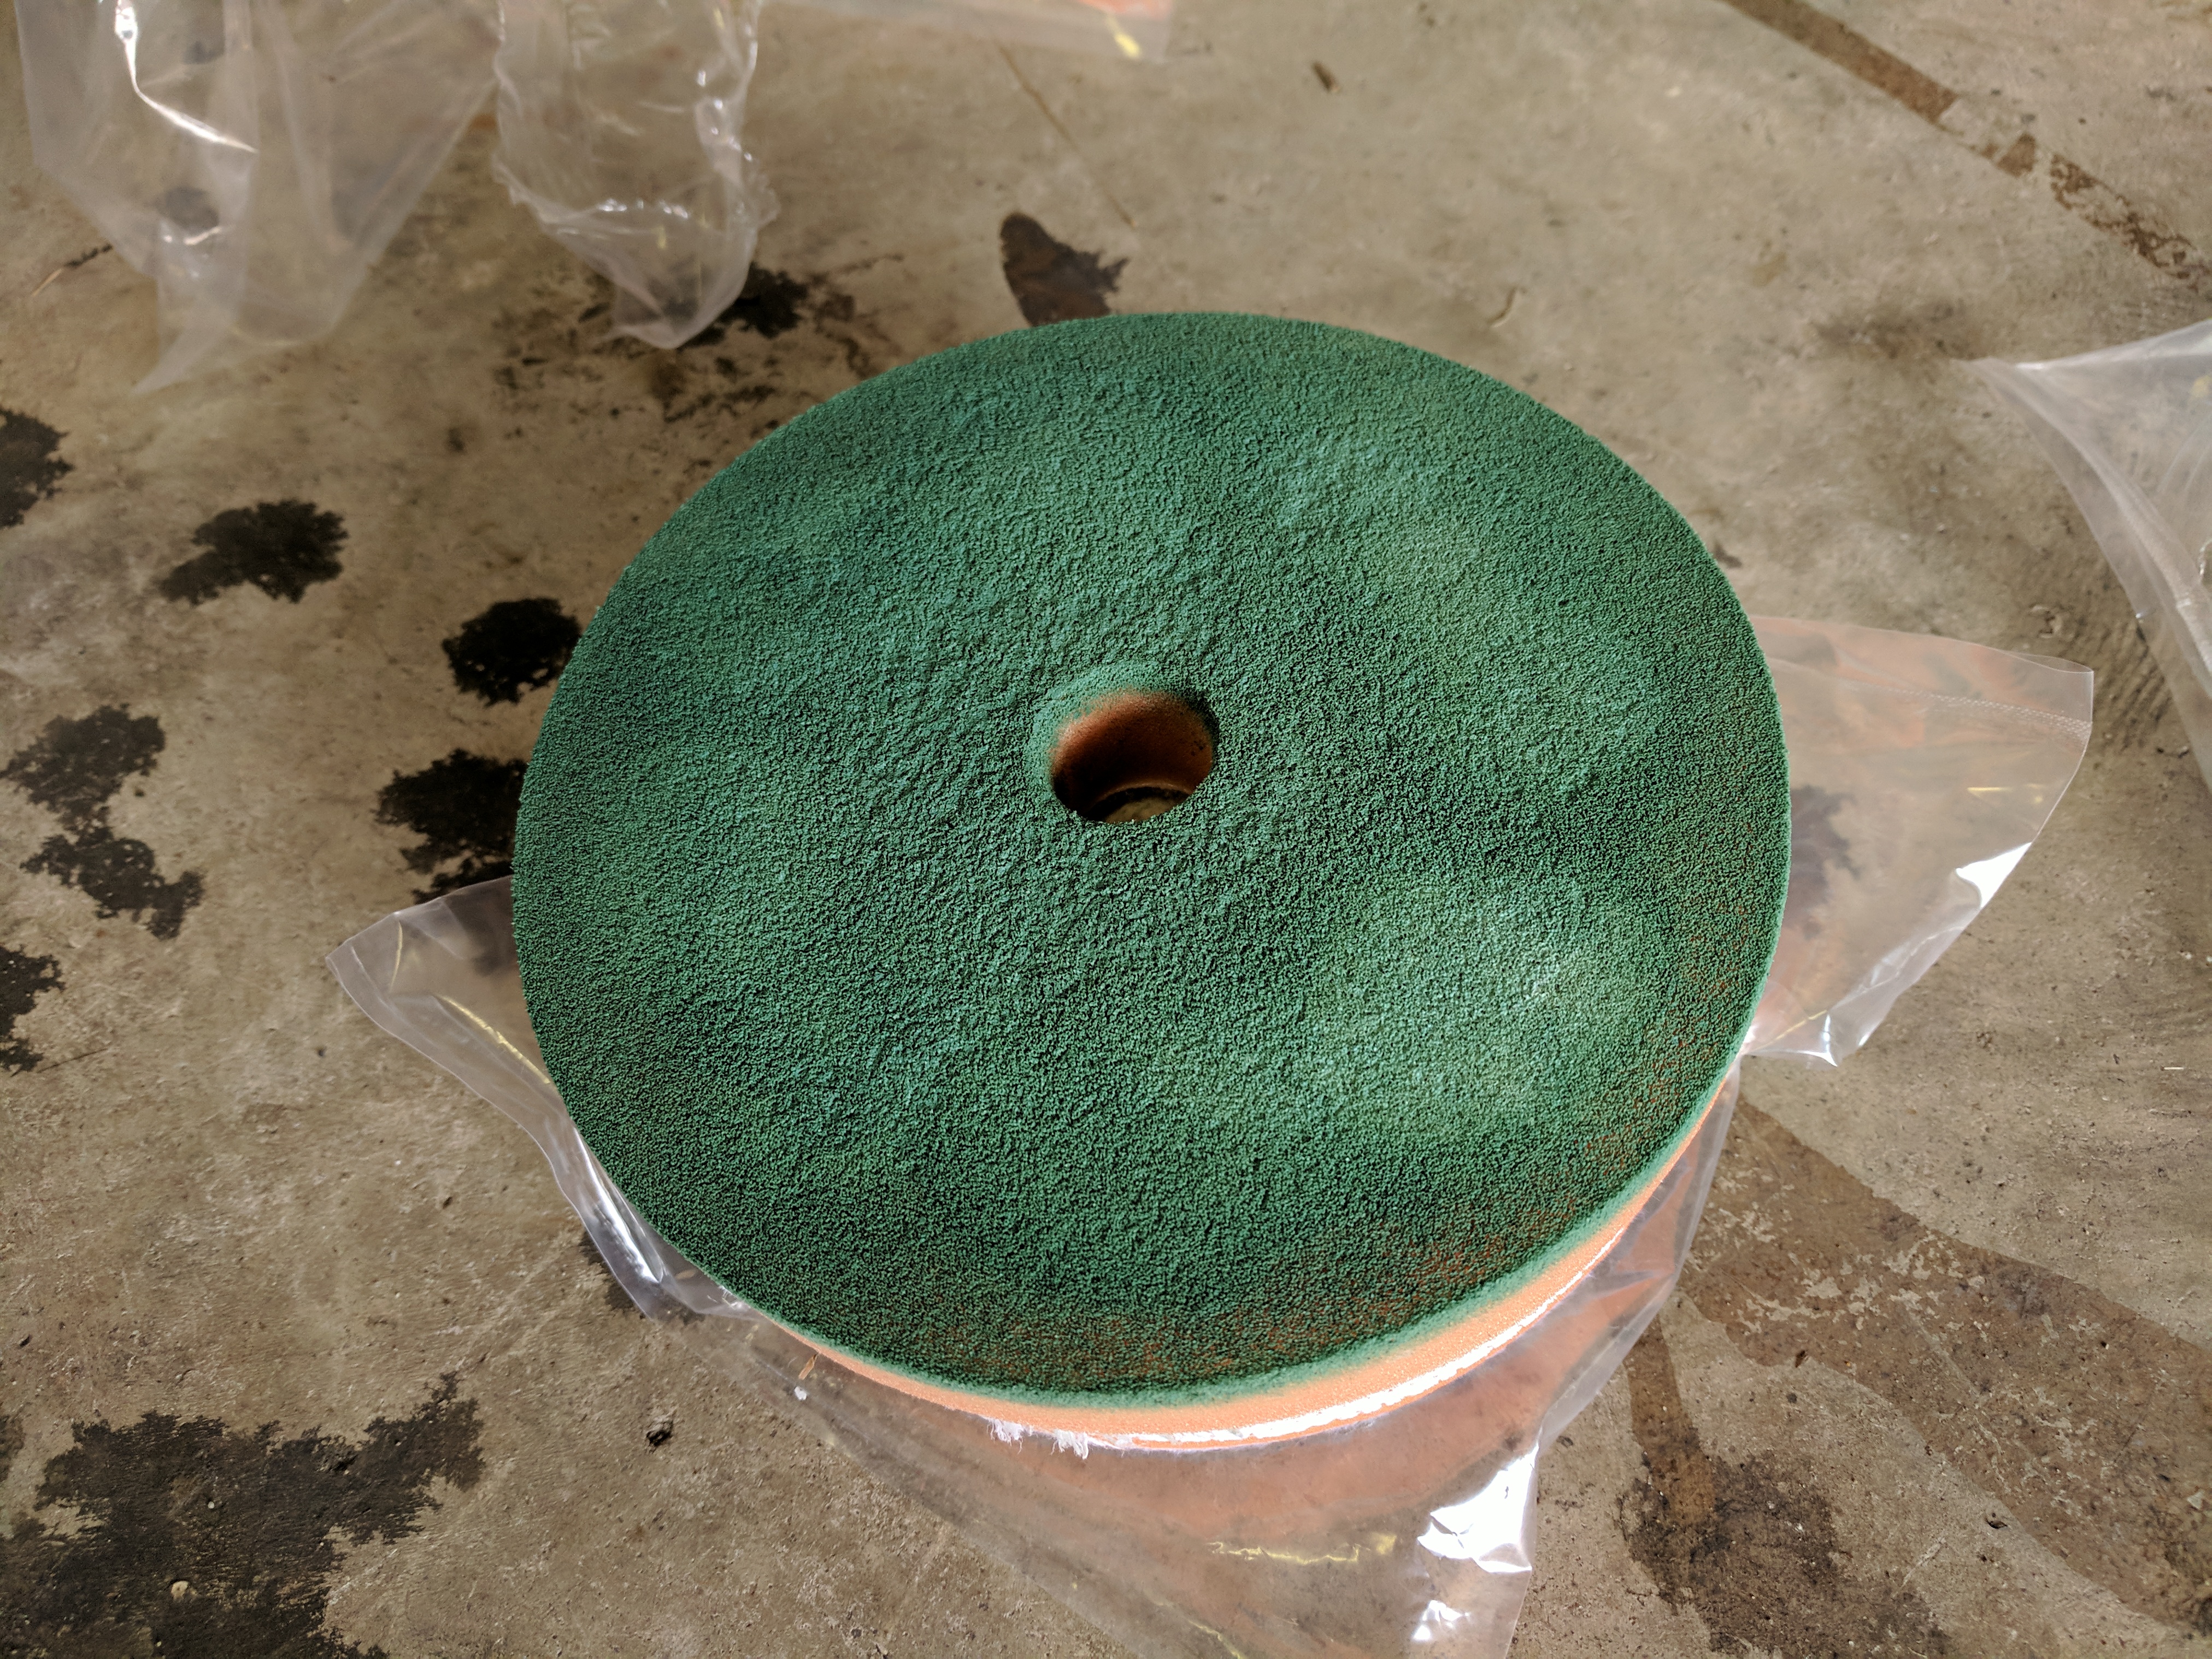
Same as before. Using a medium cut foam pad, you only need a small amount on the pad. Distribute the polish by dabbing it on to the car with the buffer before turning it on.

The MX-5's never came with a clearcoat so unless your car has had a respray and a clearcoat was sprayed on, your pad will turn into the colour your car is when polishing. Keep this in mind and remember not to go too crazy with the buffer, otherwise you might fade the paint.
After a full once over with the medium cut polish, you can truly see the results and it's already looking 100x better. To enhance that gloss even further and to give the paint an extra layer of depth, I finished it off with Menzerna SF3500 super finish polish. Again, same principle. Use a finishing pad and the amount of polish shown should be enough for one door/panel.
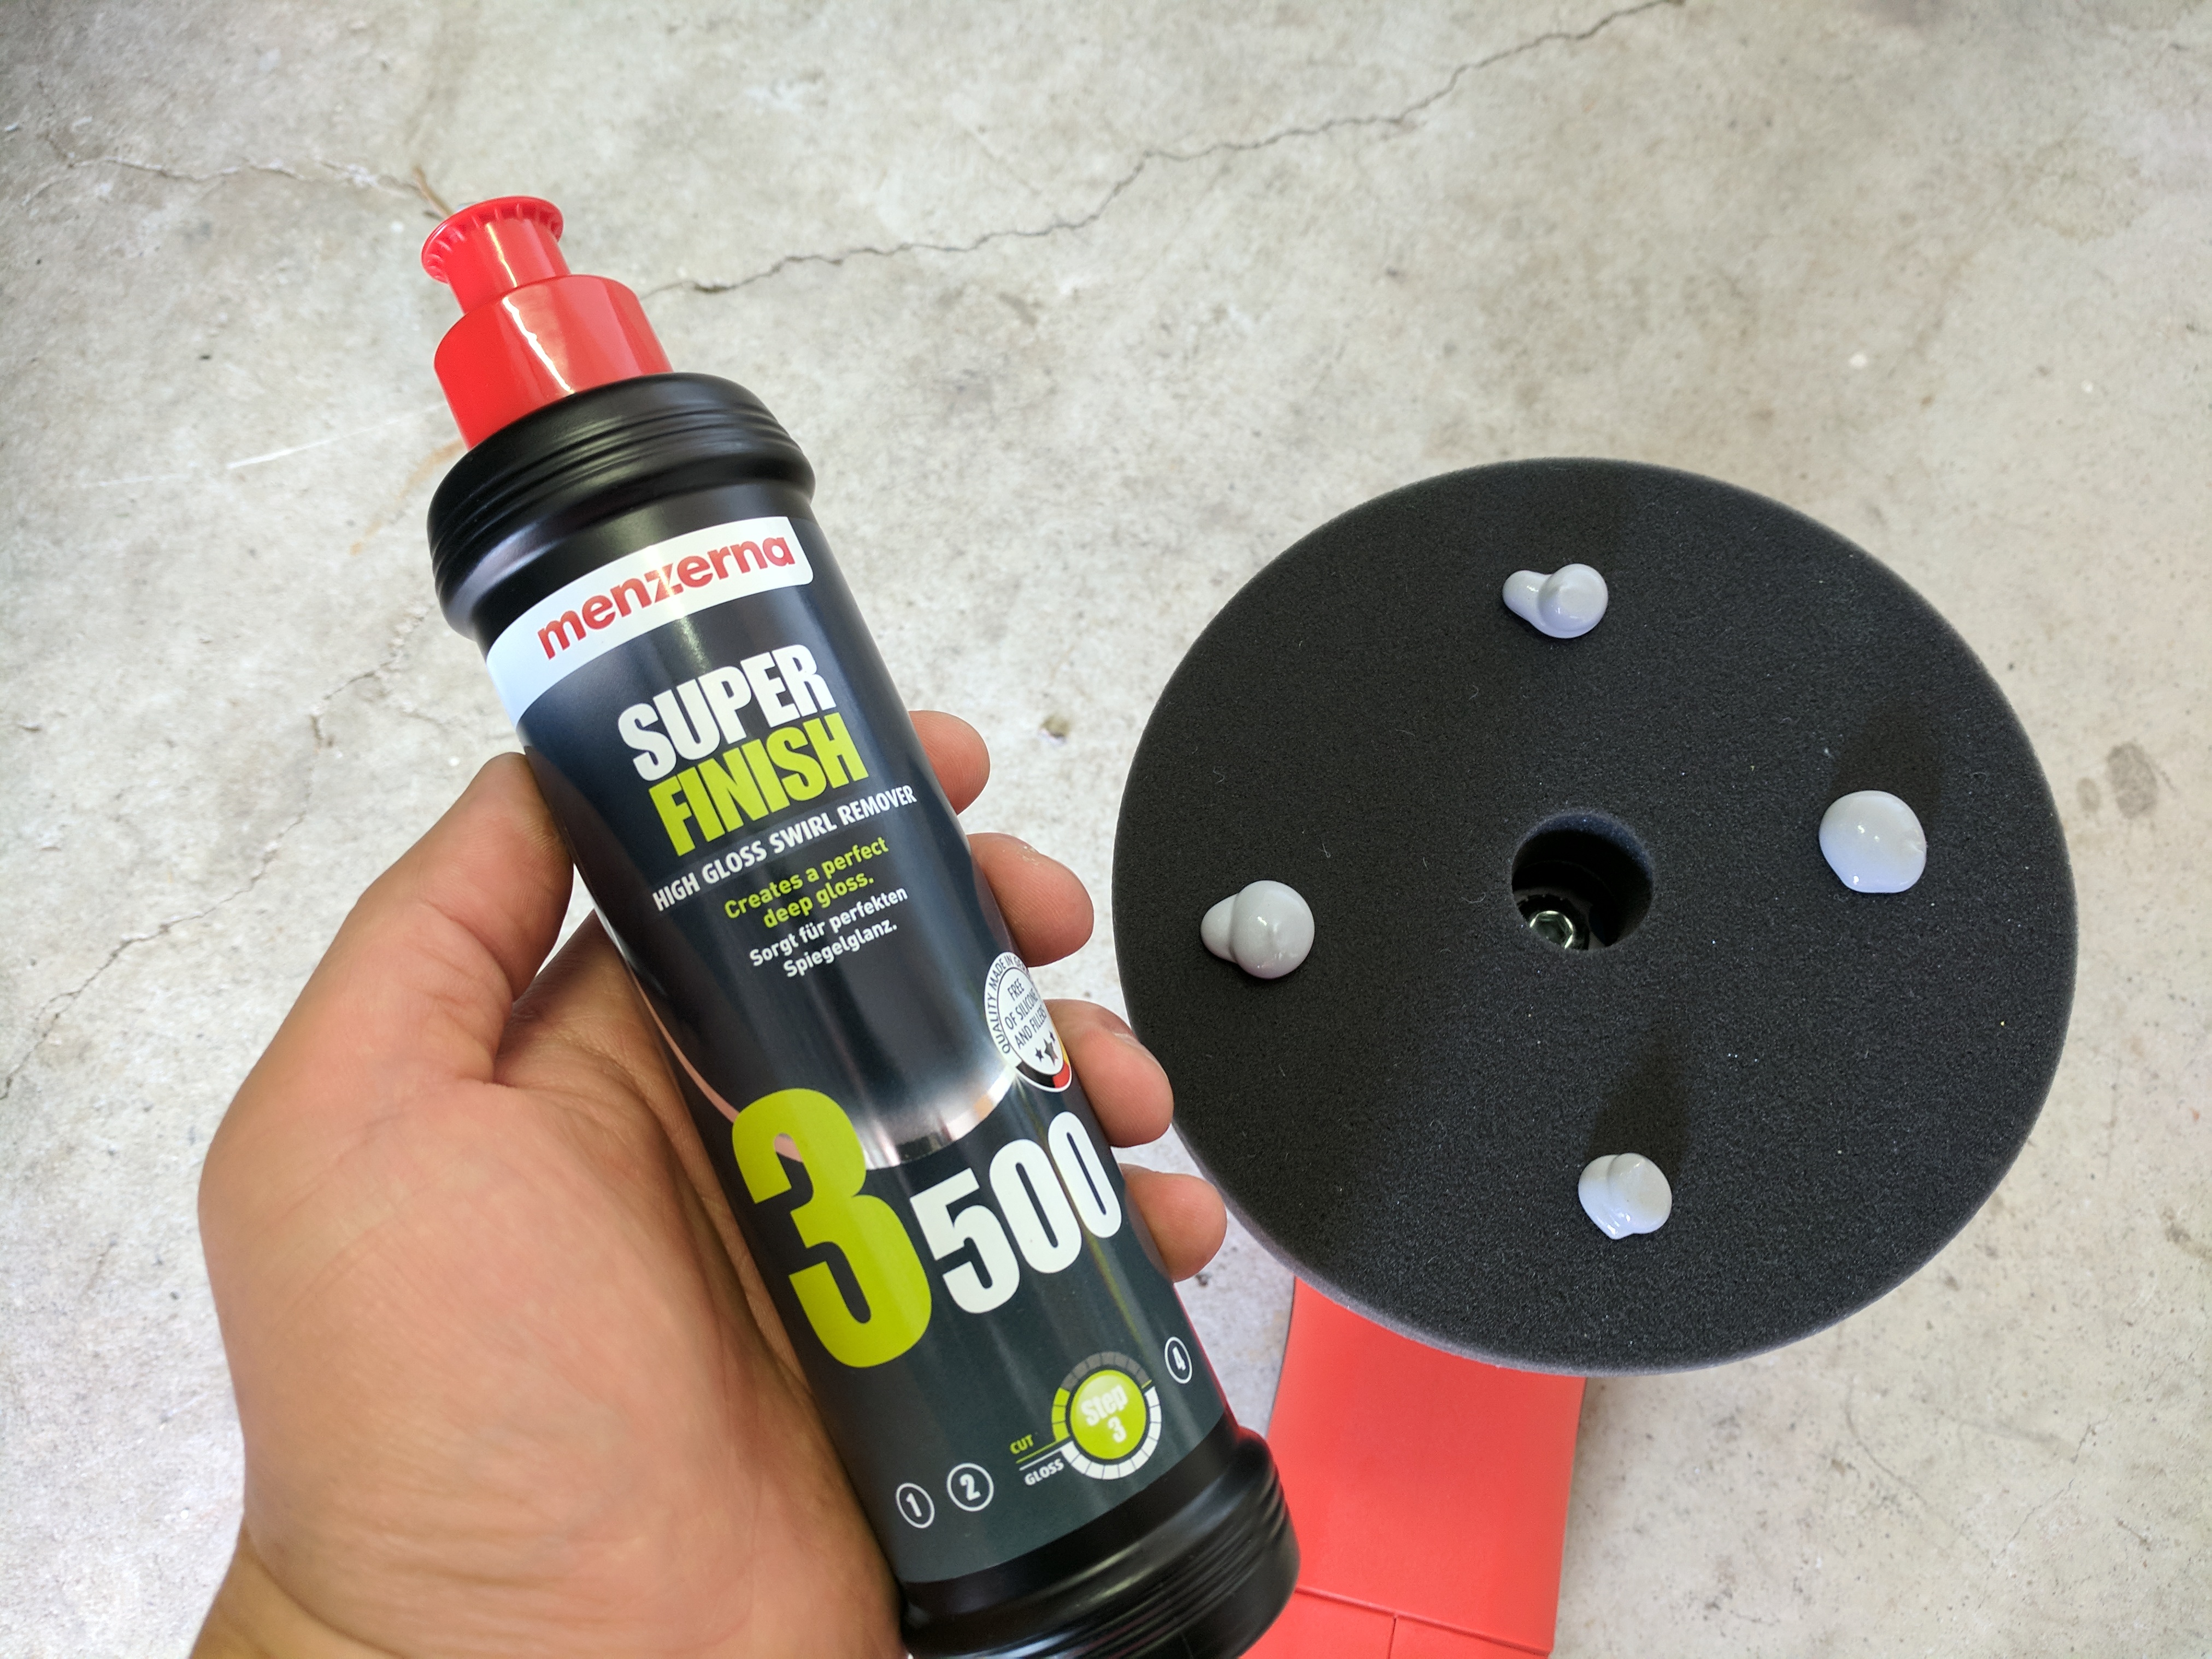
Dab and distribute the polish on the area you'd like to work on.
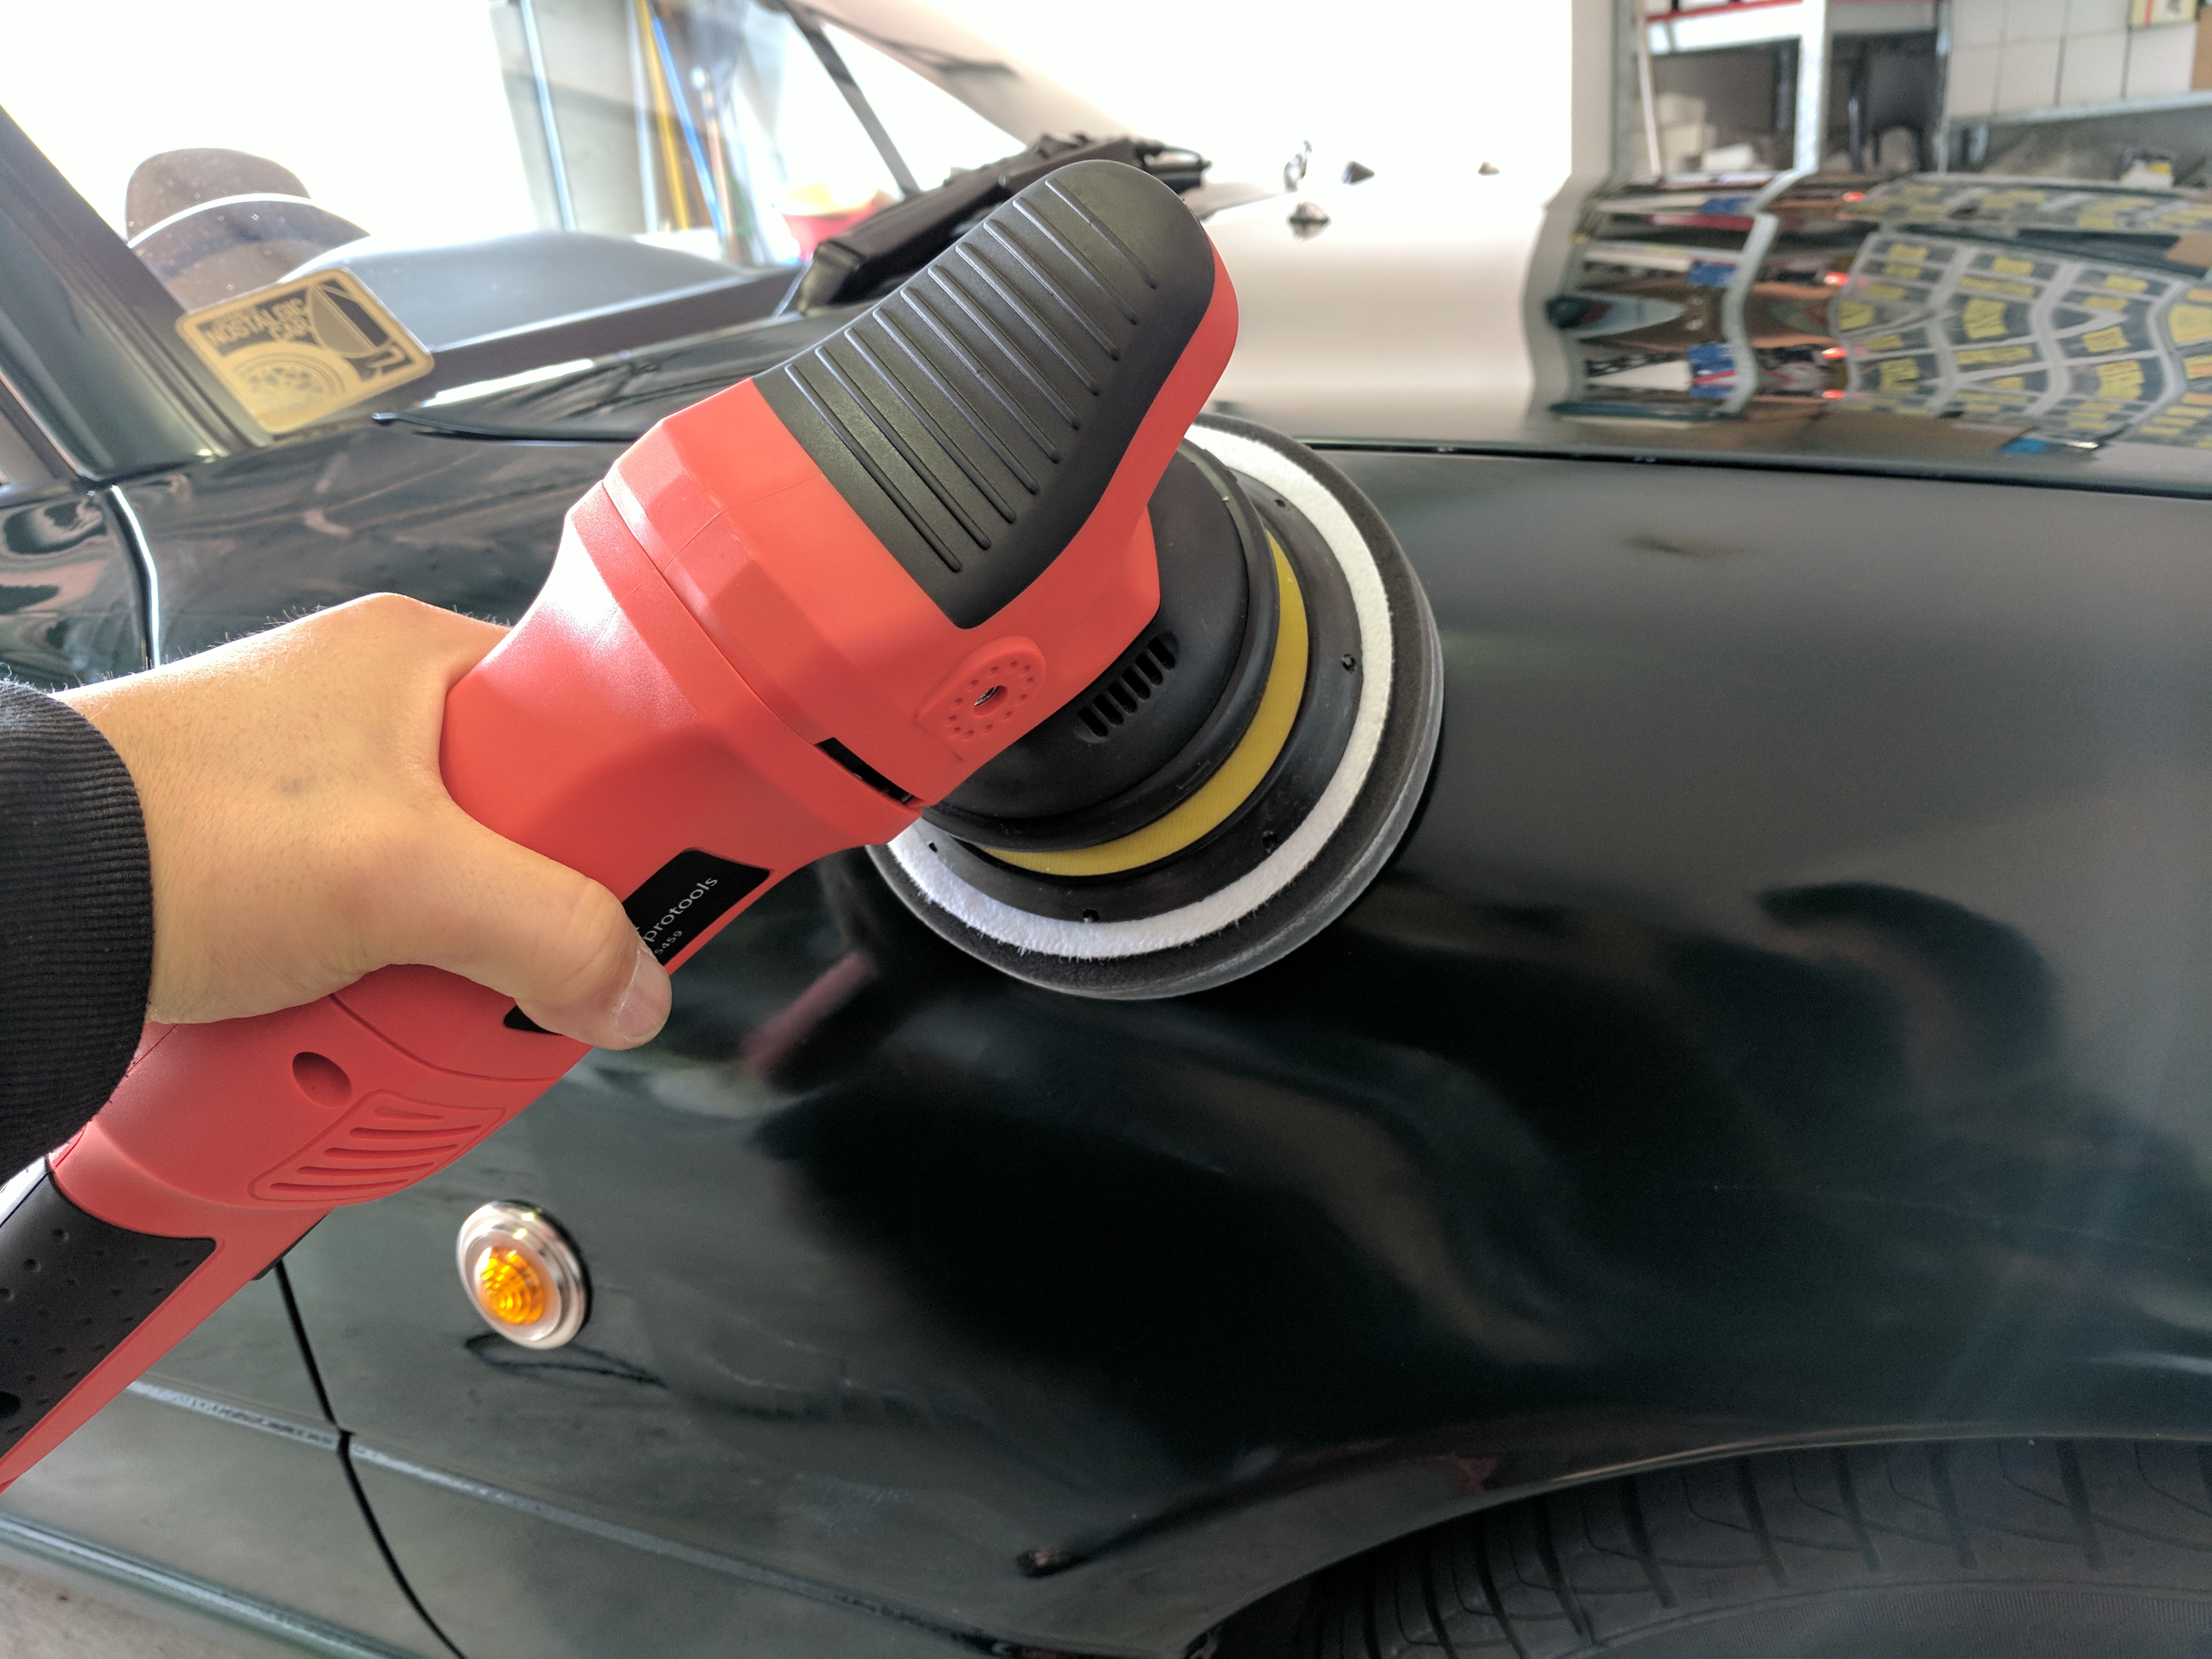
Lowest speed first, then gradually build up the speed and work the polish in.
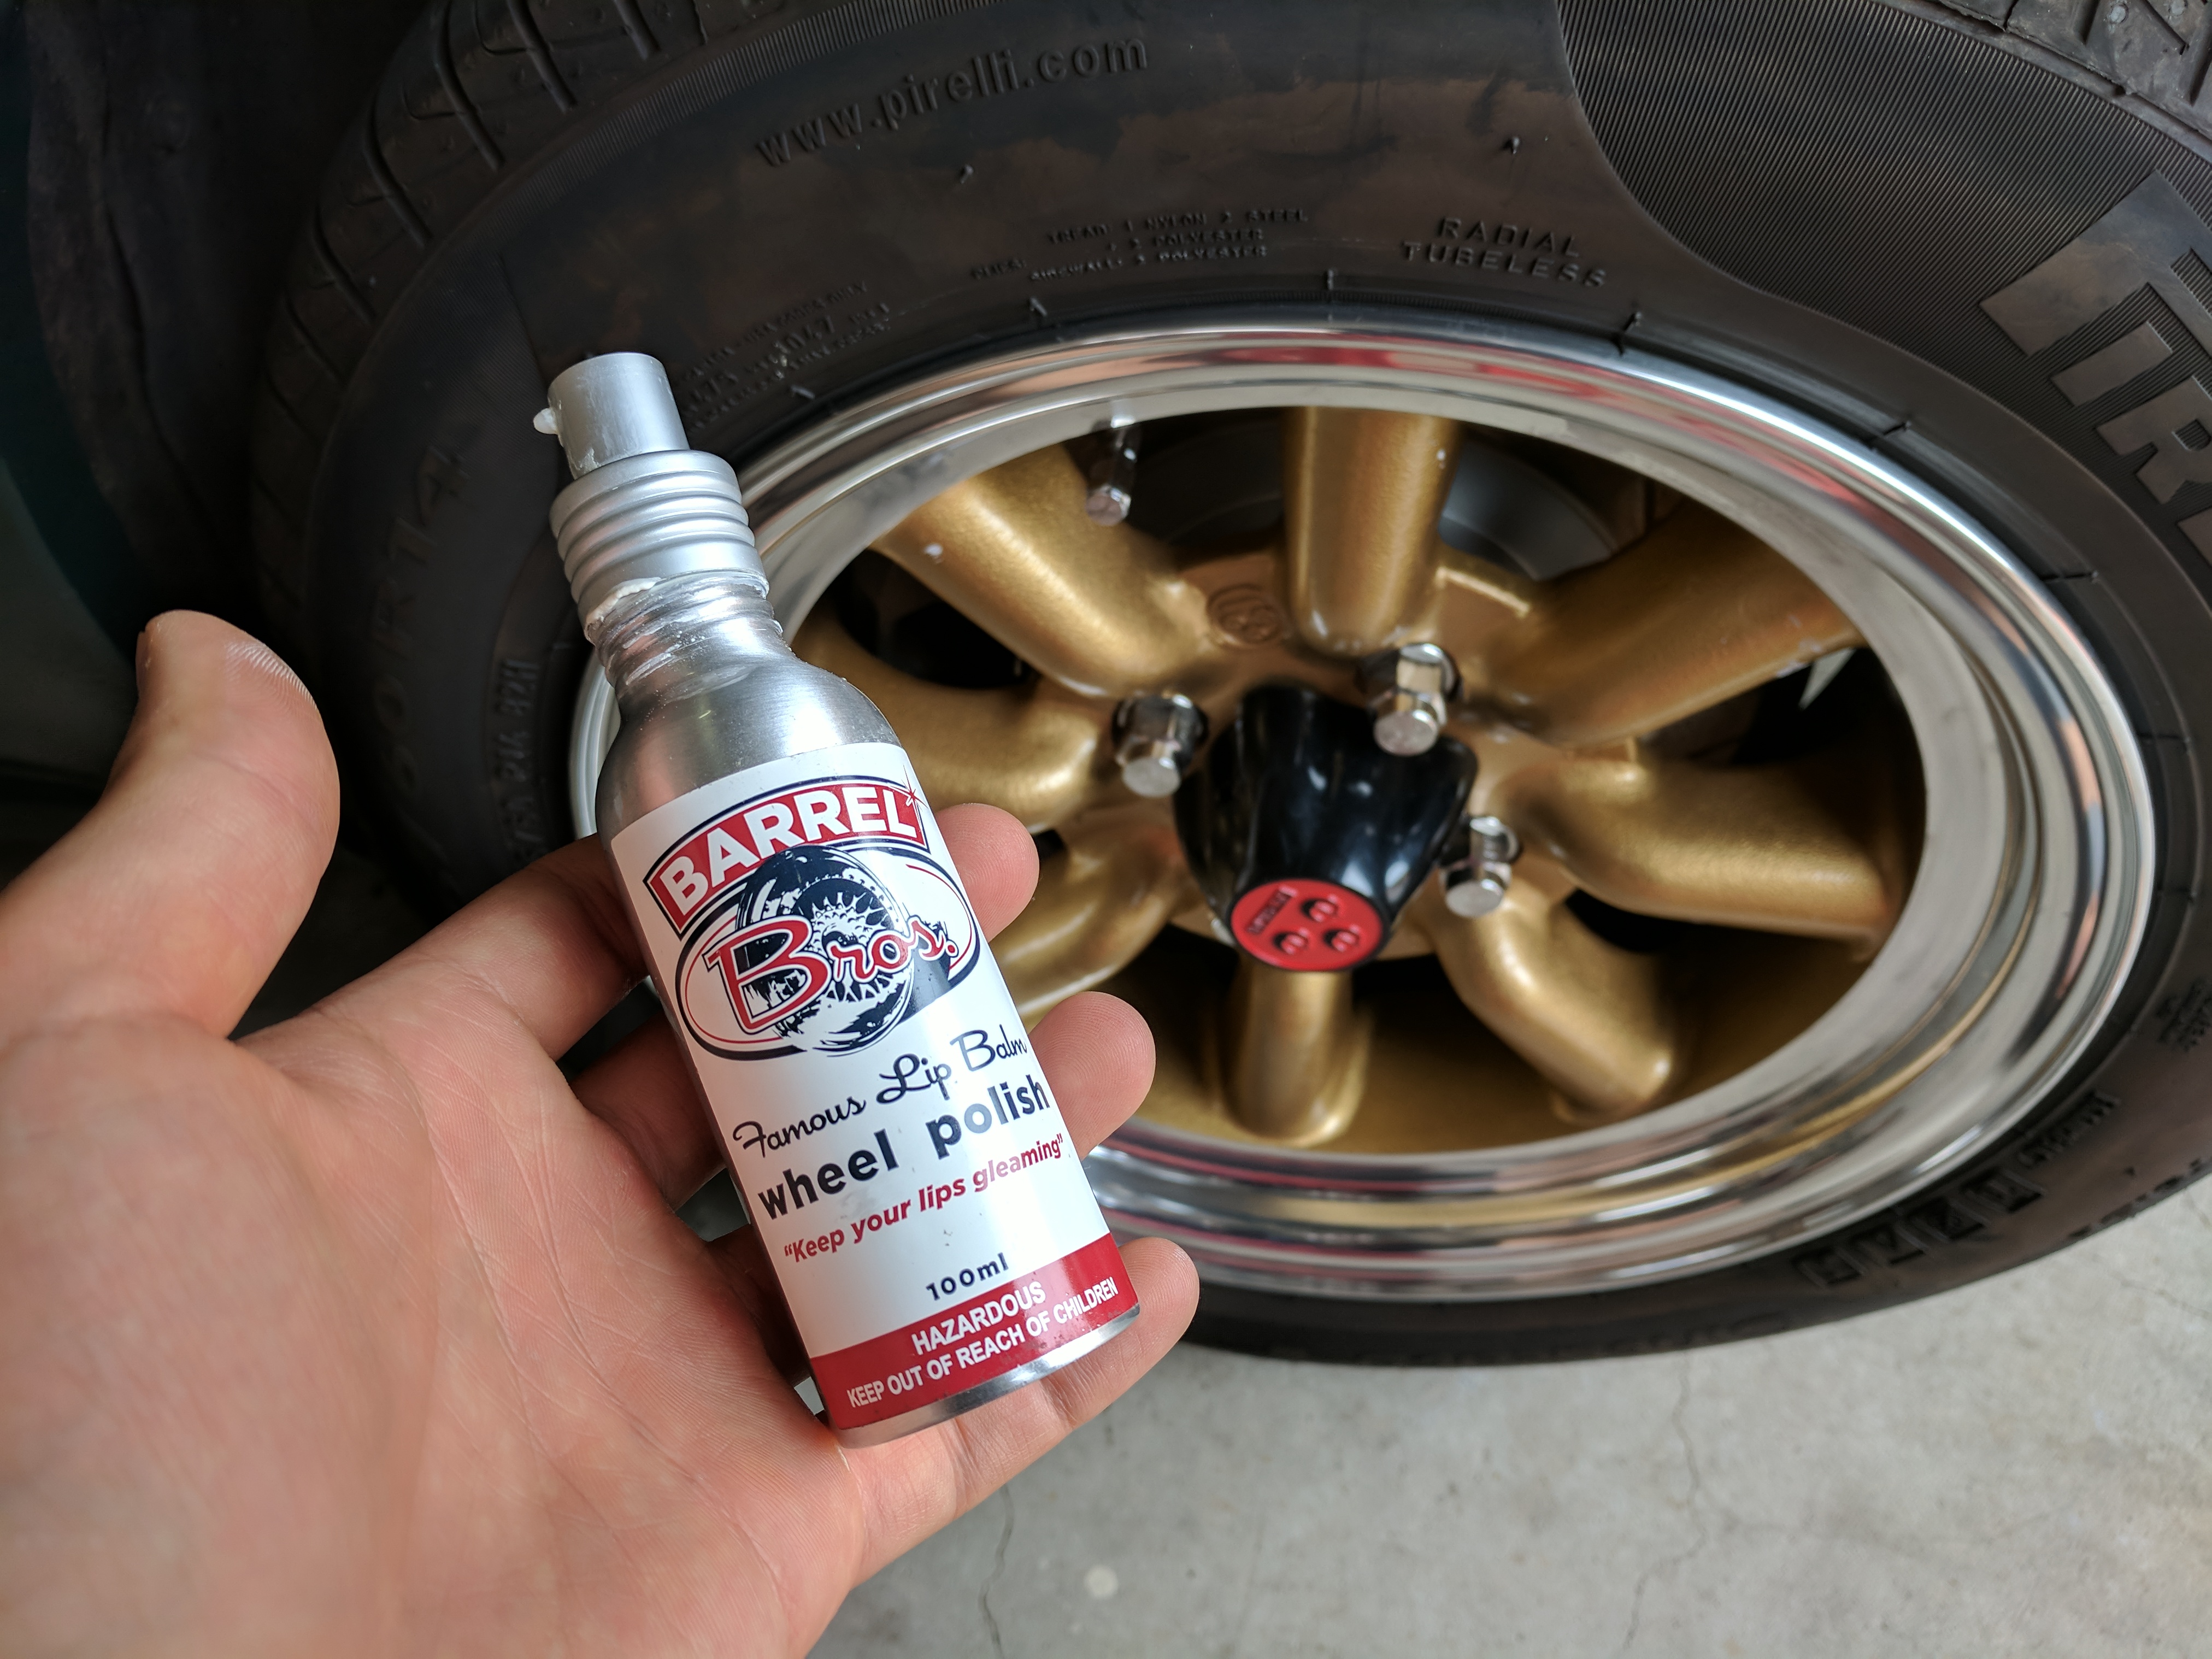
I also took the time to polish the lips on my wheels with this wheel polish I received from Barrel Bros when I had my wheels refurbished by them.
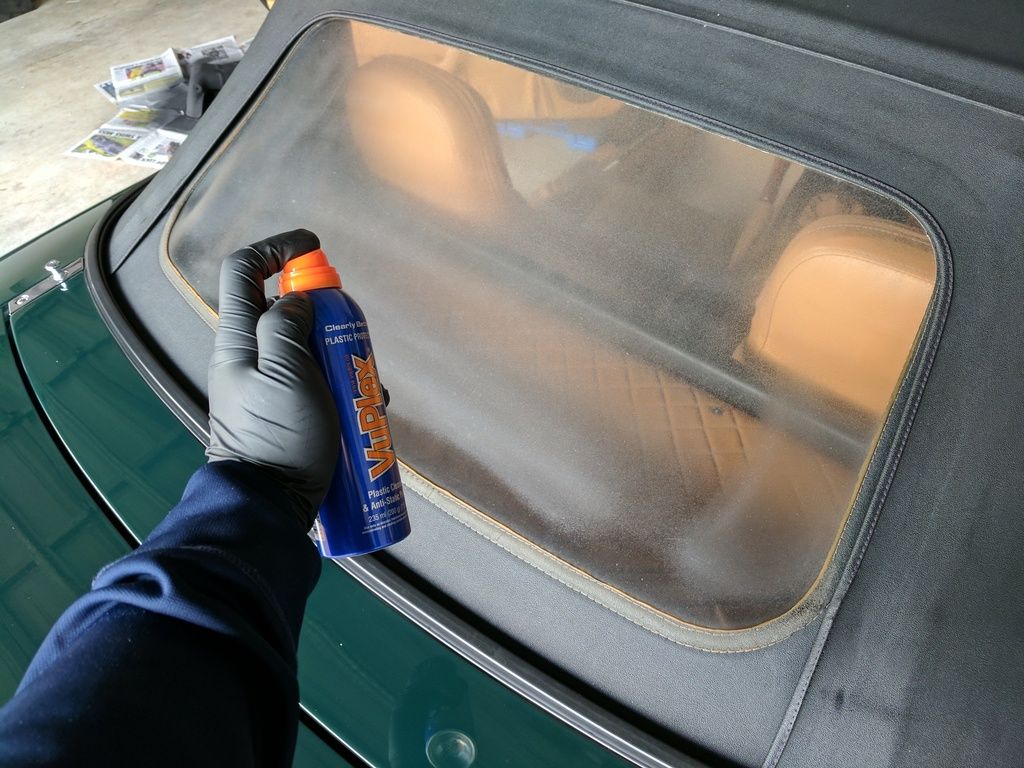
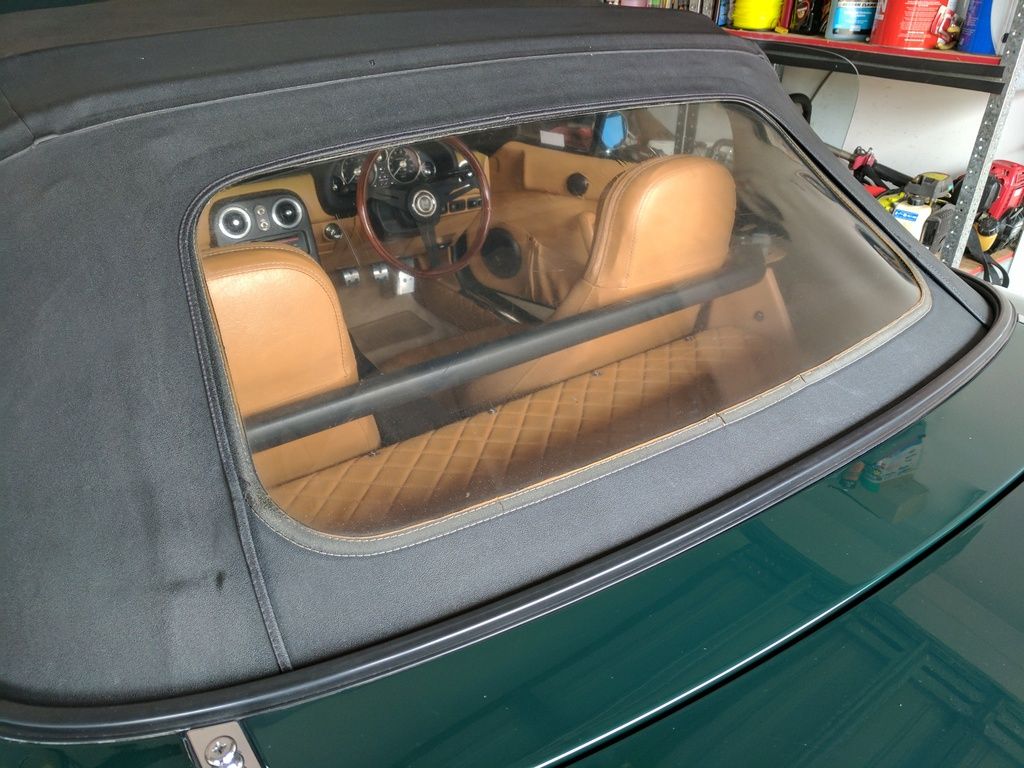
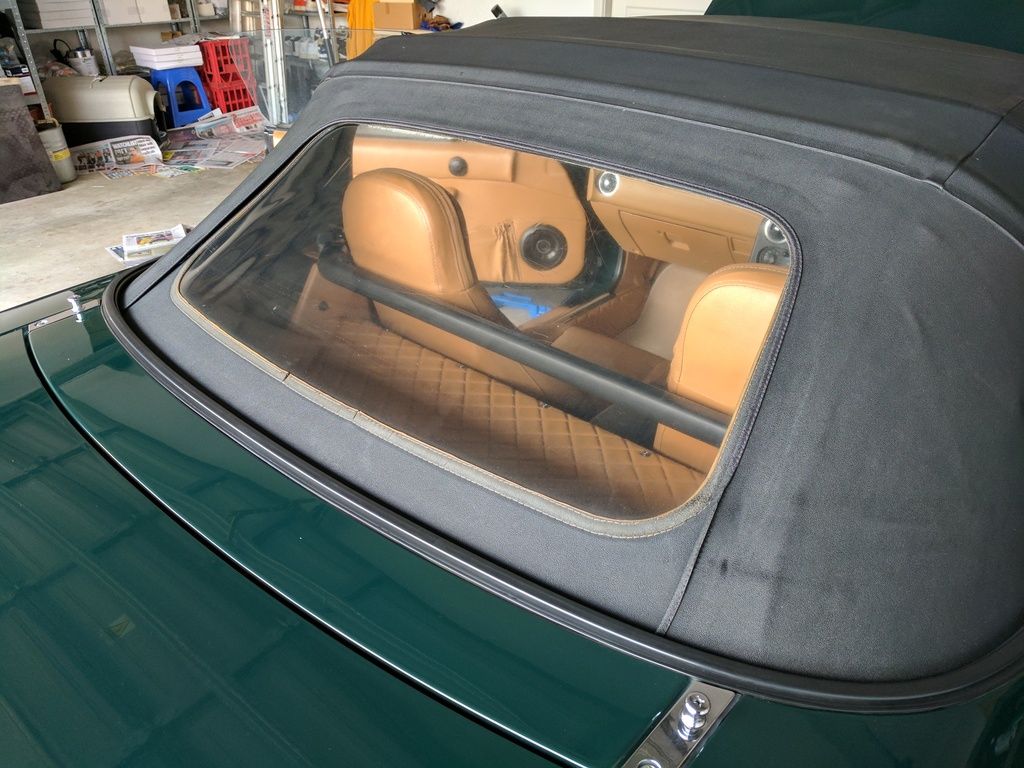
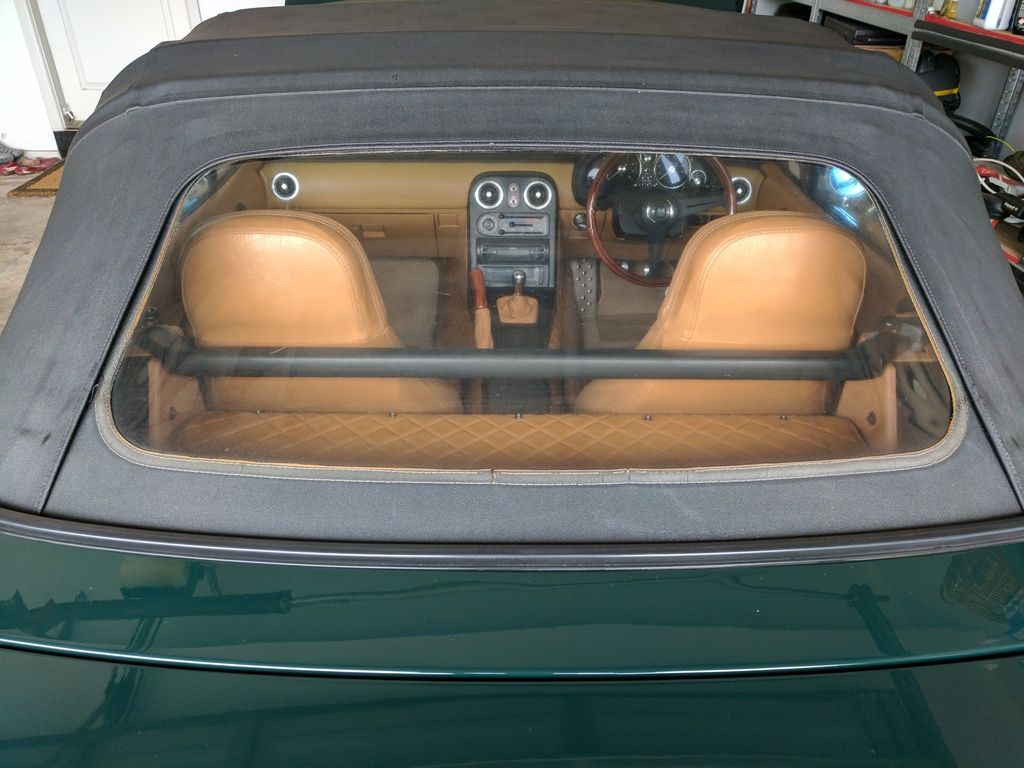
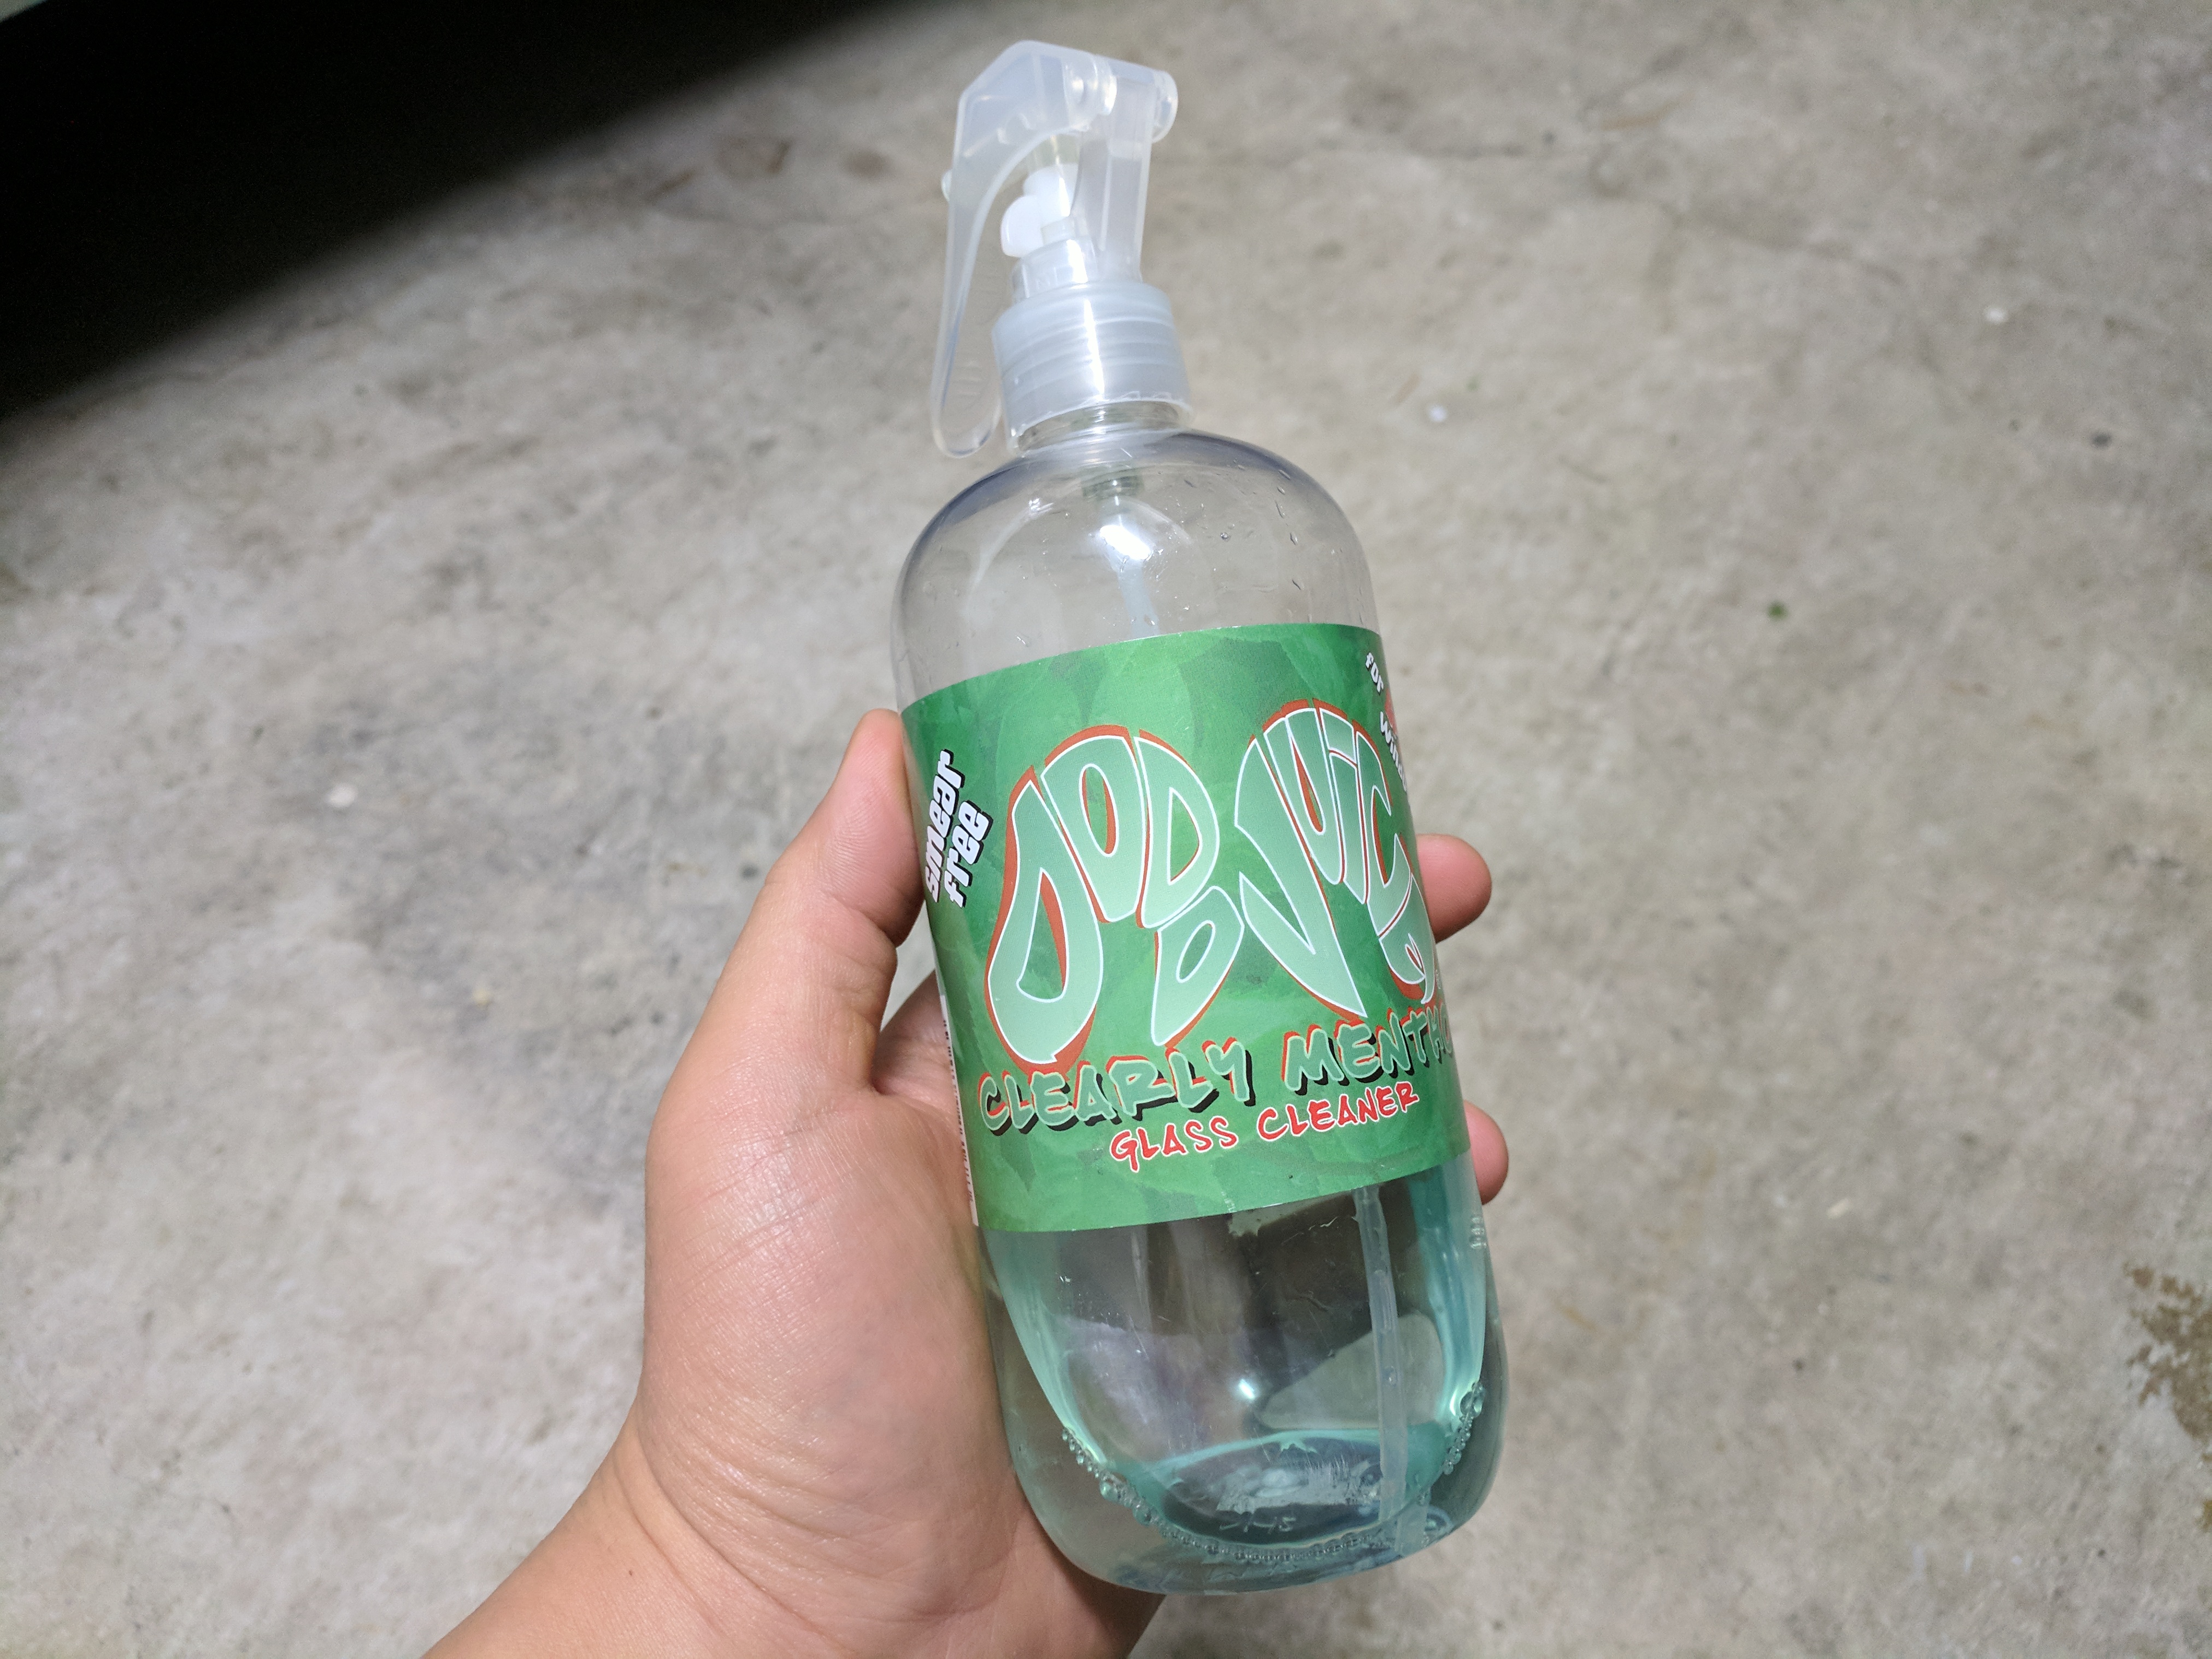
I gave my windows and windshield a clean too with Dodo Juice Clearly Menthol glass cleaner and a streak-free glass cleaning cloth.
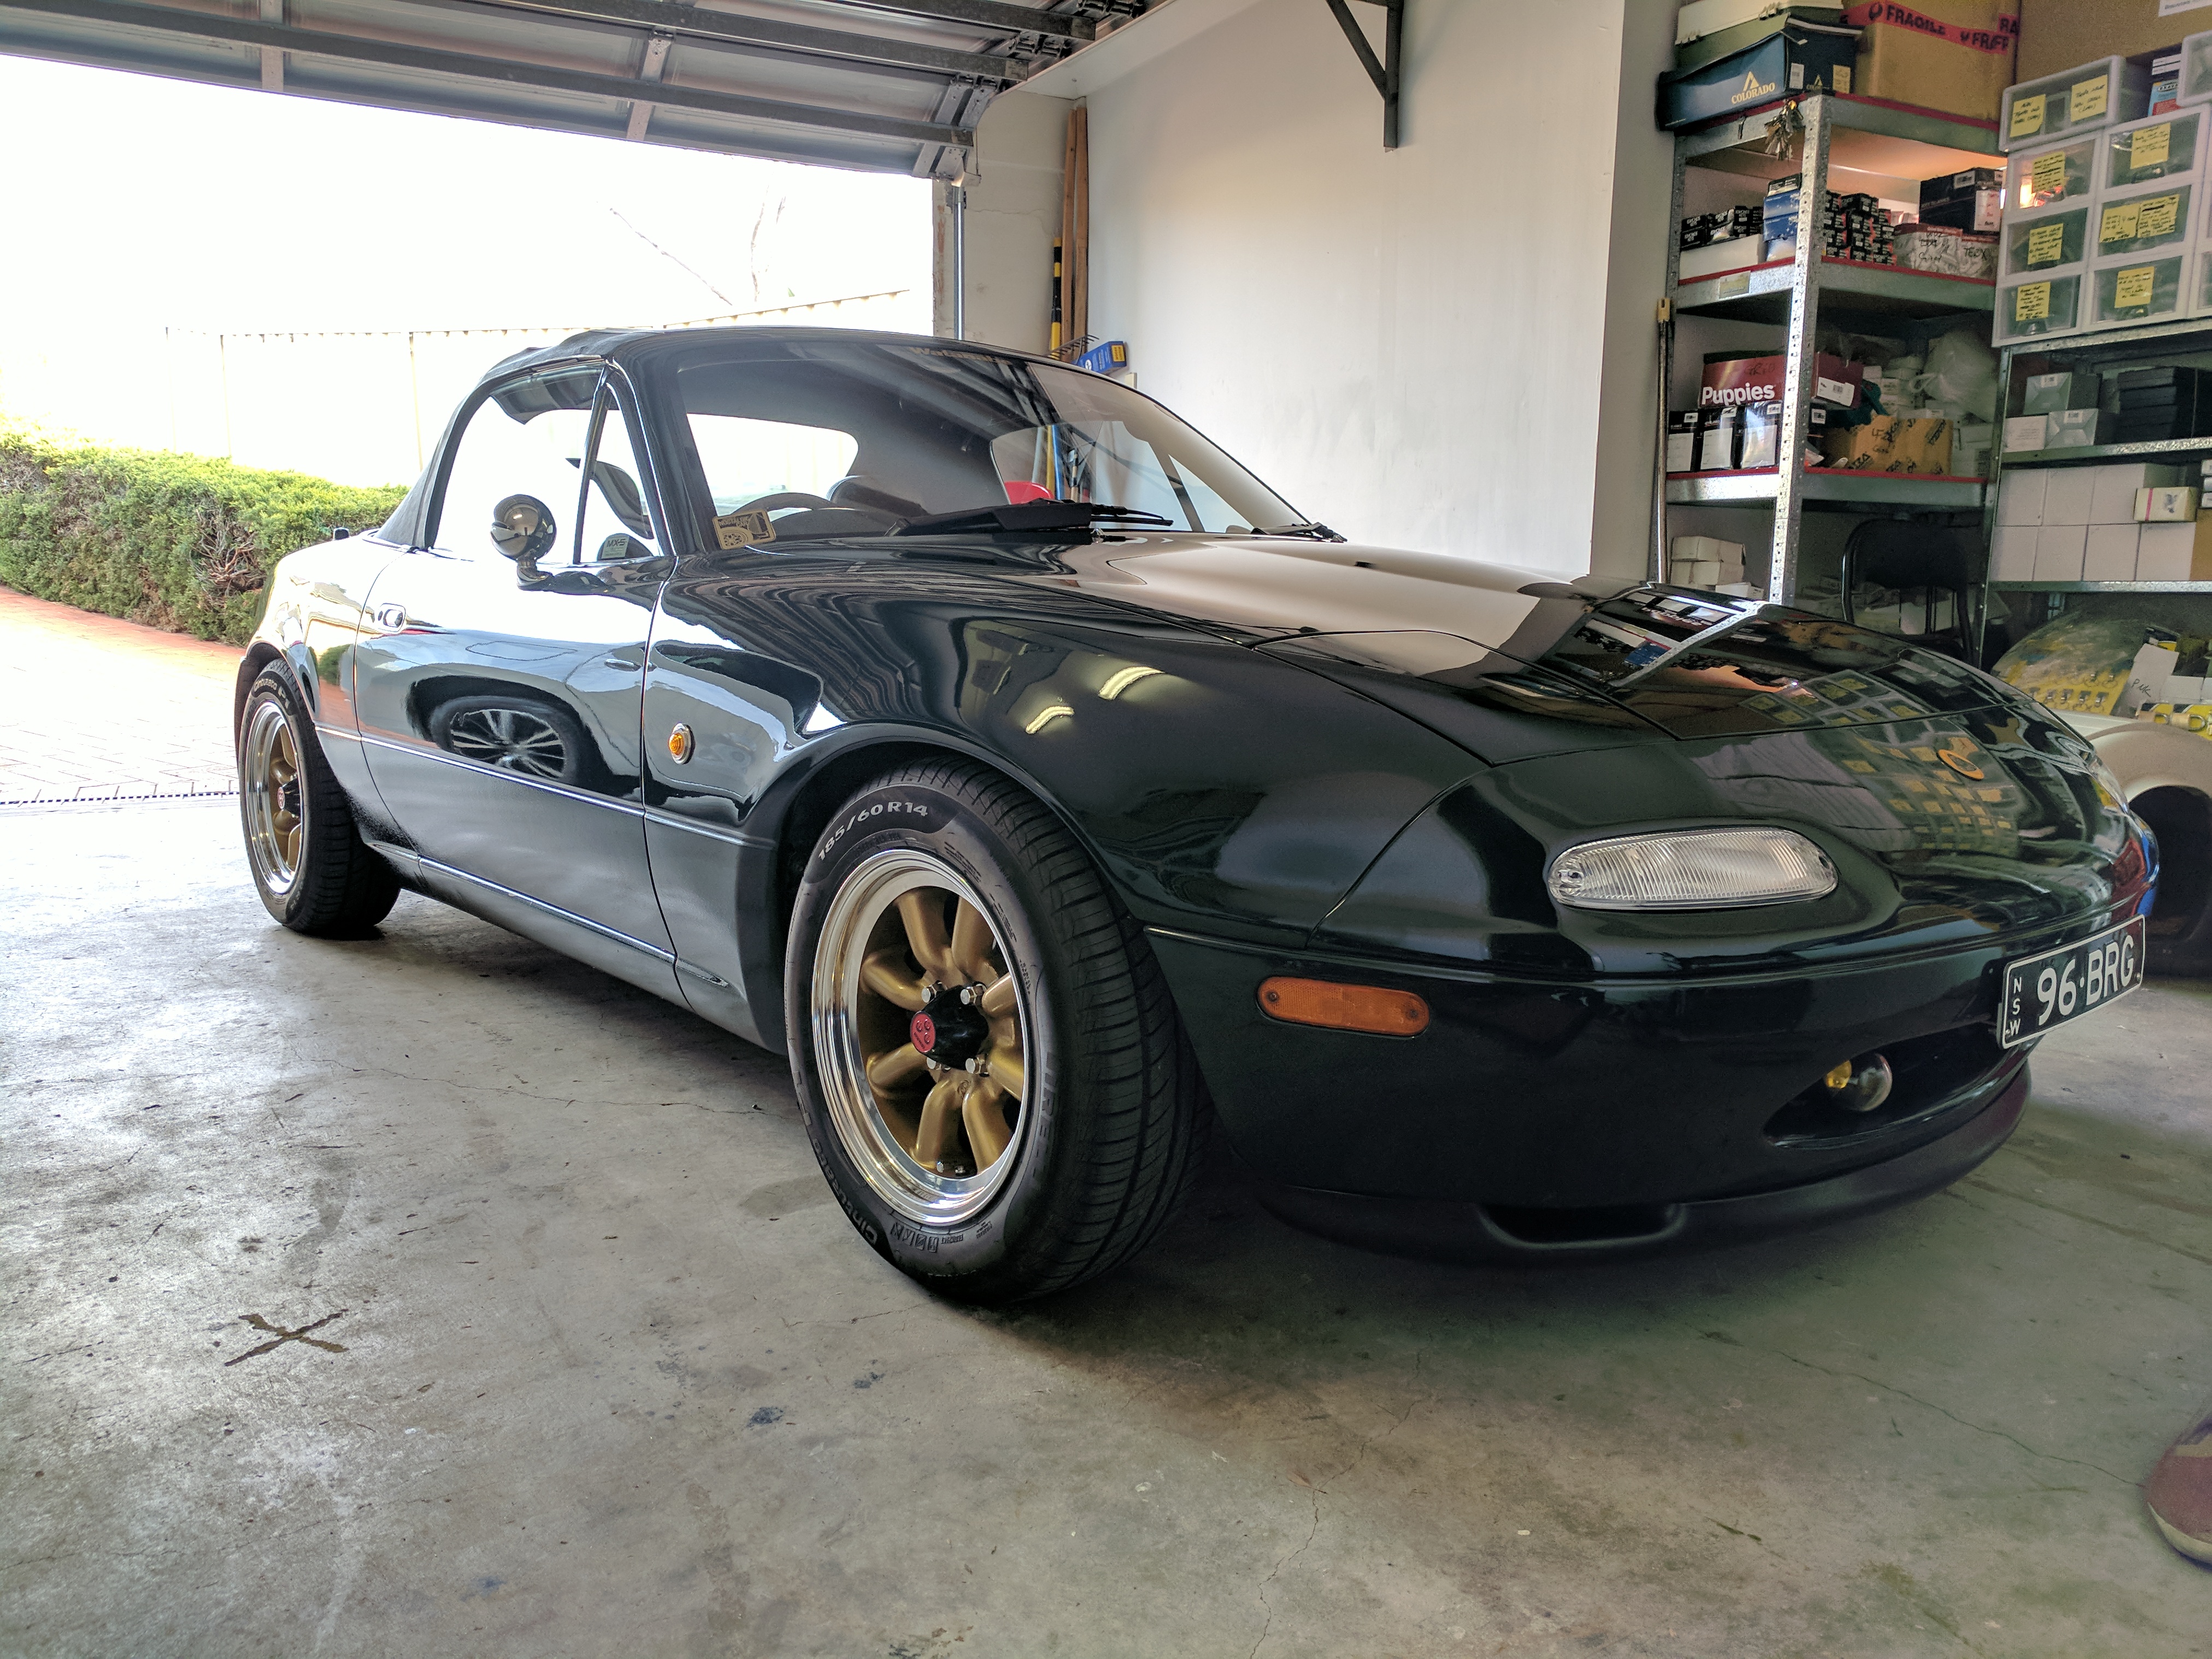
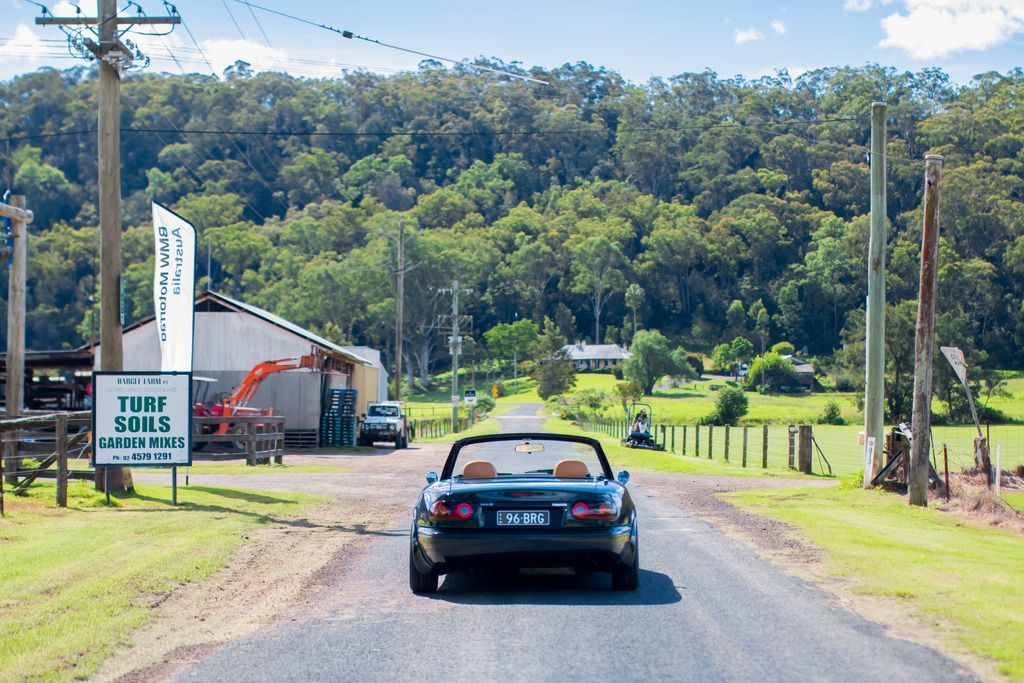
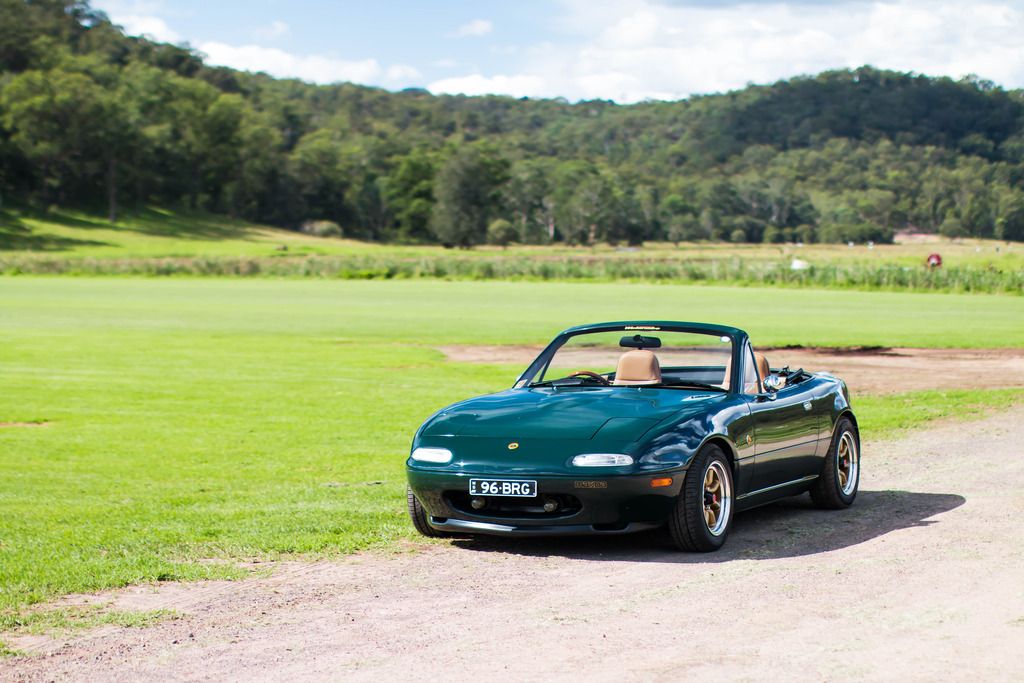
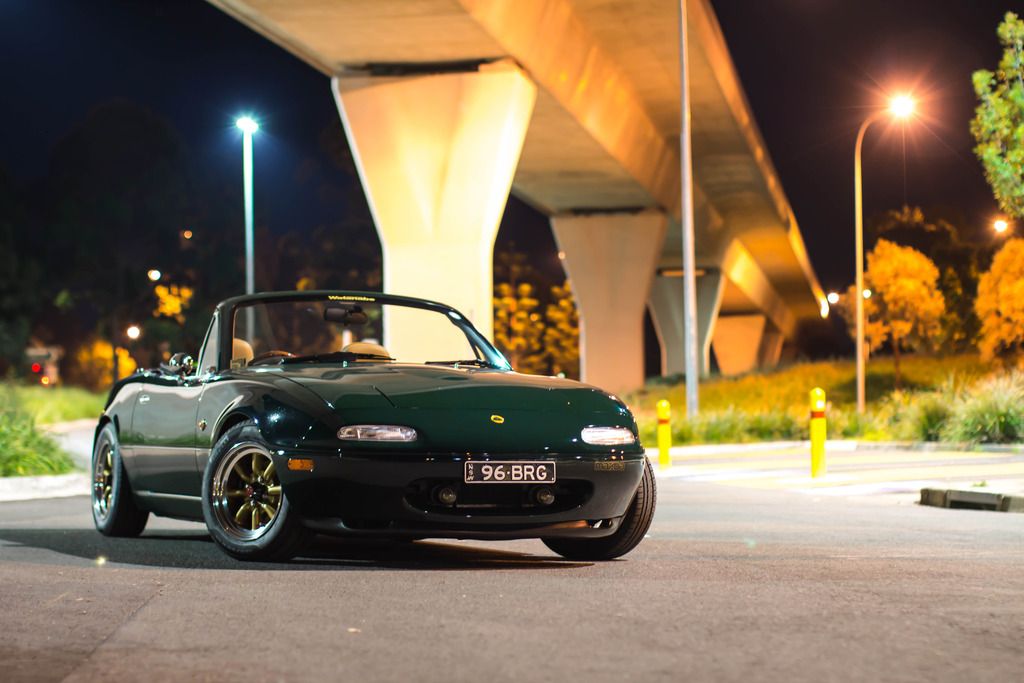
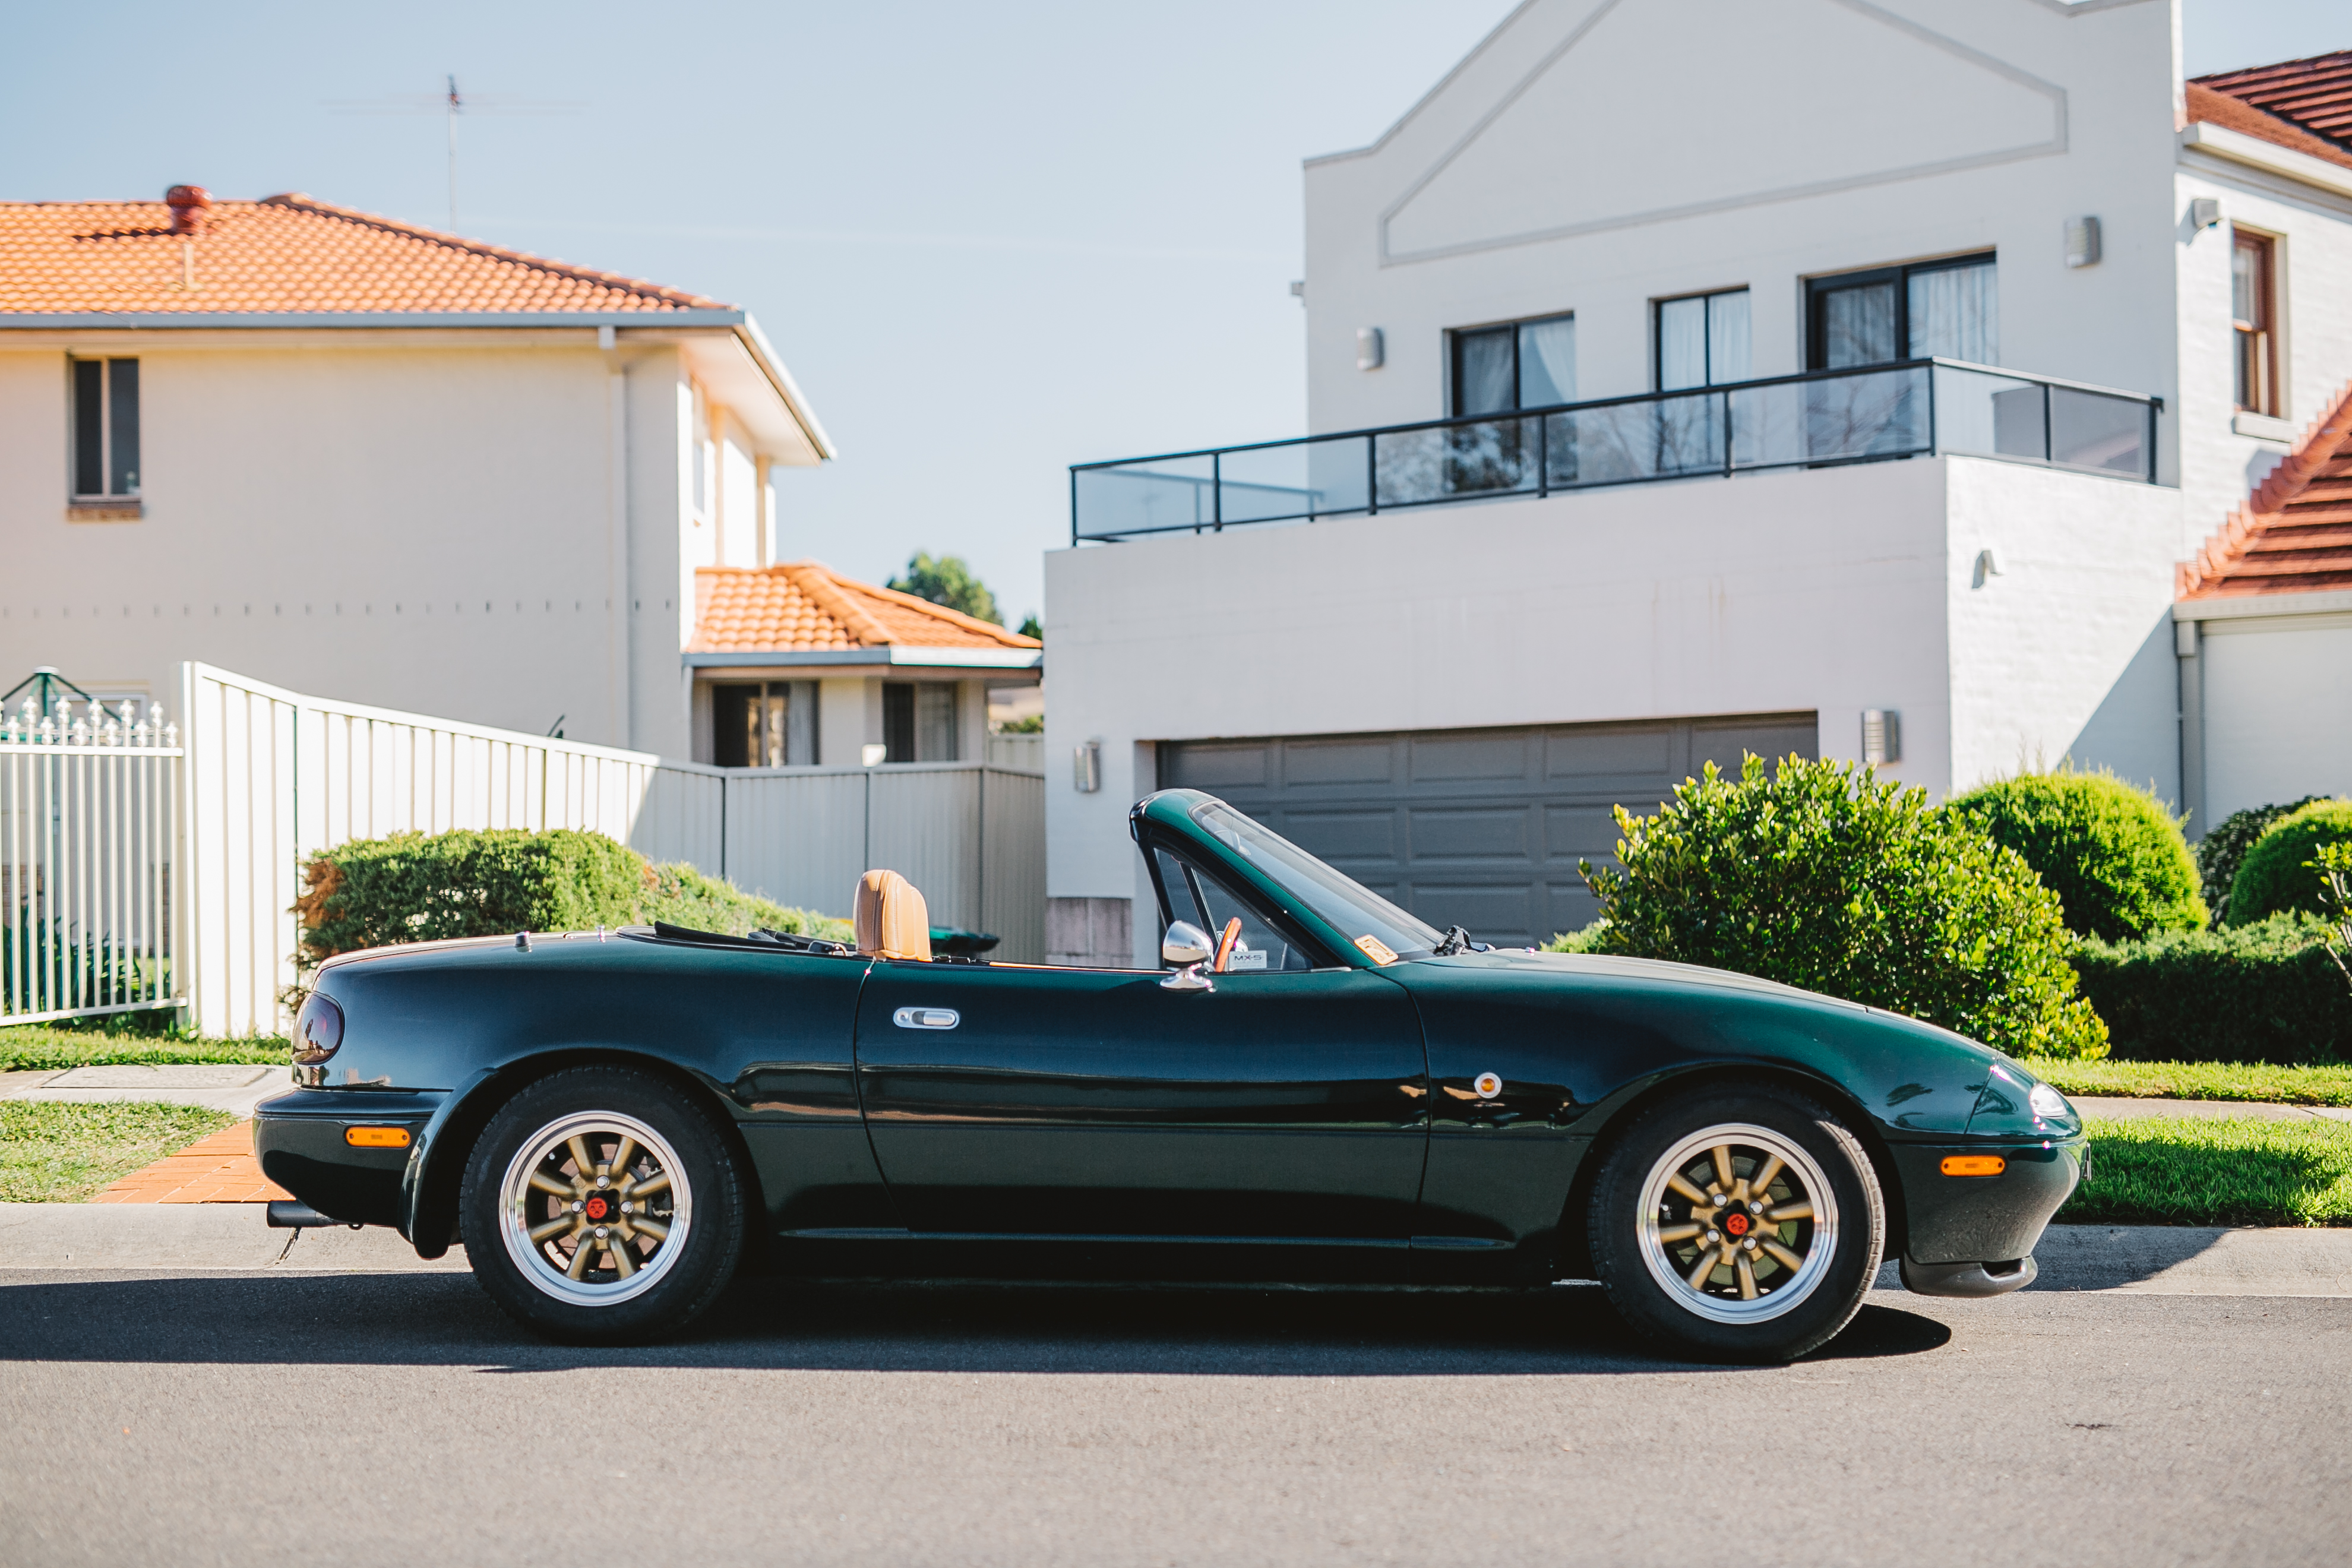
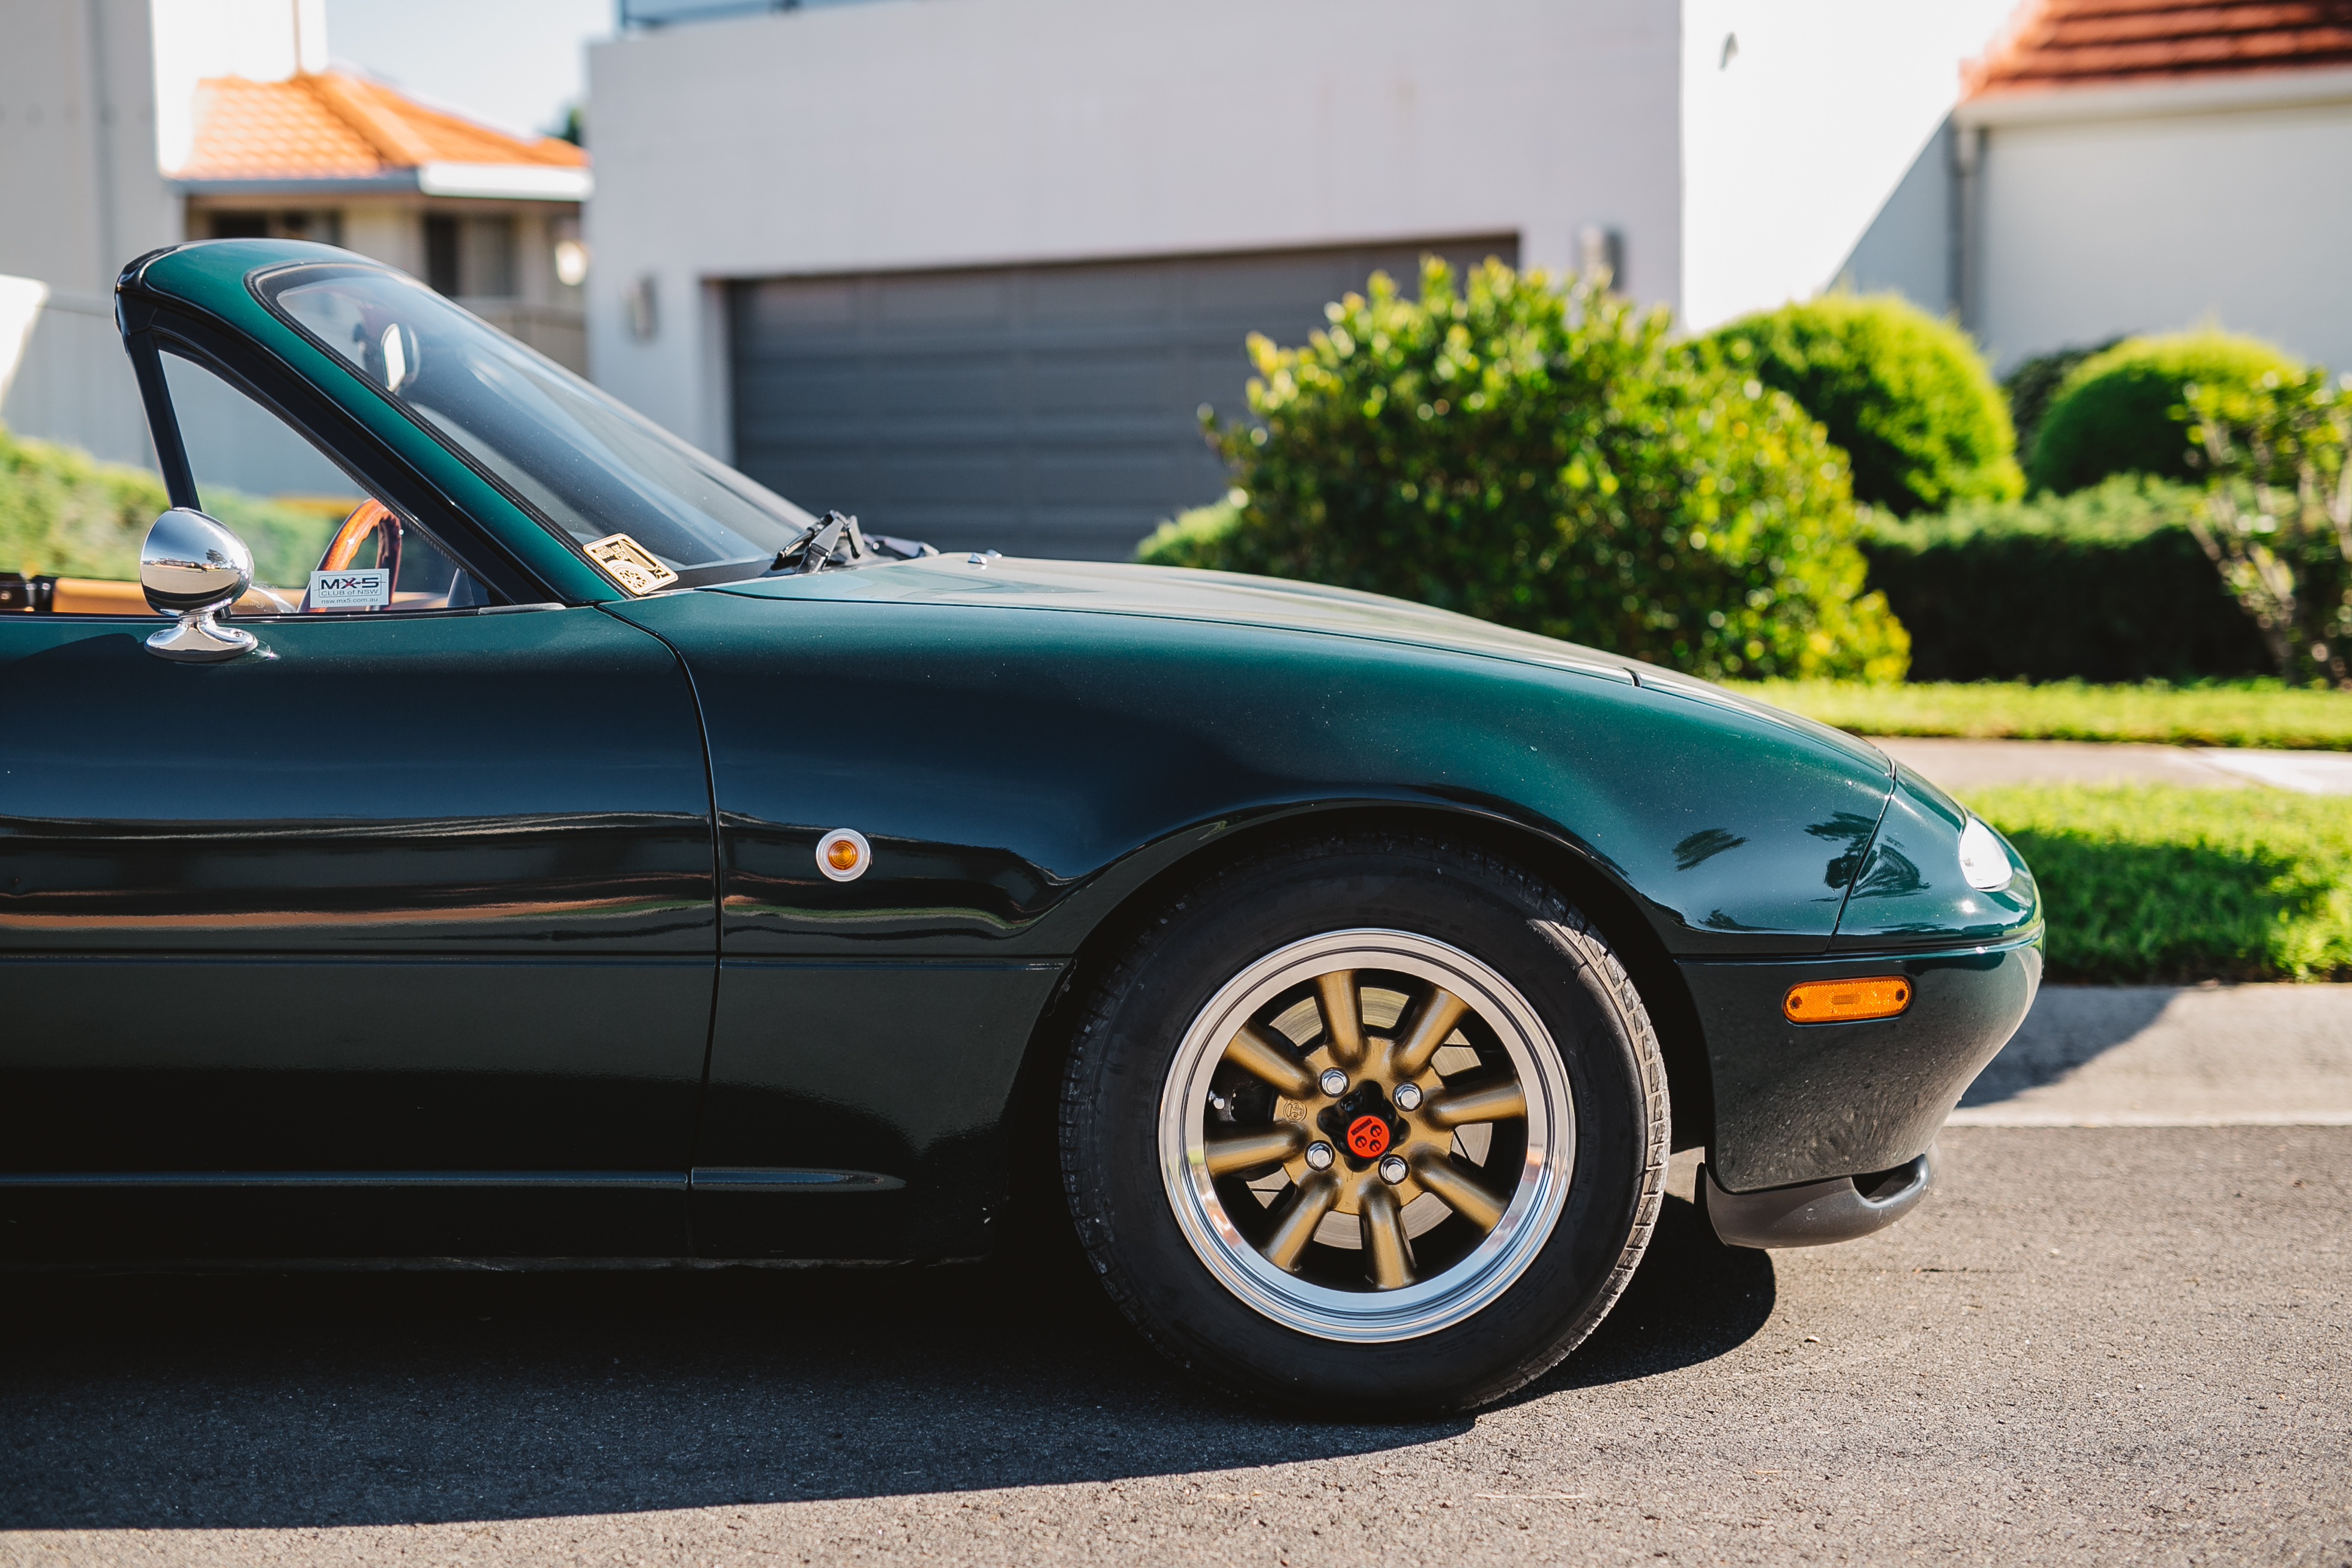
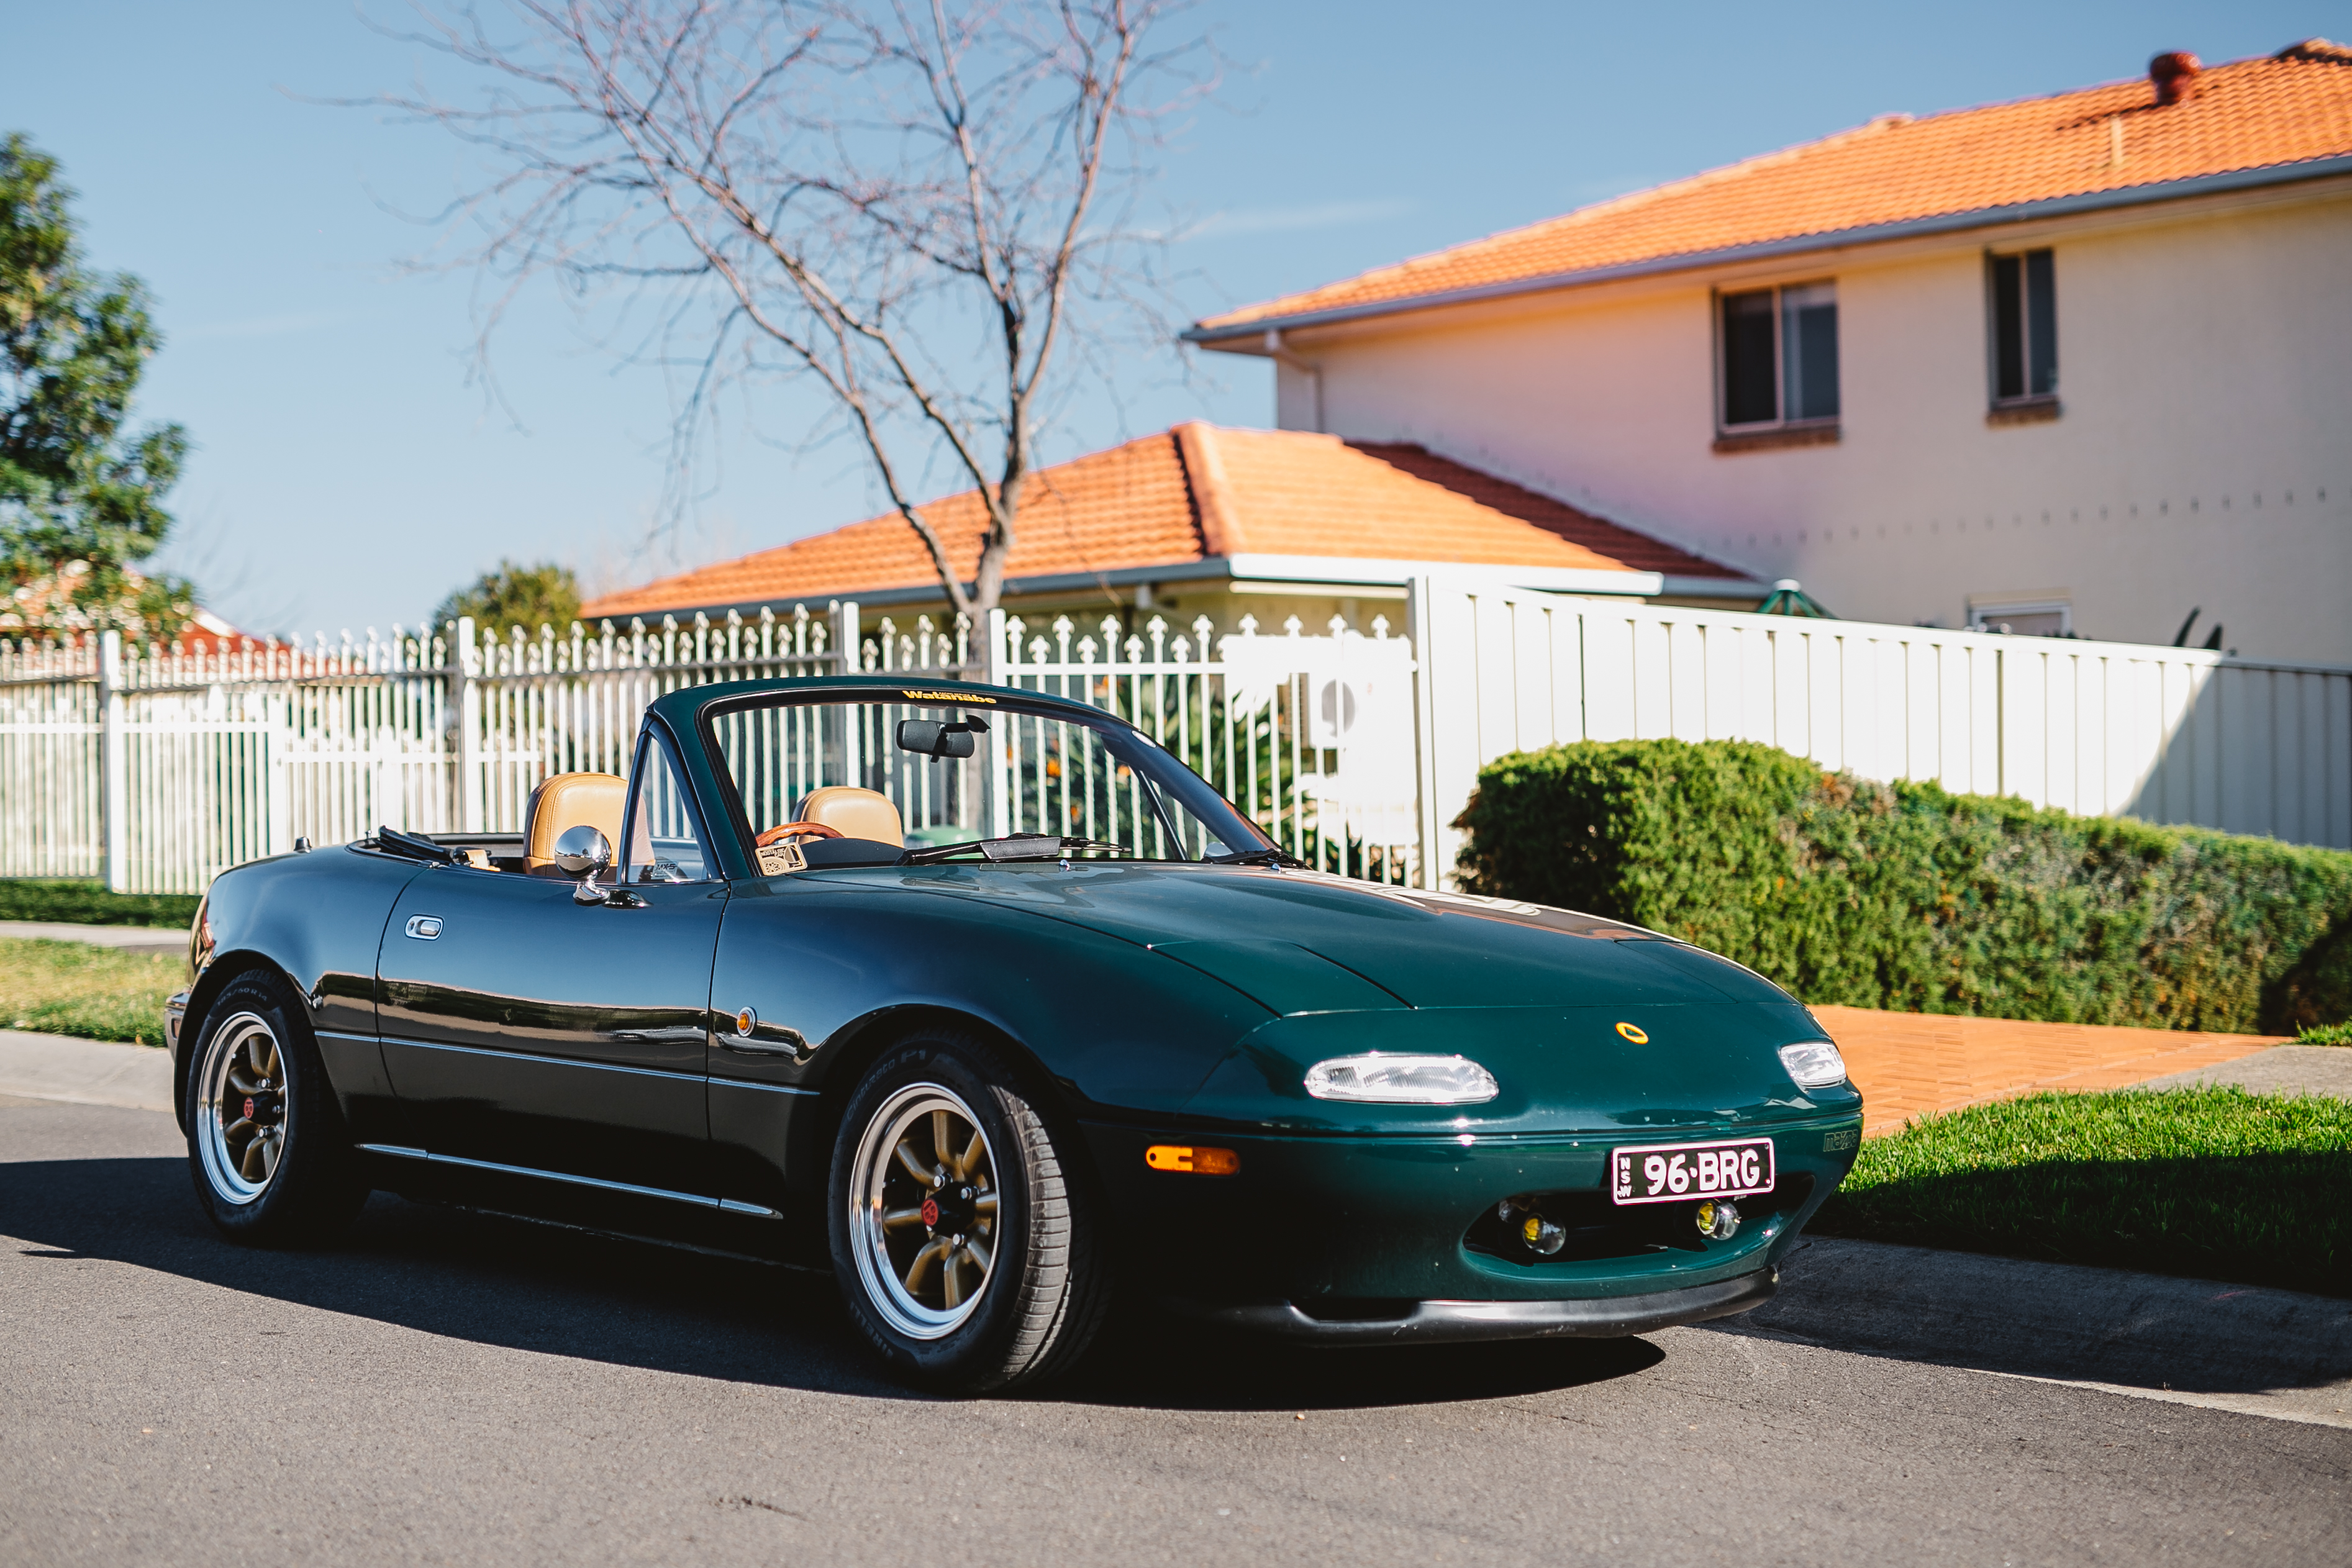
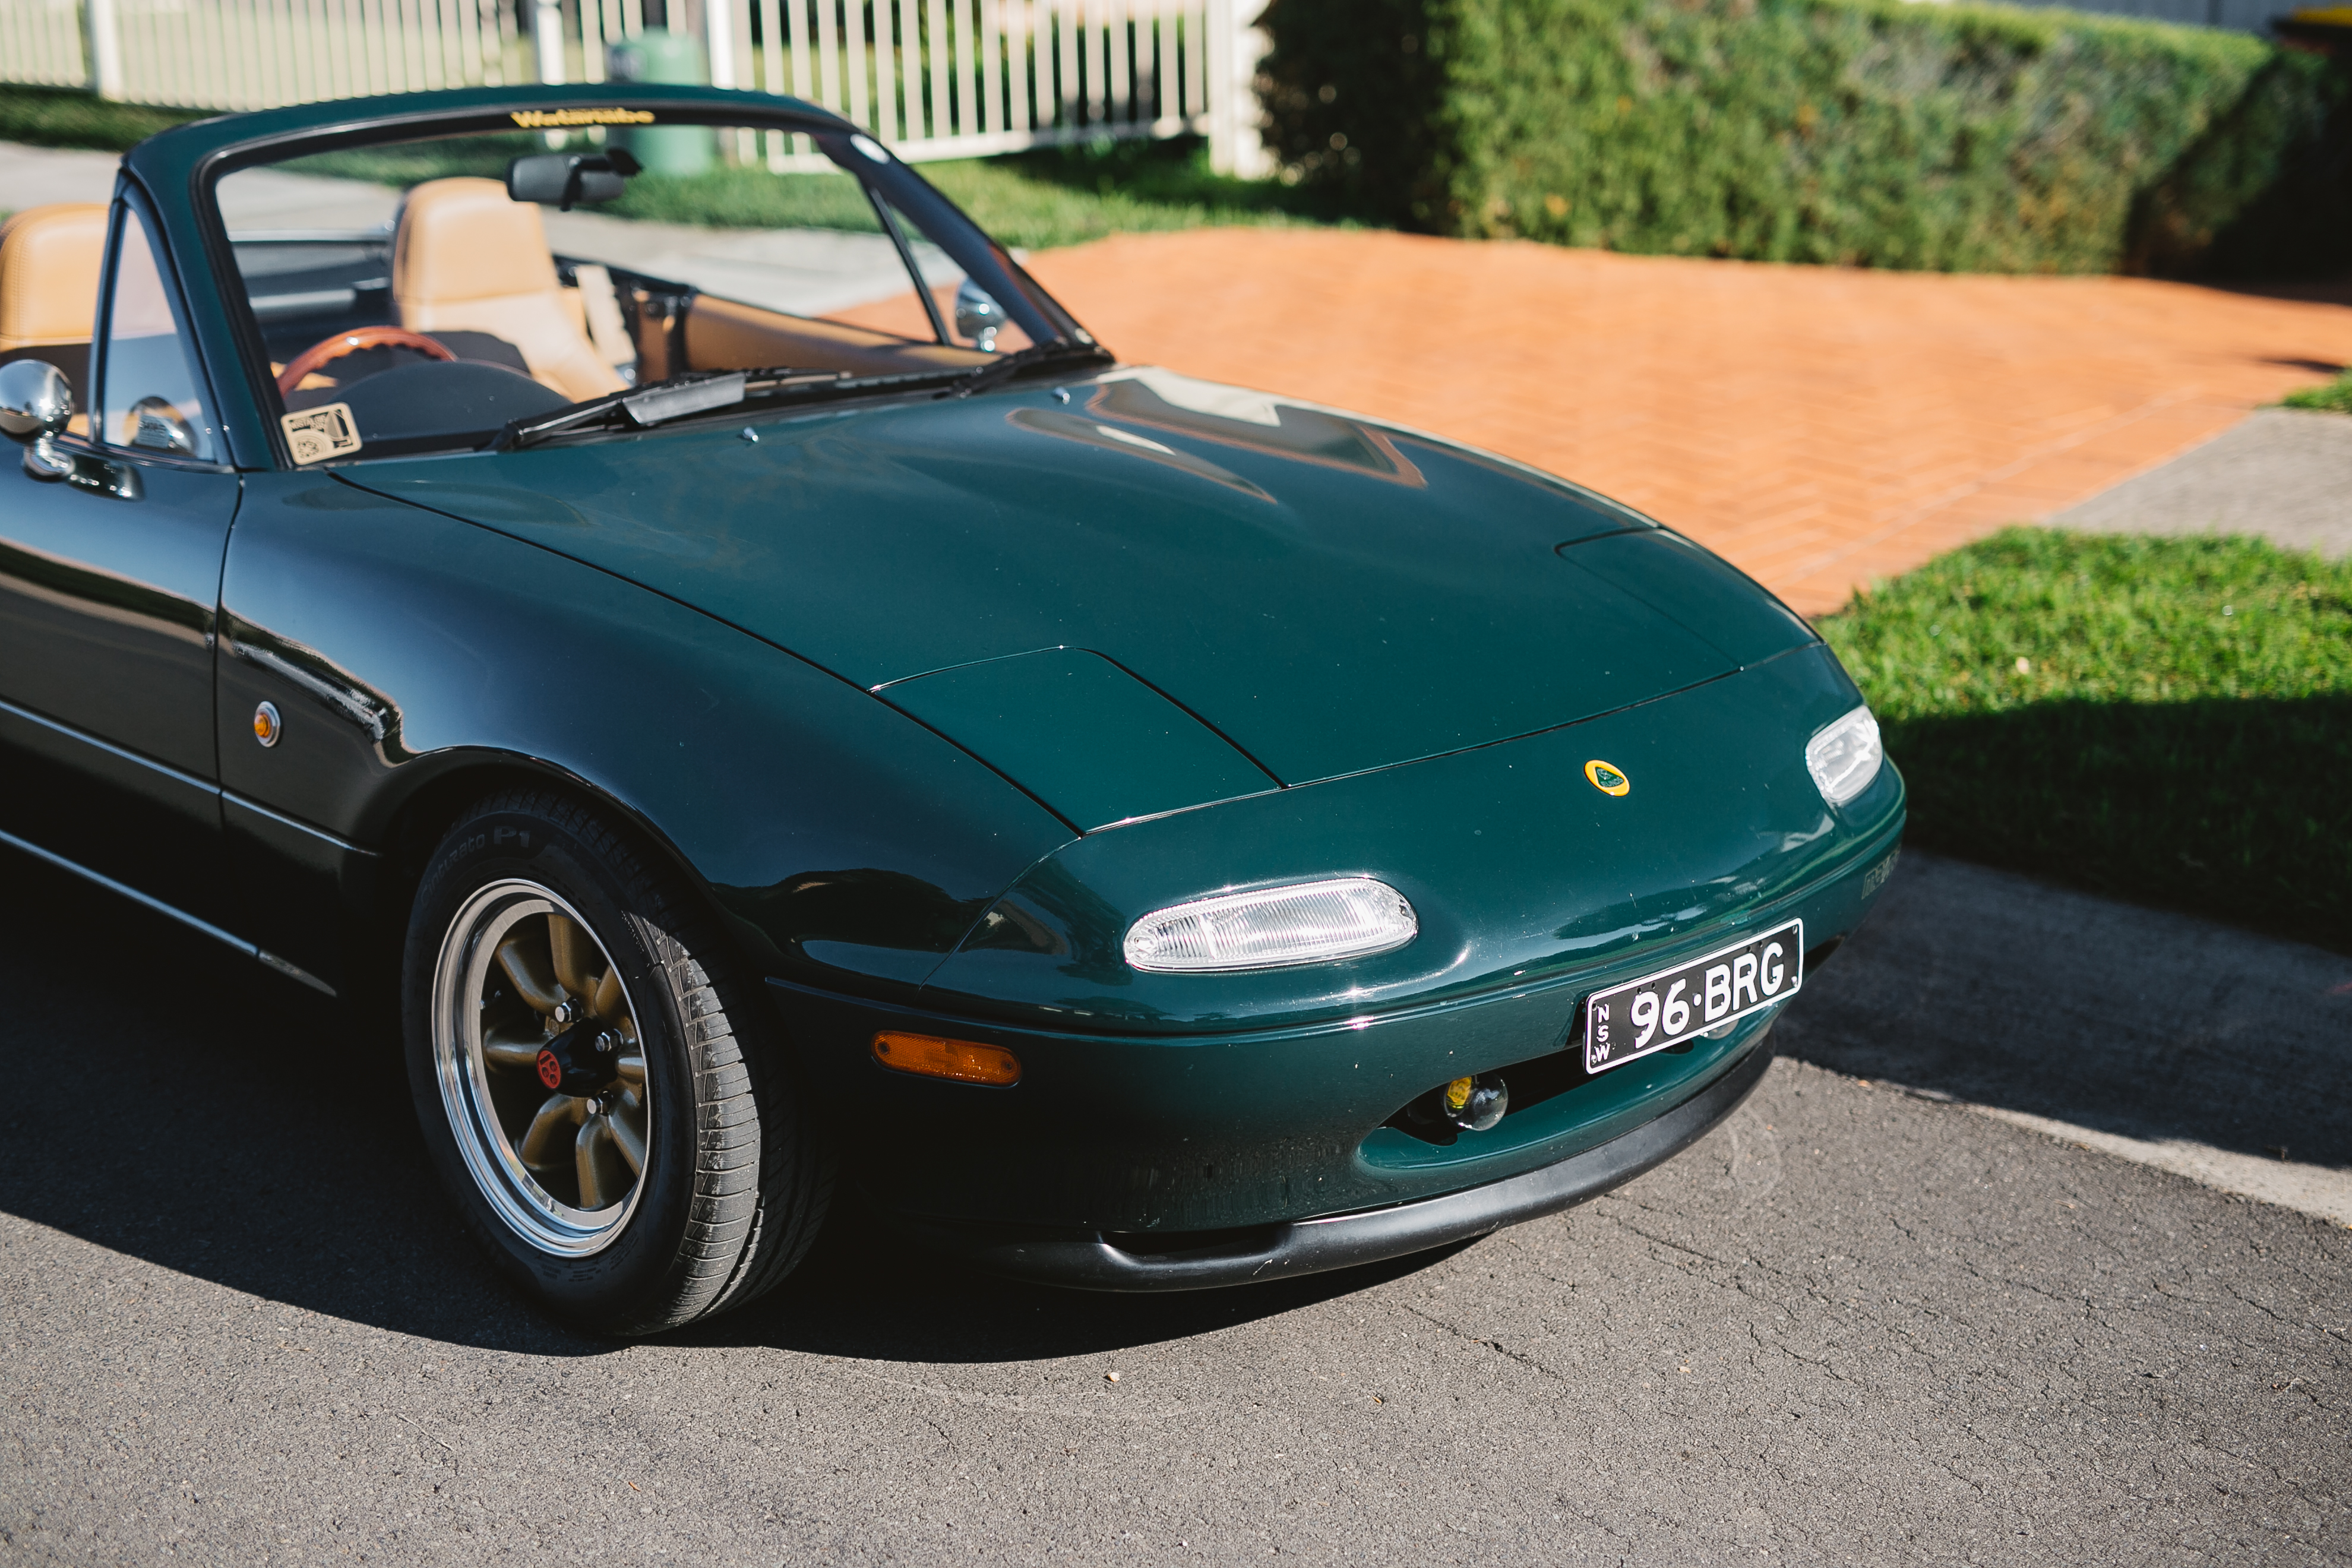
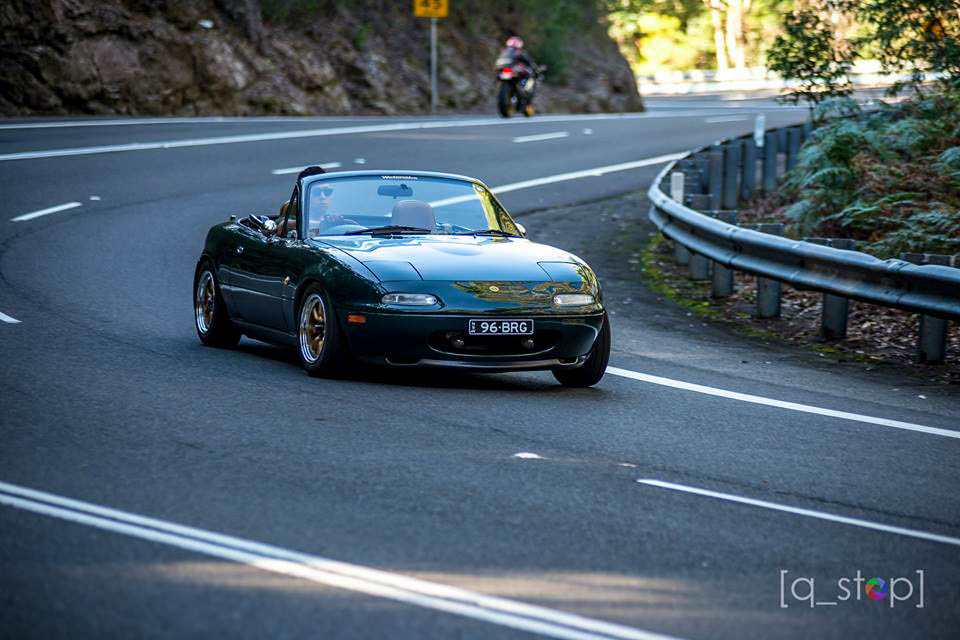
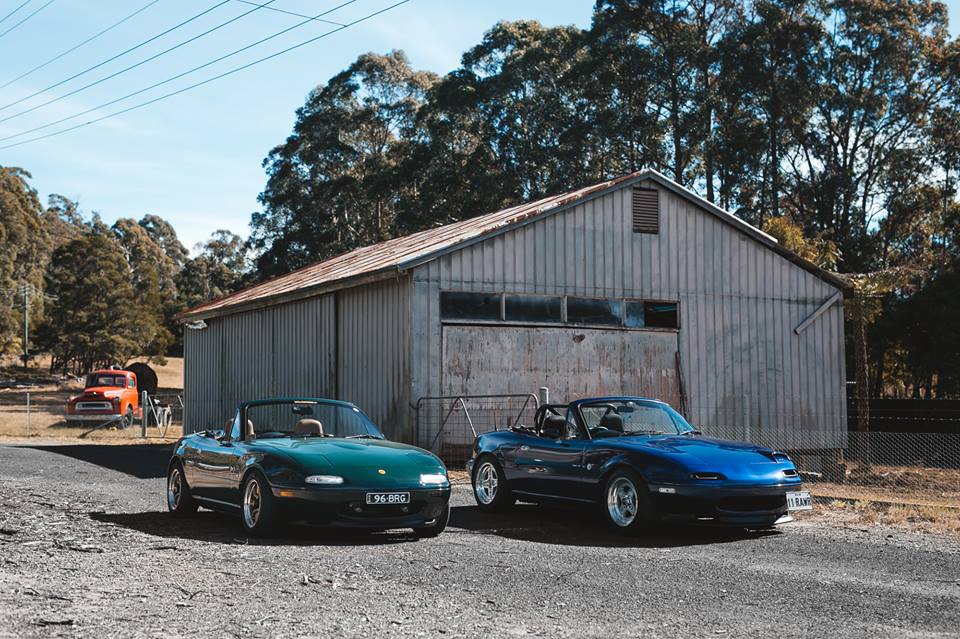
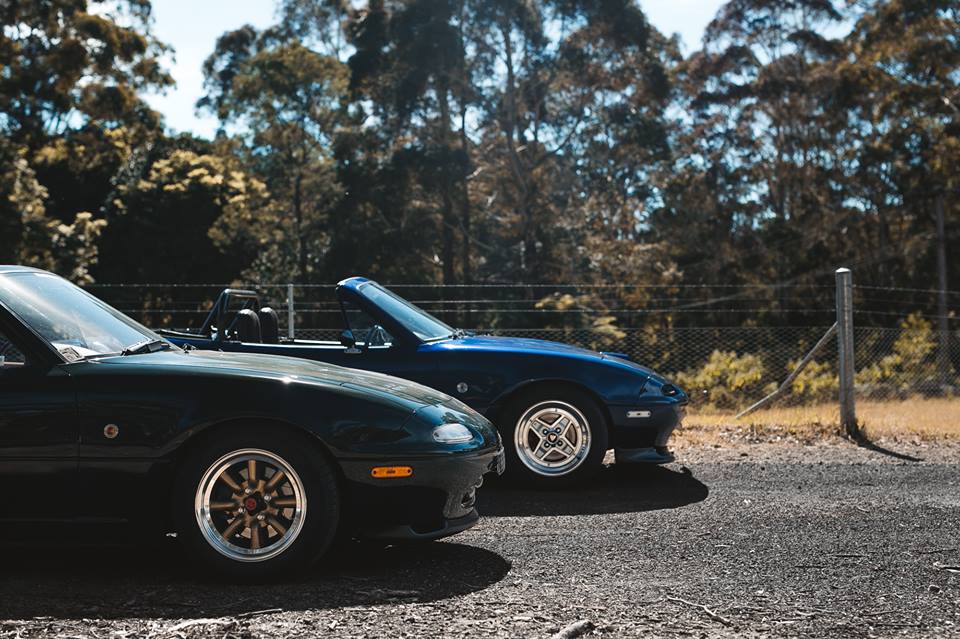
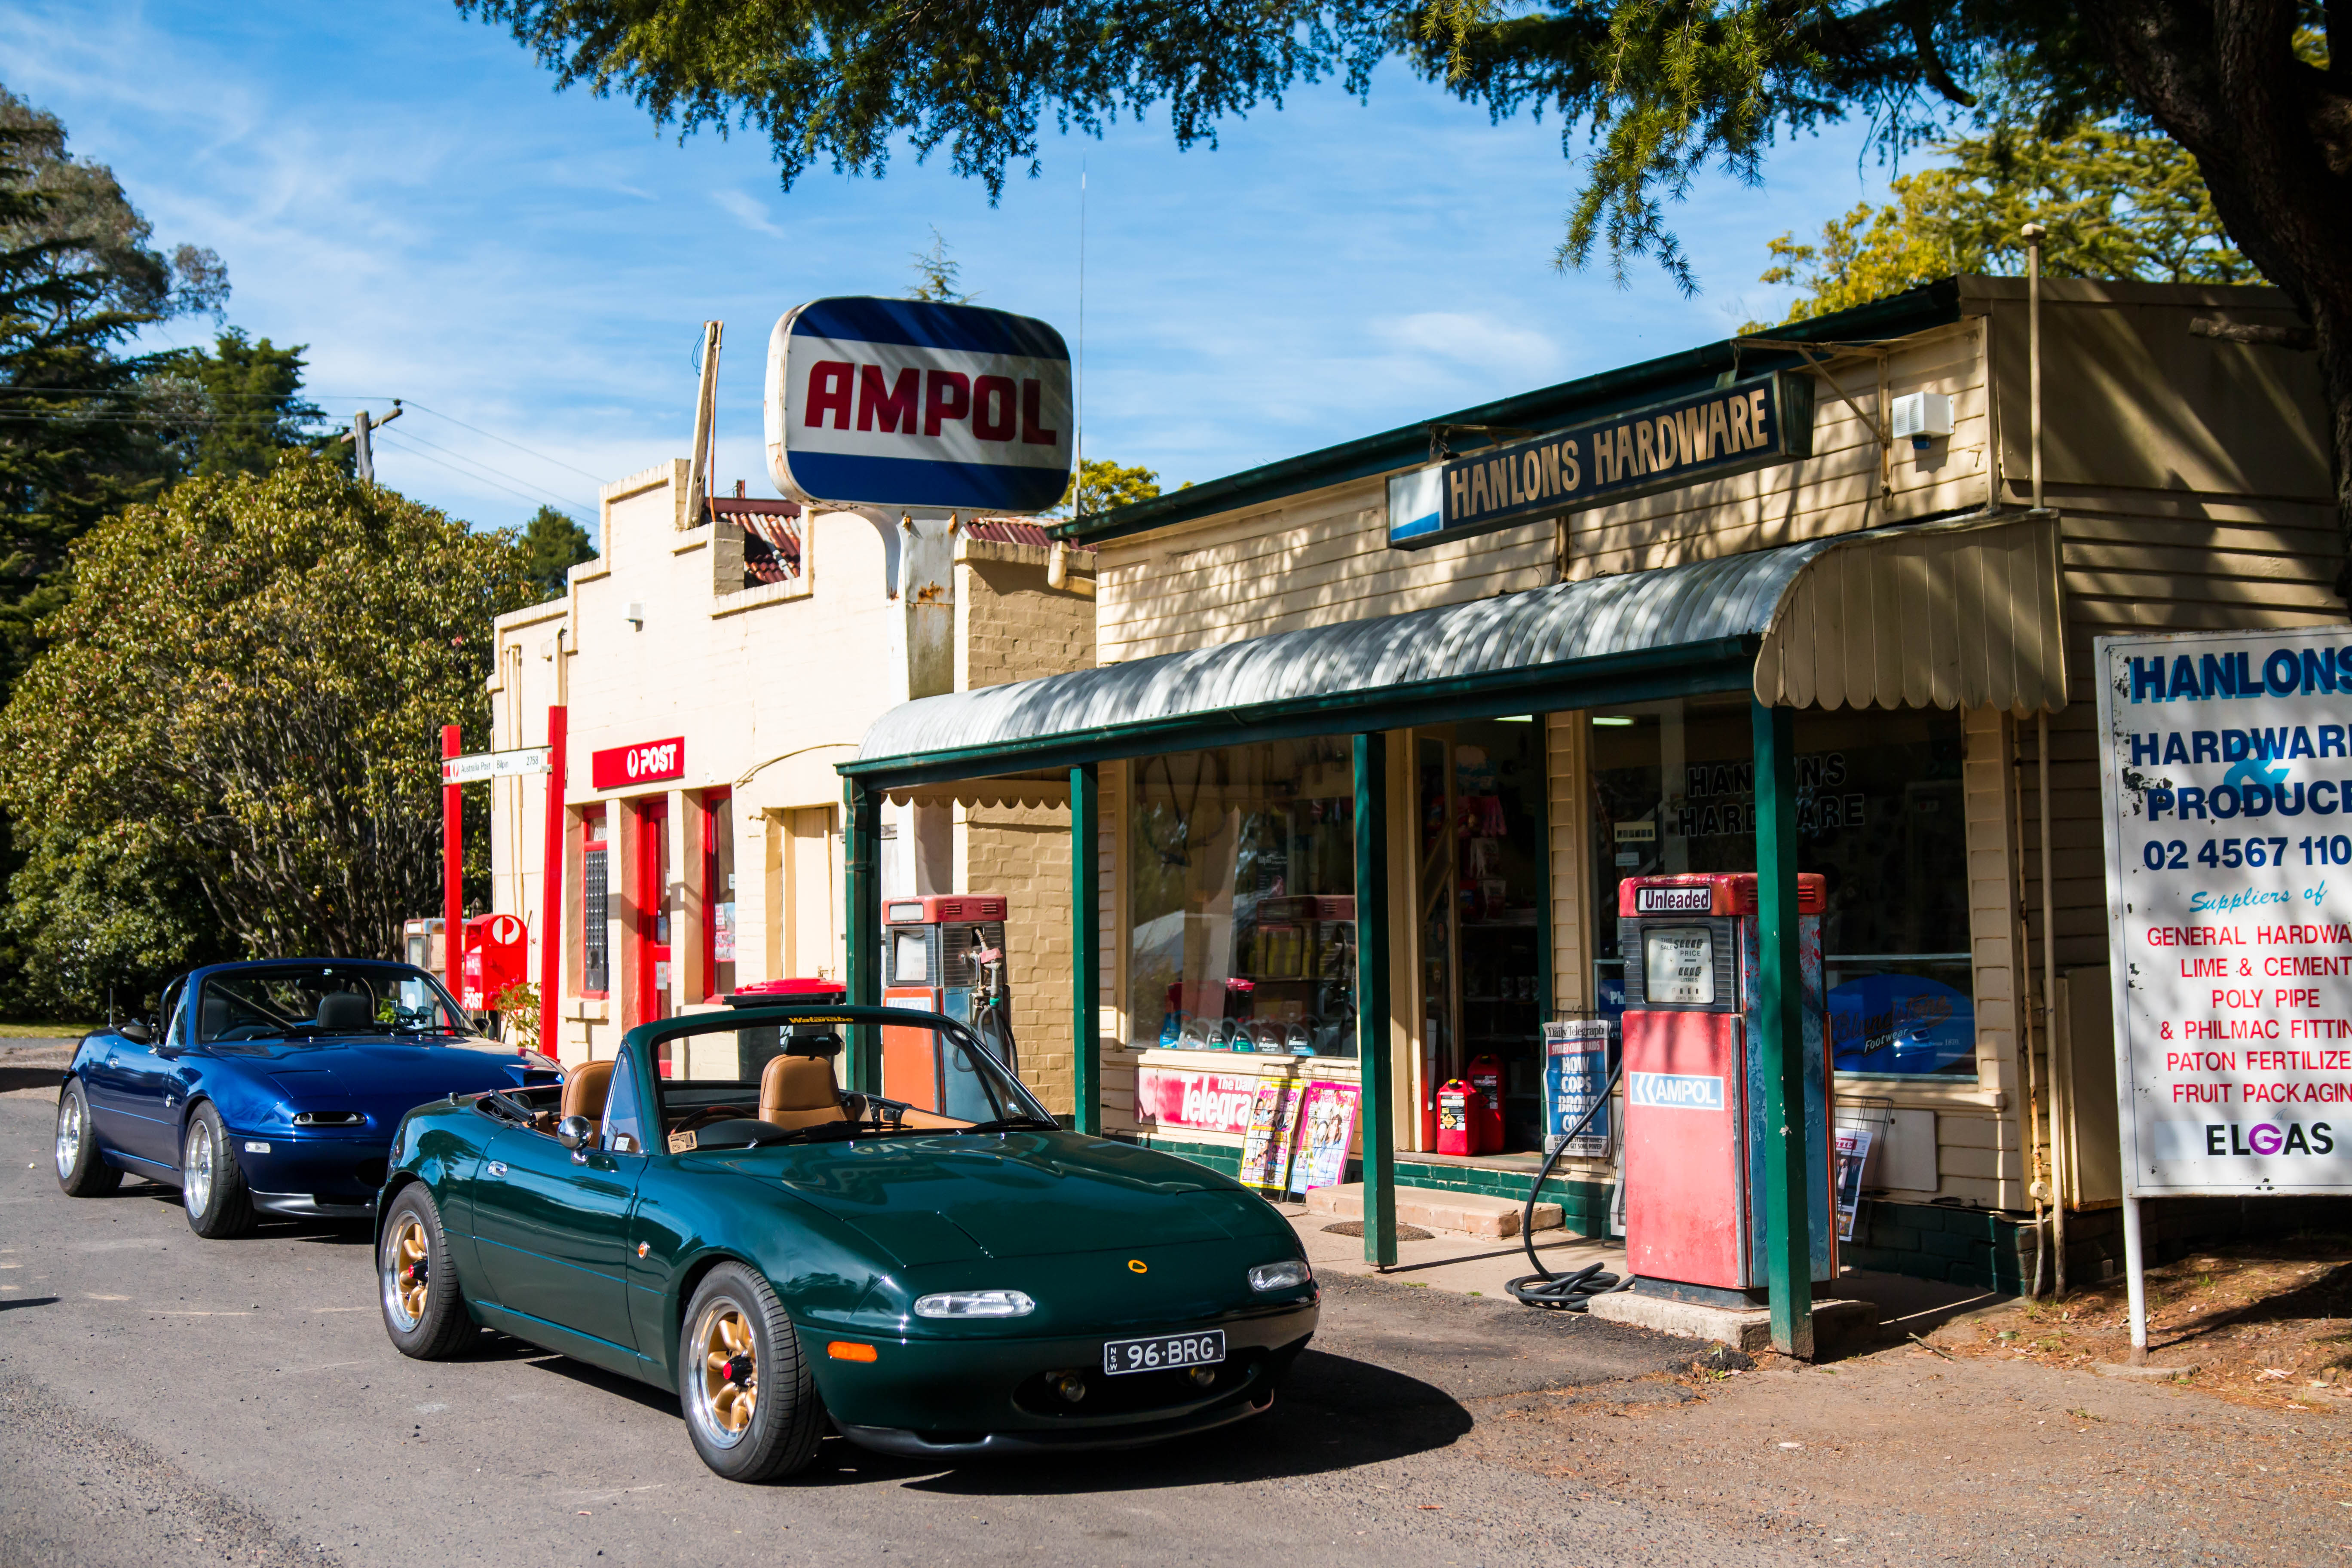
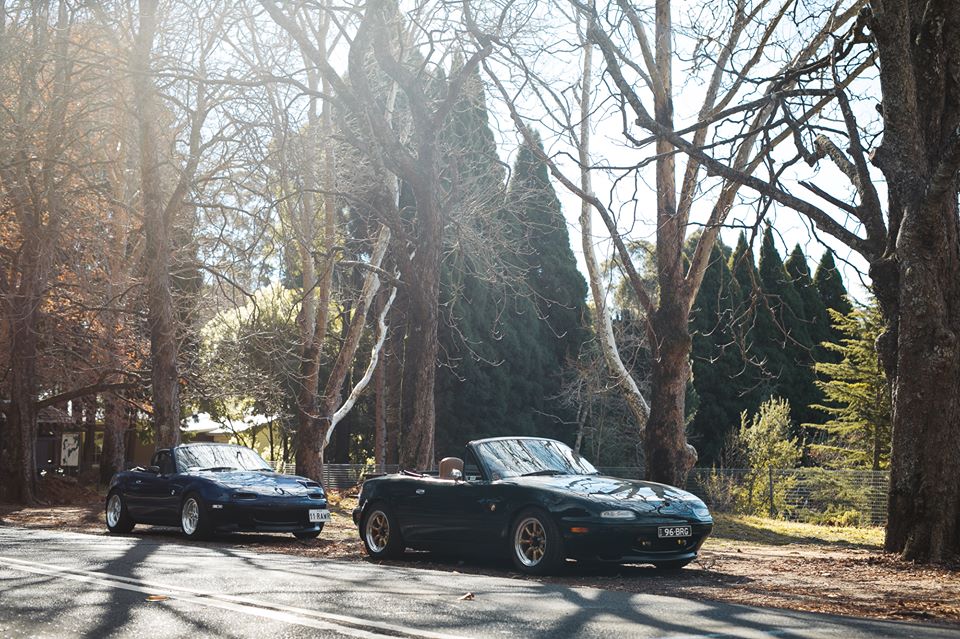
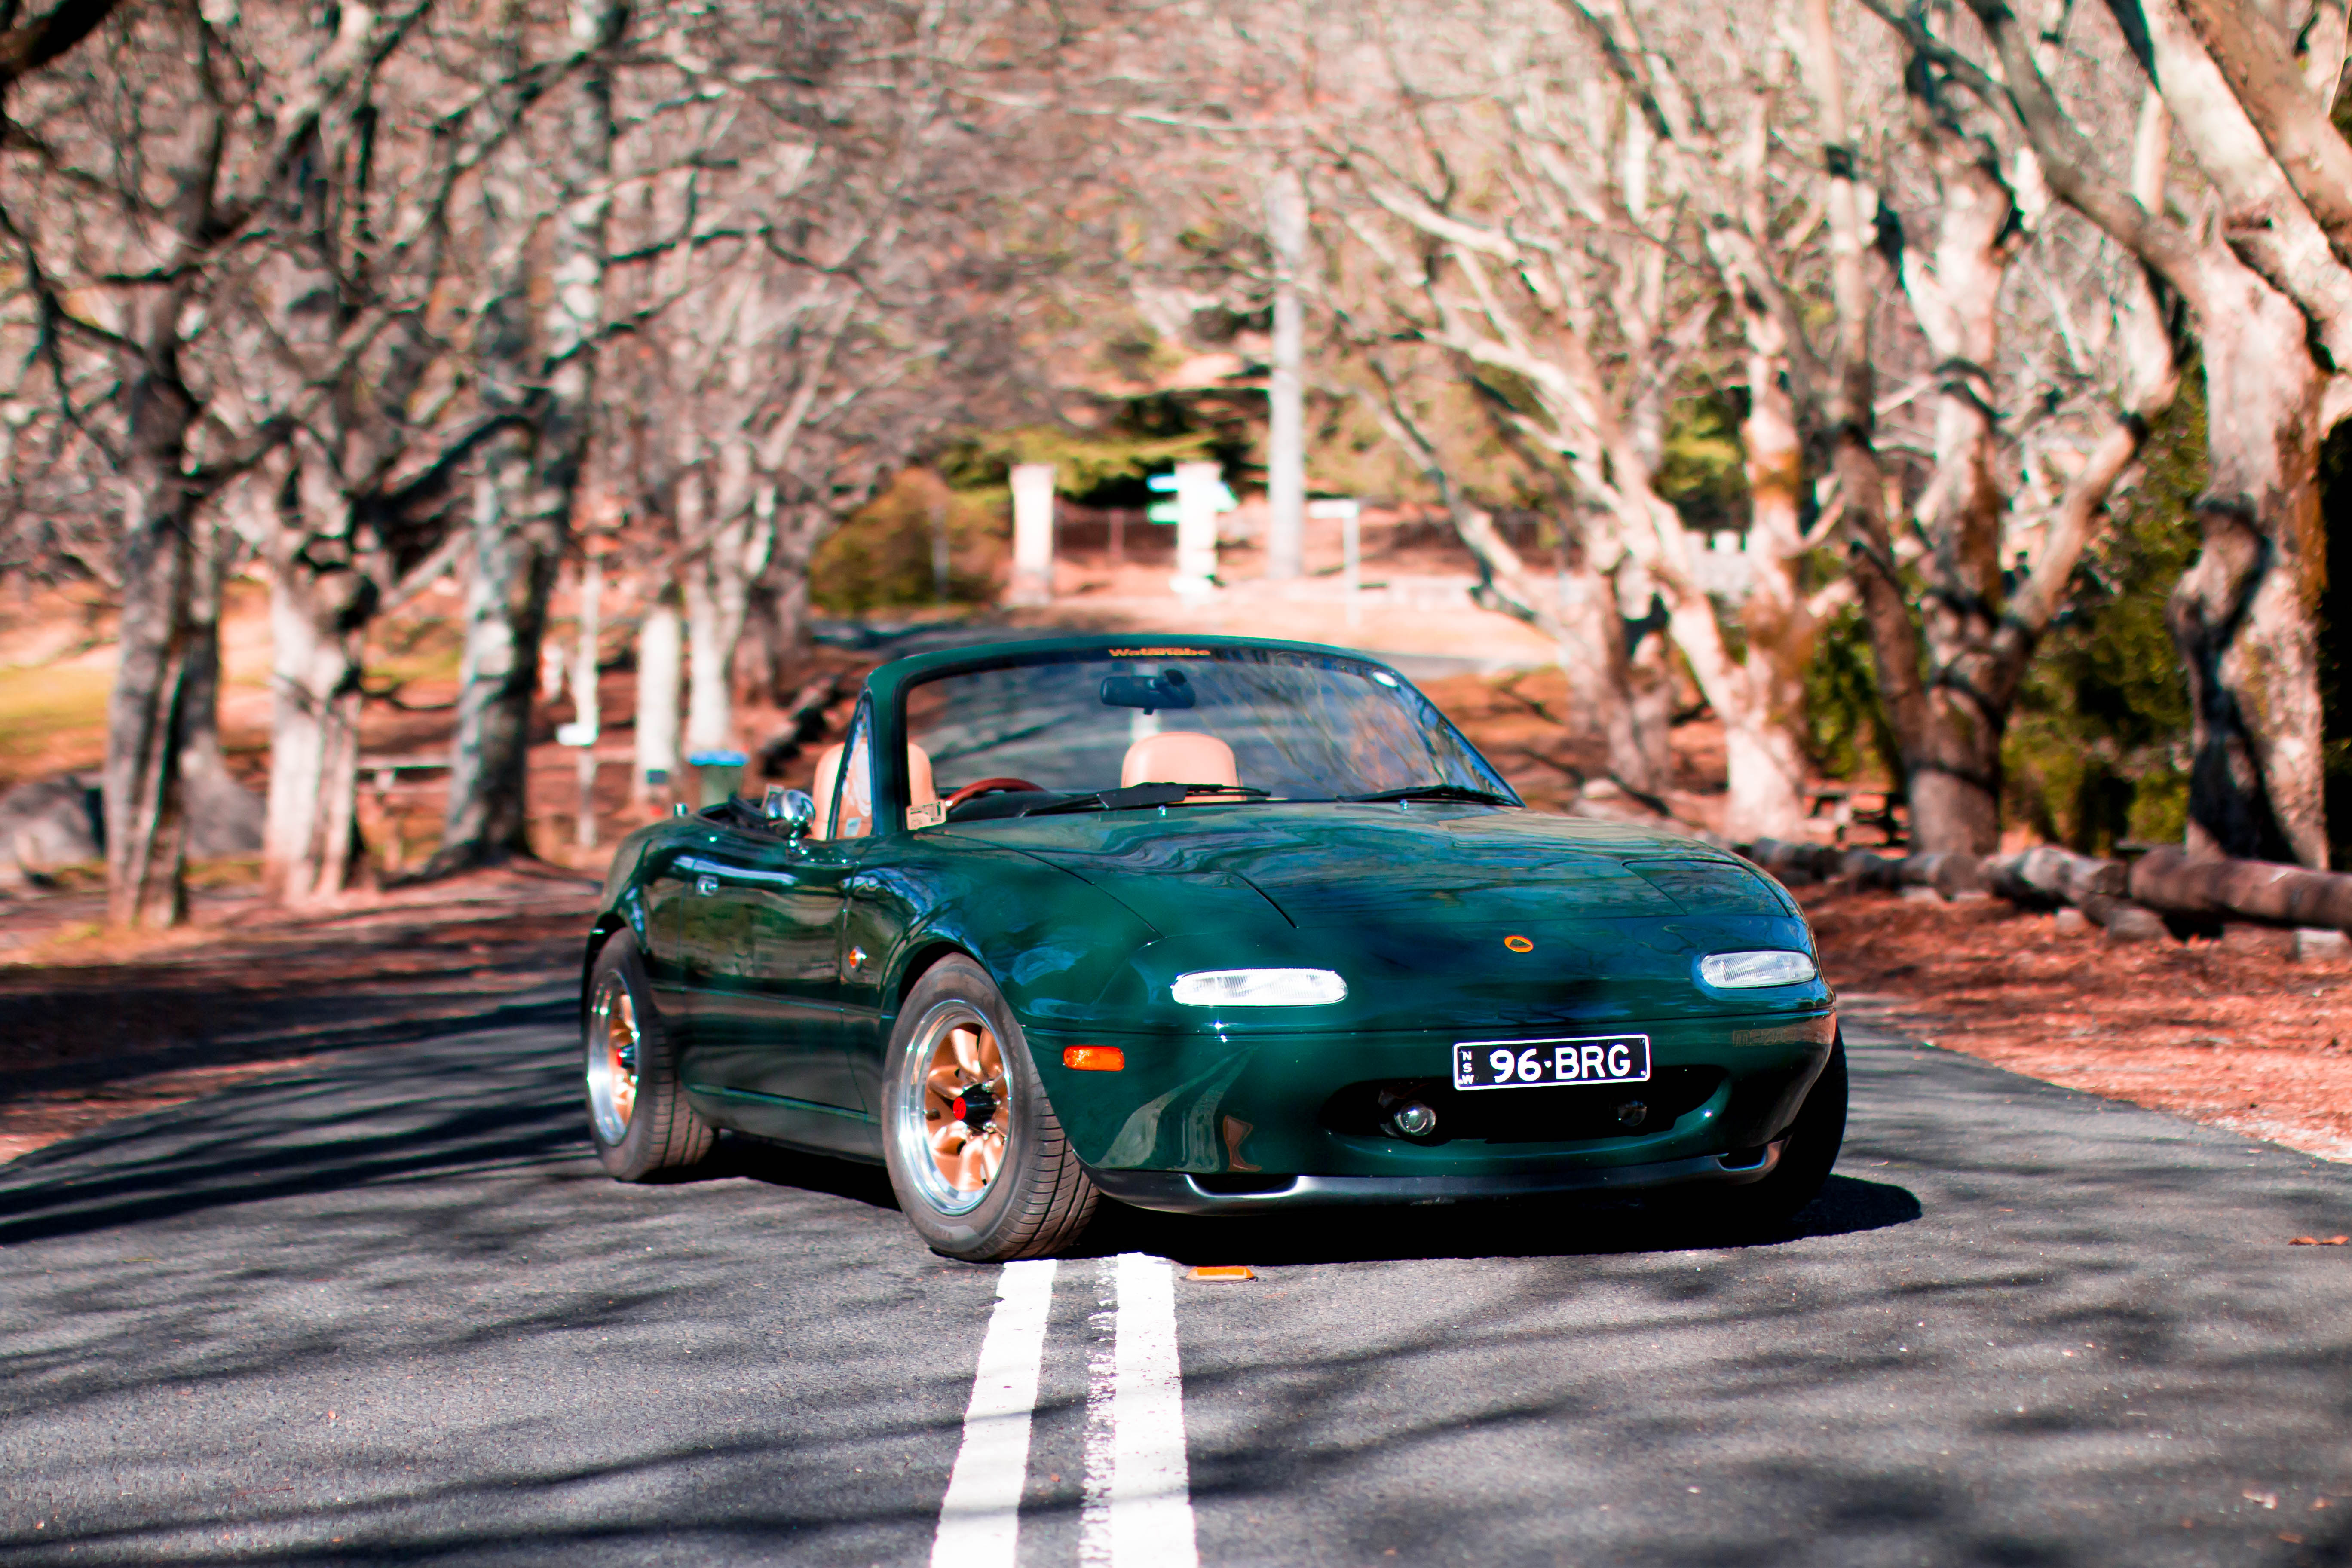
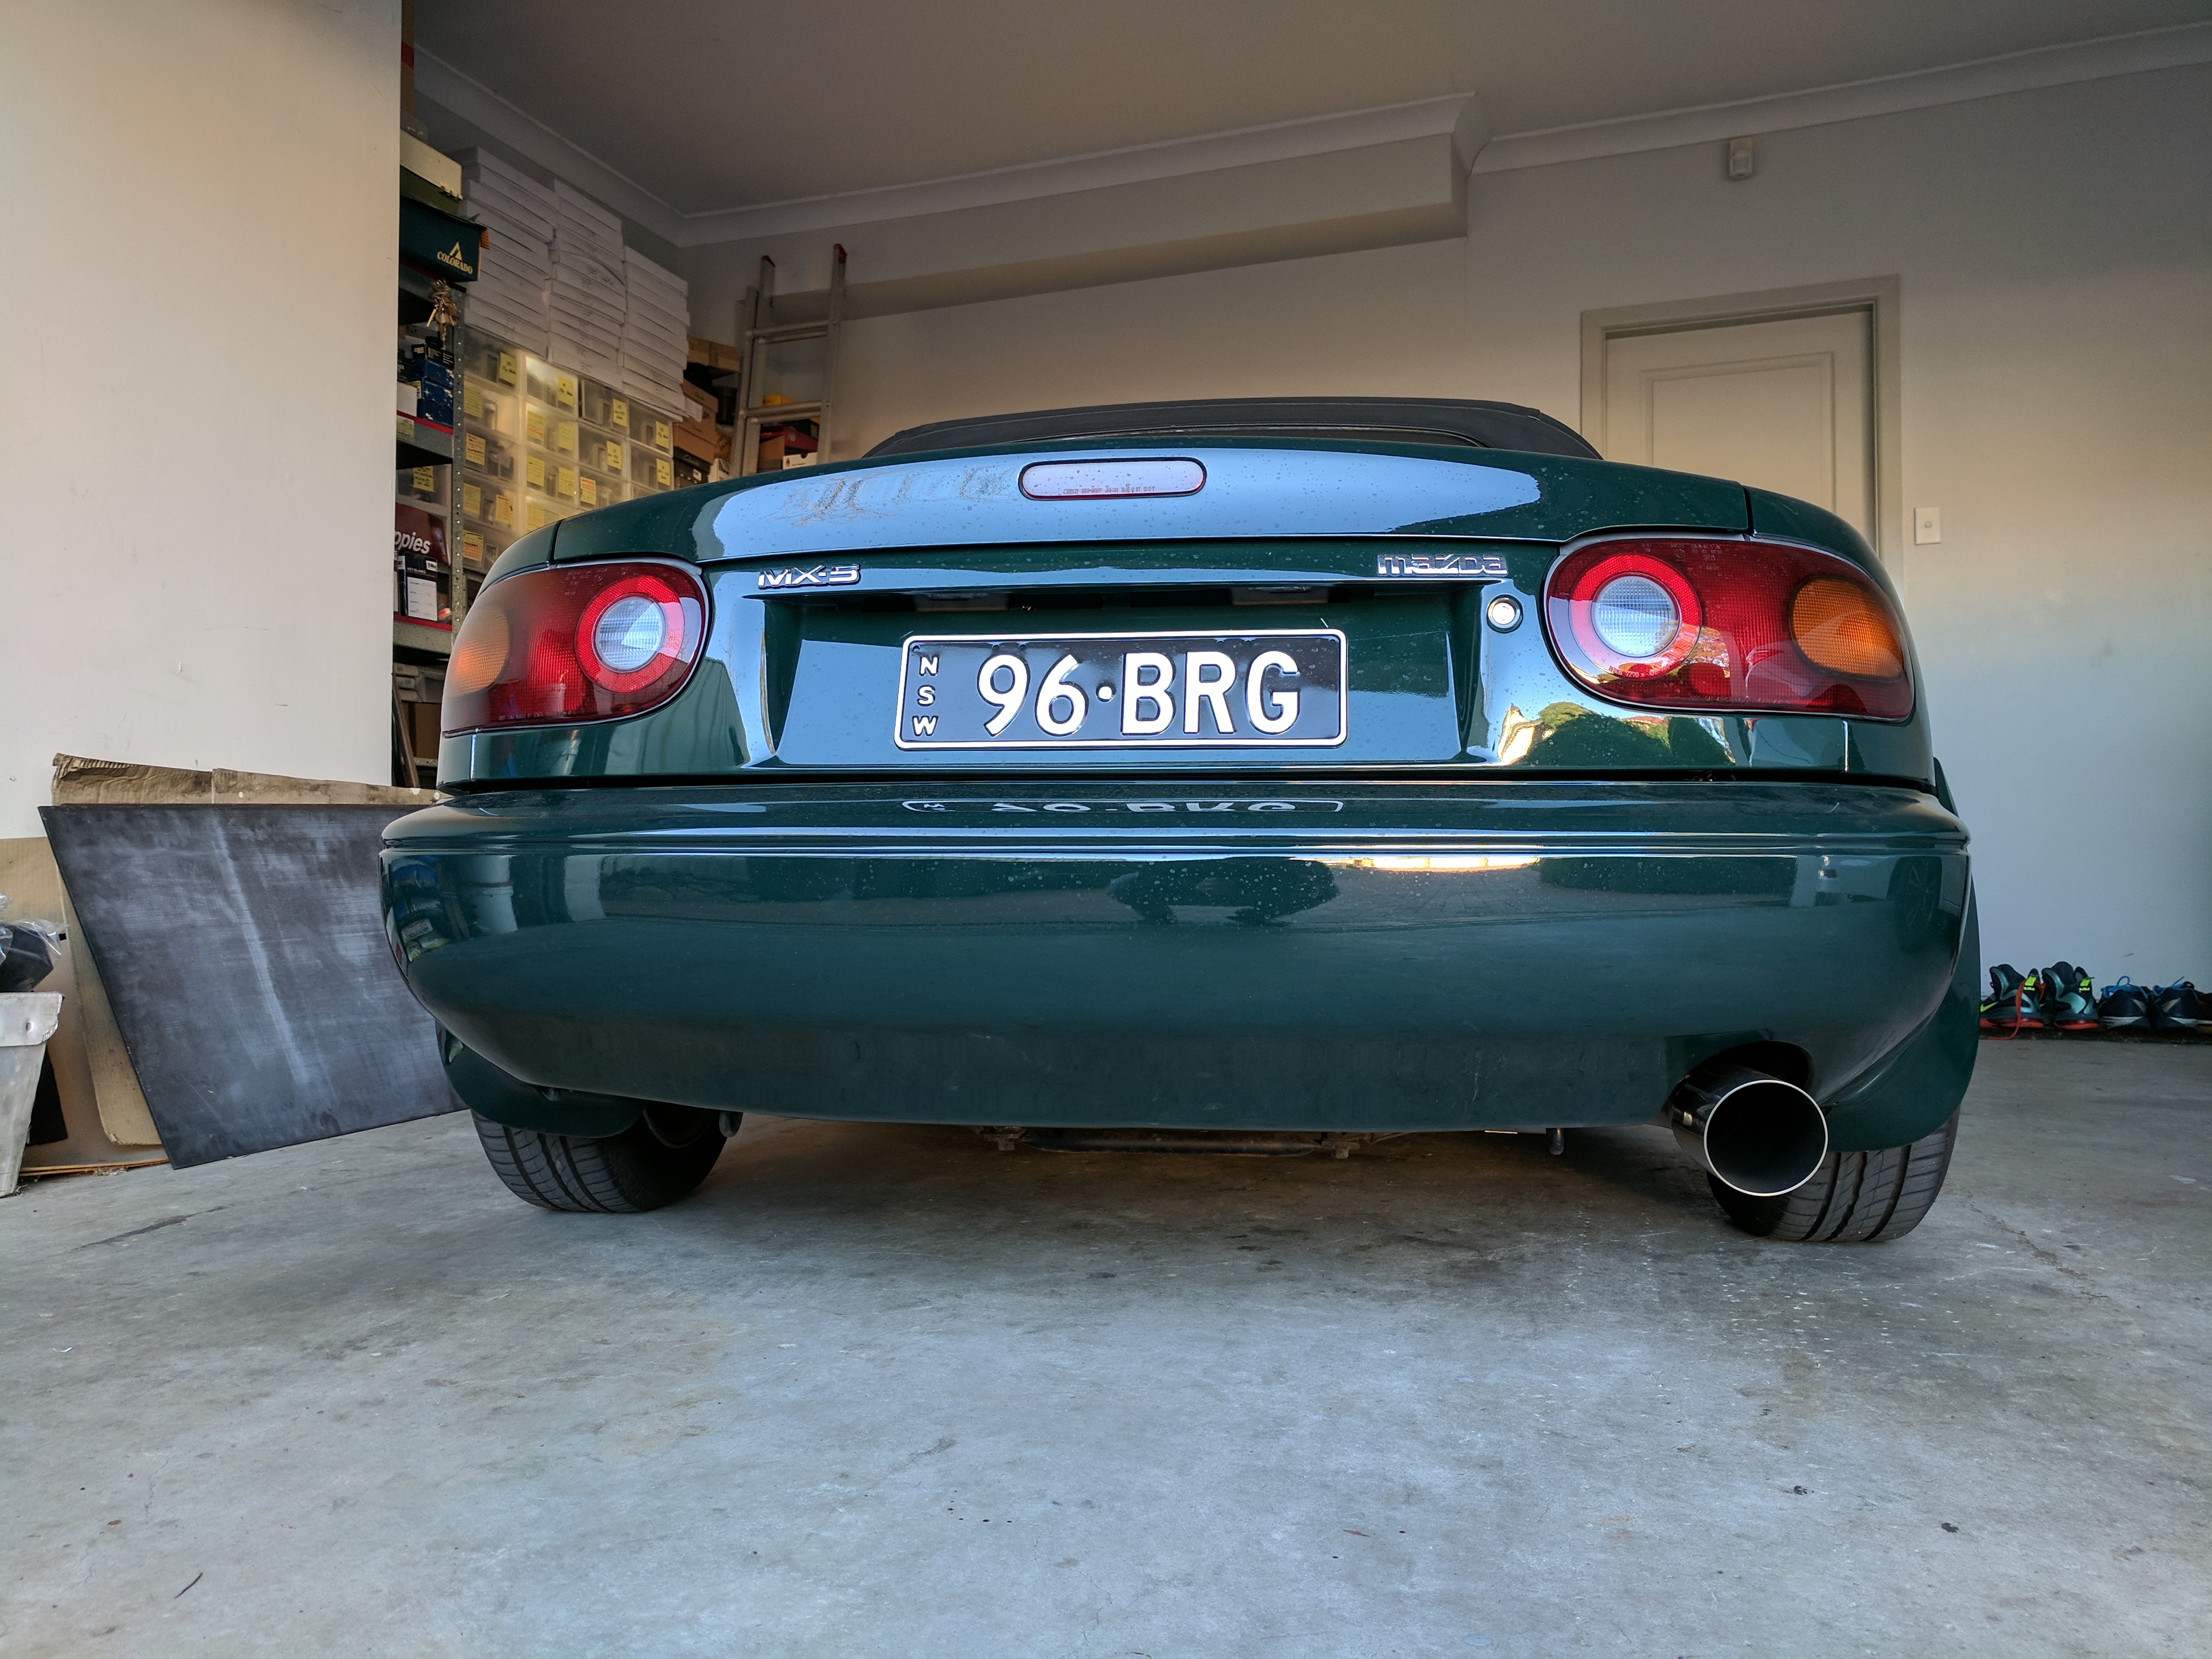
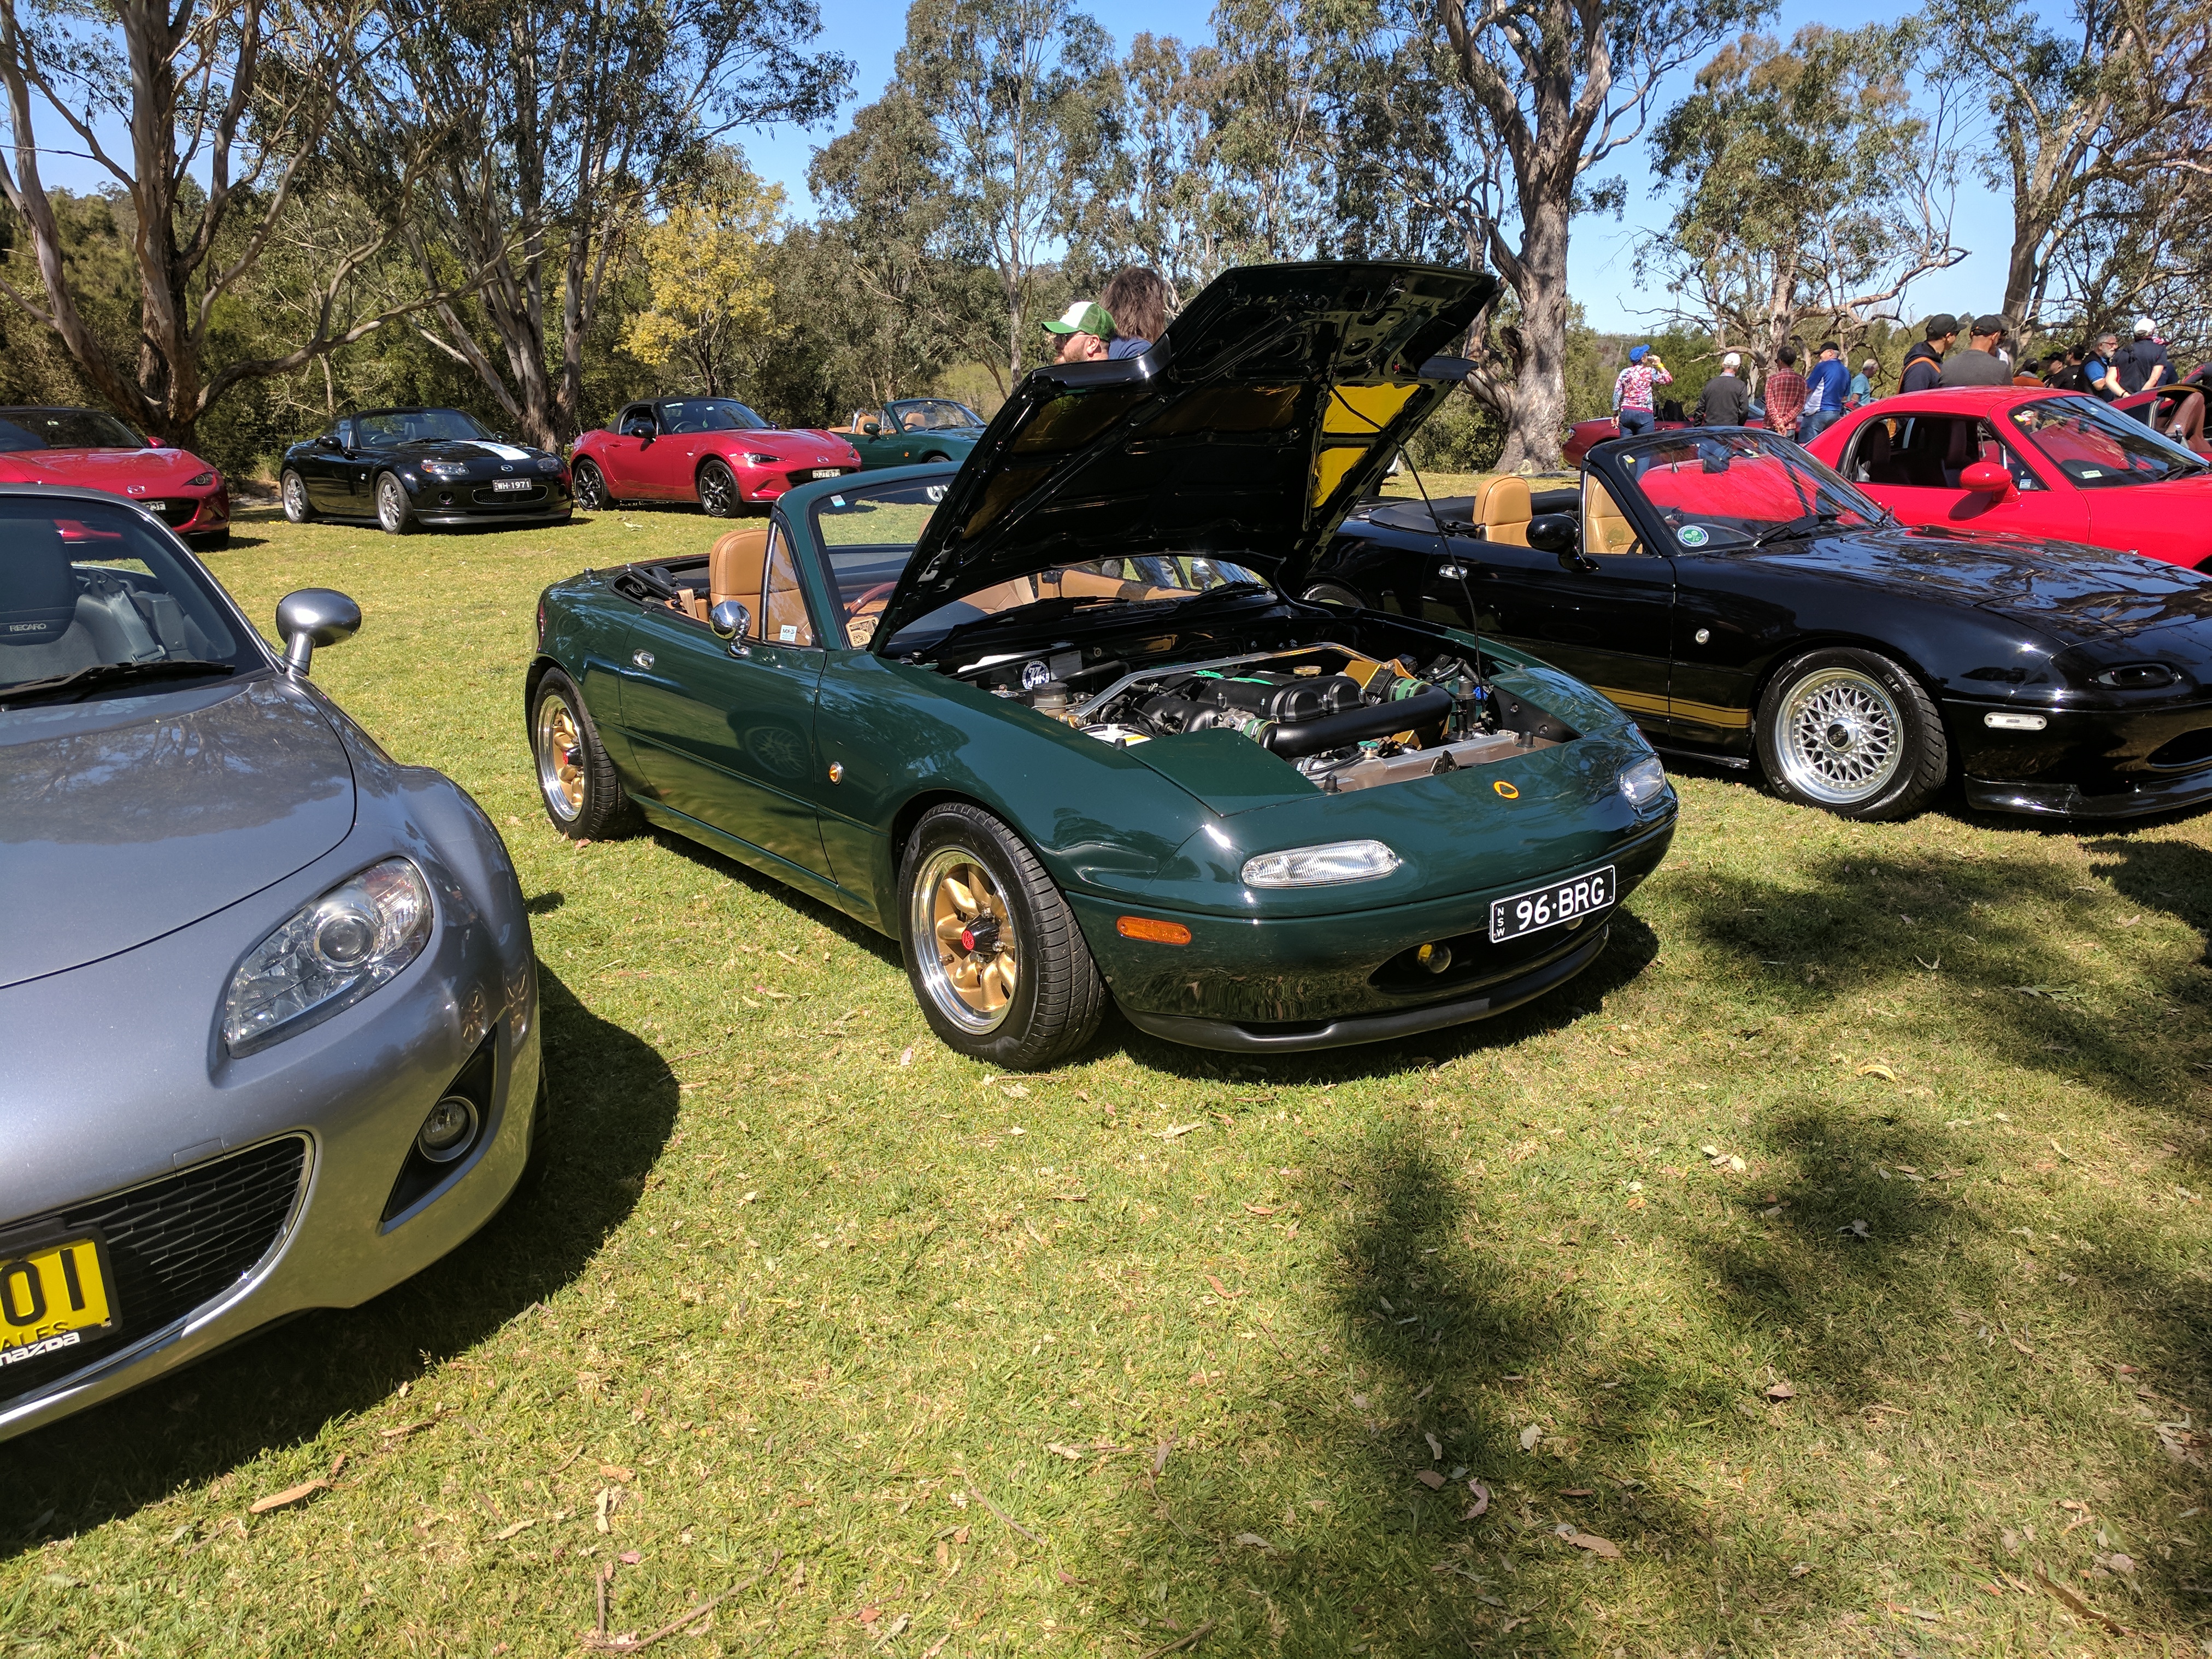
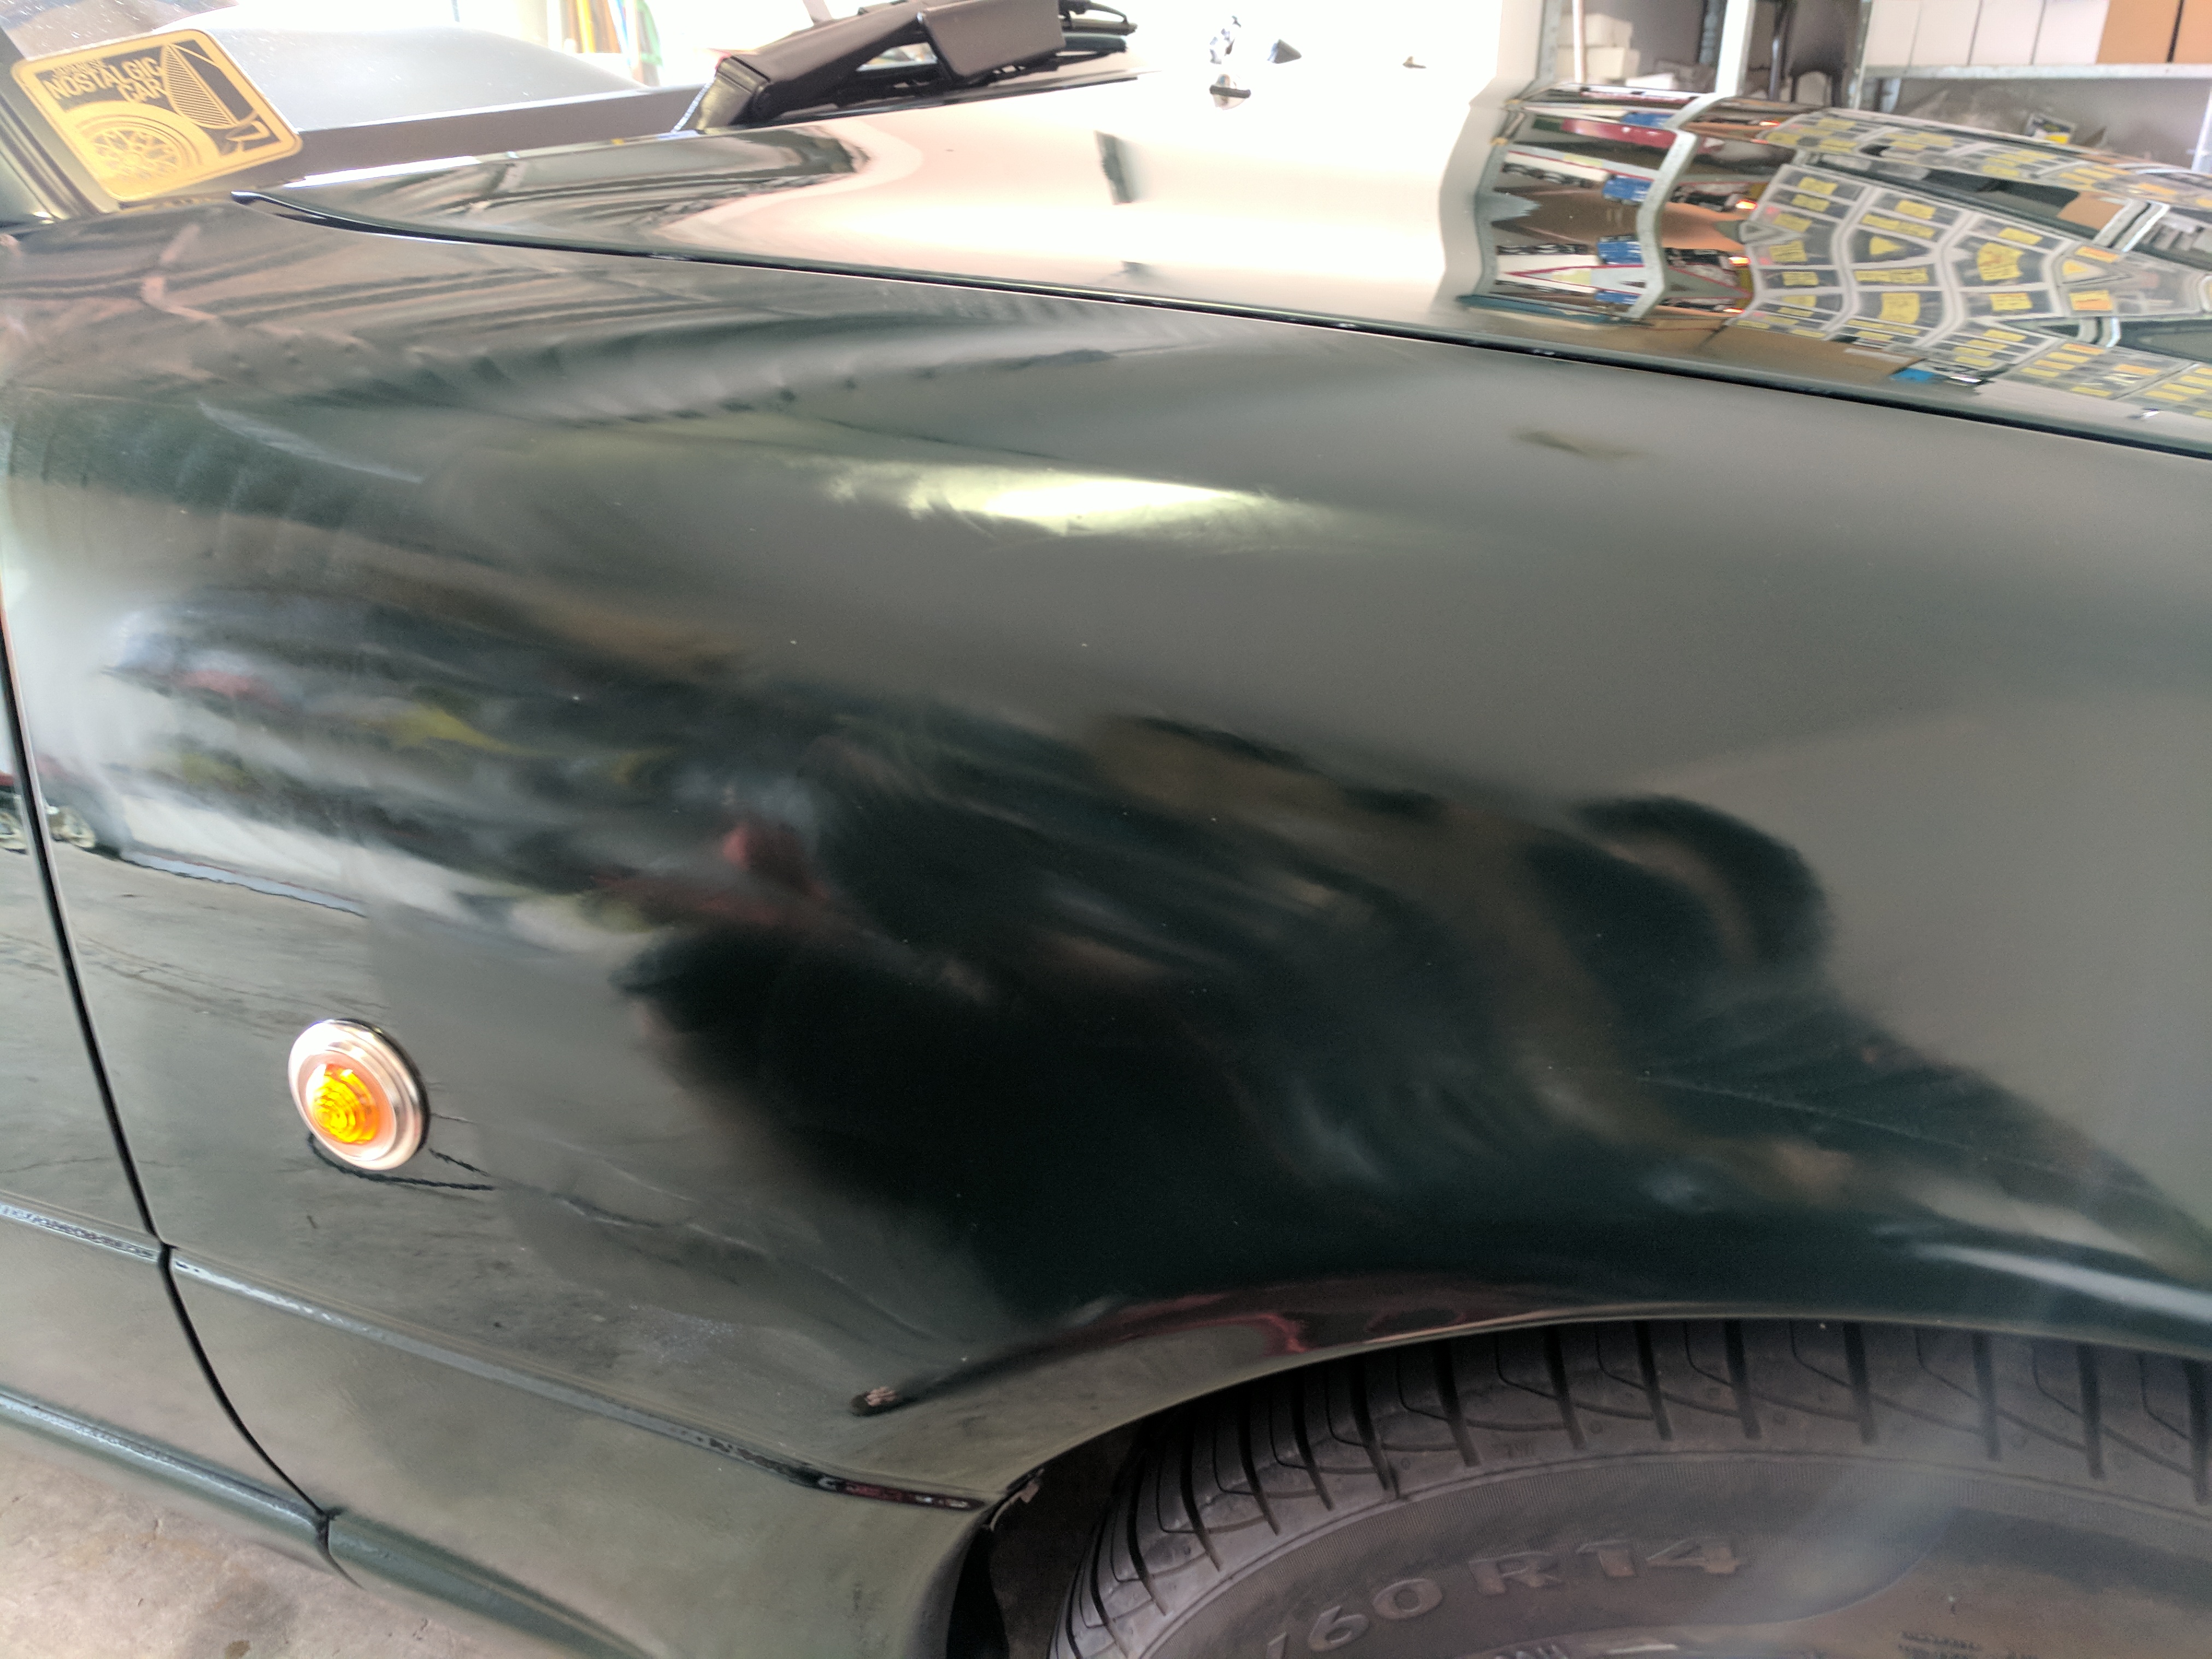
It's really hard to tell but the photos do not do it justice. I didn't have good lighting to highlight just how well the car came up. After all that work, the car is definitely looking a million times better and the BRG paintwork is so much deeper now. Very pleased with the result. I'll take some better pictures soon.
