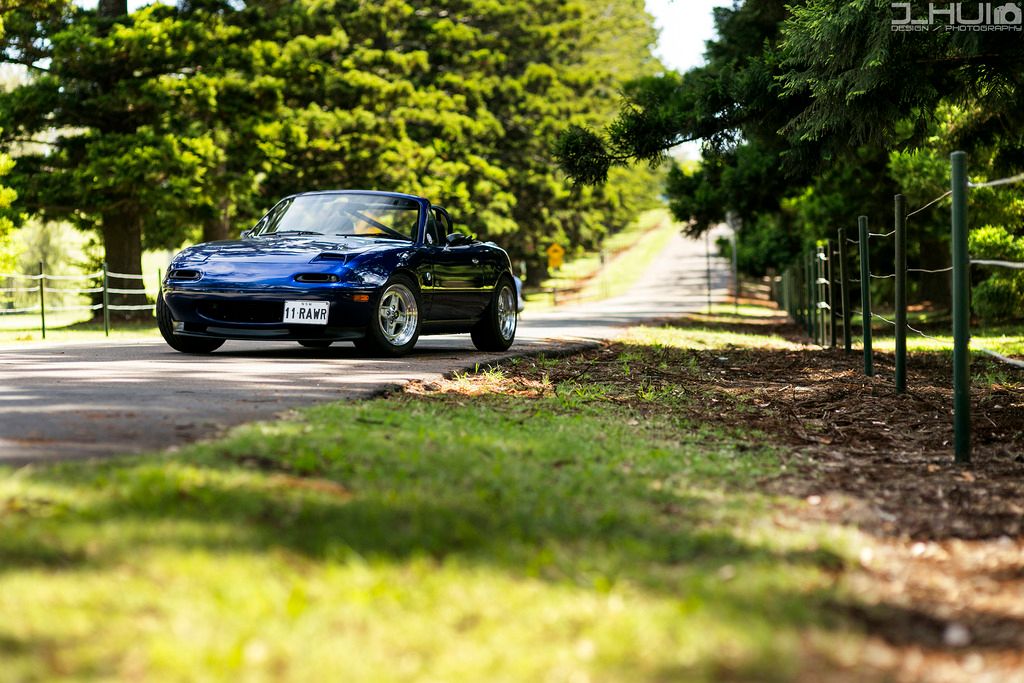
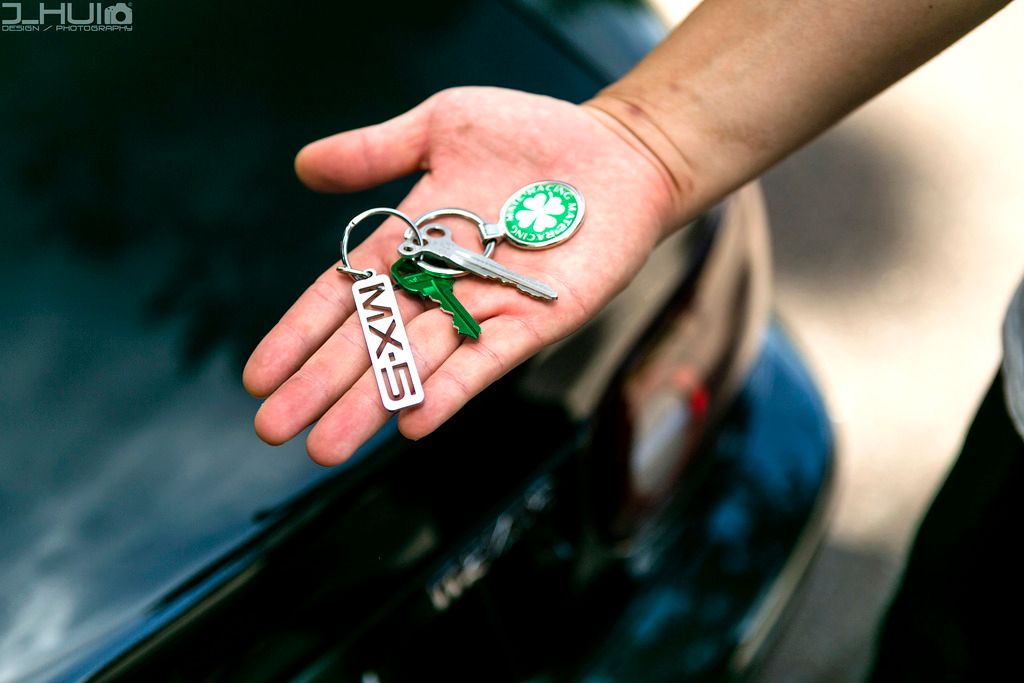
1996 BRG NA8C Build Thread

Chat to do with your MX5/Miata/Eunos Garage Ride(s).

Moderators: timk, Stu, zombie, Andrew, The American, Lokiel, -alex, miata, StanTheMan, greenMachine, ManiacLachy, Daffy

BRG.NA8
Fast Driver
Posts: 196
Joined: Sat Dec 12, 2015 10:32 pm
Vehicle: NA8

Re: 1996 BRG NA8C Build Thread

Postby BRG.NA8 » Fri Jan 06, 2017 7:06 pm

20/12/2016

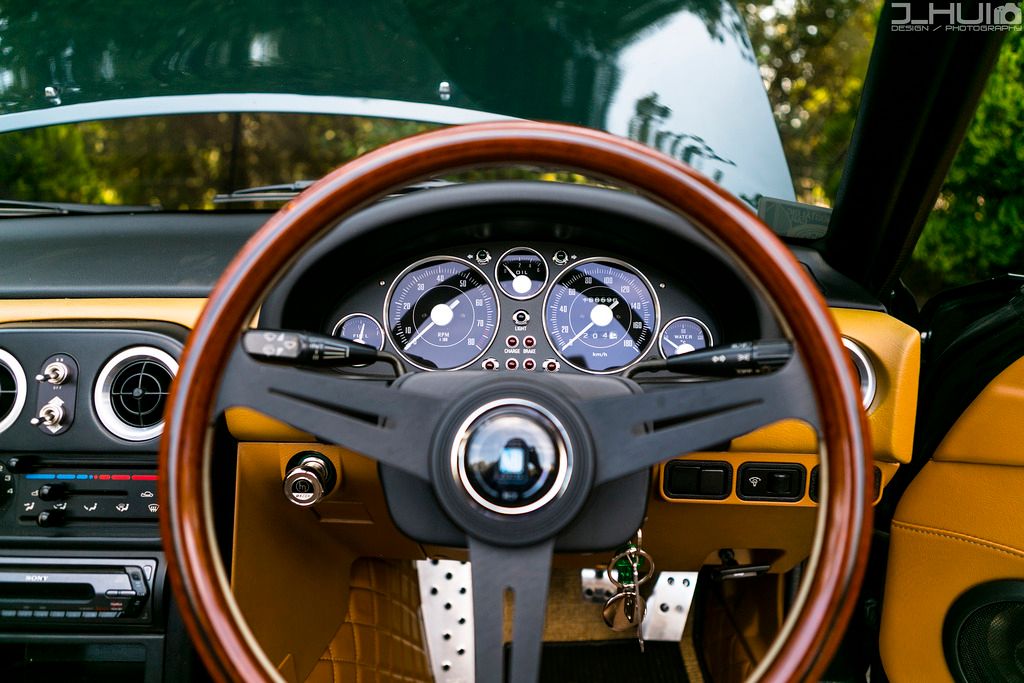
JDM NA8C 180km/h Cluster + Revlimiter Gauge Faces + ArtWorks DEWA Needle Caps

The OEM cluster finally reached the magic number : 166,386kms. This is the same number as what my JDM cluster has and therefore it now means that I can finally swap the clusters over and go about installing the custom "Type Smith" gauge faces made for me by Adam from Revlimiter.net​. I also had some billet aluminium needle caps I was going to install which were made by ArtWorks DEWA Japan. I was lucky to get these because the founder and creator Ryoichi Dewa passed away a few years ago and since then, ArtWorks DEWA is no more, so their products are getting harder to source and rarer to find.

Anyway, the gauge face install wasn't too hard but just time consuming. I wore powderless gloves at all times to make sure I didn't smudge the faces with any finger prints. To go through what I did step by step is too much to write but basically, I closely followed the DIY tutorial which was written in detail by Adam. It tells you exactly how to go about tackling the install of the gauge faces with detailed explanations and photos to accompany them. You can find it here :

http://revlimiter.net/mods/gauge_install.php

http://www.youtube.com/YDAsy5rqyIc

Testing the JDM cluster to make sure everything works and I'm pleased to say it does. Not only that, the NA6 oil pressure gauge I fitted works too.

http://www.youtube.com/JBxDRQu4IE8

166,386km reading on both clusters.
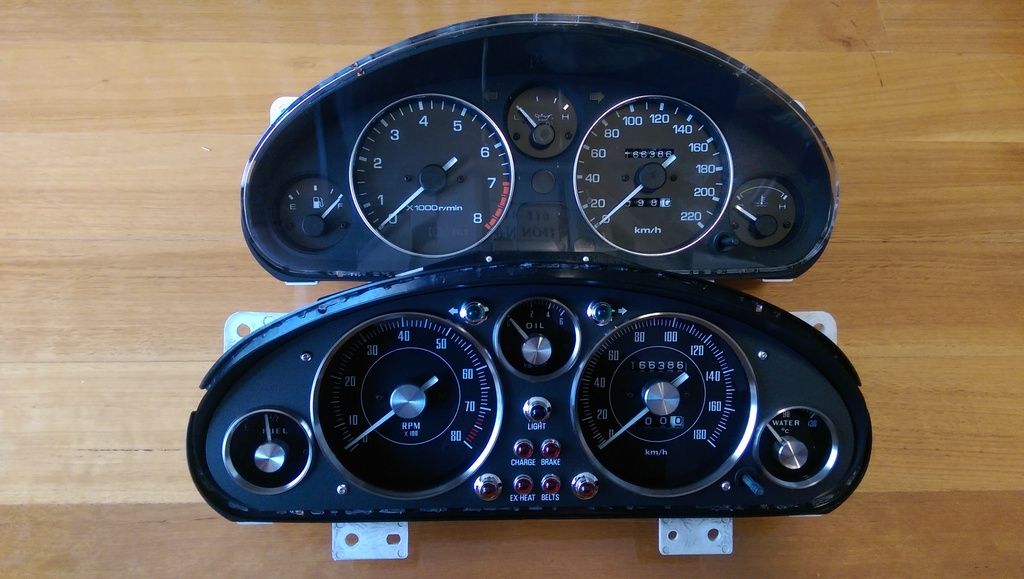
Image

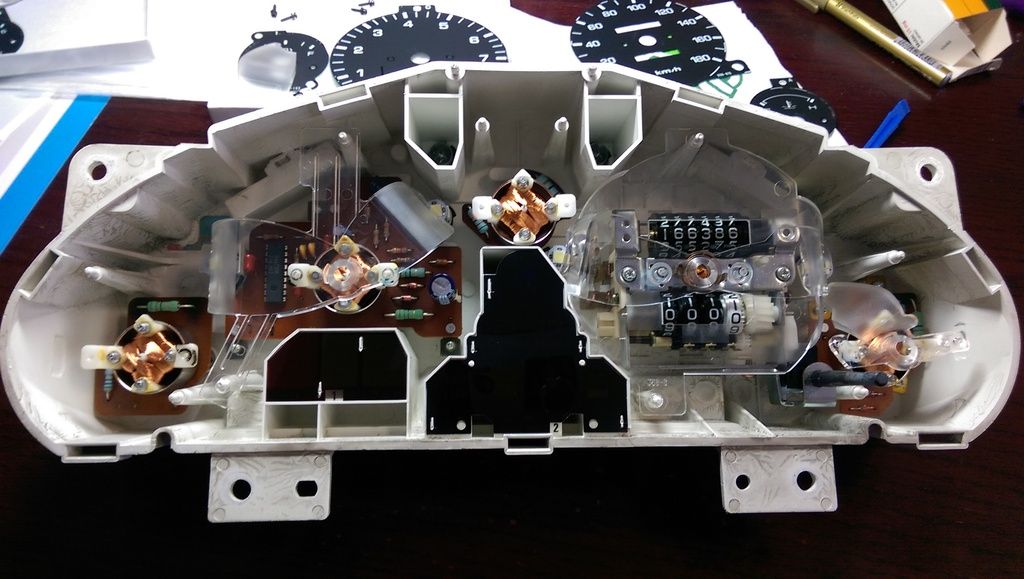
Cluster cover off, ready for surgery.
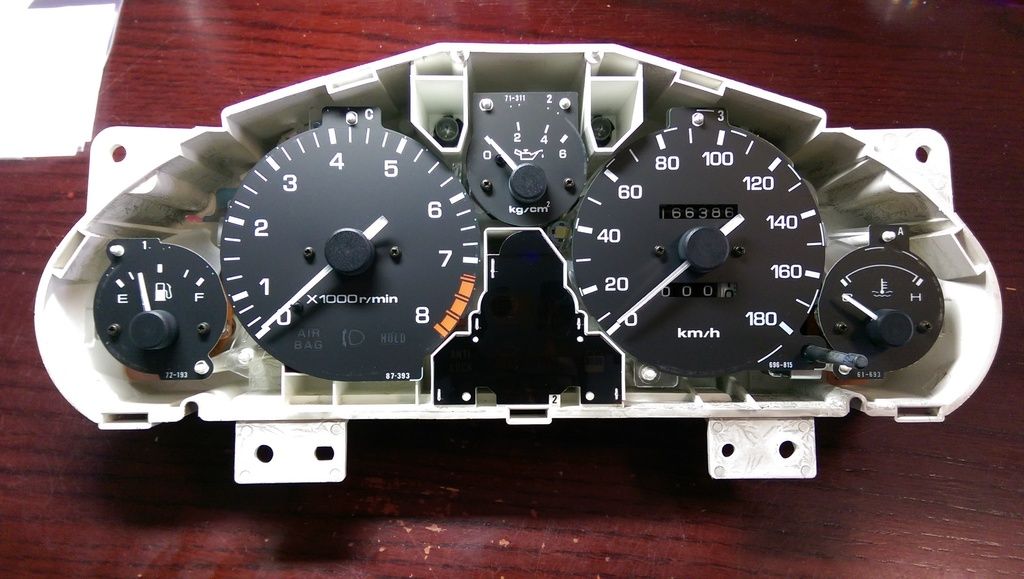
Image

OEM gauge faces and needles off.

Image

OEM centre panel indicator off.

Image

Cutting away at the three indicator lights as per instructions by RevLimiter. This is done so that the bottom of the tachometer face from the 7:00 back to 4:00 position will light up.
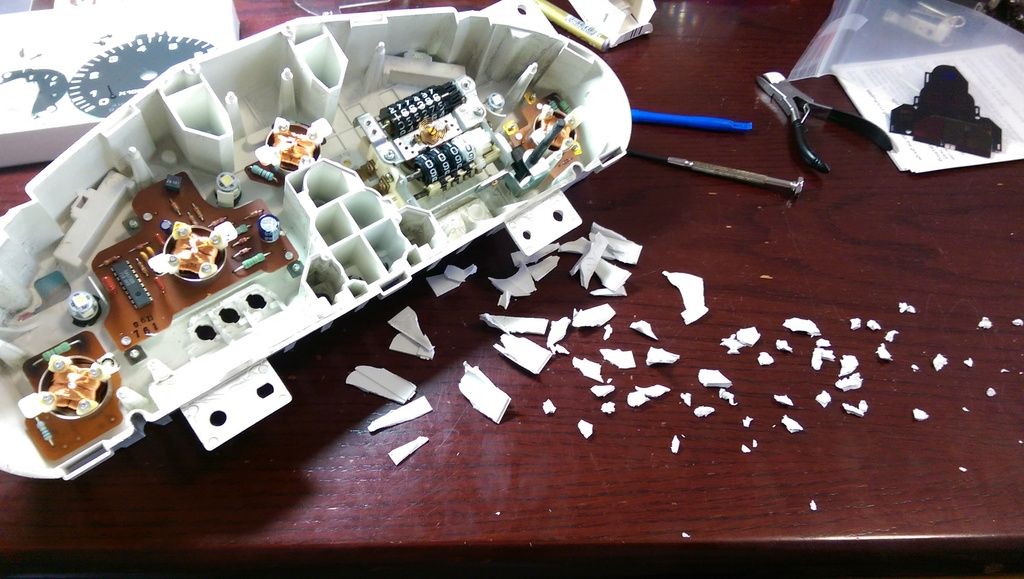
Image

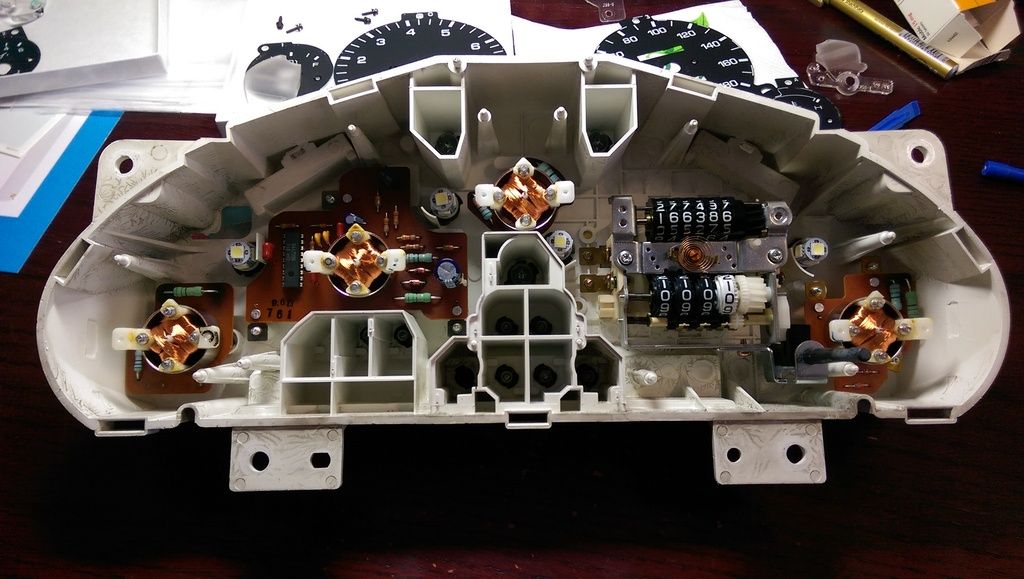
New RevLimiter "Type Smith" gauge faces installed.
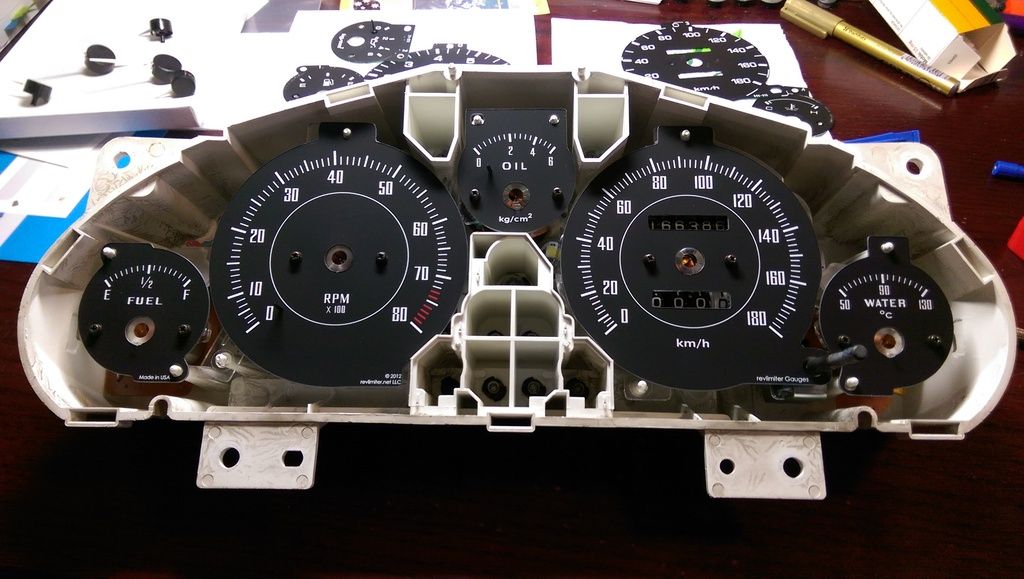
Image

RS Products cluster cover put back on.
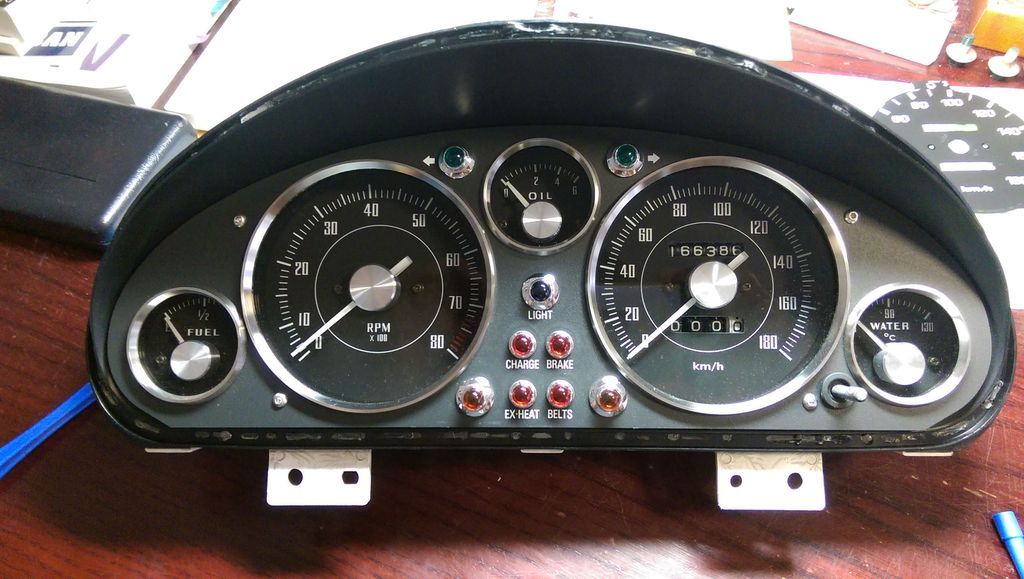
Image

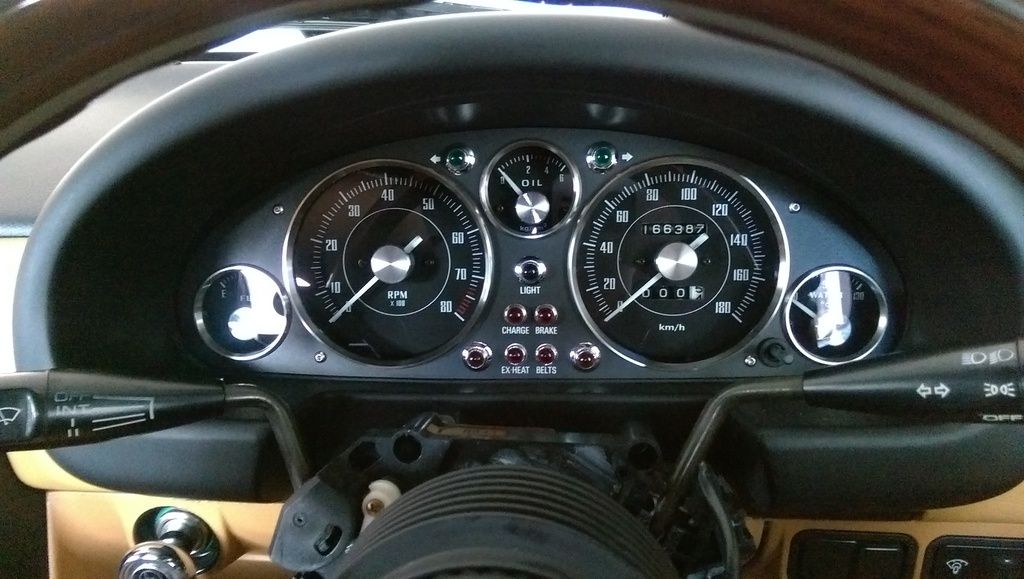
Installed in the car.

Image

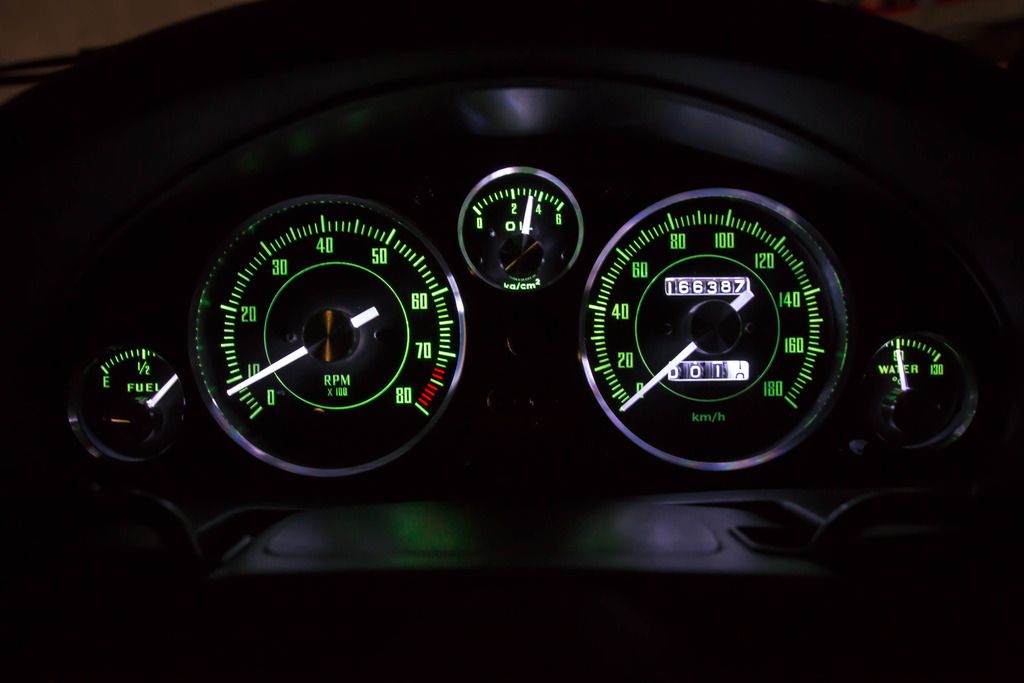
Lit up.

Image

After putting the needles back on, the only needle which was self-zeroing is the speedometer. The rest of the needles need a bit of trial an error and need to be installed while the engine is on. The water temp was easy to set and so was the fuel gauge as I had filled the tank to the brim so I could set the needle just slightly past the "F". For the tachometer, I had written down a few readings prior to me taking the OEM cluster off. They were :

- 2nd gear at 40km/h, tach reading at exactly 3000 rpm
- 3rd gear at 60km/h, tach reading one needle width over 3000 rpm
- 4th gear at 80km/h, tach reading one needle width over 3000 rpm
- 5th gear at 80km/h, tach reading at exactly 2500 rpm

It would have been easier if I had a Haltech ECU or something because that way, I can just plug a laptop in and monitor the engine speed and adjust accordingly. But because you can't really plug anything in to the stock ECU, this method was the only way. I also downloaded a digital speedometer app on my phone as an extra tool to test whether the tachometer needle was reading correctly. The app uses the GPS to determine how fast you are going.

After putting on and taking off the cluster multiple times, all five gauges were correctly calibrated and it goes without saying that I'm super happy with the results. The gauge faces look great and fits the vintage retro theme very nicely. I'll also be upgrading the HVAC panel to something similar so that it matches with the gauge face and everything ties in, but that will be for another day.
BRG.NA8
Fast Driver
Posts: 196
Joined: Sat Dec 12, 2015 10:32 pm
Vehicle: NA8

Re: 1996 BRG NA8C Build Thread

Postby BRG.NA8 » Fri Jan 06, 2017 7:08 pm

29/12/2016

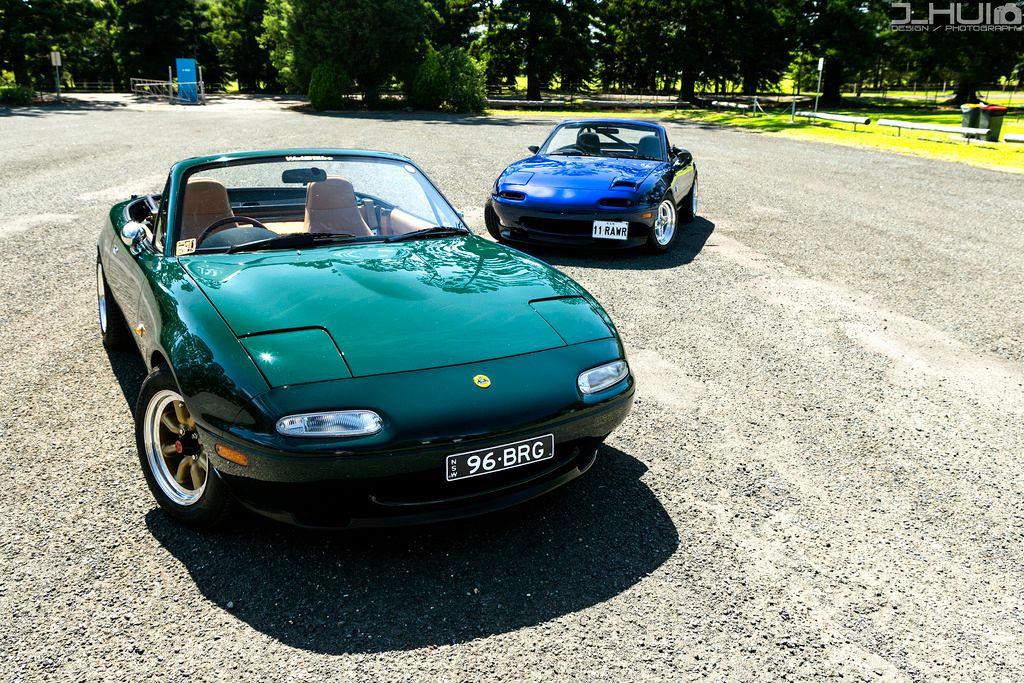
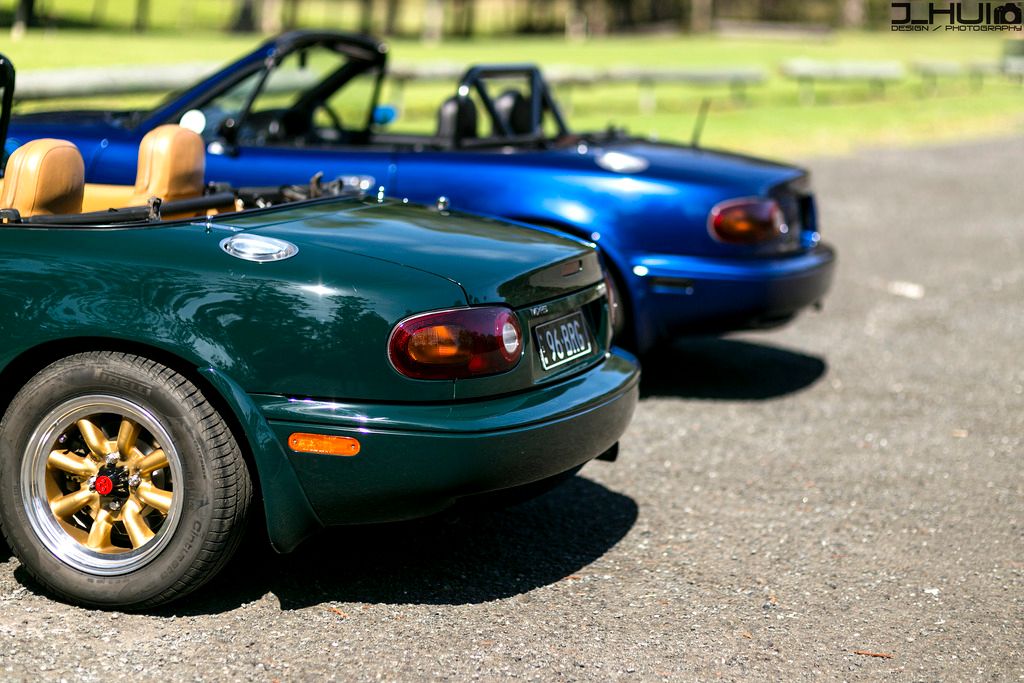
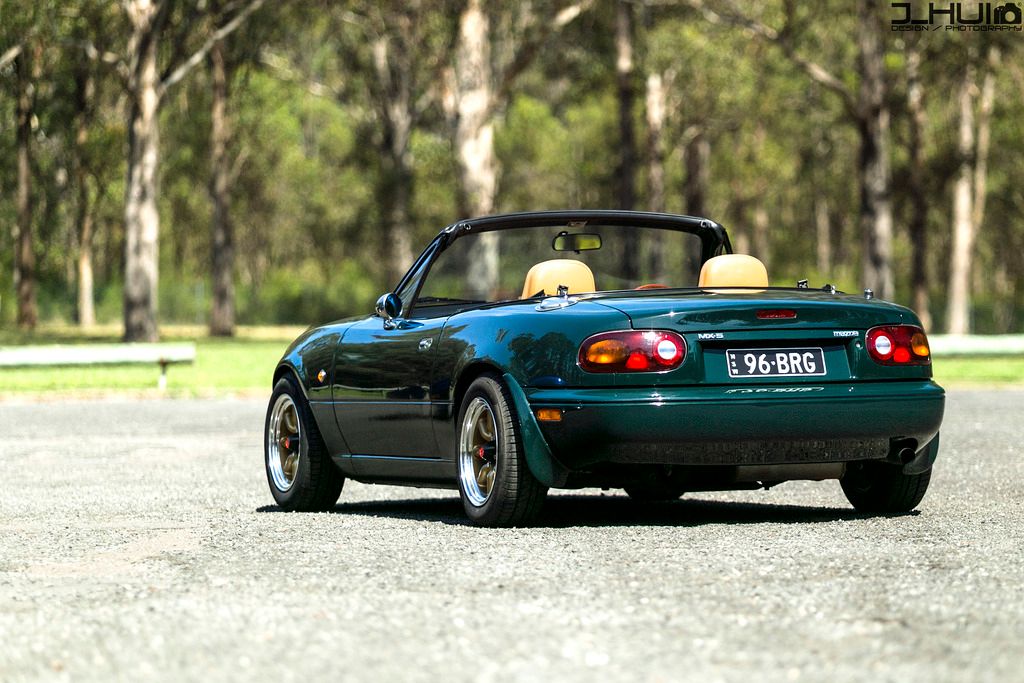
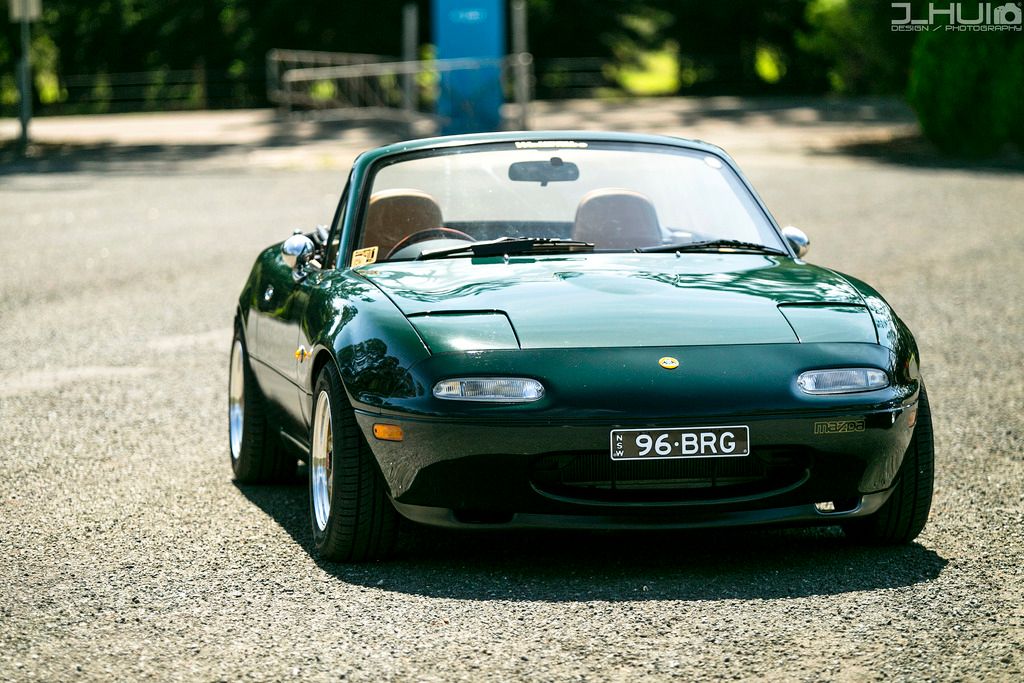
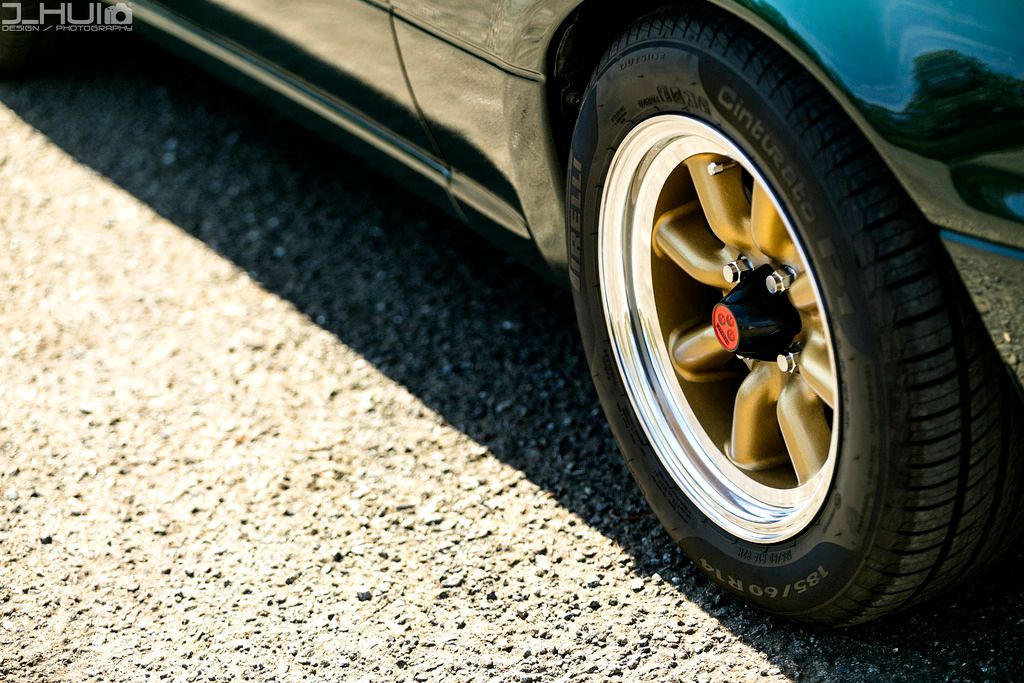
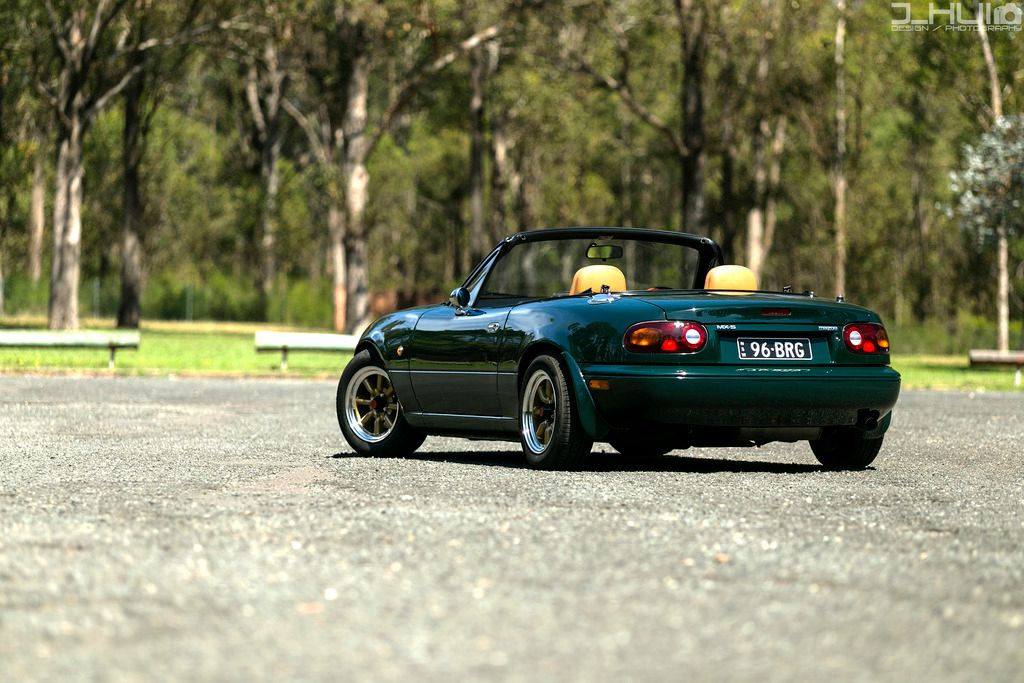
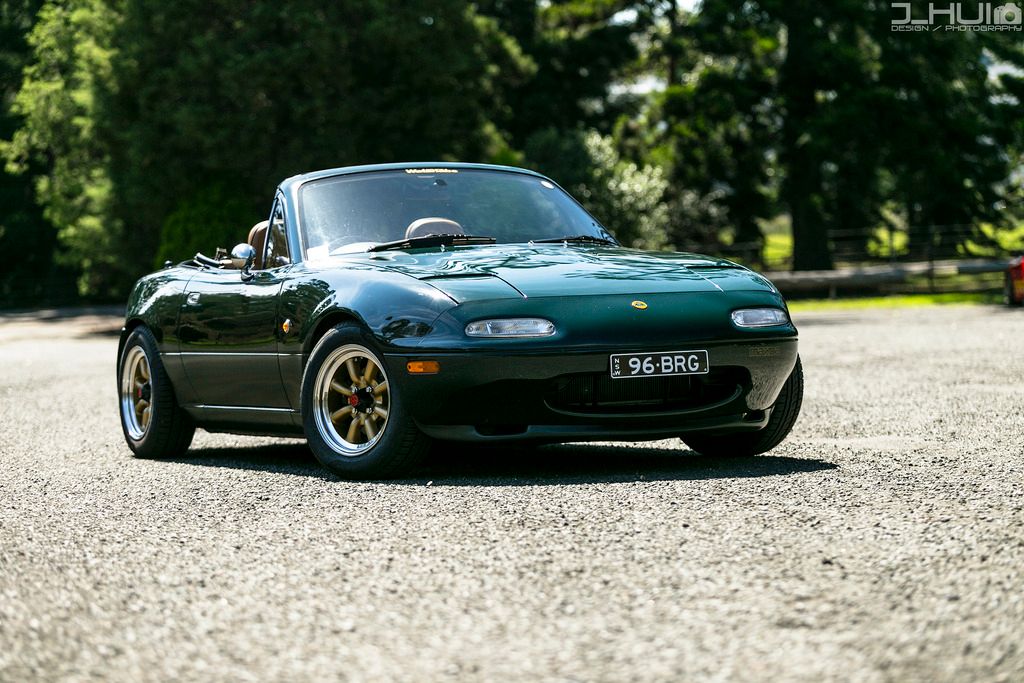
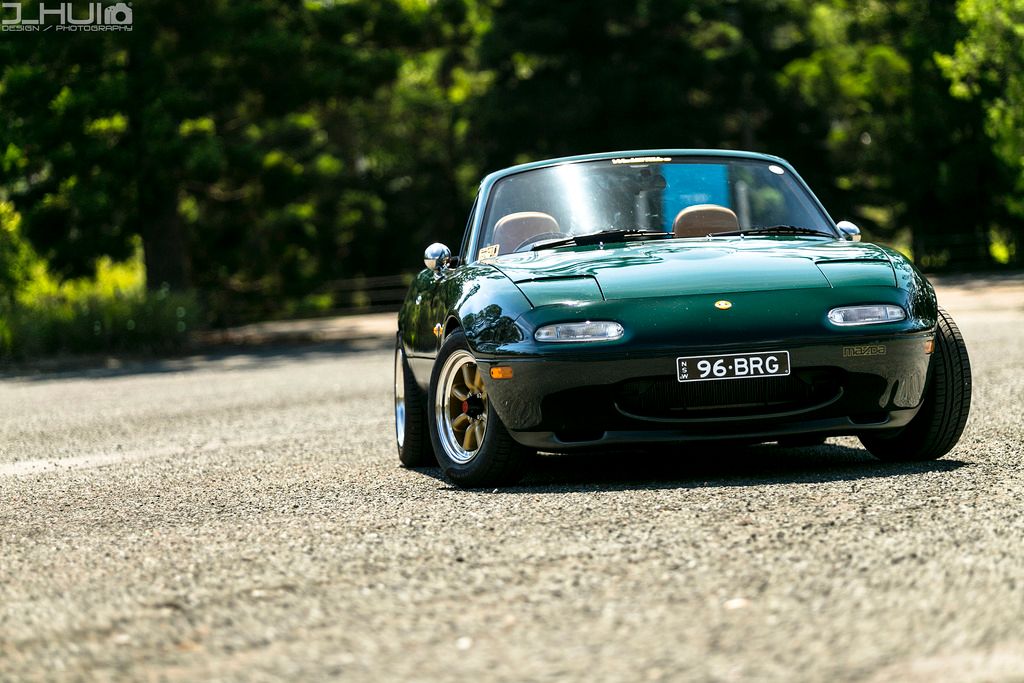
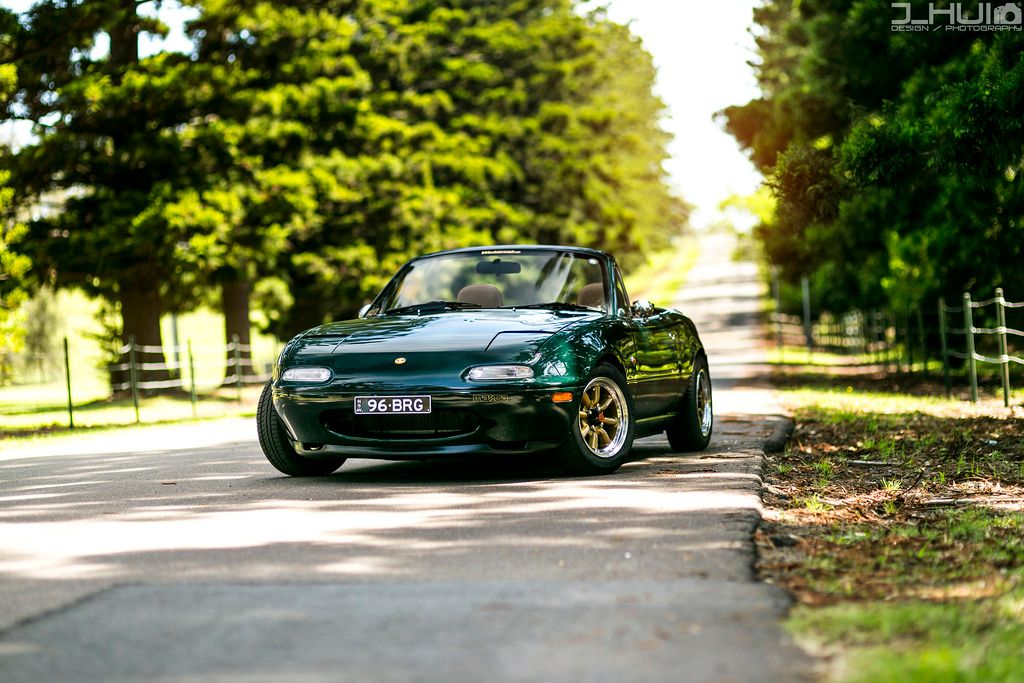
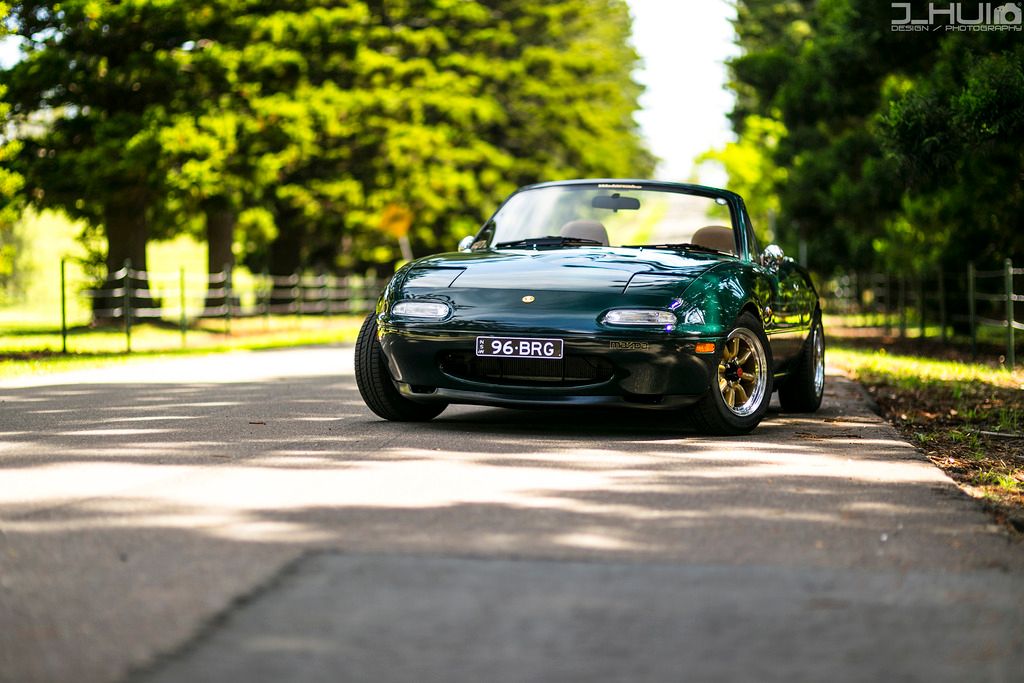
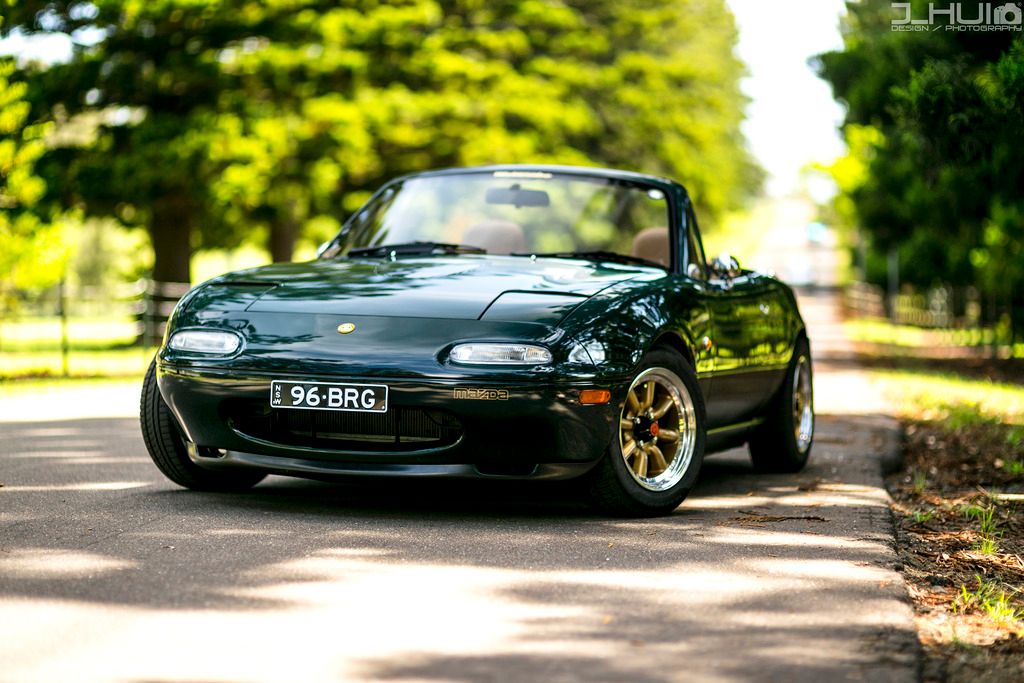
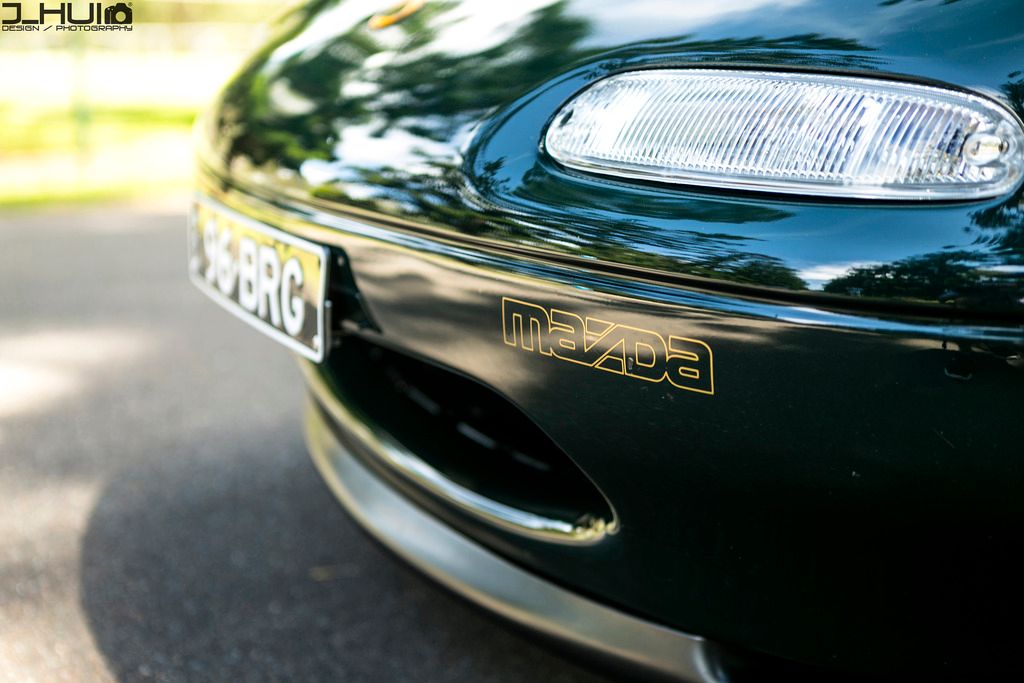
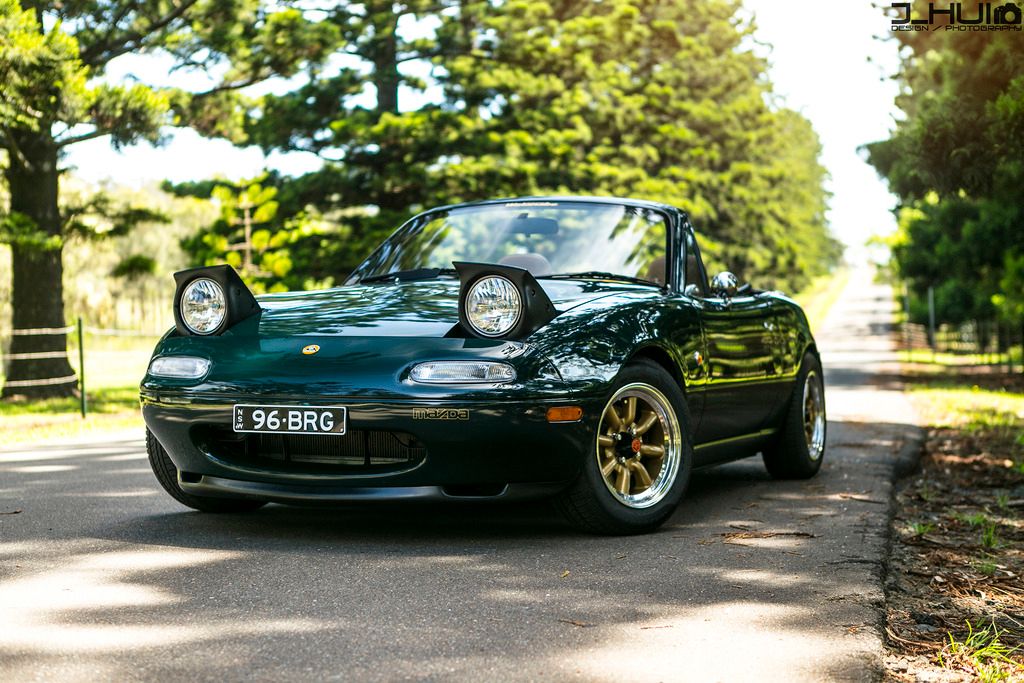
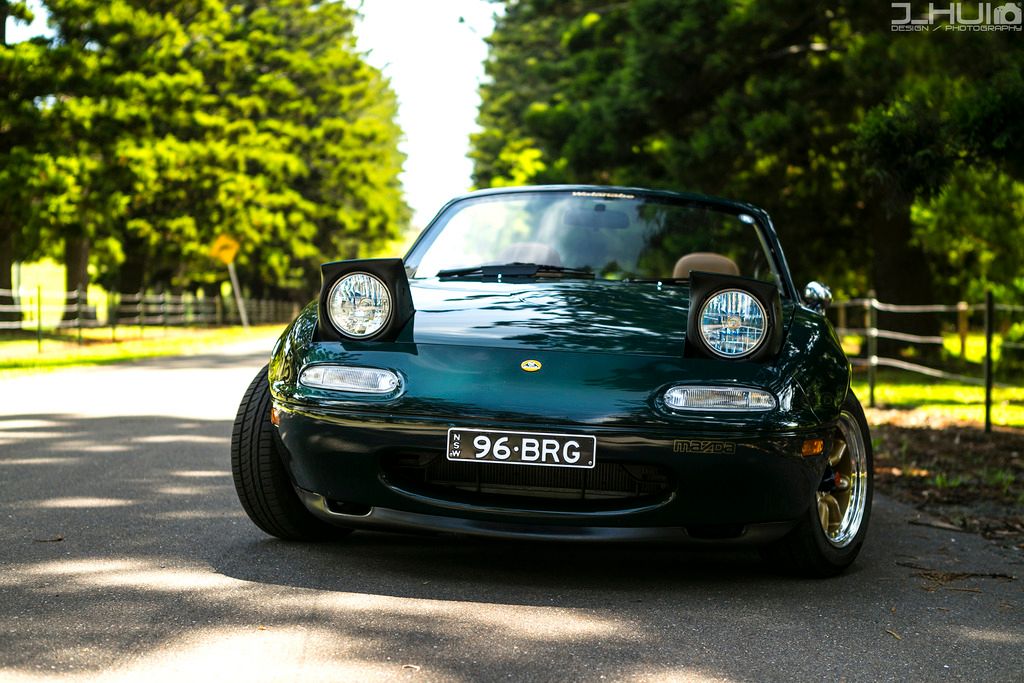
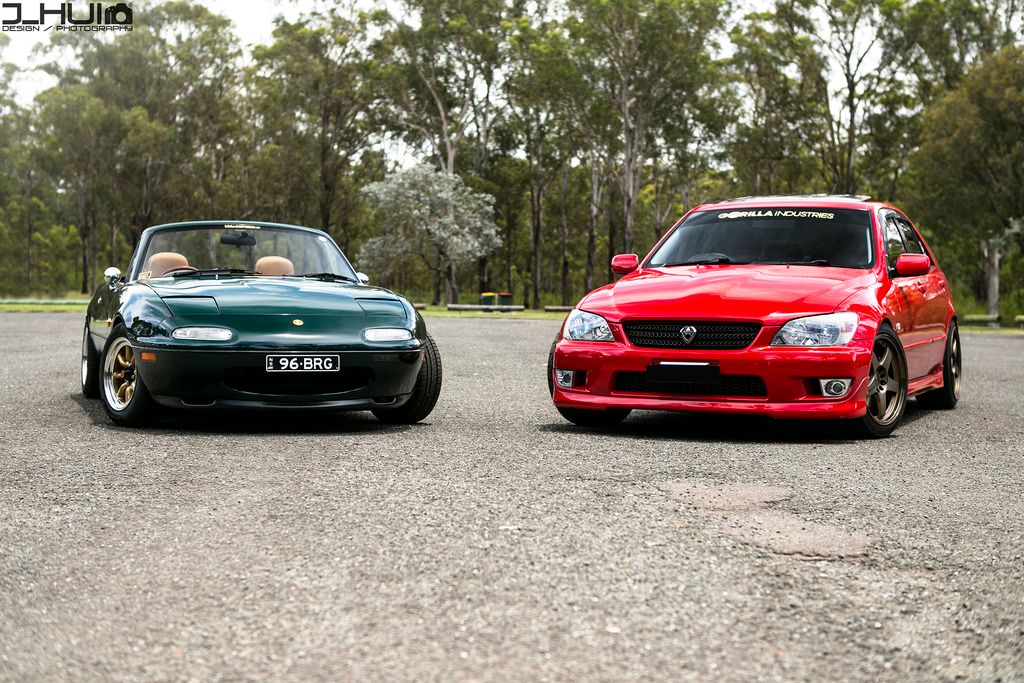
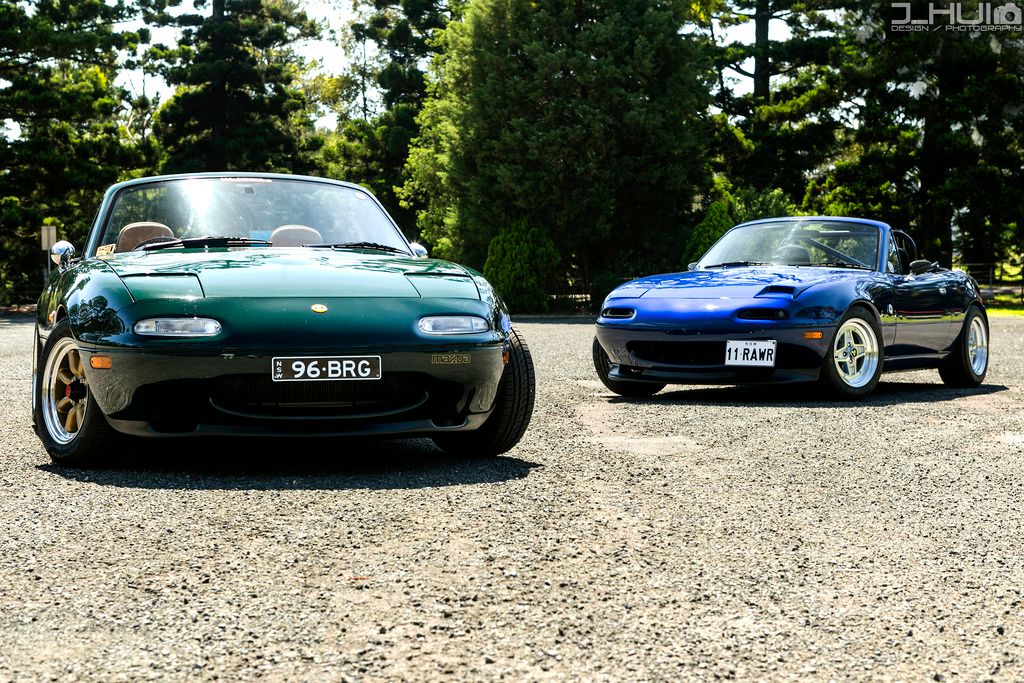
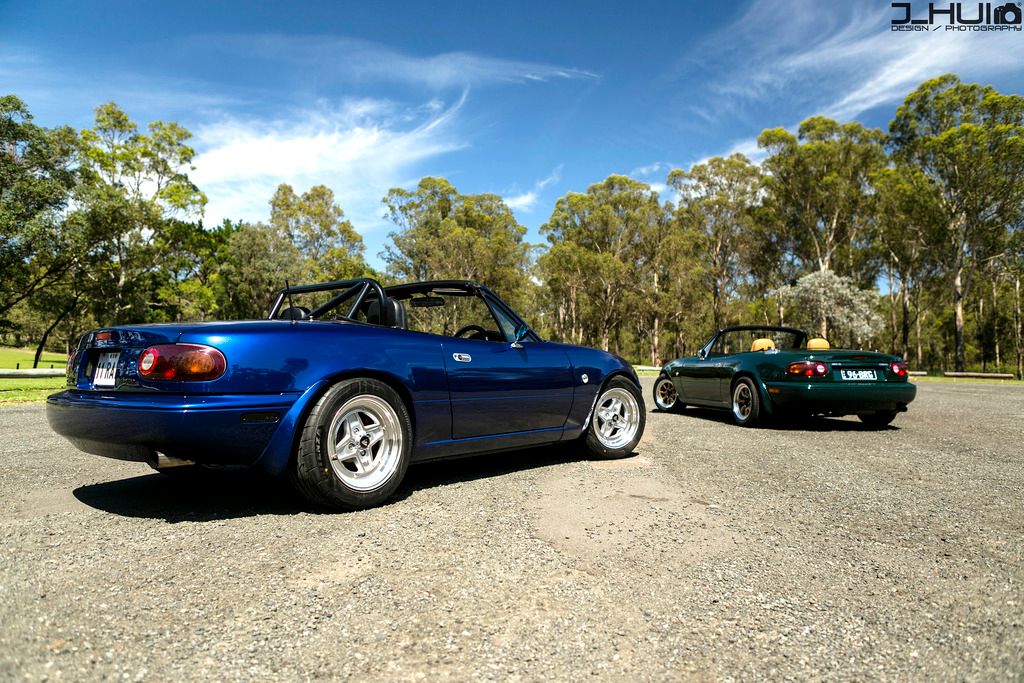
Anniversary Photoshoot
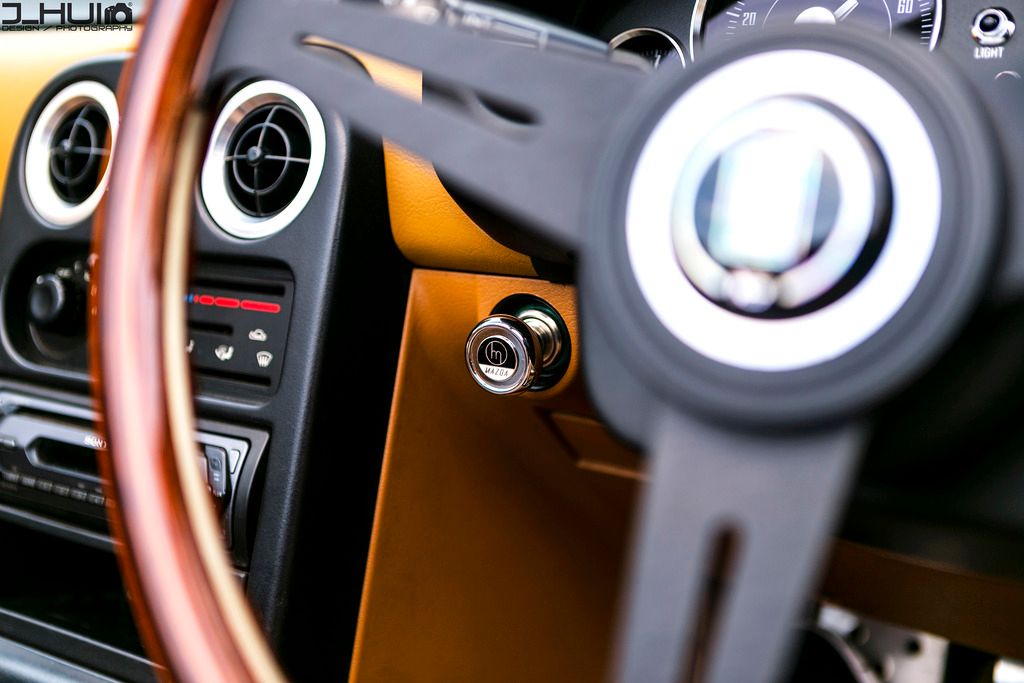
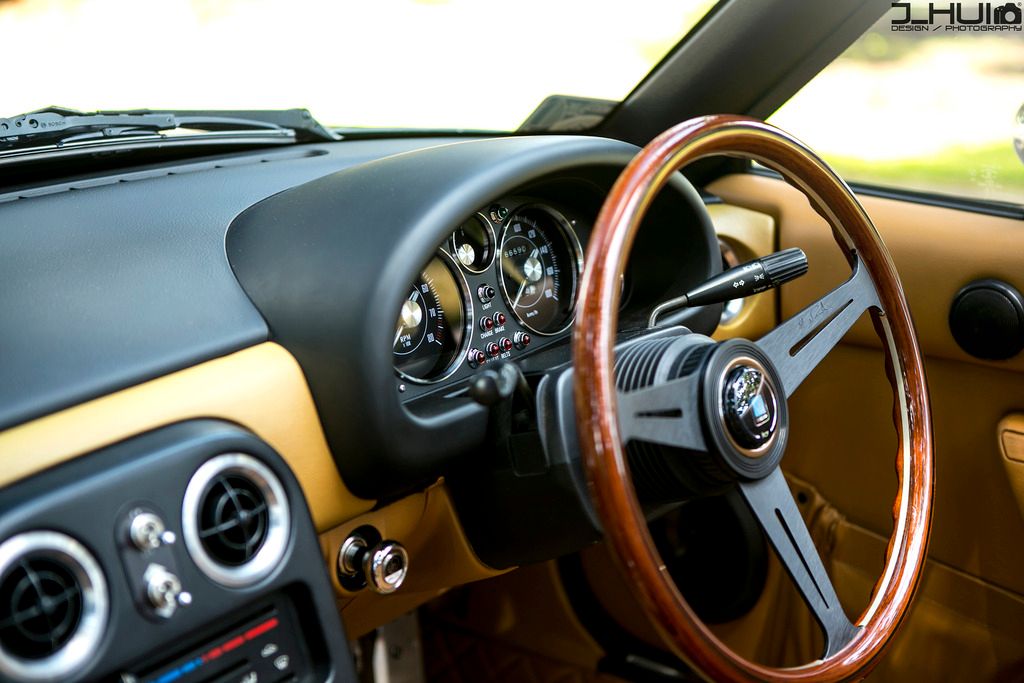
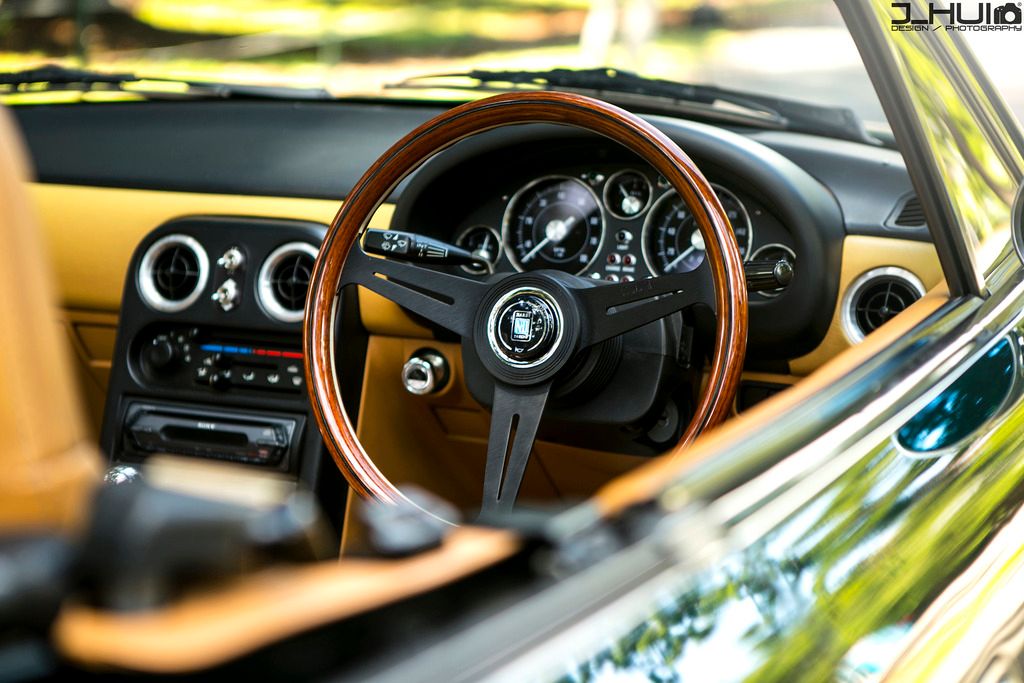
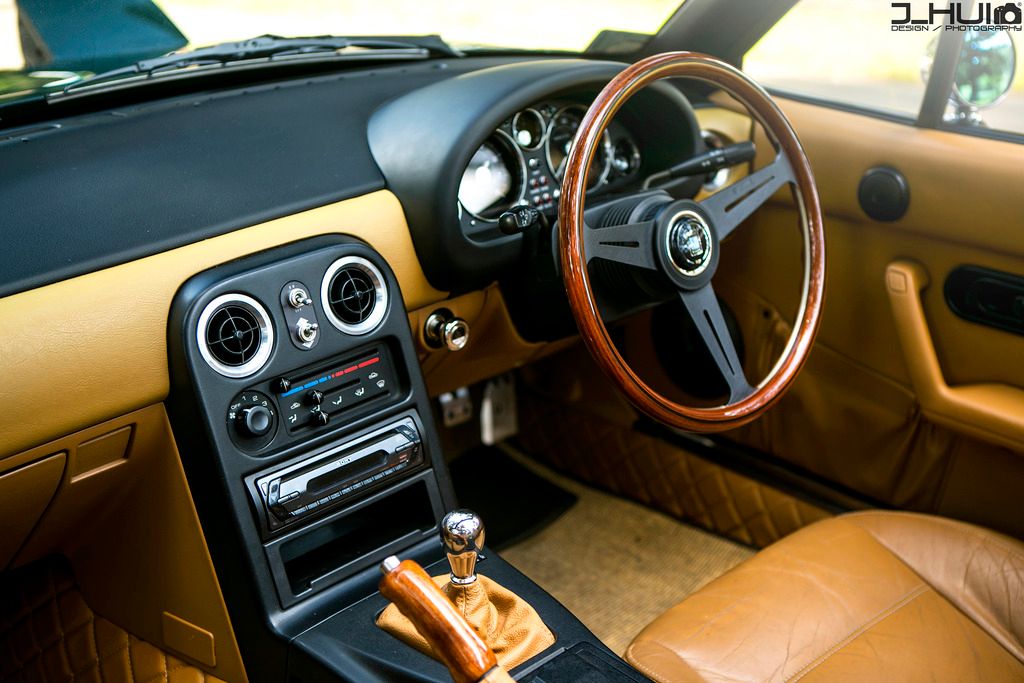
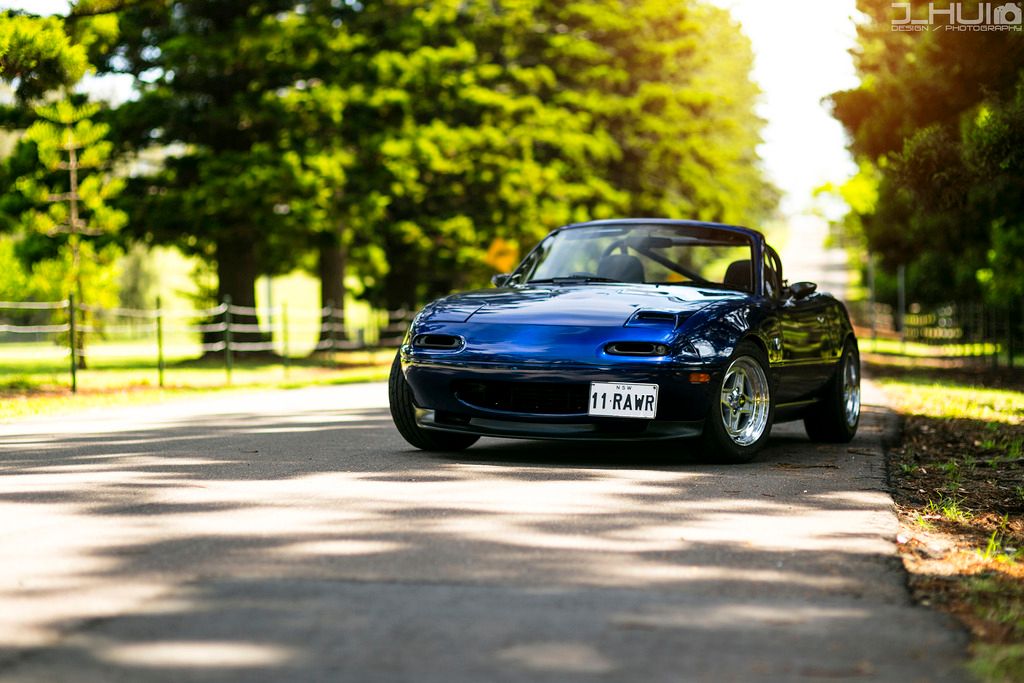
It was a great day for a photoshoot today (albeit the temperature being in the mid to high 30's. Sydney summer is in full swing). Always good to meet up with Daniel​ and Joseph​ to take a few photos and as a novice photographer, always willing to learn from experienced guys like these two.

Exactly one year ago to the day is when I met up with Joe and we did a photoshoot of my then bone stock NA8. I had owned the MX-5 for a total of sixteen days when we met up. It just so happened that he and I were both free and when I told him I had bought an MX-5, he was keen to see it and take some photos of it. Not only that, he had purchased a new lens earlier that week, so it was the perfect opportunity to test it out.

One year on and approximately 10,000kms later, the car is still going stronger than ever and it still gives me a smile ear to ear whenever I drive it. There are still a lot of things I'd like to do with this car but for the immediate short term, it'll just be top down driving until the end of summer.

2017 will see a couple more additions to my NA8. In order, here's what is planned :

* Maxim Works headers.
* Fujitsubo Legalis R catback exhaust.
* 4.1 Torsen LSD.
* Samco silicone cooling hose replacements.
* Nakamichi CD400 Headunit.
* Retrofit JDM Eunos Roadster fog lights.
* Refreshing all OEM suspension components and control arms.
* Mazdaspeed suspension bushings replacements.
* Mazdaspeed differential mount bushings replacements.
* Retrofit OEM NA8 A/C unit with all component parts.
* CocoMats Sisal custom floor mats.
* Maruha faster power window regulators.
* Nakamae tan plain doorcards with tan door pull straps.
* Nakamae tan quilted seats with the seats re-foamed and re-upholstered.
* Robbins cloth soft top with glass rear window, no demister lines.
* Wilwood 4 pot front brake calipers.
* BBS Mahle 14x6 +13 wheels in silver (second set of wheels).

The photo set includes photos of Joe's limited edition Lexus IS200 as well as Daniel's Jackson Racing supercharged NA6CE MX-5.

Image

Image

Image

Image

Image

Image

Image

Image

Image

Image

Image

Image

Image

Image

Image

Image

Image

Image

Image

Image

BRG.NA8
Fast Driver
Posts: 196
Joined: Sat Dec 12, 2015 10:32 pm
Vehicle: NA8

Re: 1996 BRG NA8C Build Thread

Postby BRG.NA8 » Fri Jan 06, 2017 7:08 pm

...continued

Image

Image

Image

Image

Image

Image

Image

Image

Image


Happy new year everybody! Wishing everyone a prosperous 2017 with nothing but happiness and success!

Image

User avatar
pcmx5
Racing Driver
Posts: 1648
Joined: Thu Apr 24, 2003 11:00 am
Vehicle: ND - 2
Location: Geelong Vic.
Contact:

Re: 1996 BRG NA8C Build Thread

Postby pcmx5 » Fri Jan 06, 2017 9:57 pm

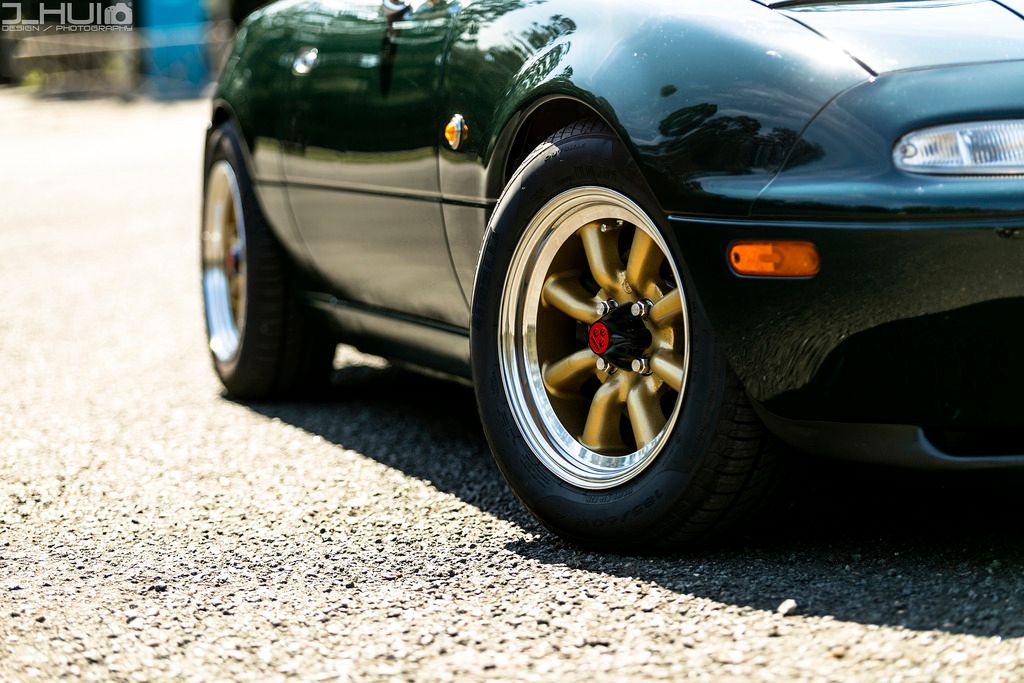
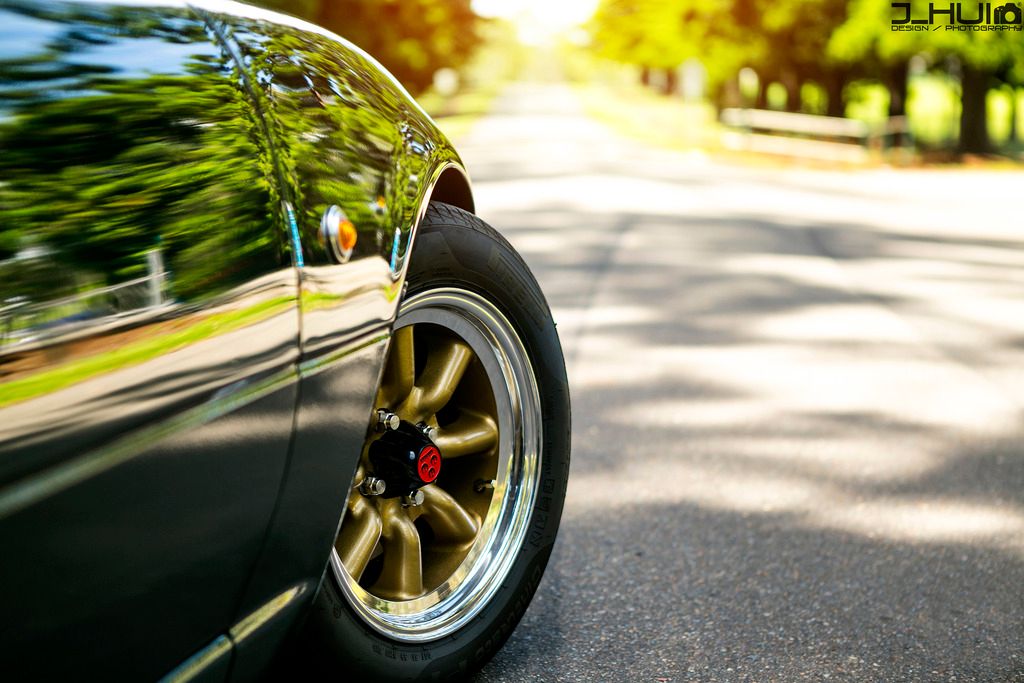
Car looks sensational although I would ditch the red wheel caps but that is only MHO!!Love the interior and the dash,congratulations on your work! Remember that there is always a "finish" point and don't go beyond that!

Your car is amazing congratulations again.

Peter.
.Now ND2 Roadster prev NC2 Recaro's ,BBS wheels,full exhaust, Tiens NA 1.6.NA 1.8 LE(106RWKW)NC1,NC2.ND 1.5 .

User avatar
LiteIsRite
Fast Driver
Posts: 424
Joined: Mon Apr 08, 2013 8:16 pm
Vehicle: NA6
Location: Northern Rivers NSW

Re: 1996 BRG NA8C Build Thread

Postby LiteIsRite » Sat Jan 07, 2017 9:56 am

The nicest BRG I've seen - well done! I may move from 15" to 14" wheels one day - what do you think of those Pirelli's? (apologies if you've covered that earlier in your thread, which I haven't read yet.)
”How you get there is the worthier part.” - Shepherd Book, Firefly
"Cherry" - Classic Red 1990 NA6 :NA6: [sold]

User avatar
KevGoat
Speed Racer
Posts: 3940
Joined: Sun Jun 17, 2012 8:48 pm
Vehicle: NB SE
Location: Down South, Adelaide, SA

Re: 1996 BRG NA8C Build Thread

Postby KevGoat » Sat Jan 07, 2017 12:04 pm

Beautifully modified. Classy.

Sent from my SM-G930F using Tapatalk

Ruffian147
Fast Driver
Posts: 138
Joined: Thu Apr 23, 2015 5:27 am
Vehicle: Non MX-5

Re: 1996 BRG NA8C Build Thread

Postby Ruffian147 » Sat Jan 07, 2017 3:04 pm

pcmx5 wrote:Car looks sensational although I would ditch the red wheel caps but that is only MHO!!Love the interior and the dash,congratulations on your work! Remember that there is always a "finish" point and don't go beyond that!

Your car is amazing congratulations again.

Peter.


The red wheel caps are original Watanabe caps. Goes with the wheels.

User avatar
smy0003
Racing Driver
Posts: 1870
Joined: Mon Dec 30, 2013 12:35 pm
Vehicle: NA8
Location: Melbourne

Re: 1996 BRG NA8C Build Thread

Postby smy0003 » Sat Jan 07, 2017 3:08 pm

Yes, can't run Wats without the proper (red) centrecaps.
[b]Then: Sunlight Silver NB8B
Now: Chaste White NA8

Ruffian147
Fast Driver
Posts: 138
Joined: Thu Apr 23, 2015 5:27 am
Vehicle: Non MX-5

Re: 1996 BRG NA8C Build Thread

Postby Ruffian147 » Sat Jan 07, 2017 3:43 pm

smy0003 wrote:Yes, can't run Wats without the proper (red) centrecaps.


Don't be sarcastic. Builds like these are far and few seen. Problaby better posting on a US forum, be more appreciated.

User avatar
smy0003
Racing Driver
Posts: 1870
Joined: Mon Dec 30, 2013 12:35 pm
Vehicle: NA8
Location: Melbourne

Re: RE: Re: 1996 BRG NA8C Build Thread

Postby smy0003 » Sat Jan 07, 2017 4:51 pm

Ruffian147 wrote:
smy0003 wrote:Yes, can't run Wats without the proper (red) centrecaps.


Don't be sarcastic. Builds like these are far and few seen. Problaby better posting on a US forum, be more appreciated.

I do post on his build thread on MR.net.
I wasn't being sarcastic.
Simmer down ;)

Sent from my LG-H815
[b]Then: Sunlight Silver NB8B
Now: Chaste White NA8

DMc2014
Learner Driver
Posts: 15
Joined: Tue Oct 28, 2014 10:22 pm
Vehicle: NA6
Location: Victoria

Re: 1996 BRG NA8C Build Thread

Postby DMc2014 » Sat Jan 07, 2017 5:17 pm

Well done with your build. Would be great to see it in the flesh!
Also impressed with the thread. Very generous of you to share so much. A big, informative read with excellent photography. Thanks and well done!


Sent from my SM-N920I using Tapatalk

lucmor444
Racing Driver
Posts: 517
Joined: Thu Dec 29, 2016 9:41 pm
Vehicle: NA8

Re: 1996 BRG NA8C Build Thread

Postby lucmor444 » Sat Jan 07, 2017 5:31 pm

Lovely car and great thread - provides inspiration to what is possible on my recently acquired MX-5.

User avatar
bigdog
King of the kennel
Posts: 2233
Joined: Wed May 25, 2005 3:07 pm
Vehicle: NB SP
Location: Blue Mountains
Contact:

Re: 1996 BRG NA8C Build Thread

Postby bigdog » Sat Jan 07, 2017 6:13 pm

Love it!


Sent from my iPhone using Tapatalk Pro
Image
Marvin - '02 Silver SP - BD, PSS9, Guru, Build #62 Cardomain

Ruffian147
Fast Driver
Posts: 138
Joined: Thu Apr 23, 2015 5:27 am
Vehicle: Non MX-5

Re: RE: Re: 1996 BRG NA8C Build Thread

Postby Ruffian147 » Sat Jan 07, 2017 9:44 pm

smy0003 wrote:
Ruffian147 wrote:
smy0003 wrote:Yes, can't run Wats without the proper (red) centrecaps.


Don't be sarcastic. Builds like these are far and few seen. Problaby better posting on a US forum, be more appreciated.

I do post on his build thread on MR.net.
I wasn't being sarcastic.
Simmer down ;)

Sent from my LG-H815


All good.

Not only it does have a good feel about the build. Some of the parts are very rare.

BRG.NA8
Fast Driver
Posts: 196
Joined: Sat Dec 12, 2015 10:32 pm
Vehicle: NA8

Re: 1996 BRG NA8C Build Thread

Postby BRG.NA8 » Sat Jan 07, 2017 9:46 pm

pcmx5 wrote:Car looks sensational although I would ditch the red wheel caps but that is only MHO!!Love the interior and the dash,congratulations on your work! Remember that there is always a "finish" point and don't go beyond that!

Your car is amazing congratulations again.

Peter.


Thanks Peter for the kind words mate! As for being "finished"...well, I'll let you know when I get there! Hahaha It's not there yet in my eyes :)

LiteIsRite wrote:The nicest BRG I've seen - well done! I may move from 15" to 14" wheels one day - what do you think of those Pirelli's? (apologies if you've covered that earlier in your thread, which I haven't read yet.)


Hey mate! Nah I haven't done a proper review on the Pirelli's in my thread but as a road tyre, they're pretty good! Quite grippy and feels great through corners. Not much road noise either. Ideally I would have loved a brand new set of RE001's but sadly they dont make them for the 14" any more :(

KevGoat wrote:Beautifully modified. Classy.

Sent from my SM-G930F using Tapatalk


Cheers mate! Appreciate it!

smy0003 wrote:Yes, can't run Wats without the proper (red) centrecaps.


Thanks Rohan :) Yes, I love the centrecaps myself personally. I understand though that it might not be for everyone but I love it! Goes well with the rest of the Watanabe hardware the wheel has

DMc2014 wrote:Well done with your build. Would be great to see it in the flesh!
Also impressed with the thread. Very generous of you to share so much. A big, informative read with excellent photography. Thanks and well done!


Sent from my SM-N920I using Tapatalk


Thank you mate! If you do see it, come say hi

No point in hoarding information and keeping it for yourself! I managed to get a lot of information from others too and it's always great seeing another persons vision of their car come to life and if whatever info I have in my thread helped them well then that's pretty cool in my books :)

lucmor444 wrote:Lovely car and great thread - provides inspiration to what is possible on my recently acquired MX-5.


Indeed mate! It's a great car to modify and to learn how to do things DIY.

bigdog wrote:Love it!


Sent from my iPhone using Tapatalk Pro


Cheers bigdog!


Return to “MX5 Garage Chat”

Who is online

Users browsing this forum: No registered users and 169 guests