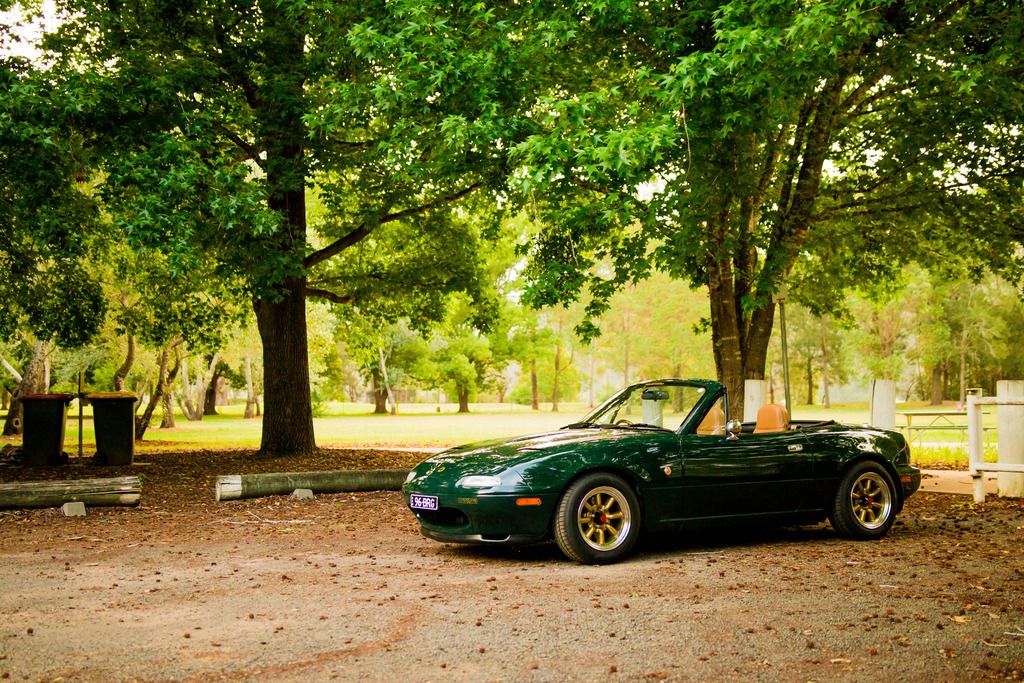
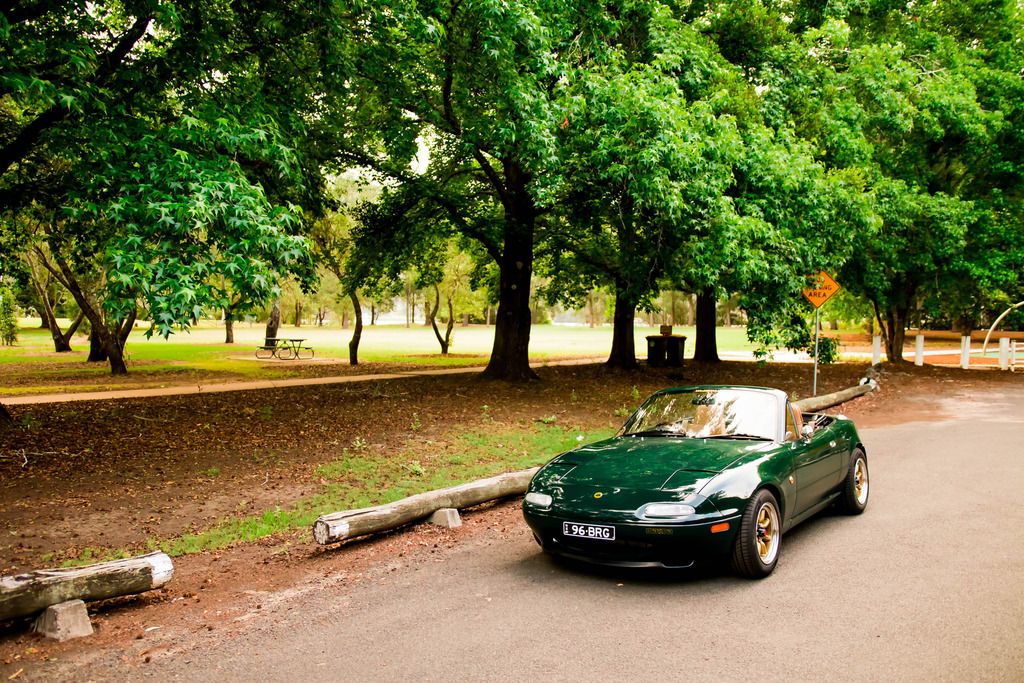
1996 BRG NA8C Build Thread

Chat to do with your MX5/Miata/Eunos Garage Ride(s).

Moderators: timk, Stu, zombie, Andrew, The American, Lokiel, -alex, miata, StanTheMan, greenMachine, ManiacLachy, Daffy

BRG.NA8
Fast Driver
Posts: 196
Joined: Sat Dec 12, 2015 10:32 pm
Vehicle: NA8

Re: 1996 BRG NA8C Build Thread

Postby BRG.NA8 » Fri Jan 06, 2017 7:00 pm

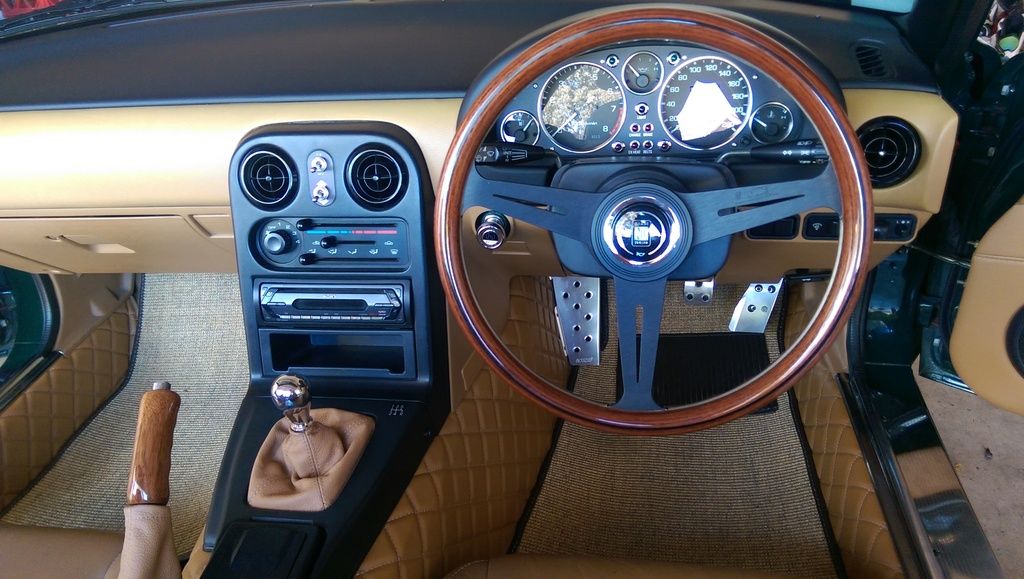
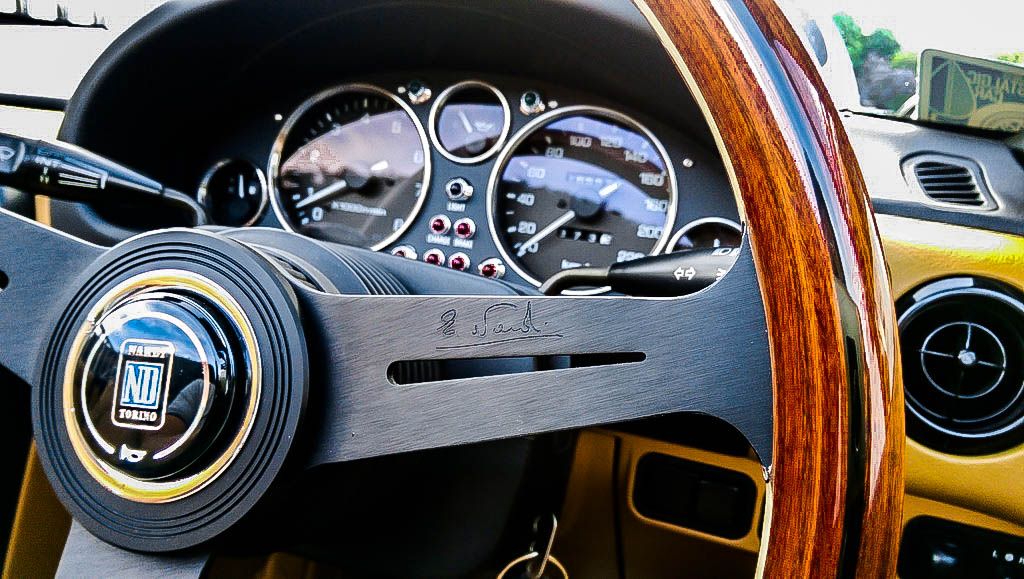
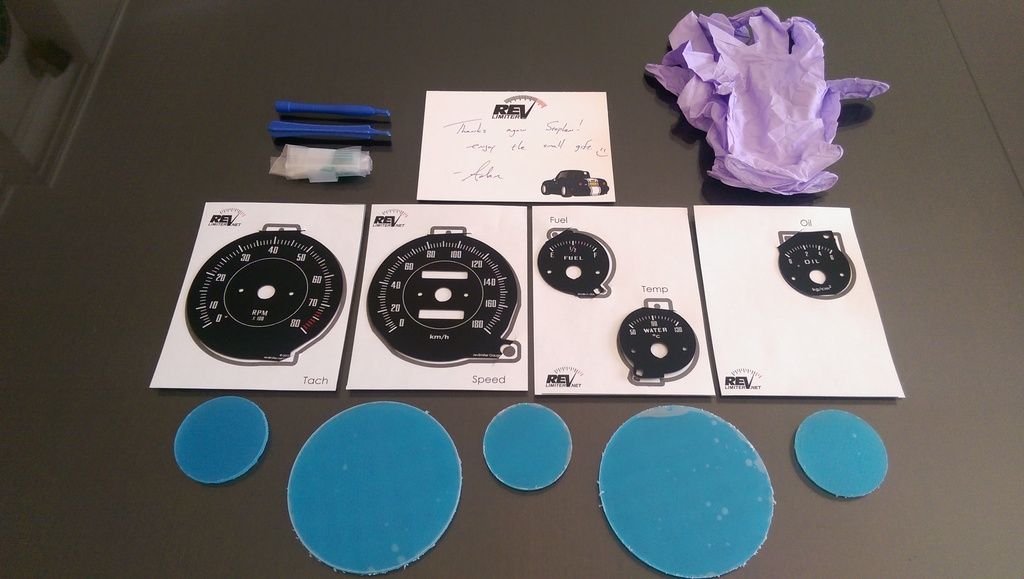
I contacted Adam from RevLimiter a while ago to ask him if he could make me a custom set of gauge faces as I wanted something which would make the cluster fit the retro theme. I decided to go with the RS-Products Type RS gauge faces but with a little bit of customisation, such as higher red line on the tach and green backlit on the faces. As always, workmanship is second to none and the end result looks fantastic! Always a pleasure dealing with Adam.

Also grabbed the RevLimiter low reflective/low glare lenses for my RS-Products cluster. The glass, as nice as it is, reflects too much with the top down on a sunny day and makes it hard to see the gauge cluster. Hopefully by replacing them with these it will improve it.

RevLimiter Type-RS Gauges + Revlimiter low glare lenses.

Image

BRG.NA8
Fast Driver
Posts: 196
Joined: Sat Dec 12, 2015 10:32 pm
Vehicle: NA8

Re: 1996 BRG NA8C Build Thread

Postby BRG.NA8 » Fri Jan 06, 2017 7:00 pm

02/08/2016

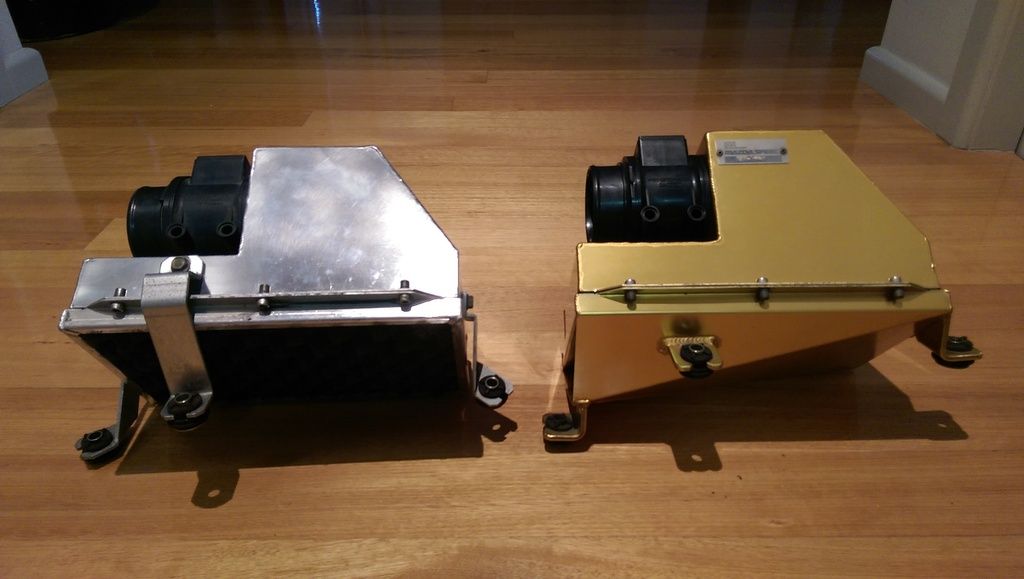
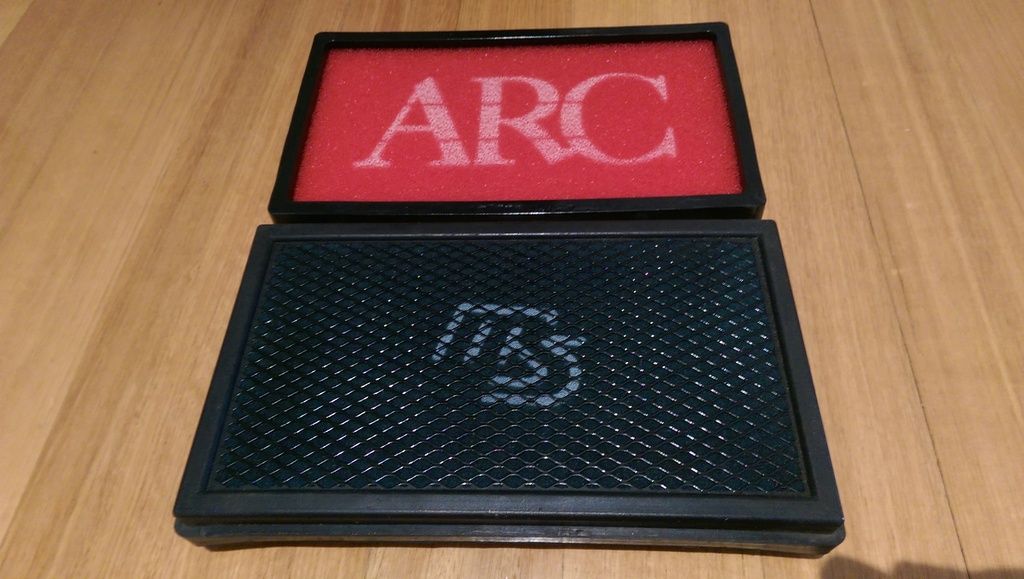
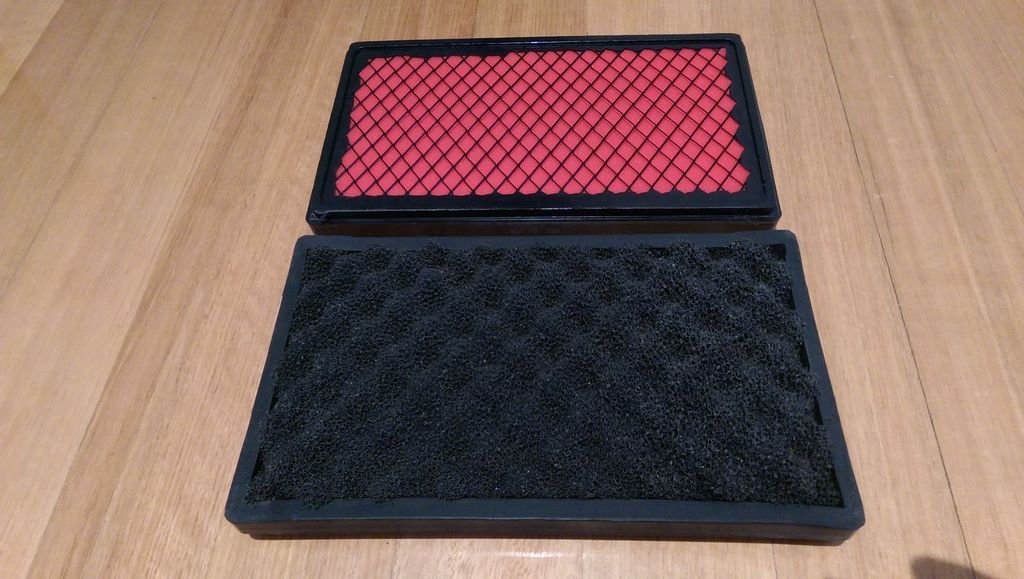
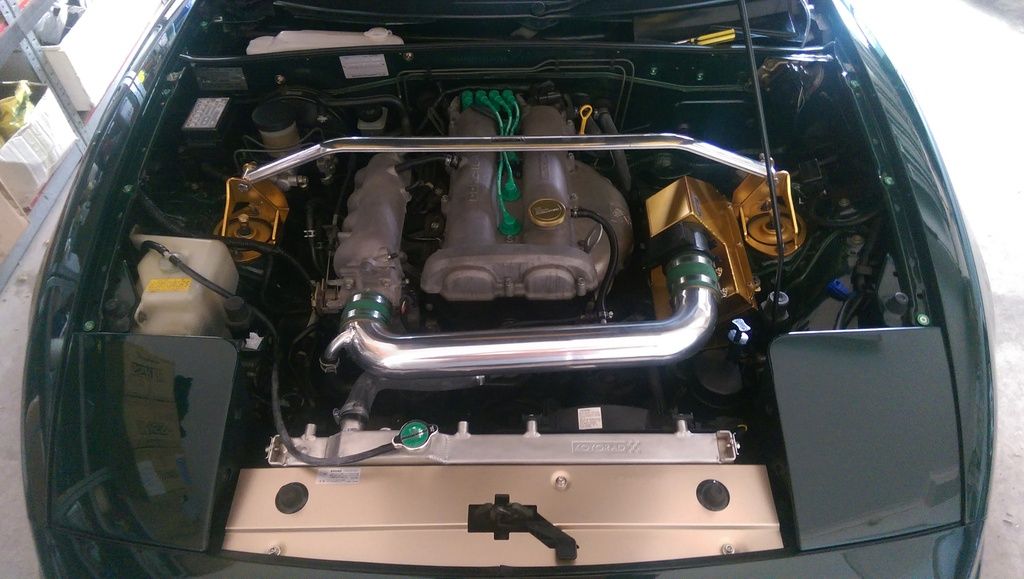
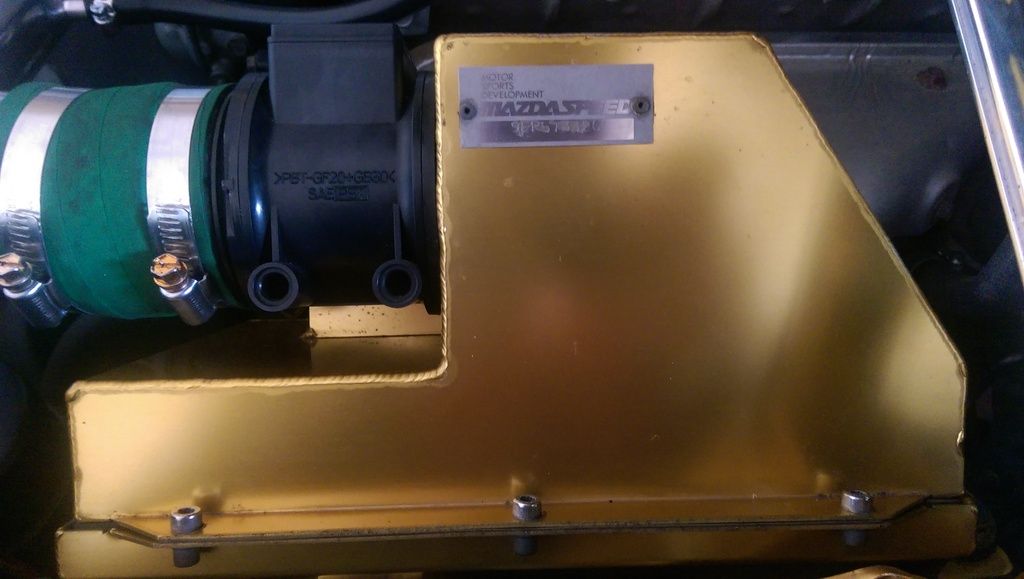
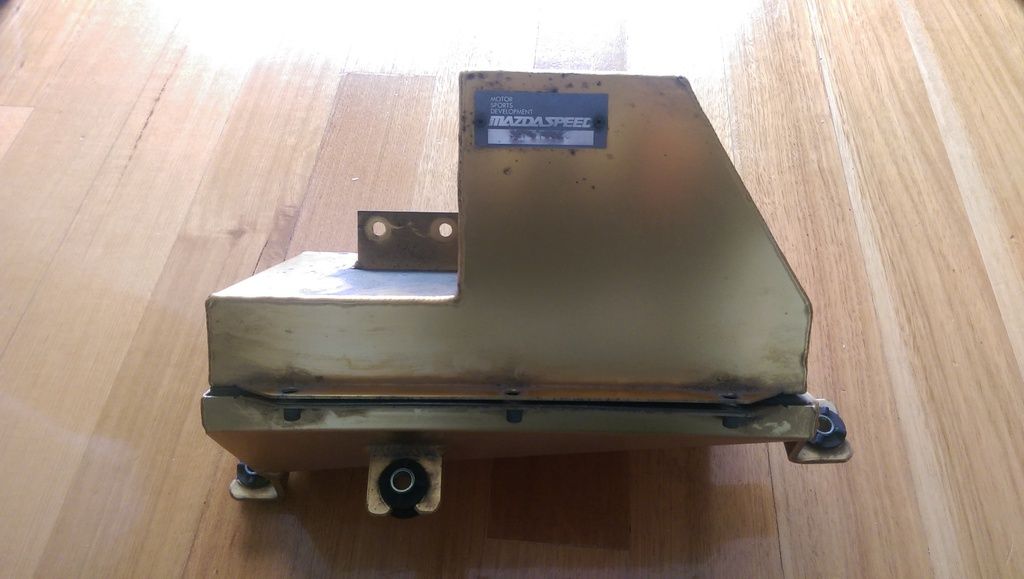
Mazdaspeed Induction Box + Mazdaspeed Panel Air Filter
I was extremely lucky to have scored this Mazdaspeed Induction Box from Yahoo Japan. I've wanted one ever since a friend showed me a picture of it. Given the fact that it's a pretty rare item made it that much more appealing. I still have the ARC Induction Chamber and the ARC Induction Box too and they are very nice items as well. I decided to hold on to these items for the time being in case I decide to get another MX-5 in the future. Who knows, right?

Mazdaspeed Induction Box.

Image

ARC Induction Box VS Mazdaspeed Induction Box.

Image

ARC Panel Filter VS Mazdaspeed Panel Filter

Image

Image

Before.

Image

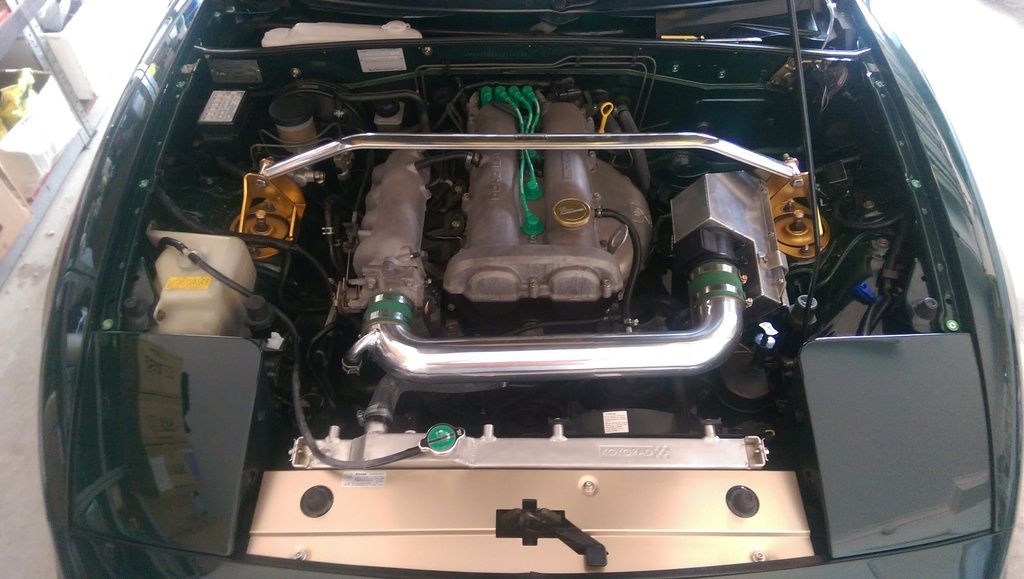
After. Goes well with the rest of the gold/green bits in the engine bay.

Image

Image


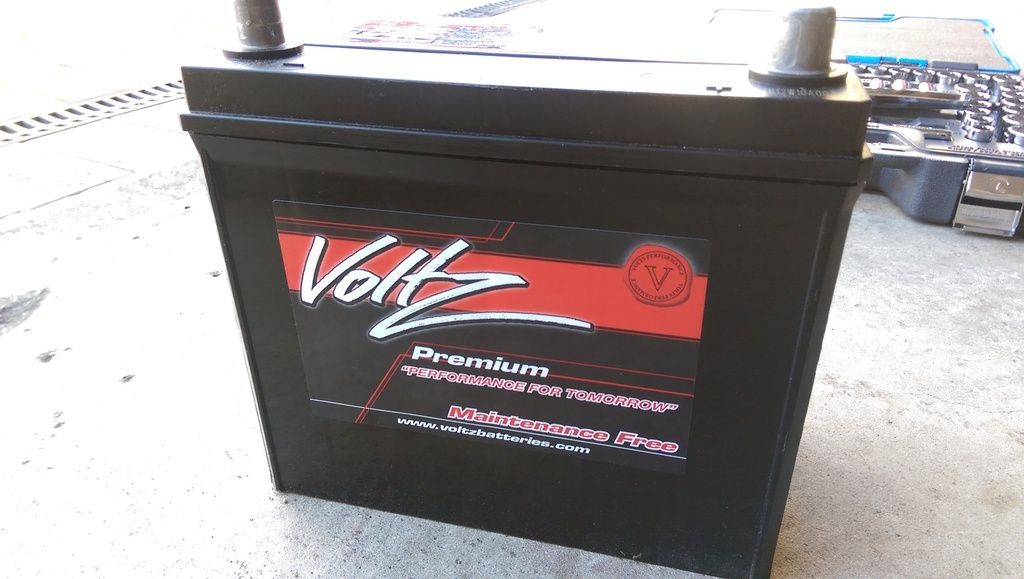
OEM Panasonic Battery Replacement
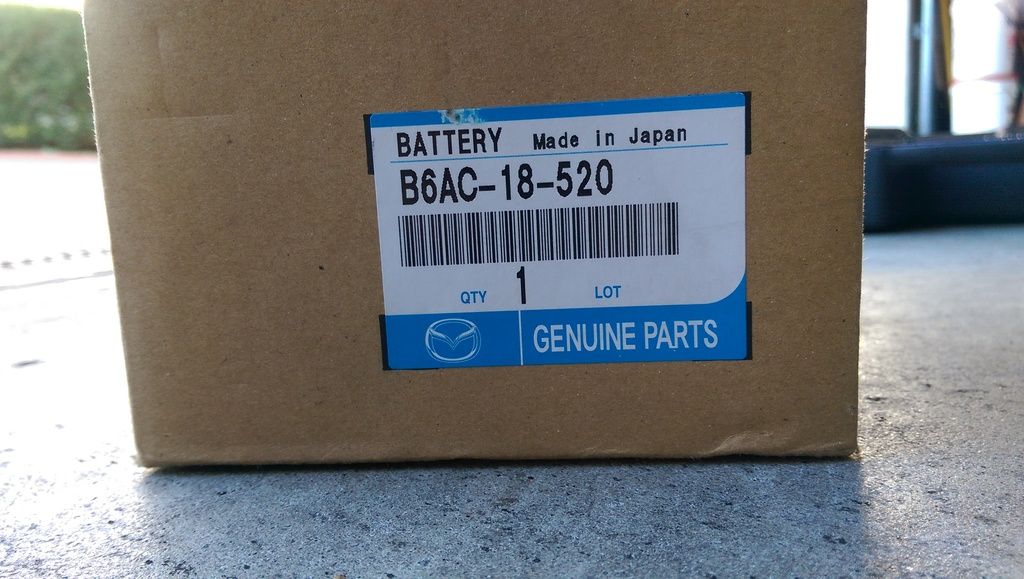
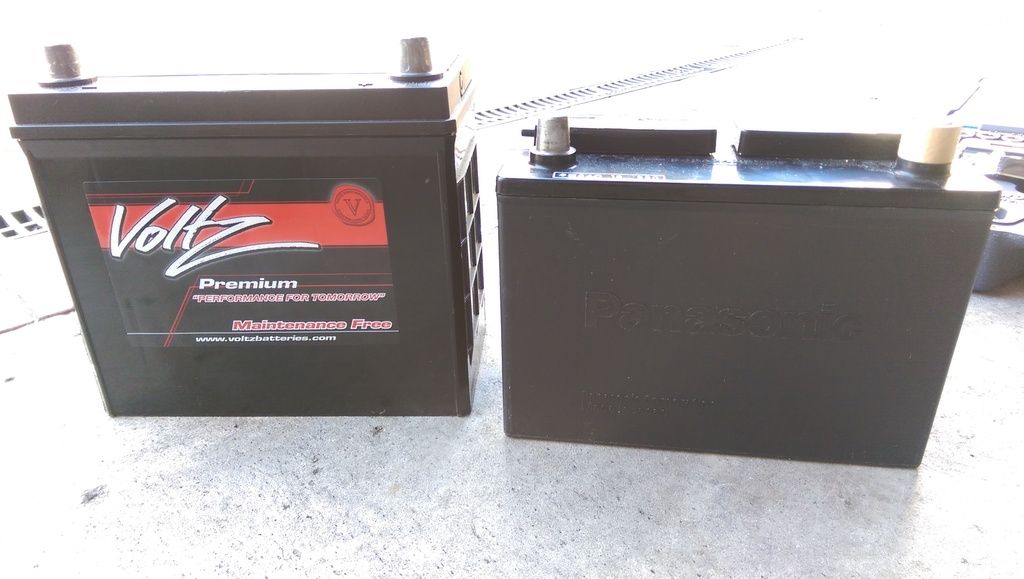
The car wasn't starting as well as it used to and I was pretty certain the culprit was the battery. It came with the car when I received it so I have no idea how long it's been in there for. However, I was able to score a genuine OEM Panasonic battery and proceeded to swap it out.

Old battery.

Image

Genuine OEM Battery Part number.

Image

Old vs New comparison.

Image

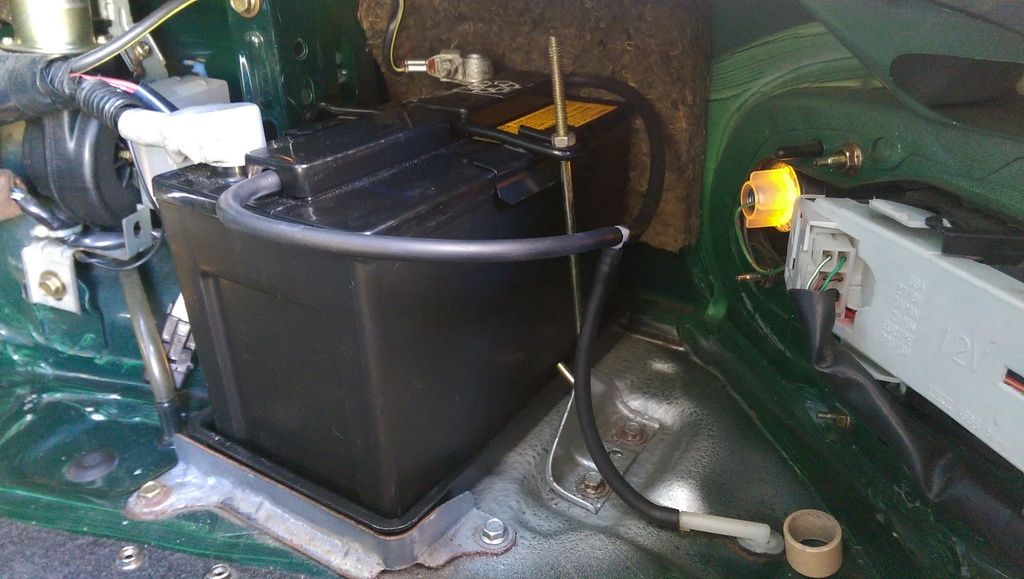
Installed.

Image

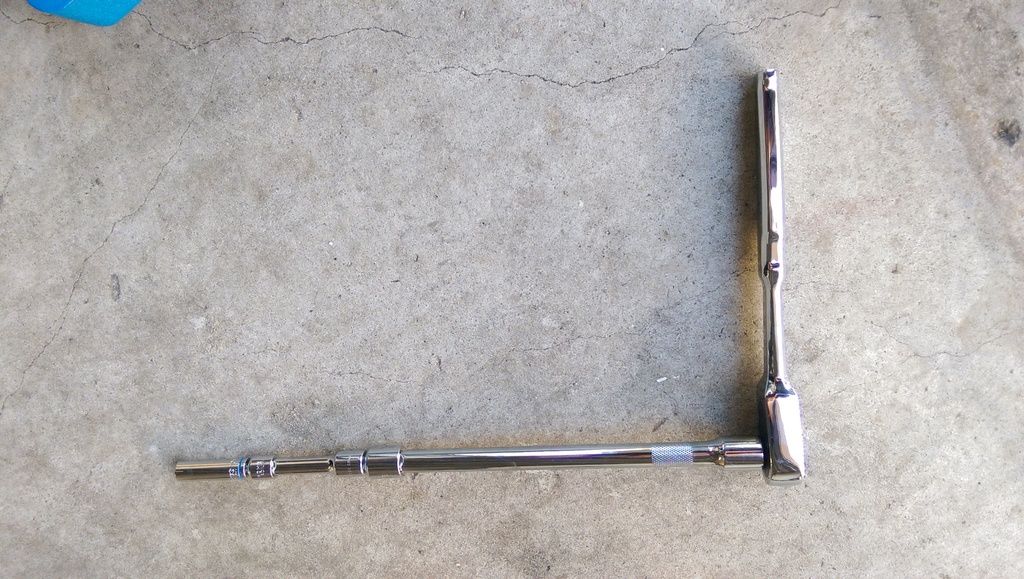
What I used to get the bolt off from the negative terminal. 10mm deep socket and a longass extension haha!

Image


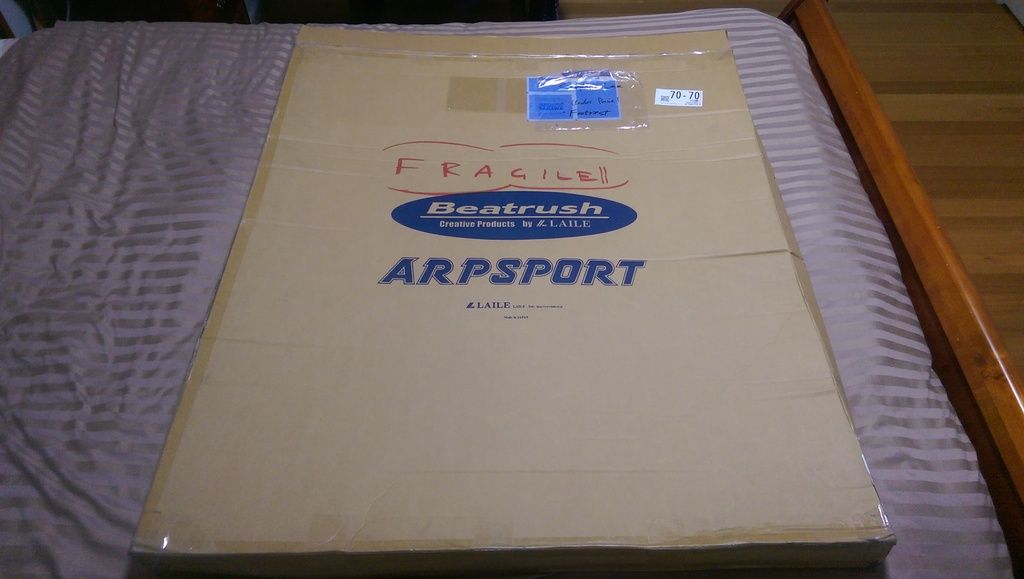
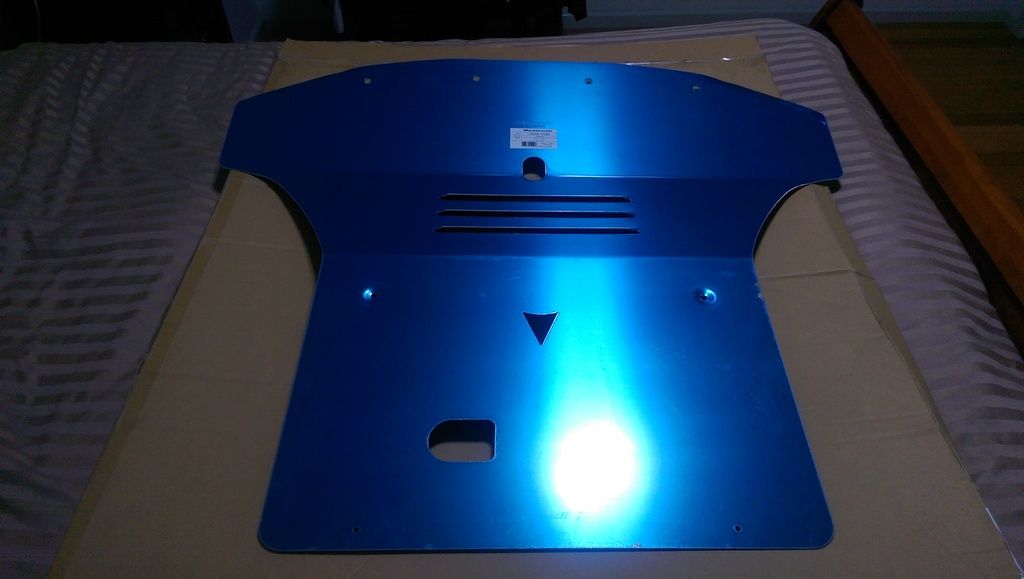
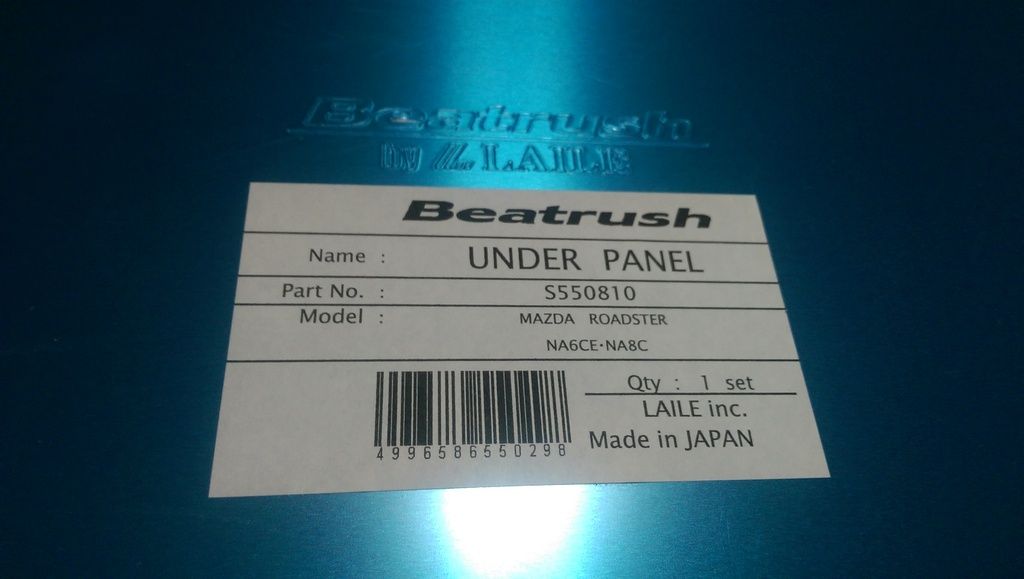
Also, I received this from Japan. BeatRush aluminium under panel tray. The box was massive! Will be installing this when the car goes in for its next service. It's blue because it hasn't had the wrapping film peeled off it yet.

Image

Image

Image

BRG.NA8
Fast Driver
Posts: 196
Joined: Sat Dec 12, 2015 10:32 pm
Vehicle: NA8

Re: 1996 BRG NA8C Build Thread

Postby BRG.NA8 » Fri Jan 06, 2017 7:00 pm

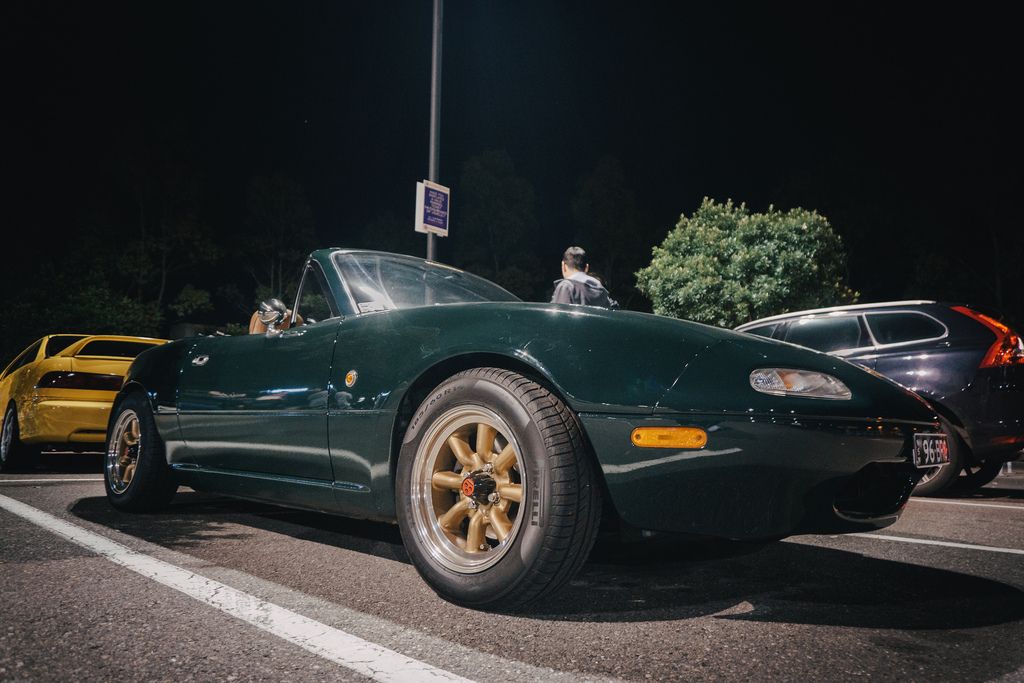
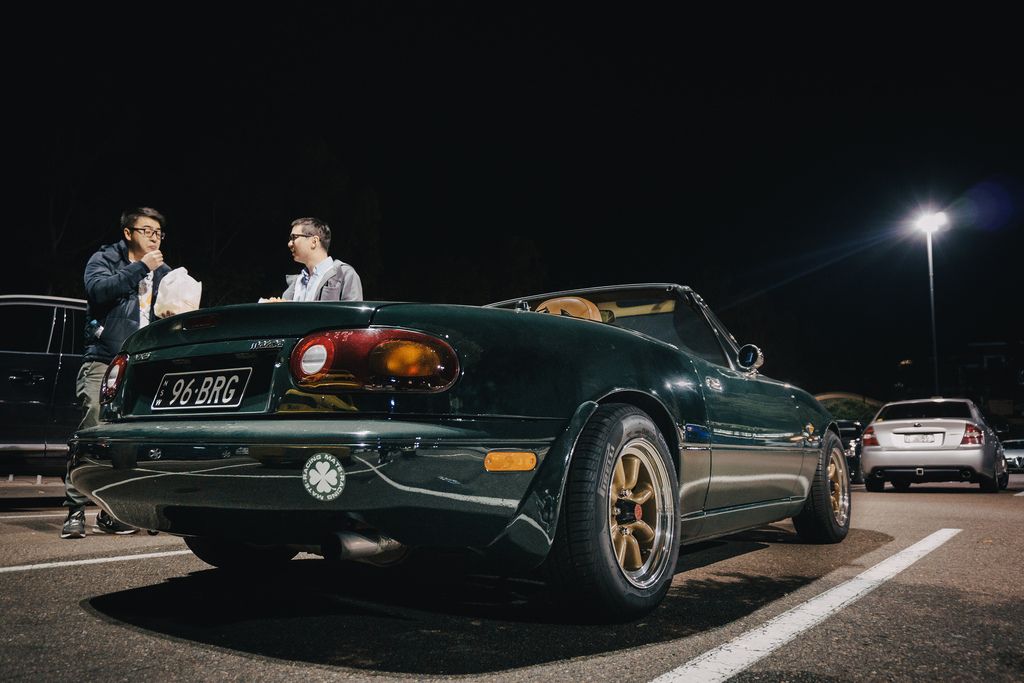
Couple of photos from a recent meet.

Image

Image

Image

BRG.NA8
Fast Driver
Posts: 196
Joined: Sat Dec 12, 2015 10:32 pm
Vehicle: NA8

Re: 1996 BRG NA8C Build Thread

Postby BRG.NA8 » Fri Jan 06, 2017 7:01 pm

13/08/2016

Depo Clear Front Indicator Lamps
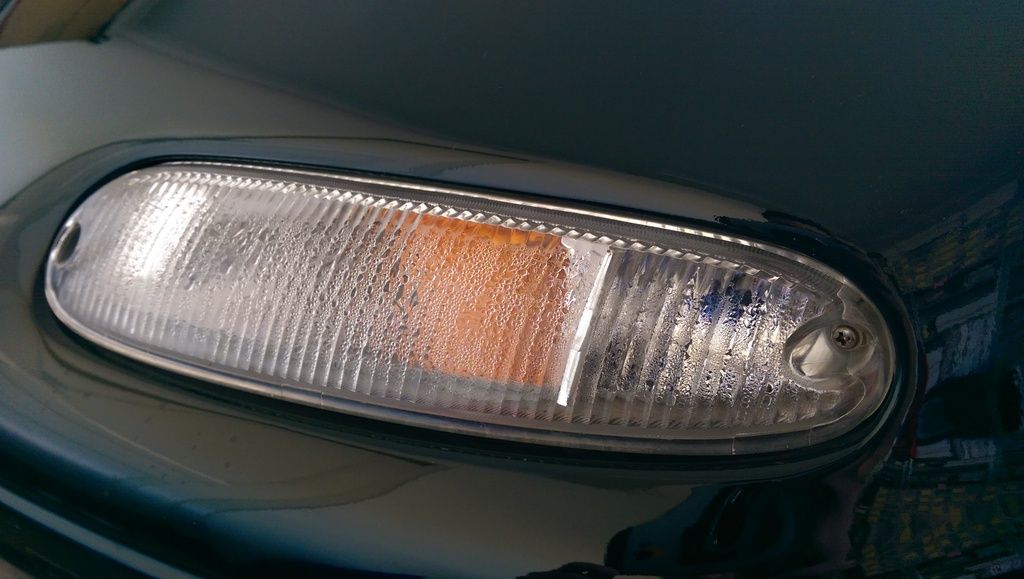
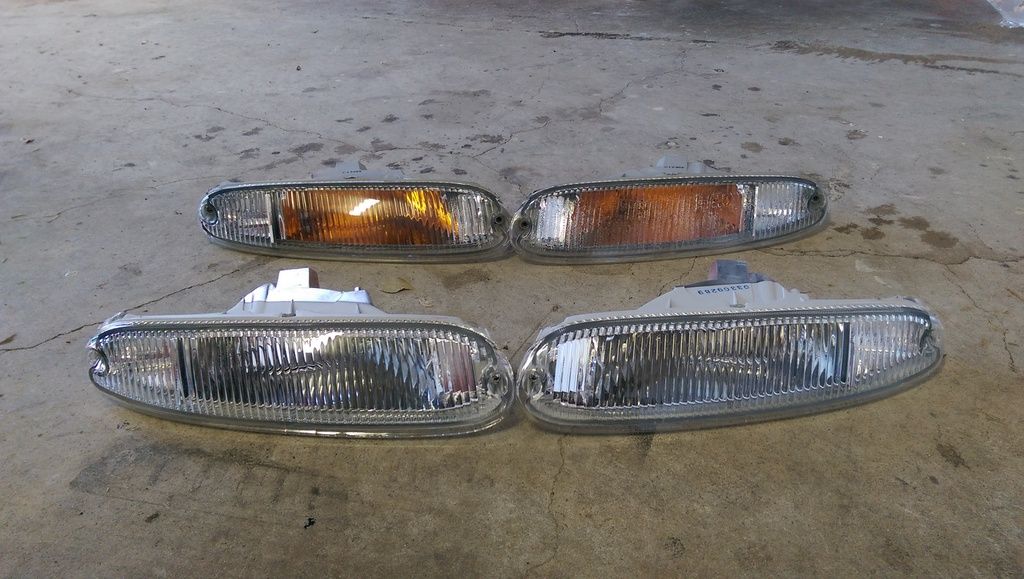
I noticed that my passenger side front indicator lamp (driver side for you folks in the US) was getting condensation quite badly and it wasn't going away any time soon. I do have a spare set of OEM lamps I picked up for cheap second hand but I managed to get my hands on a set of these Depo clear front indicators. They look OEM and instead of using an orange reflector inside the lamp, these use an orange bulb. These came with a set of chrome bulbs which blink orange when activated.

Condensation building up on the OEM lamp.

Image

OEM and Depo comparison.

Image

Before.

Image

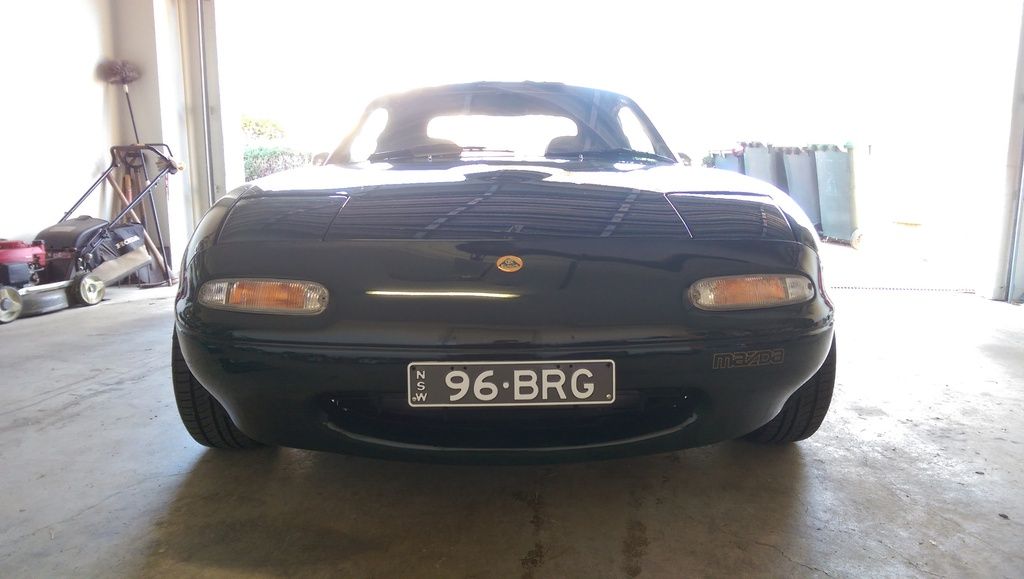
After.

Image

Image

I didn't take any photos of this step but it did require me to do a bit of soldering as the OEM parker light wires needed to be cut and the Depo parker wires needed to be soldered mainly because the fittings were not transferrable.

Overall, I think it looks fantastic. Still has the OEM look without the orange reflectors.

BRG.NA8
Fast Driver
Posts: 196
Joined: Sat Dec 12, 2015 10:32 pm
Vehicle: NA8

Re: 1996 BRG NA8C Build Thread

Postby BRG.NA8 » Fri Jan 06, 2017 7:01 pm

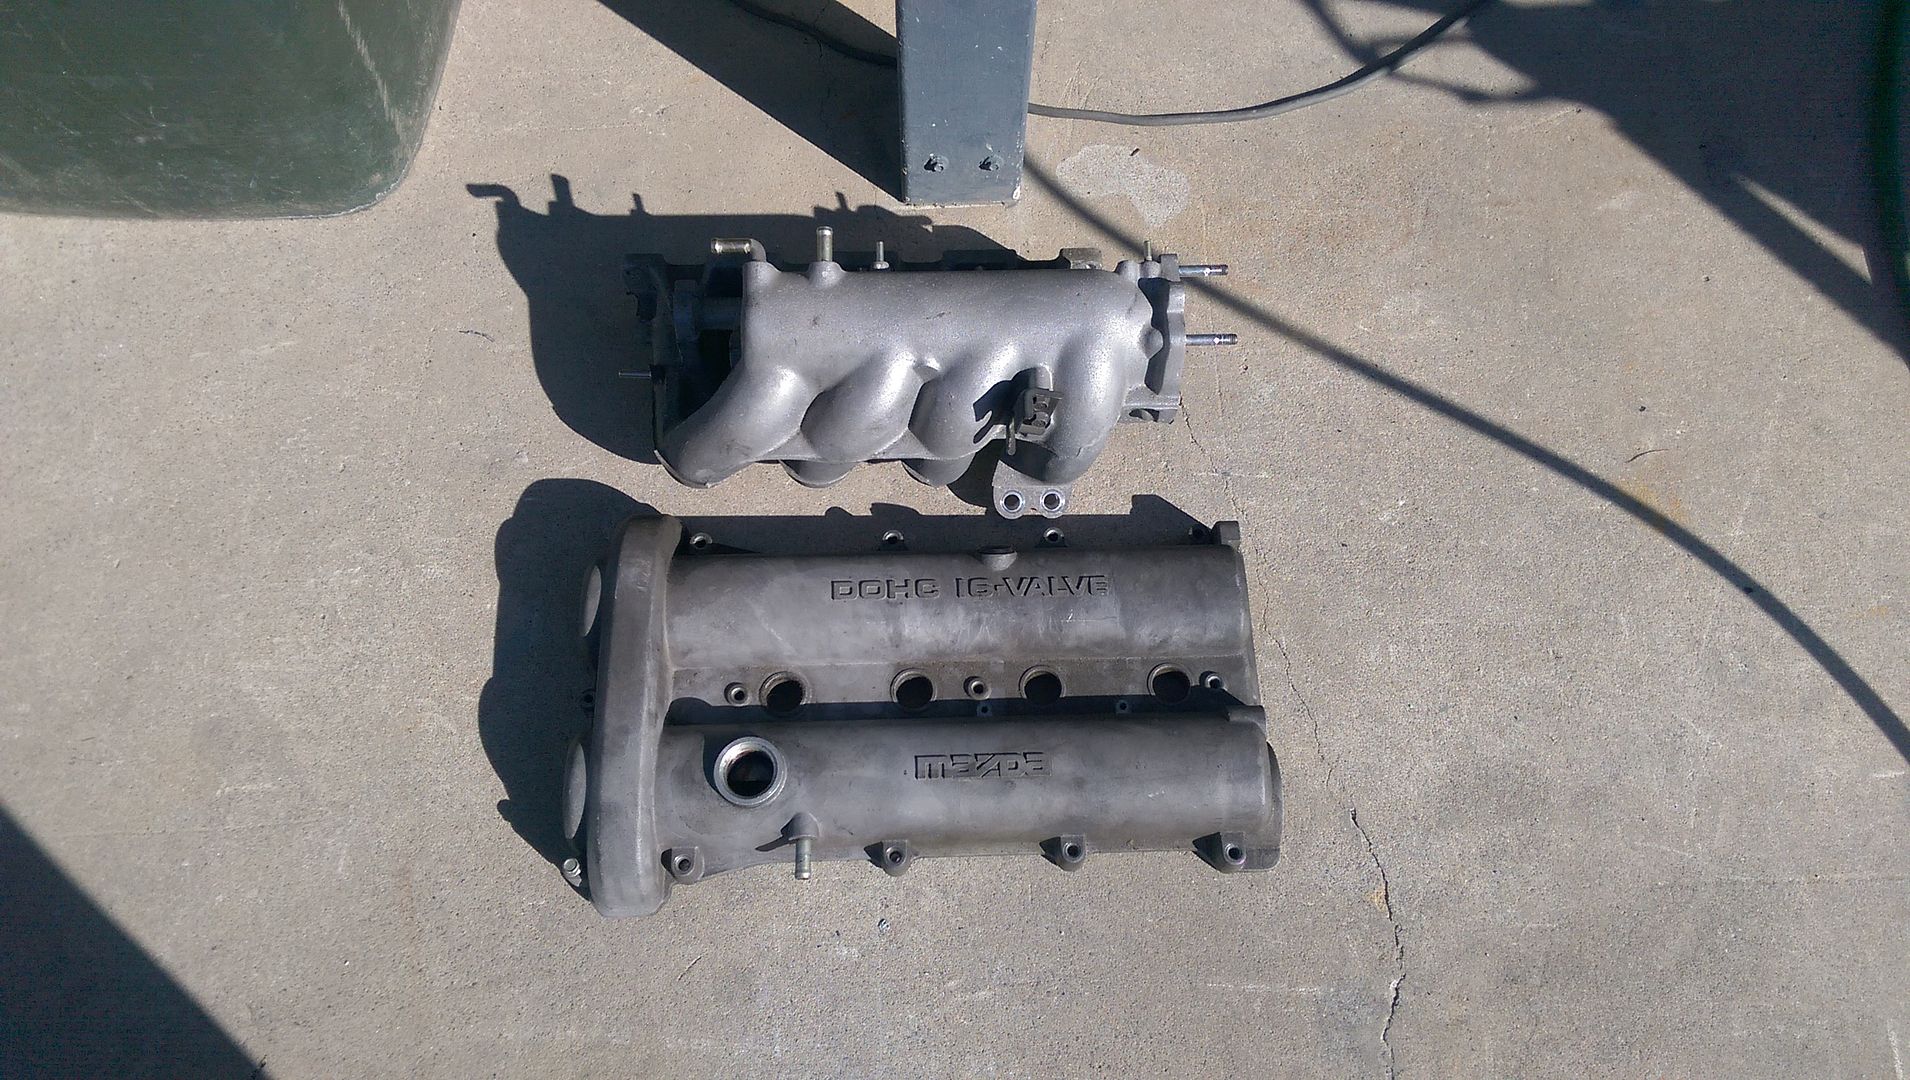
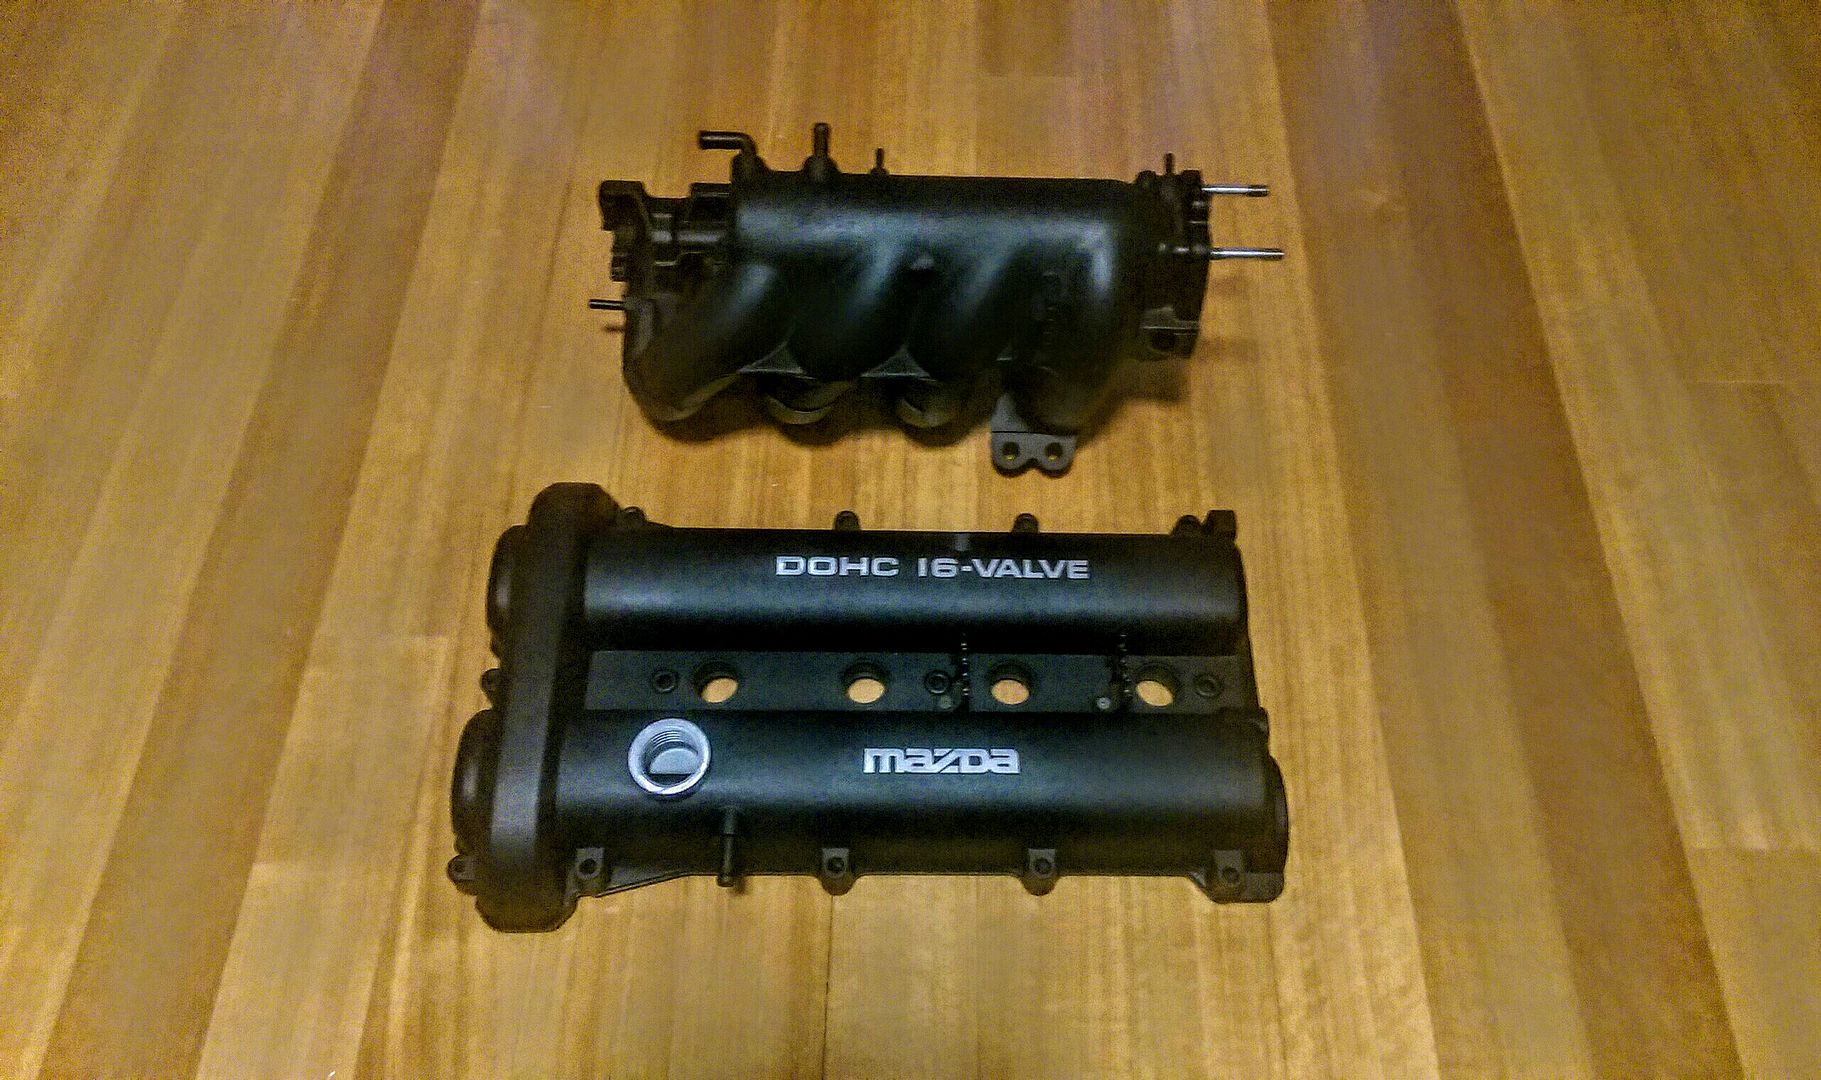
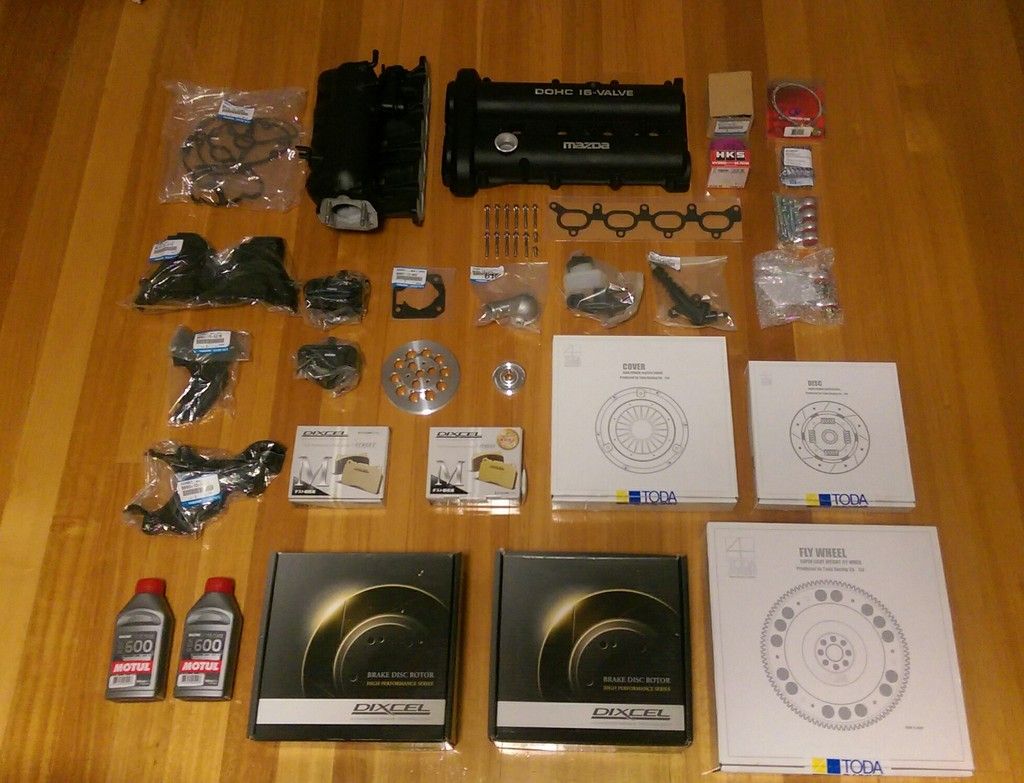
Car will be going into the shop next week to get a minor service done and some new parts put in, namely a new clutch and flywheel, slotted rotors and some new pads among other things. Also had the intake manifold and rocker cover reconditioned and painted in satin black so they will also get replaced along with new gaskets.

Before.

Image

After.

Image

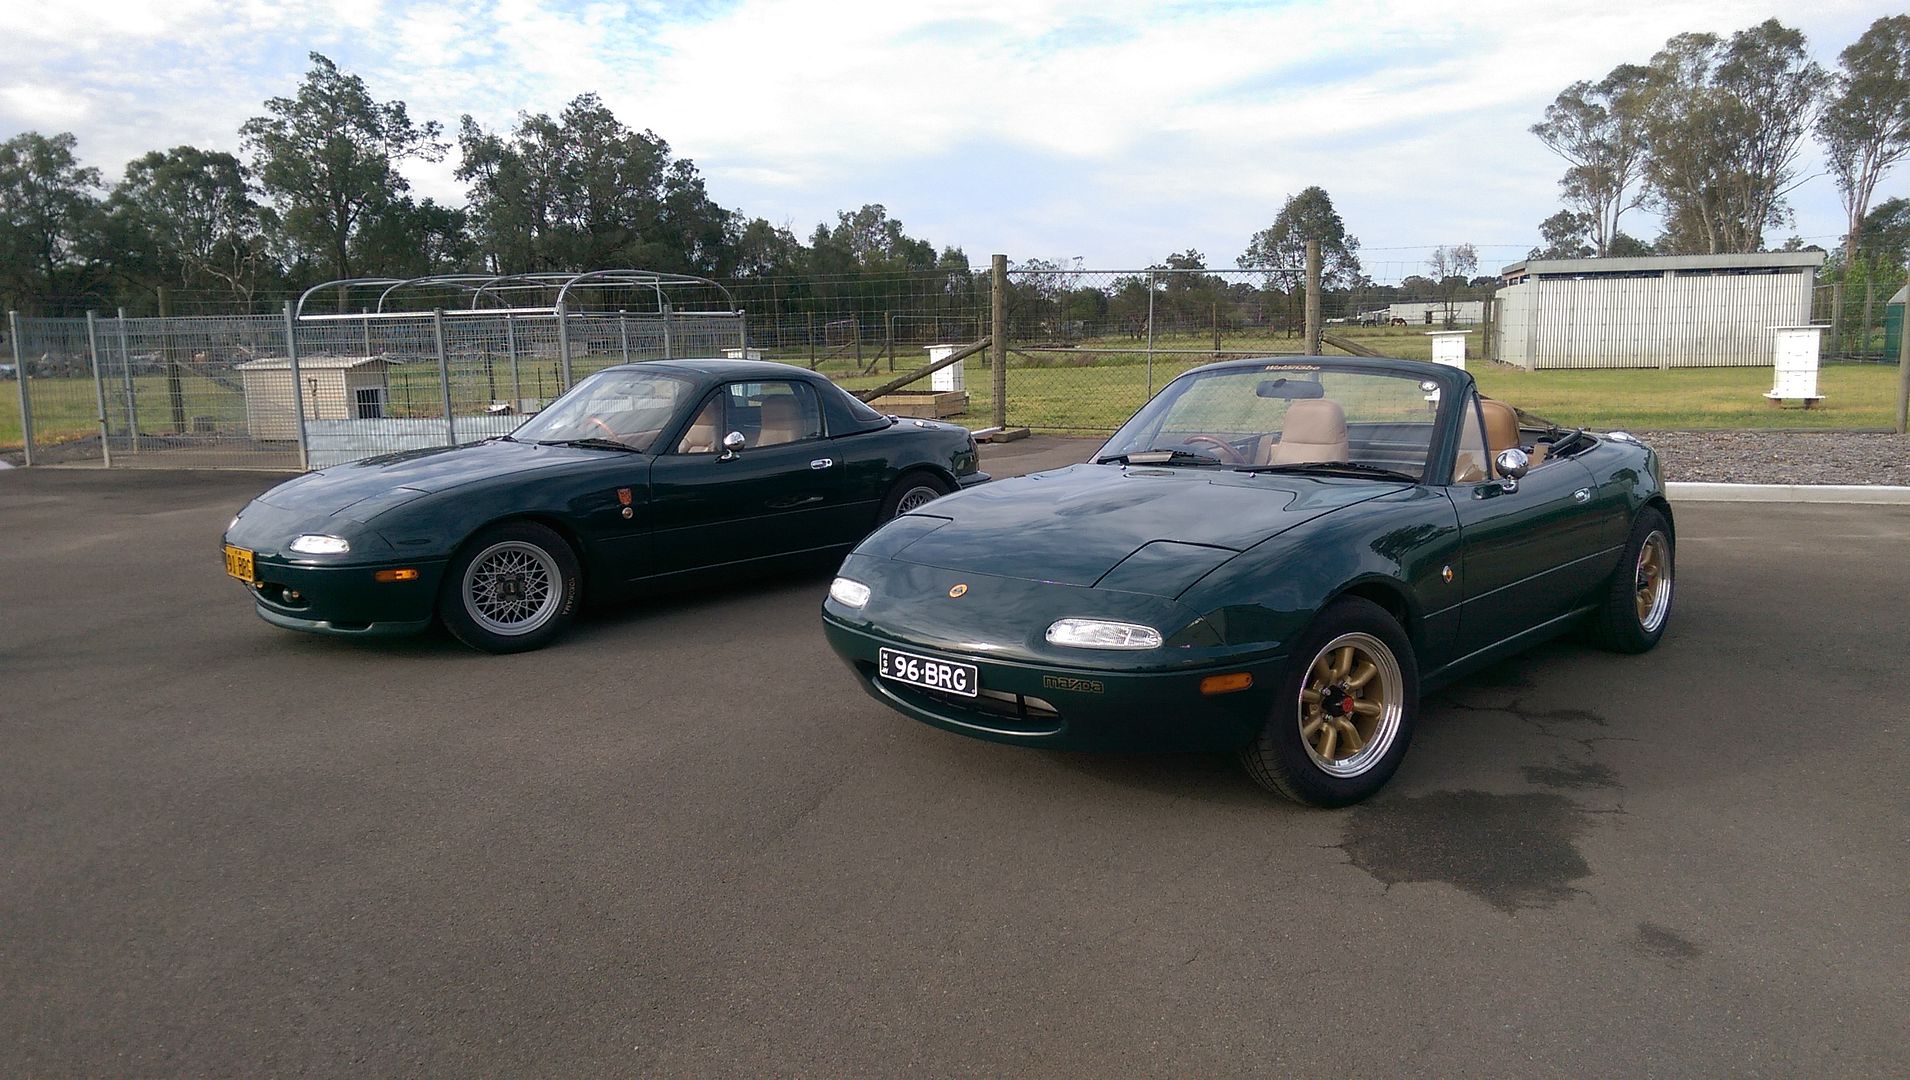
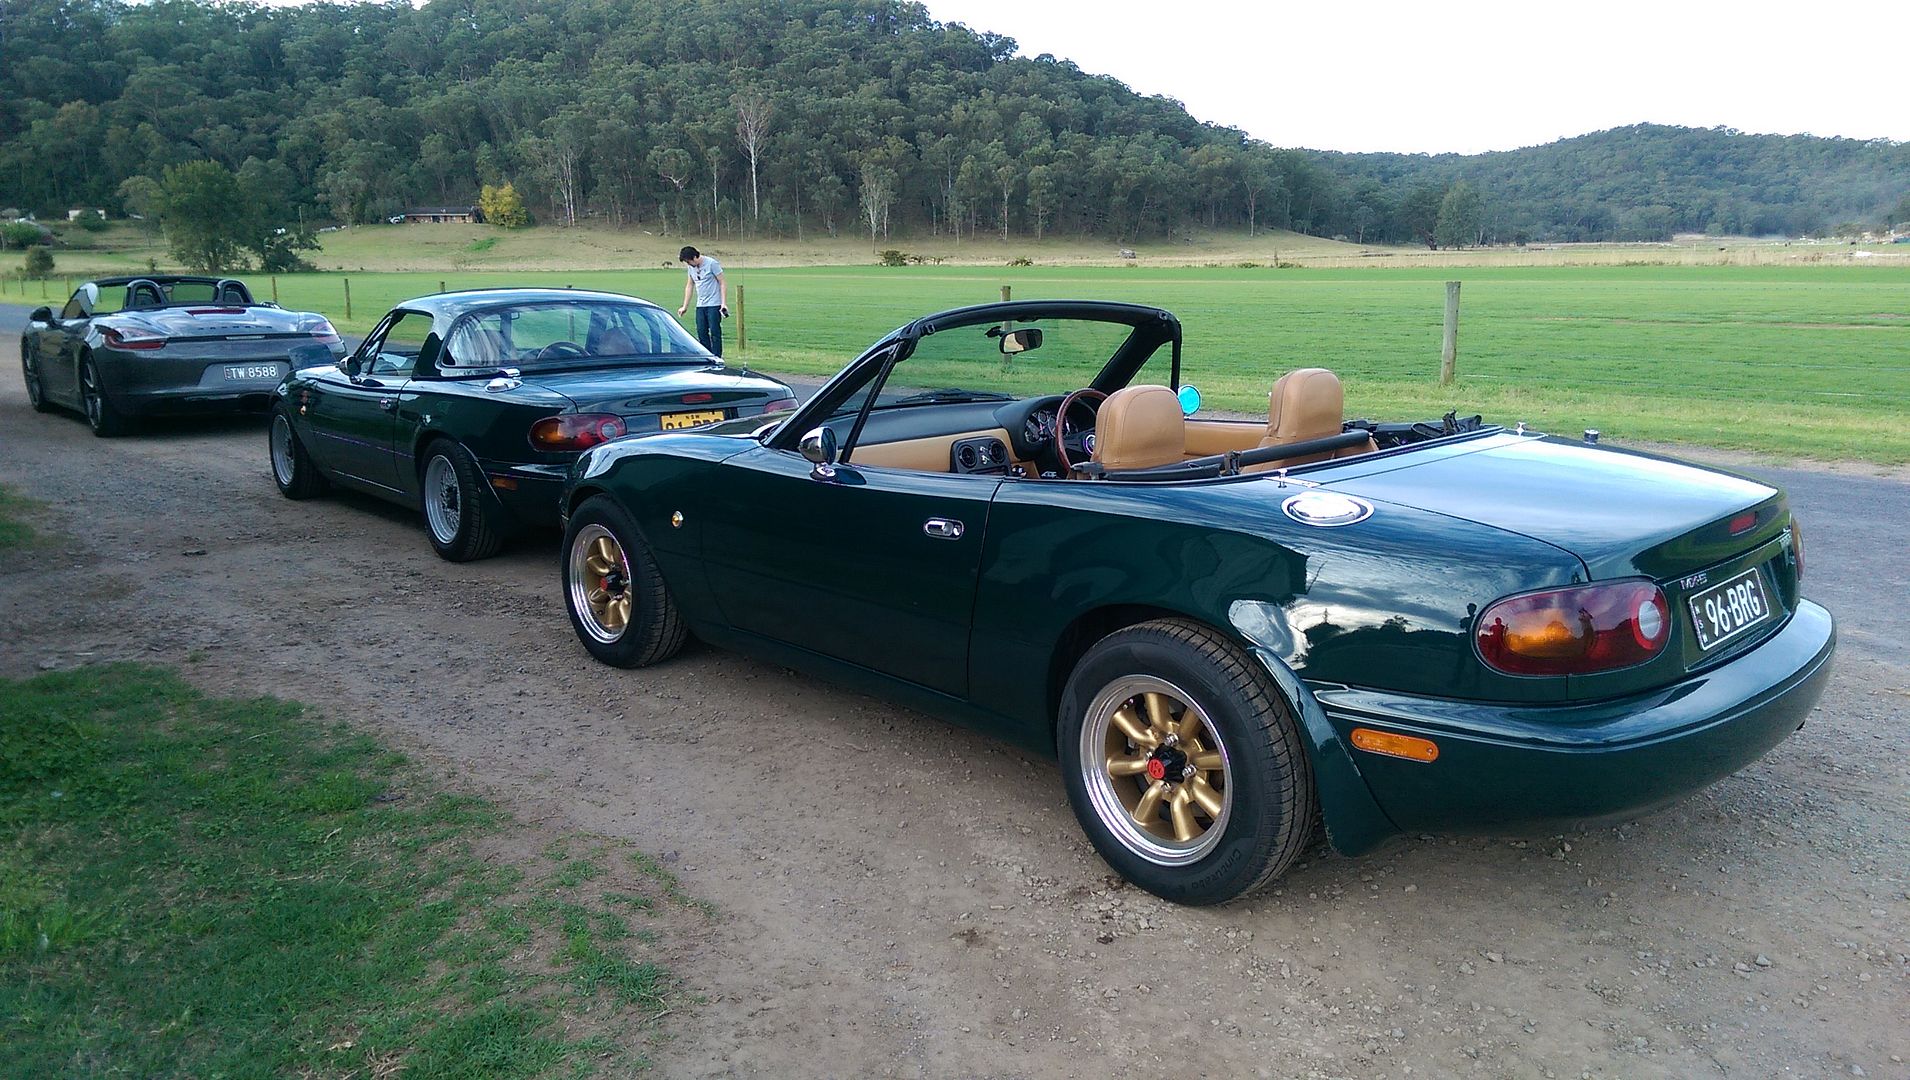
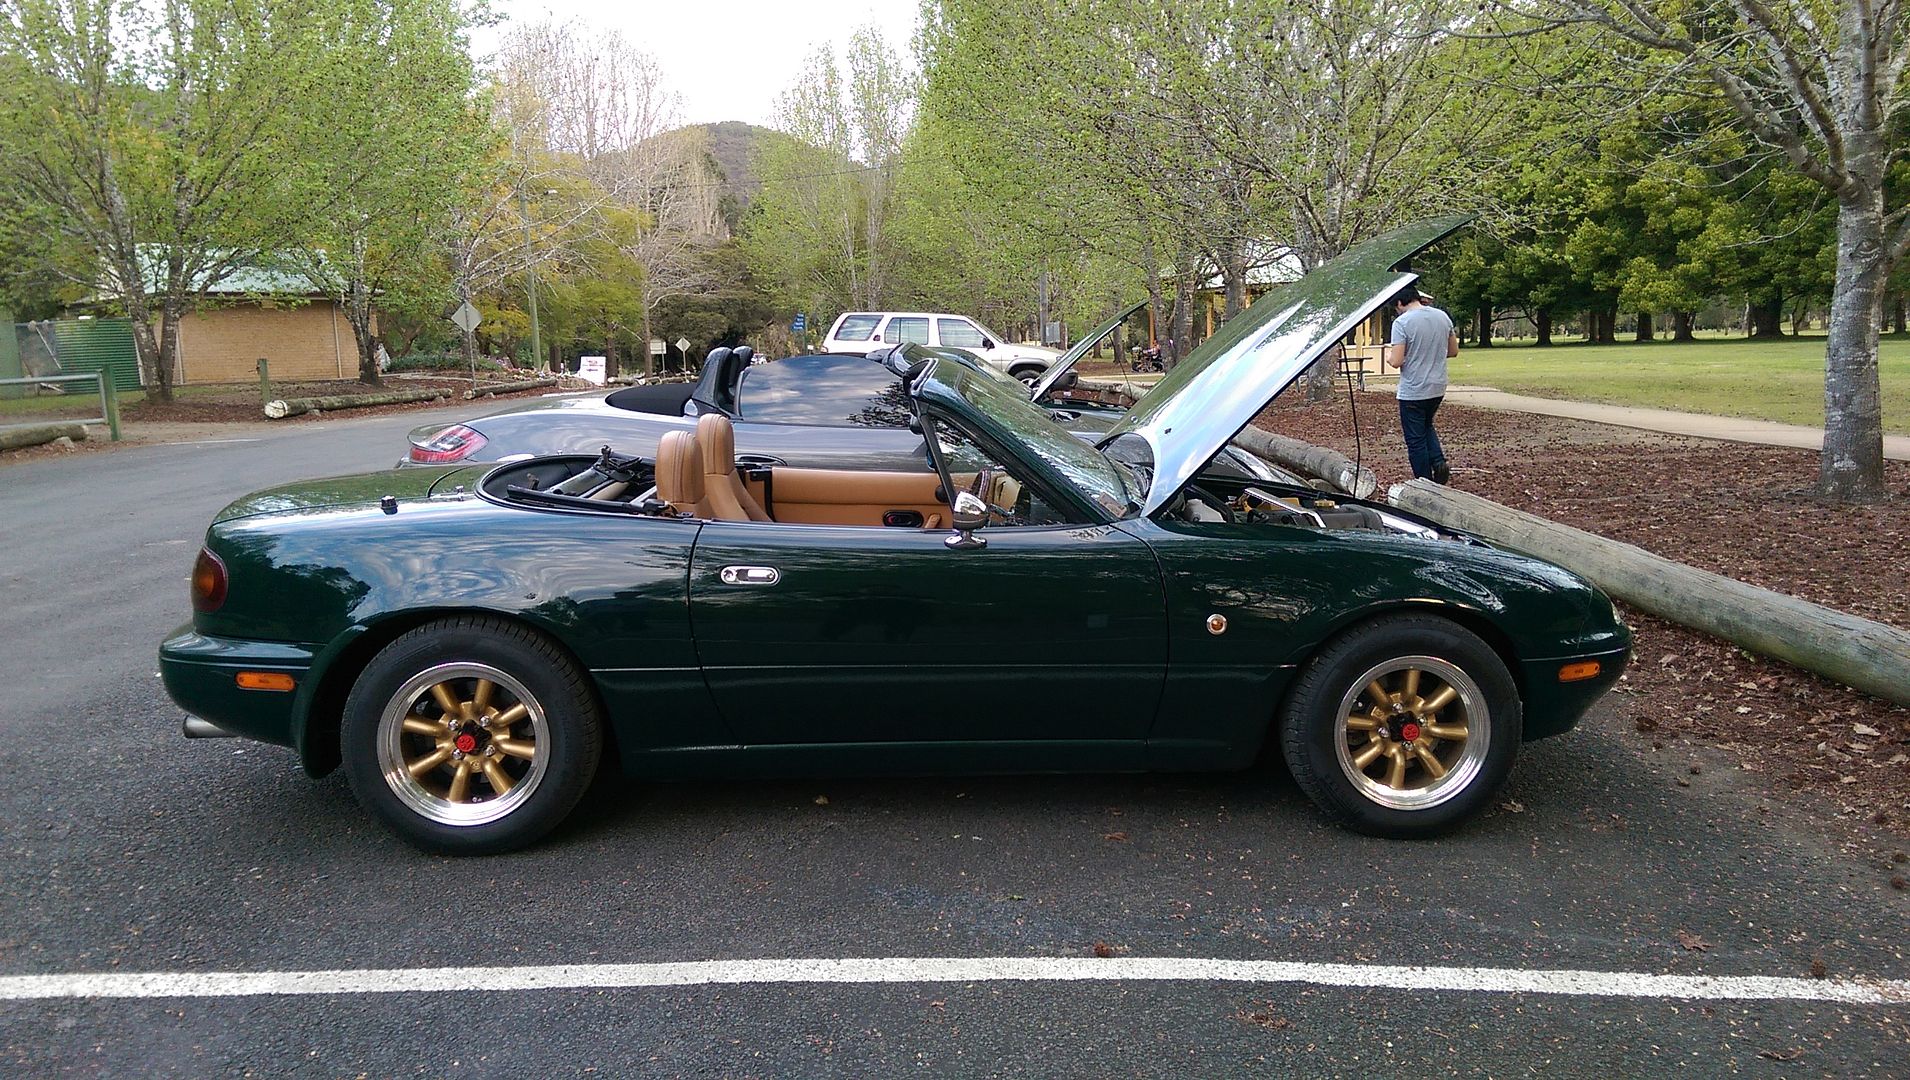
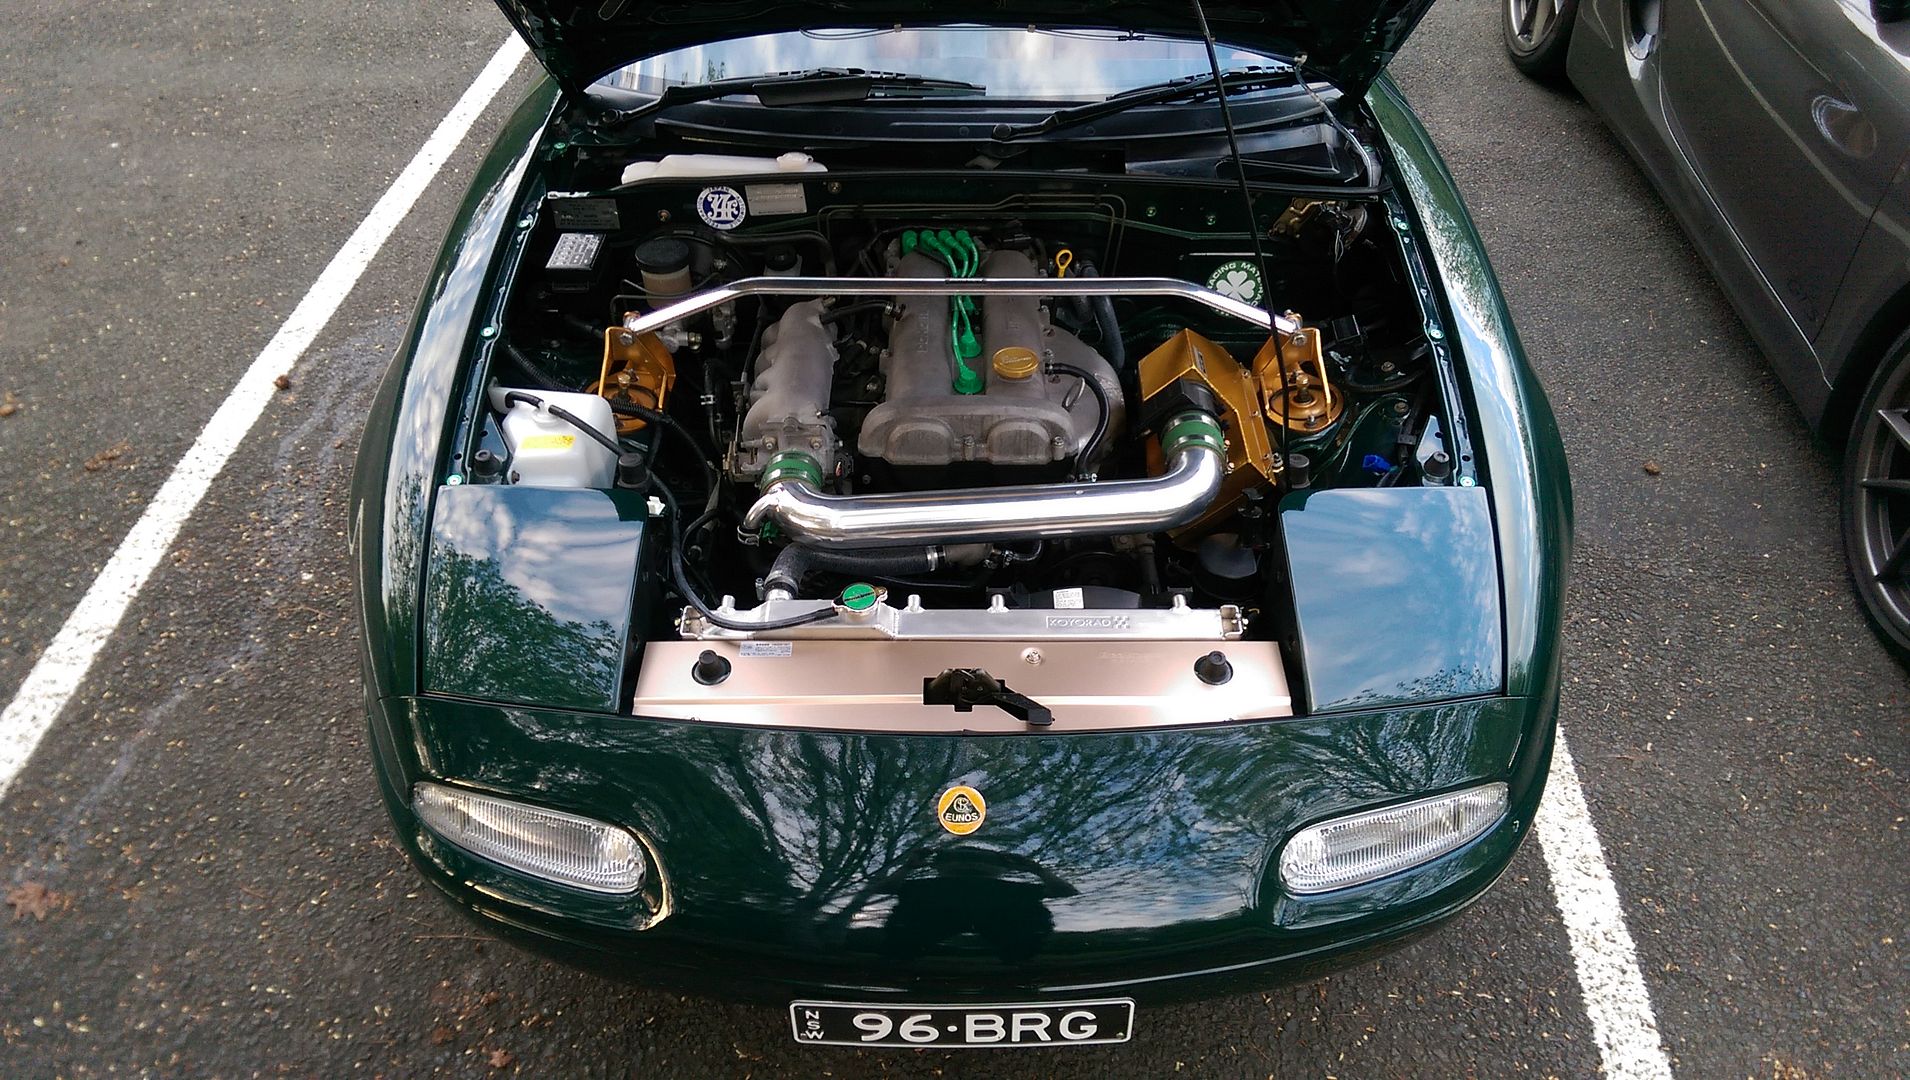
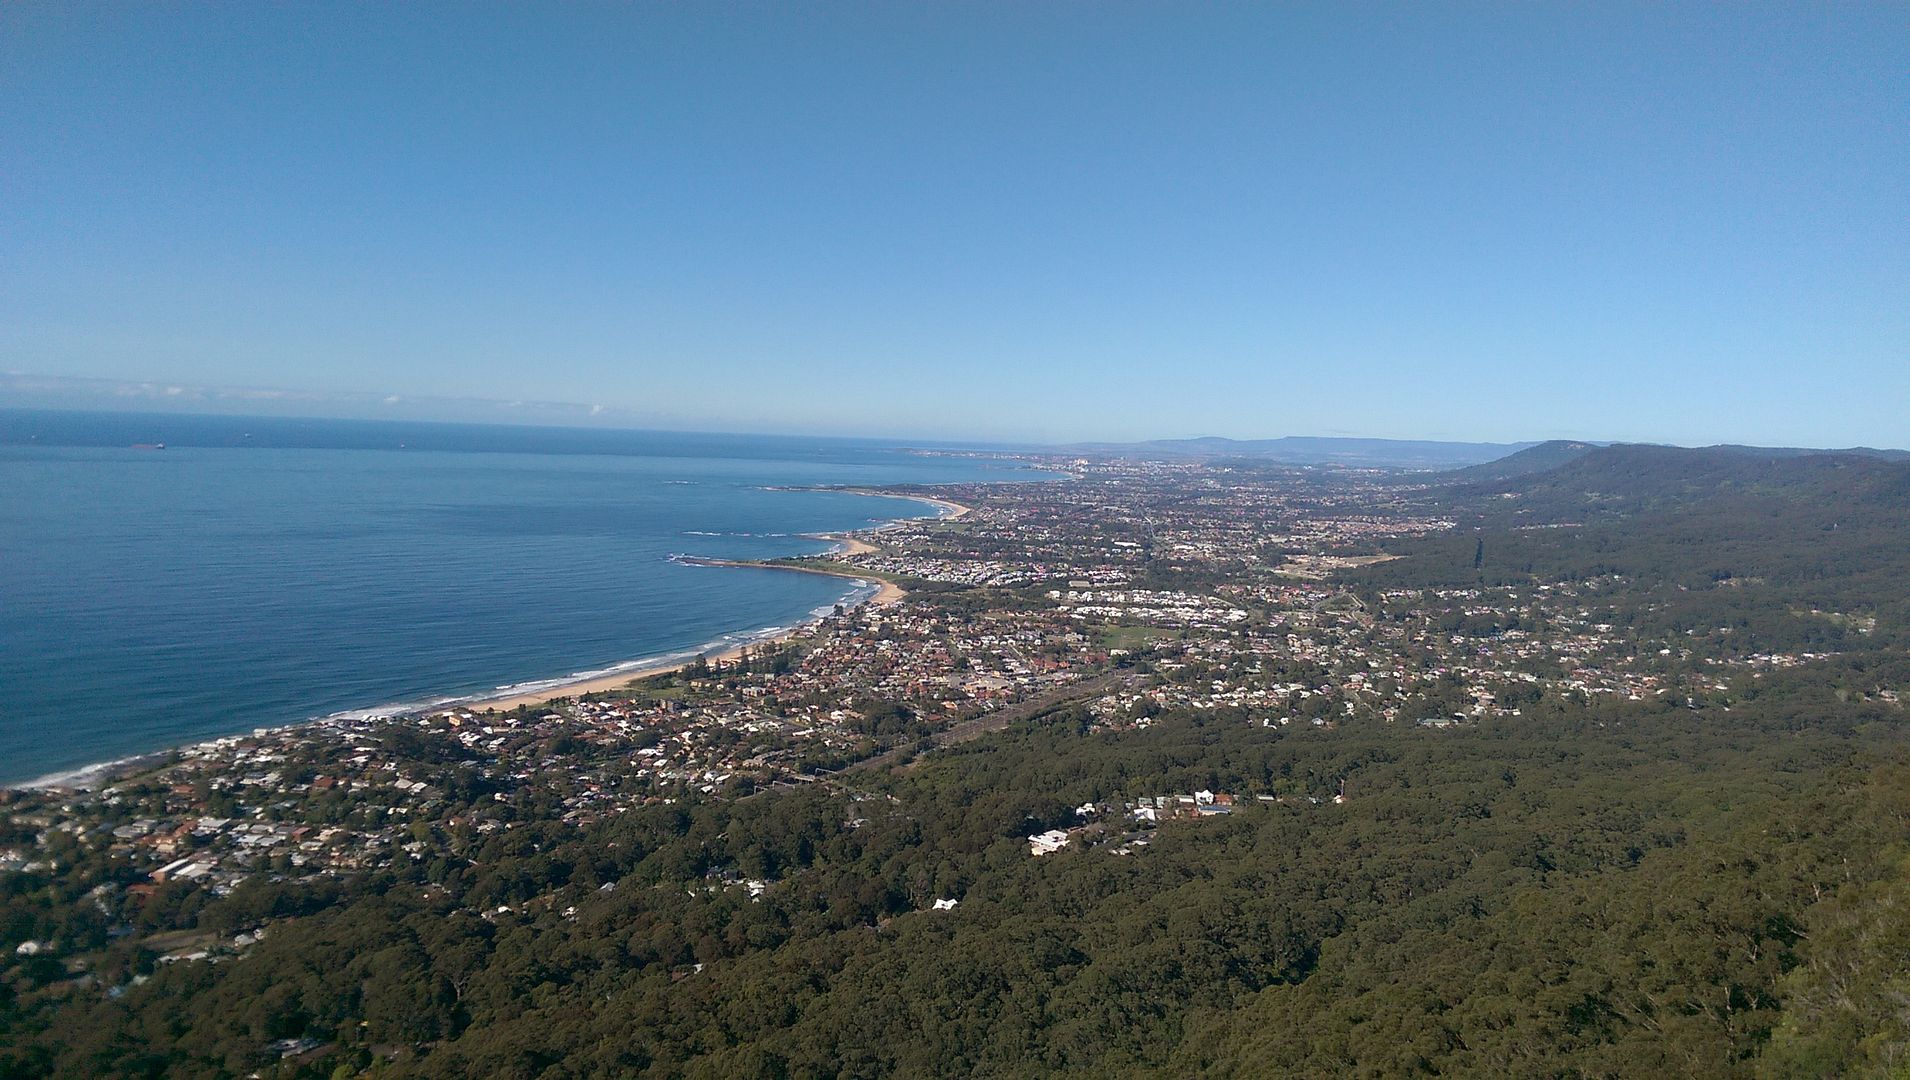
Decided to take advantage of some awesome weather Sydney has been having lately. Met up with some friends and went for a drive before it goes in for its new parts.

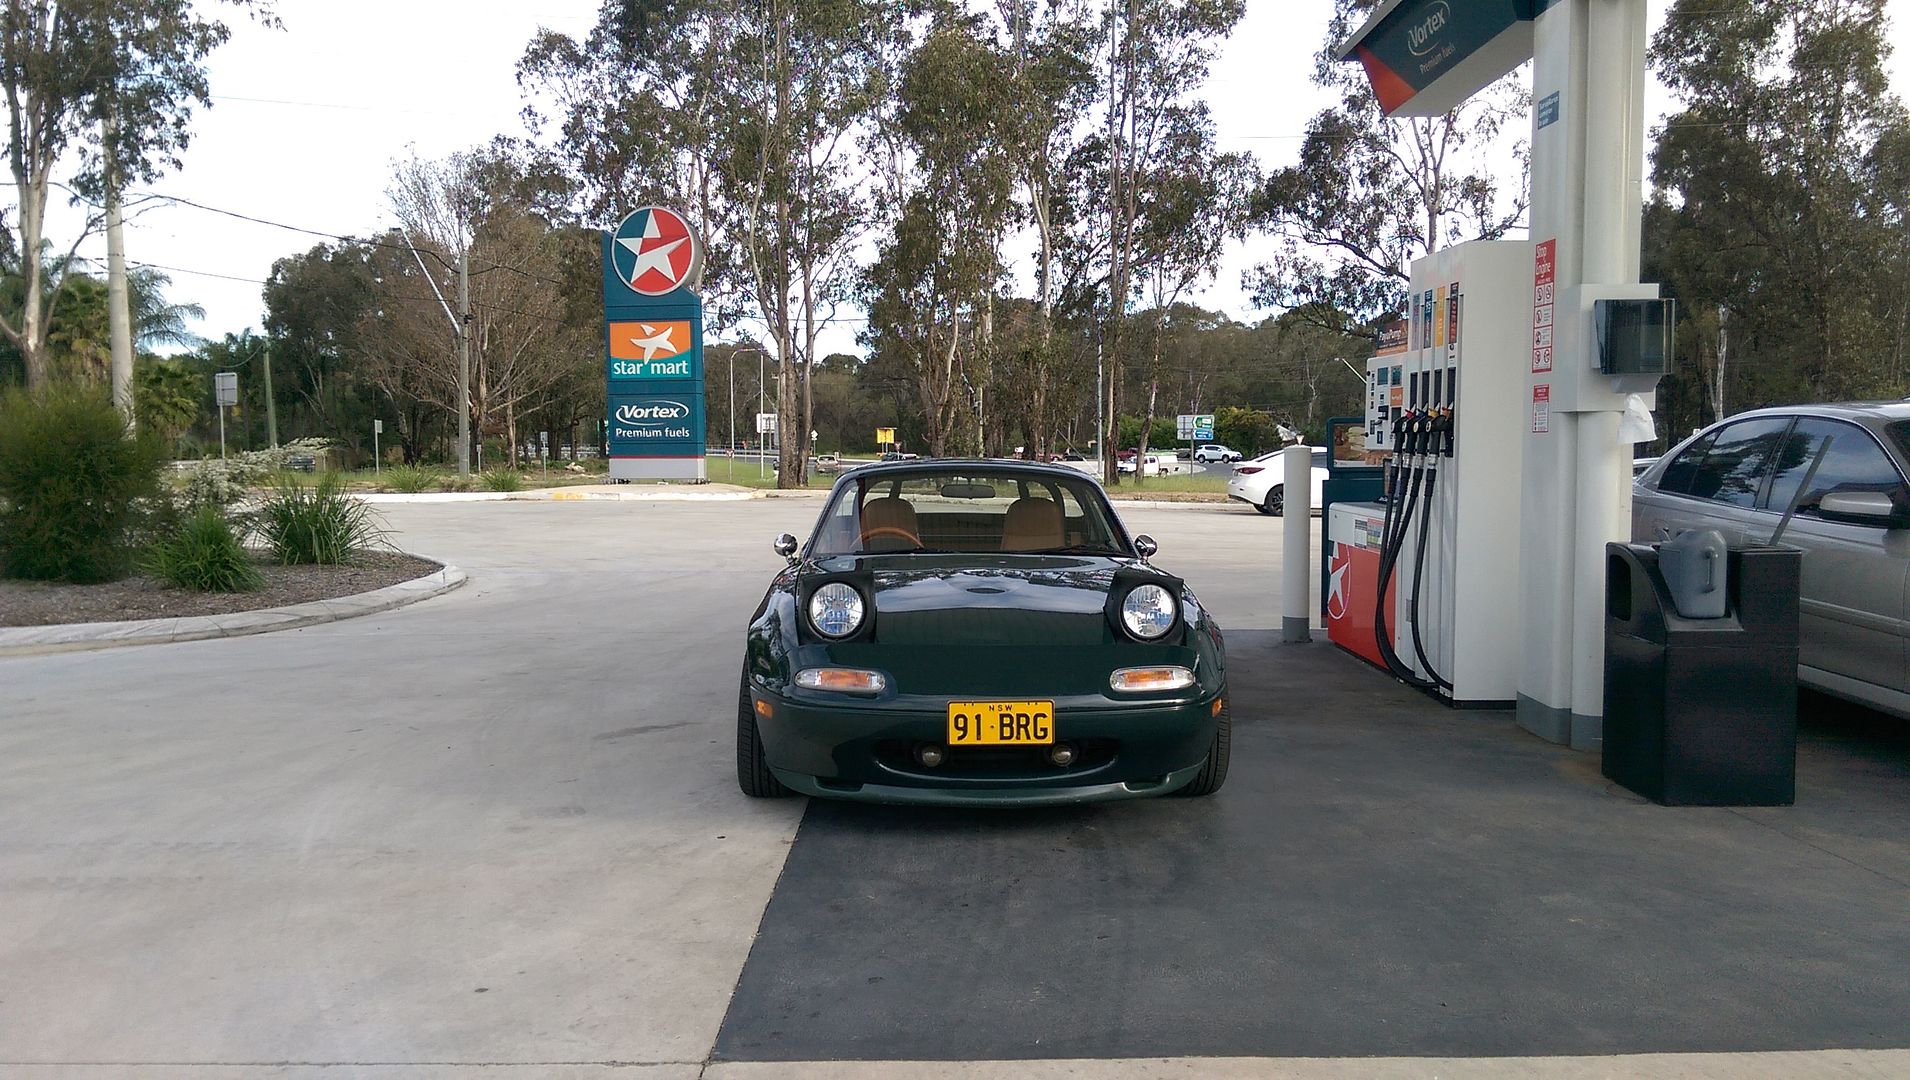
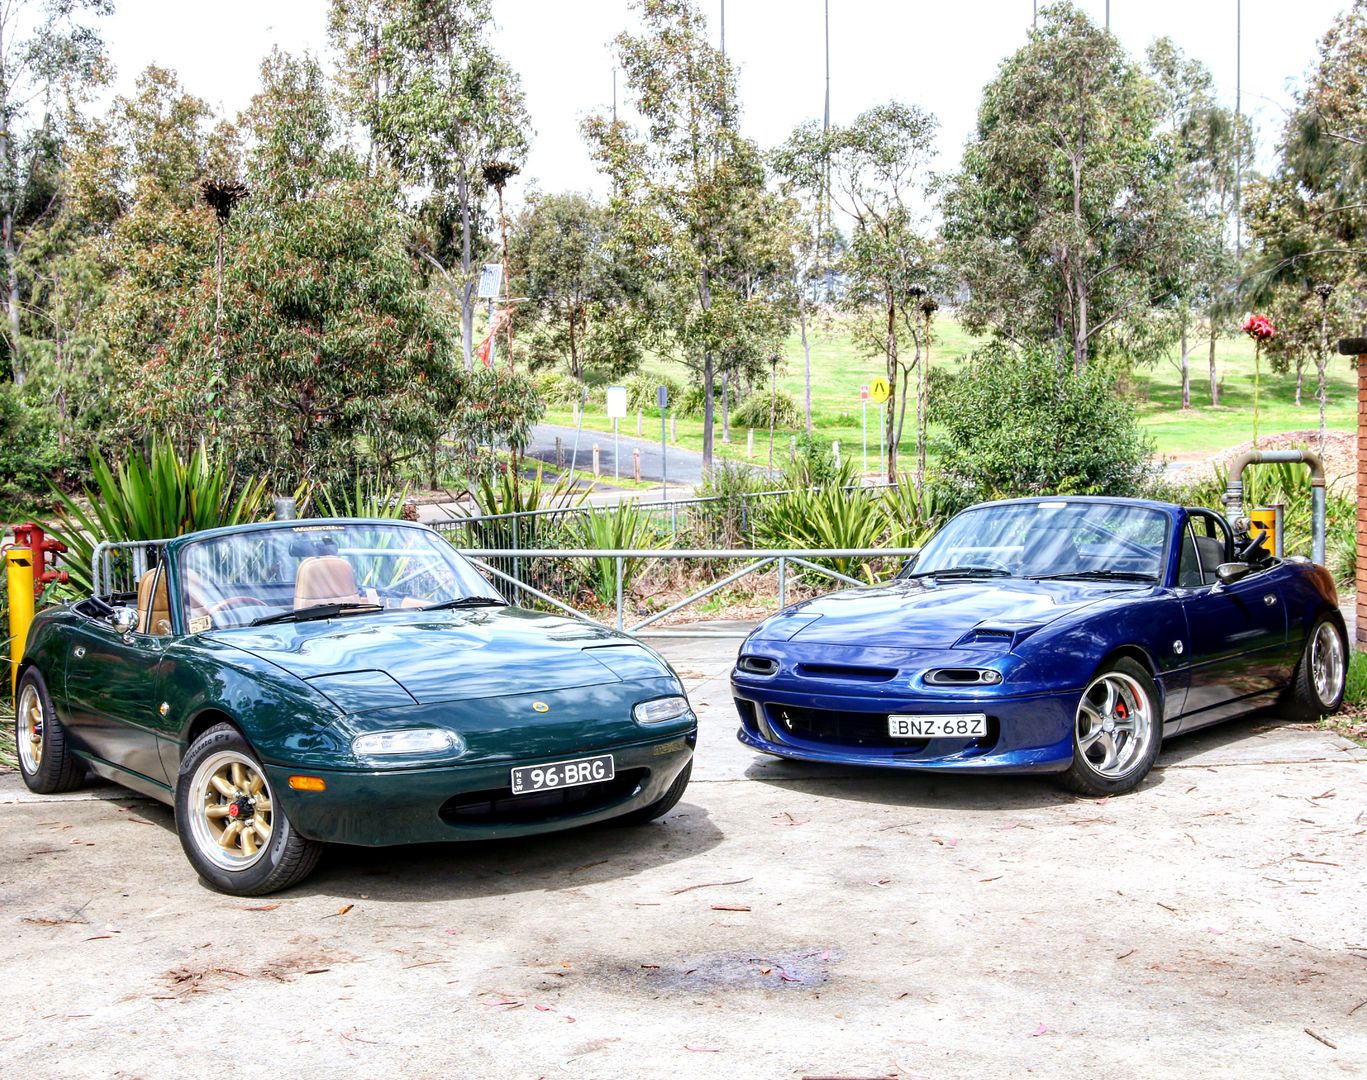
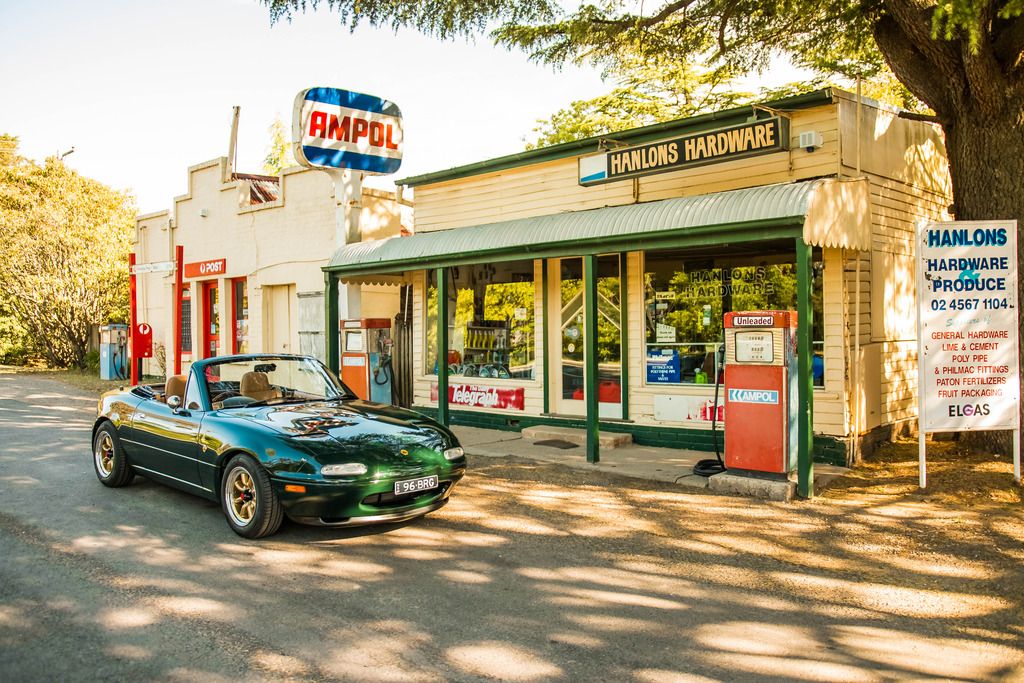
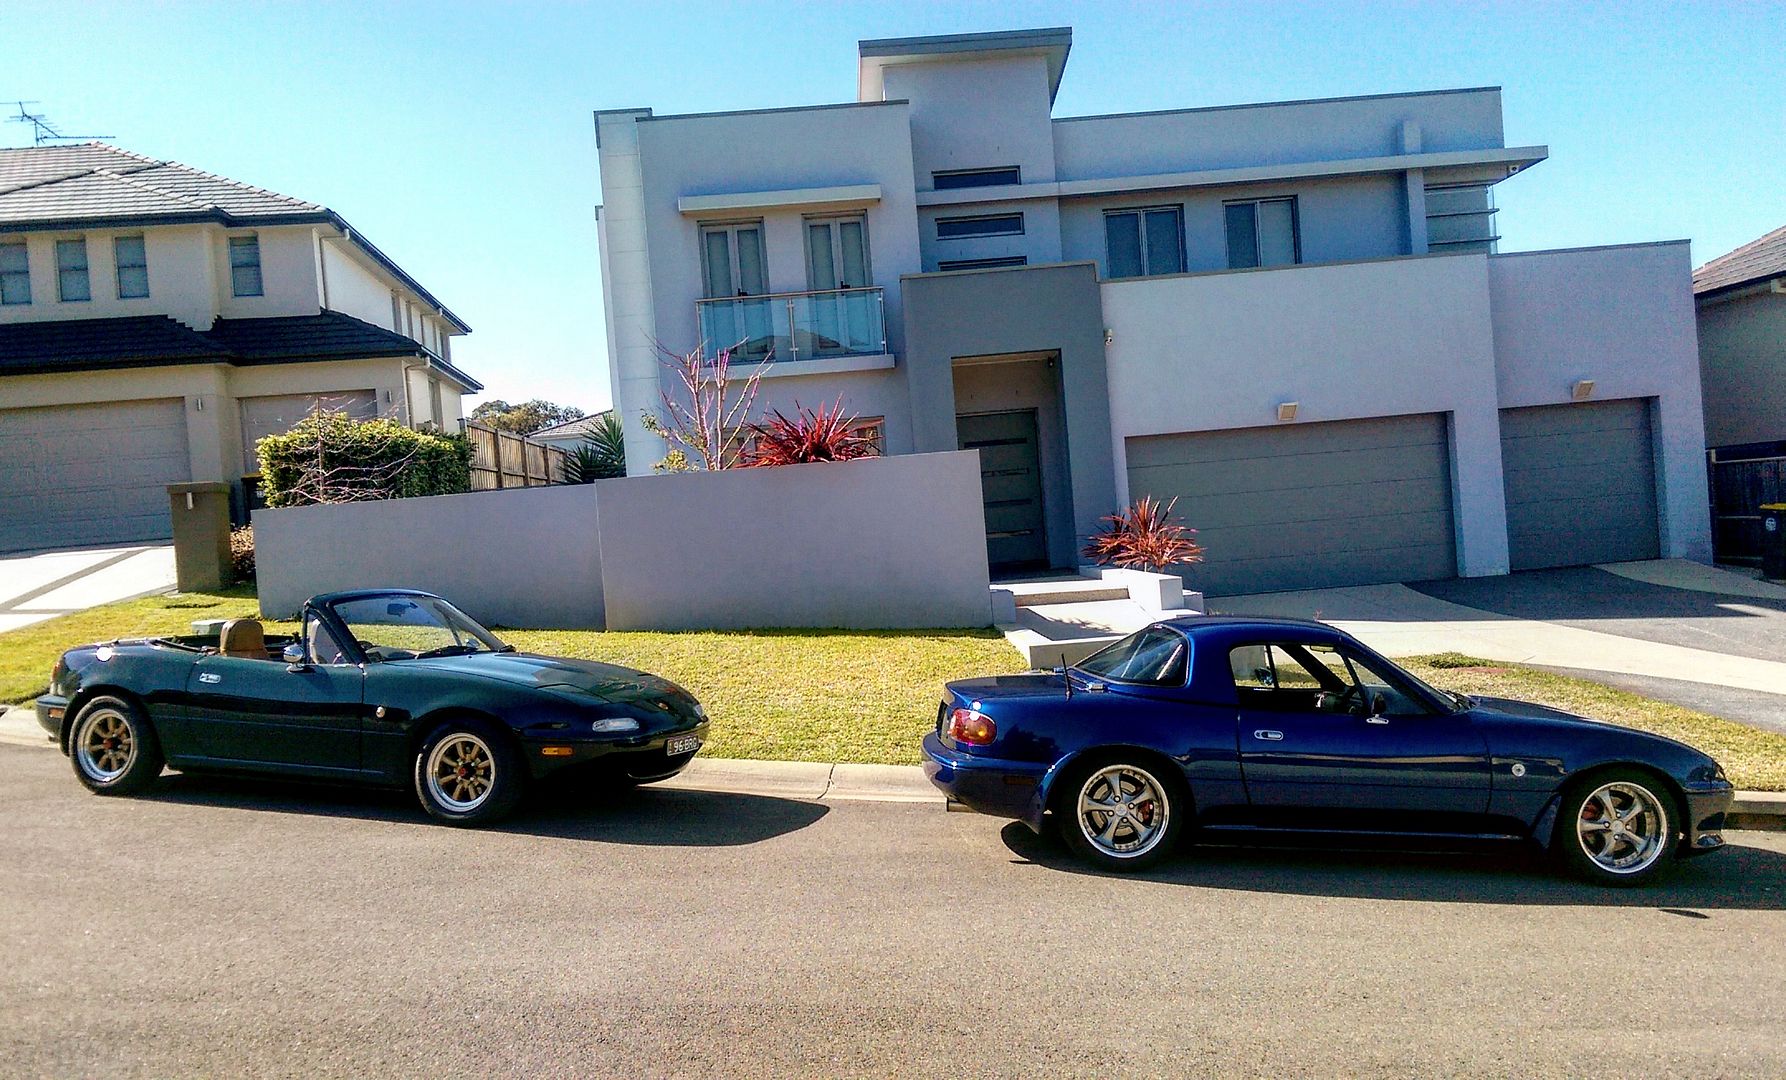
Same same but different. NA6CE "91-BRG" and NA8C "96-BRG"

Image

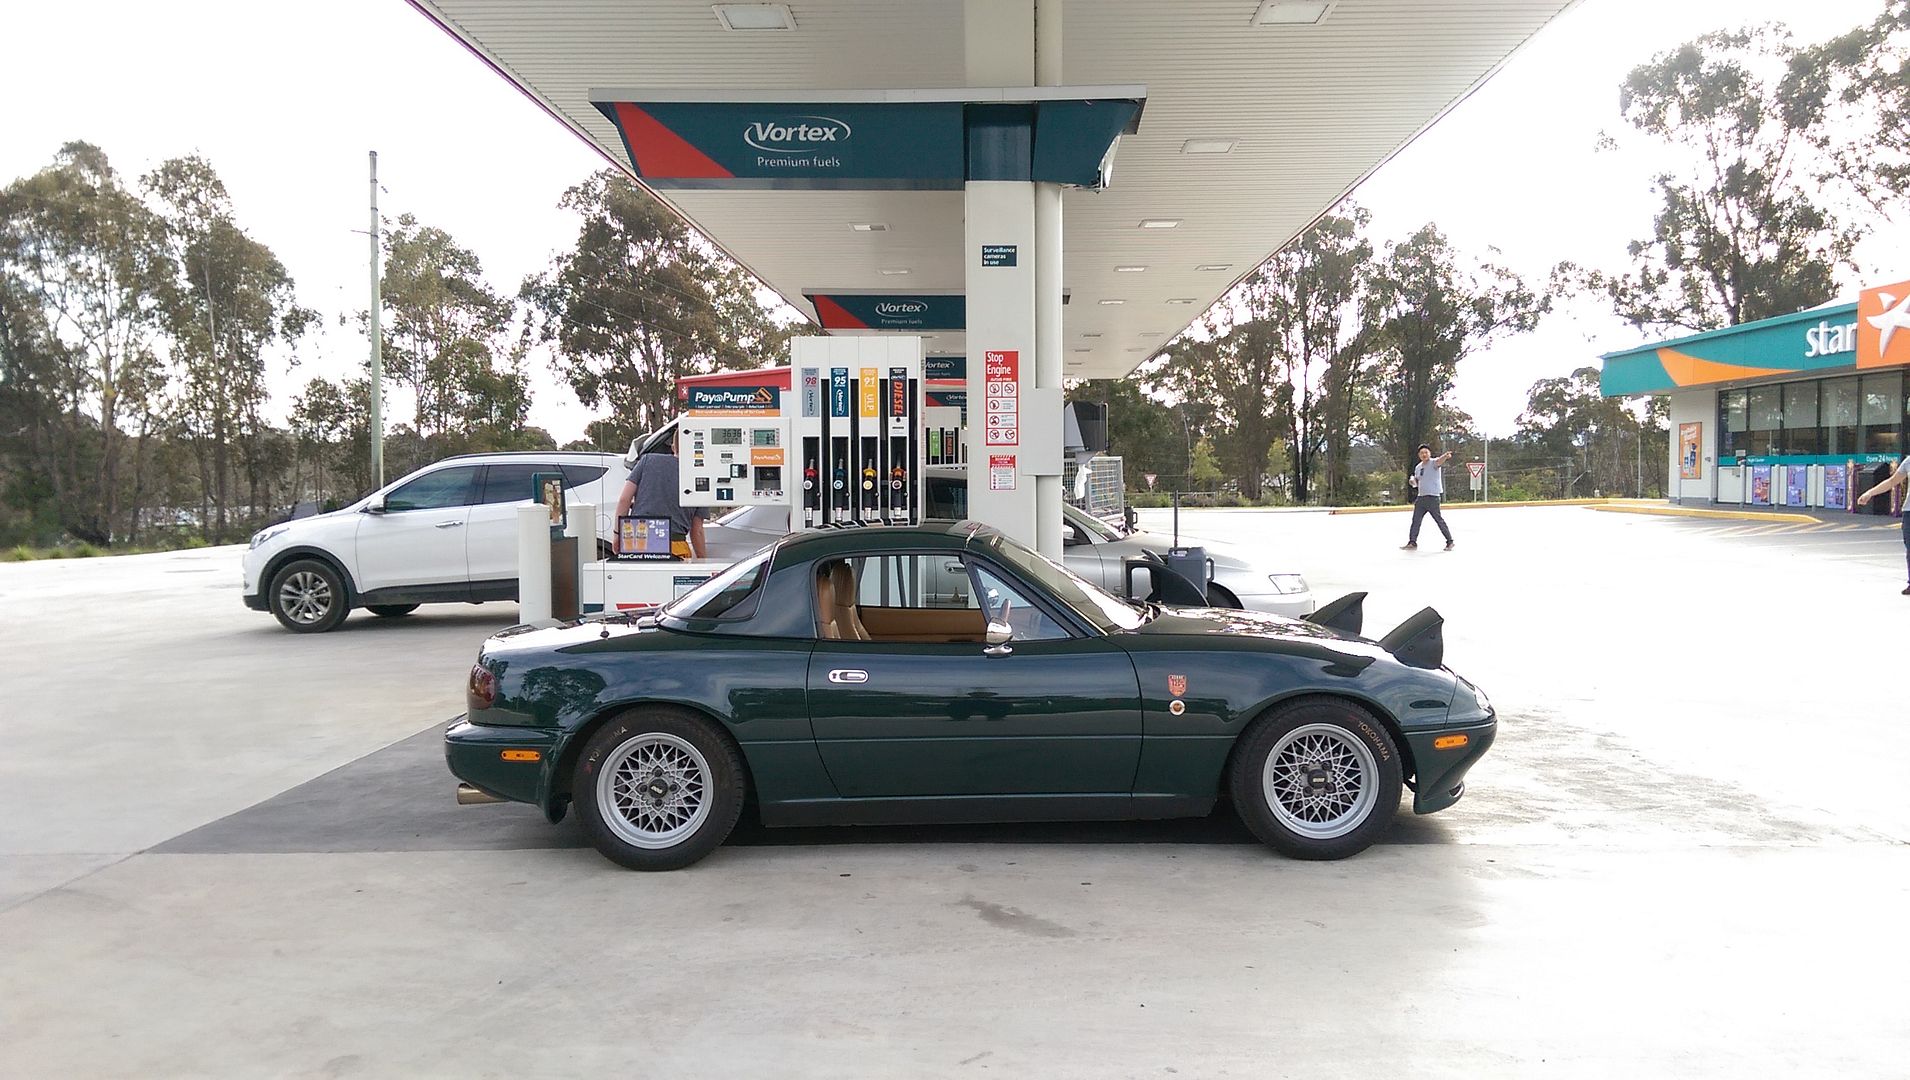
Dan's awesome NA6 filling up at the petrol station before the drive.

Image

Image

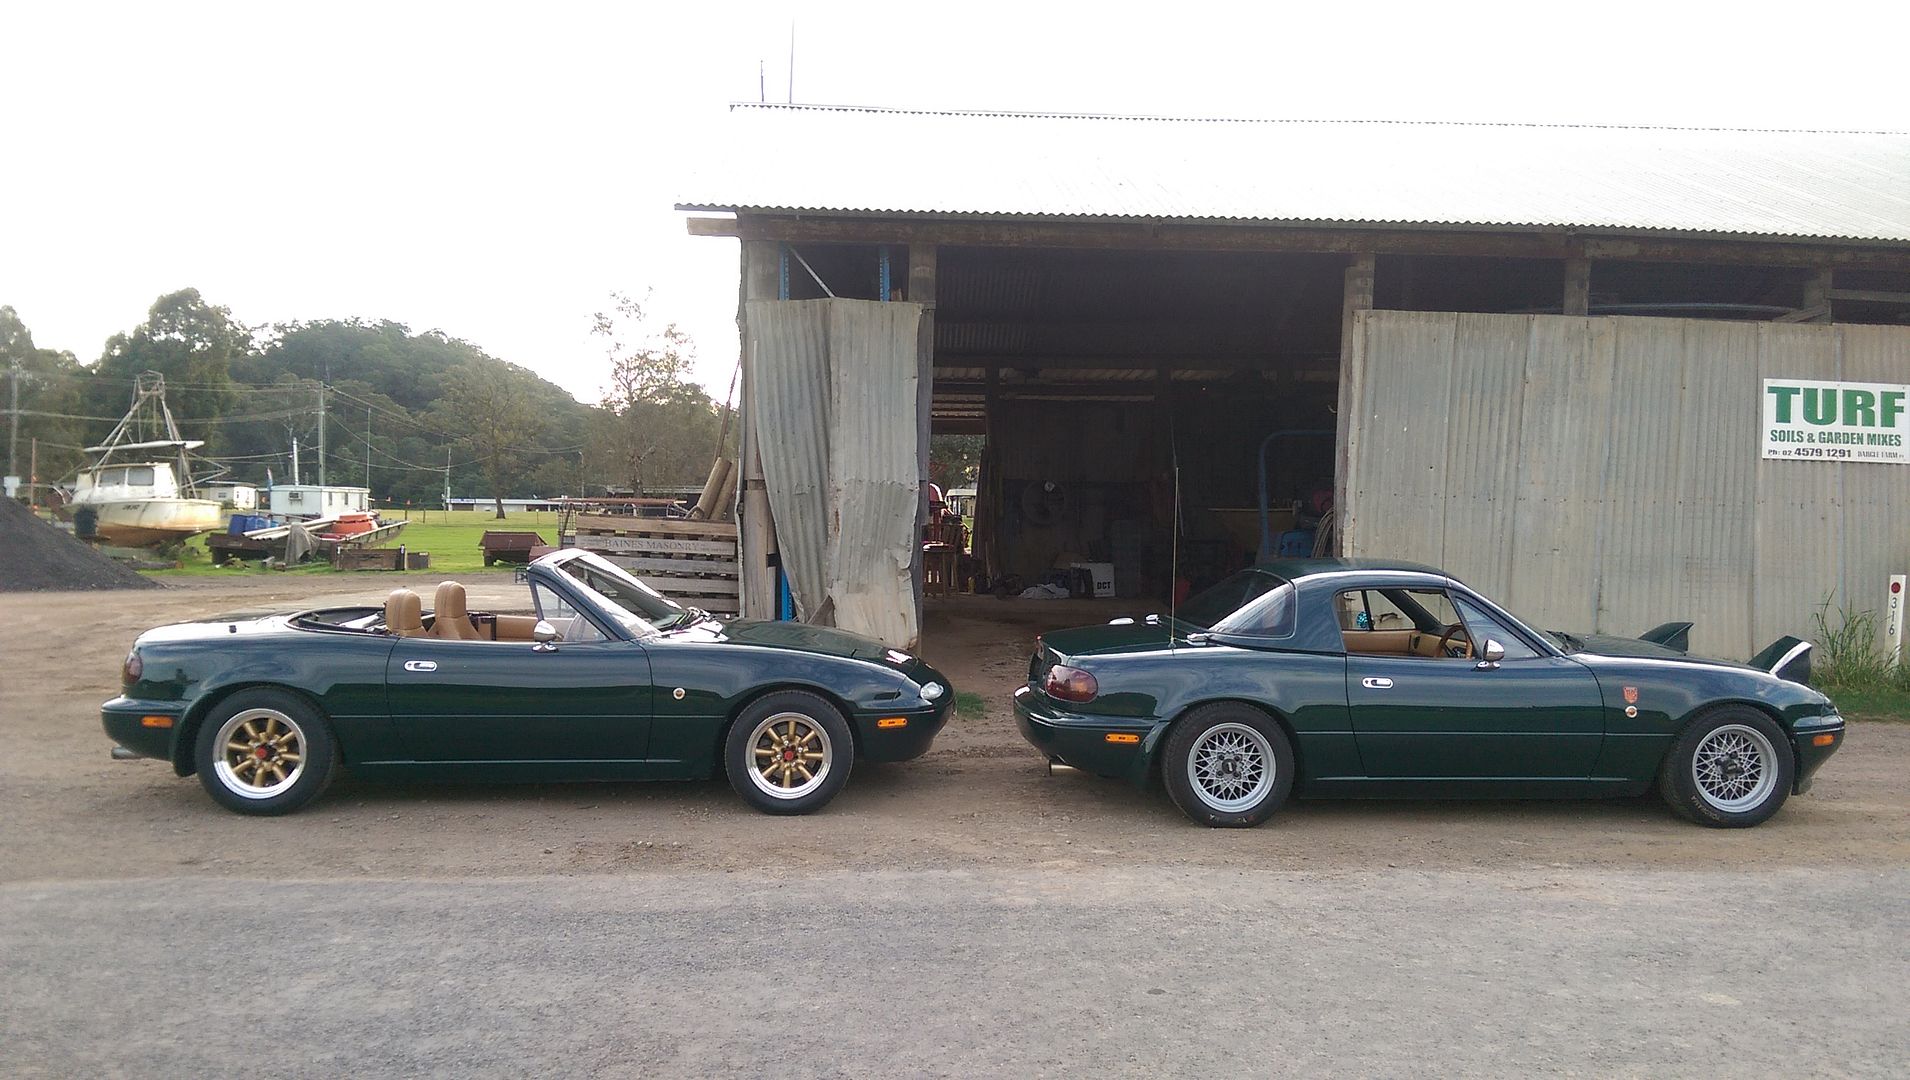
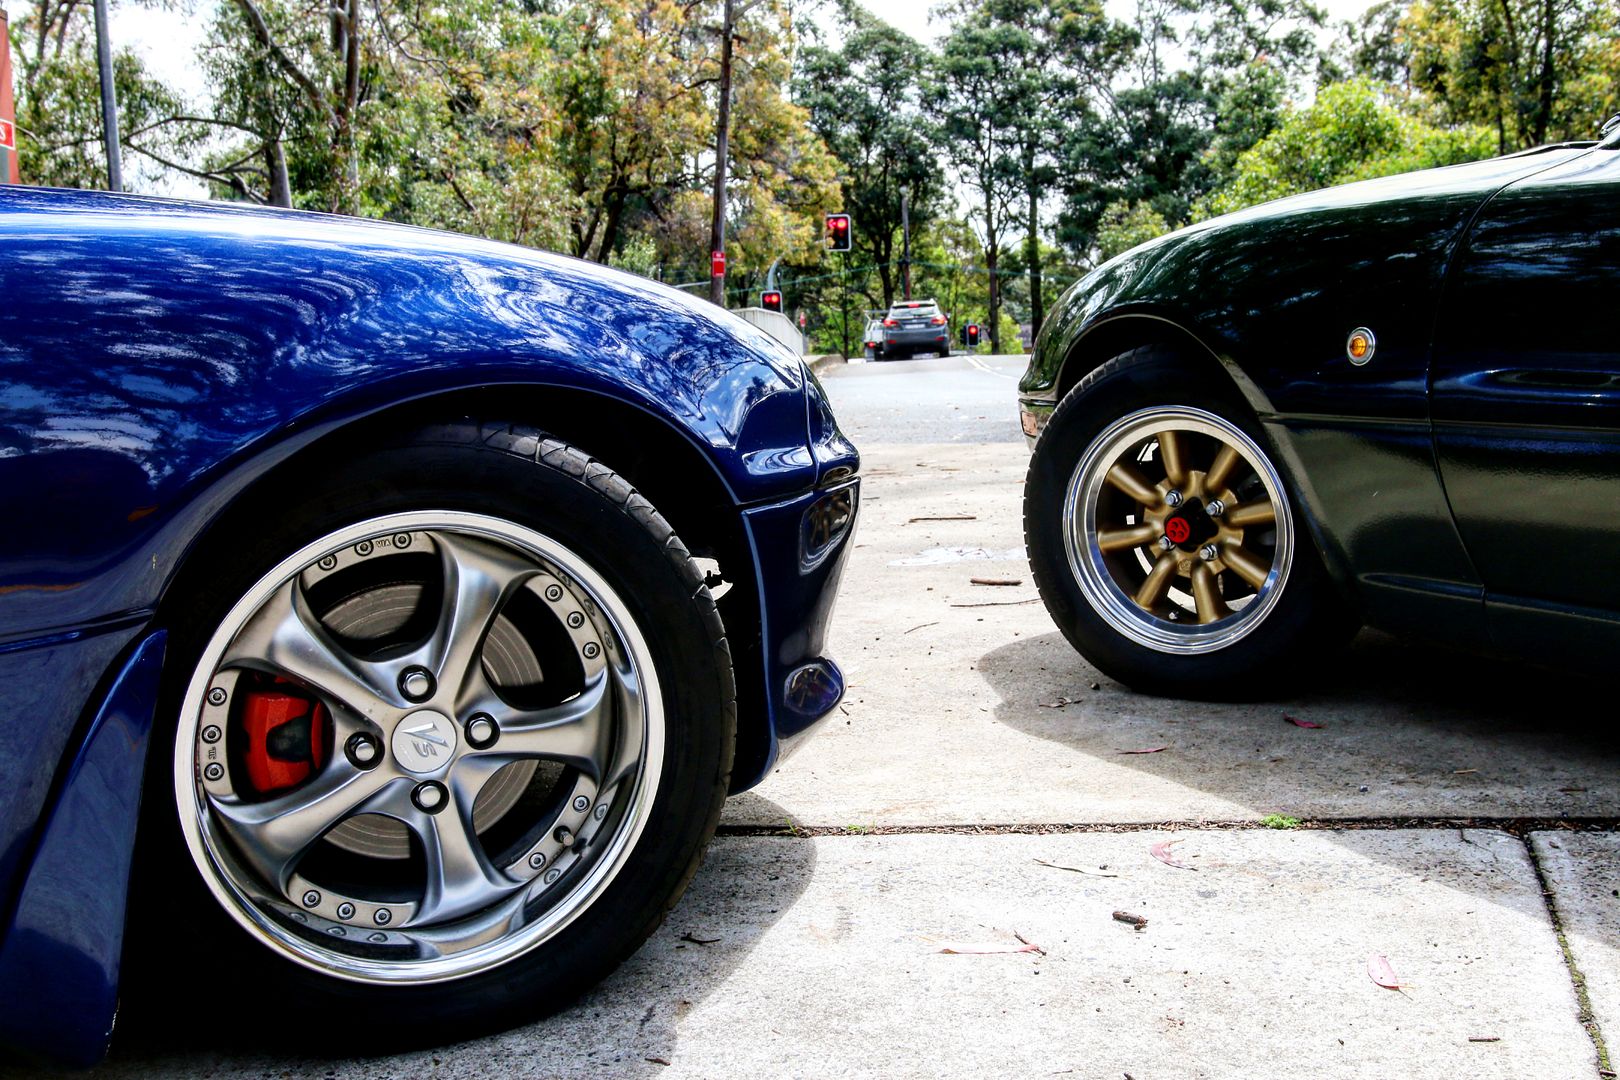
RS-Watanabe's with soft top and BBS Mahle's with hard top.

Image

Middle of nowhere.

Image

Cooling off.

Image

Engine bay.

Image

Sublime Point Lookout.

Image

BRG.NA8
Fast Driver
Posts: 196
Joined: Sat Dec 12, 2015 10:32 pm
Vehicle: NA8

Re: 1996 BRG NA8C Build Thread

Postby BRG.NA8 » Fri Jan 06, 2017 7:01 pm

Care package from K.G. Works Japan. Since I'm going for the classic vintage roadster theme with my MX-5, I've always wanted to get the K.G. Works rear view mirror as I think it looks amazing and fits the vintage theme very well. The NA8 MX-5's from 1996-1997 has the rear view mirror mounted on the windshield and the K.G. Works vintage rear view mirror were only made for the NA6 MX-5's and the early NA8's where they have theirs mounted on the frame of the car in the middle, which incidentally is where the interior dome light is in my car.

From what RustRat tells me, I need to fabricate a plate and forgo my interior light to install this awesome piece. It will add to the vintage look for sure.

Image

Image

Image

What it will look like when installed. Should look great!

Image

BRG.NA8
Fast Driver
Posts: 196
Joined: Sat Dec 12, 2015 10:32 pm
Vehicle: NA8

Re: 1996 BRG NA8C Build Thread

Postby BRG.NA8 » Fri Jan 06, 2017 7:02 pm

Friend of mine recently took delivery of this : An NA6CE JDM Eunos Roadster with an M45 Jackson Racing supercharger! Funny how things have a way of working themselves out. This very car was the car that made me initially fall in love with MX-5's. I had come across the previous owners build thread which started back in 2010. I had been quietly following his build and was impressed at his attention to detail, OCD and also the obvious love he had for his car.

[url="http://forum.jdmstyletuning.com/showthread.php?30524-wilch-s-Supercharged-na6-MX5-comic-book-build"]Check out that thread by clicking here.[/url]

Anyway, come September 2015 I was in the market for one and although this specific car was not up for sale, I decided to send him a PM on the forum saying that if he wants to sell it, I'd be willing to buy it from him. However, he had been inactive on that forum for a while and he never responded to my PM and I had no other way to get in contact with him. Then, December 2015 came and I purchased what is now my 1996 NA8 BRG MX-5.

One day I was having a chat with a close friend of mine when he asked me whether I had any plans for the motor; whether it was to go forced induction by either supercharging or turboing the car or keeping it NA by going ITB's. I told him that I initially really wanted a particular MX-5 which was supercharged but told him I sent a PM and didn't get a response and couldn't get in touch with the owner. I showed him the build thread and as it turns out, my friend was friends with the owner! Small world indeed. He told me that the owner of the blue MX-5 had moved on to Porsches but from what he knew, he still had the MX-5 in his possession but it hardly got dríven. Eventually I was introduced to him in person by my friend when we all met at a Porsche Concours Event which was being held by the Porsche Club of NSW. I finally got to meet the owner of the MX-5 which made me initially want to get one in the first place!

I told him the full story and he tells me that he had actually been wanting to sell for about two years or so as he was renovating his house and he simply didn't drive the car anymore since his work got relocated and was using public transport most of the time anyway. He said that he would probably be putting it up for sale soon and the reason why he didn't do it earlier was because he just got lazy. As all this was being told to me, I had another friend who was also looking to buy an MX-5 as well. He had been doing a little bit of research and had seen a couple of MX-5's already but most were banged up and not in good condition at all. I told him about this supercharged NA6CE which could potentially be up for sale. Long story short, I introduced the owner to my friend who was looking for the MX-5, a deal happened, and now my friend is the new owner of a supercharged NA6CE (which comes with a lot of goodies including that supercharger); the car that could have potentially been mine had I known my close friend was friends with the owner!

Anyway, took some snaps for a quick impromptu photoshoot. Proper photoshoot still to come.

Image

Image

Image

BRG.NA8
Fast Driver
Posts: 196
Joined: Sat Dec 12, 2015 10:32 pm
Vehicle: NA8

Re: 1996 BRG NA8C Build Thread

Postby BRG.NA8 » Fri Jan 06, 2017 7:02 pm

Testing and playing around with the new camera, lens and equipment.

Image

Image

Image

Image

BRG.NA8
Fast Driver
Posts: 196
Joined: Sat Dec 12, 2015 10:32 pm
Vehicle: NA8

Re: 1996 BRG NA8C Build Thread

Postby BRG.NA8 » Fri Jan 06, 2017 7:02 pm

The car will be going in for service. Aside from the usual minor service, some extra bits will be going on the car, mostly replacing OEM items with fresh new ones or upgraded to a better brand. Although the car has been very reliable up until now, there is always room for improvement. The key focus is reliability and being proactive rather than reactive. Plus, most of the factory parts currently on the car are 20 years old now and could do with a replacement and refresh.

In no particular order :

- OEM Rocker Cover Gasket
- OEM Throttle Body Gasket
- OEM Intake Manifold (Satin Black)
- OEM Valve Cover (Satin Black)
- OEM NA6 Oil Pressure Sender
- OEM NA6 Valve Cover Bolts
- OEM Thermostat Cover
- OEM Timing Cover
- OEM Upper Timing Belt Cover
- OEM Lower Timing Belt Cover
- OEM Clutch Master Cylinder
- OEM Clutch Slave Cylinder
- OEM Rear Main Oil Seal
- HKS Sports Oil Filter
- Goodridge Braided Clutch Line
- RacingBeat Sway Bar End Links
- Mazdaspeed Engine Mounts
- GarageStar Lightweight Alternator Pulley
- GarageStar Lightweight Water Pump Pulley
- Toda Sports Clutch Disc
- Toda Sports Clutch Cover
- Toda Lightened Flywheel (4.5kg)
- Dixcel Type SD Slotted Front Rotors
- Dixcel Type SD Slotted Rear Rotors
- Dixcel Type M Front Brake Pads
- Dixcel Type M Rear Brake Pads
- Motul RBF600 Brake Fluid

She should be running very nicely after this!

Image

BRG.NA8
Fast Driver
Posts: 196
Joined: Sat Dec 12, 2015 10:32 pm
Vehicle: NA8

Re: 1996 BRG NA8C Build Thread

Postby BRG.NA8 » Fri Jan 06, 2017 7:02 pm

12/10/2016

Major Service 2 : Completed
Received the car back from service today. As mentioned previously, along with a minor service changing the oil and oil filter there were a few things which were going to be upgraded/refreshed.

No major issues and the service went quite smoothly, except for one thing which was the front calipers seizing. I've replaced the front calipers with NB8A items for the time being (same as NA8C) and will probably look at getting the original calipers pulled apart and rebuilt so I can put it back on next time. Brand new injectors were also replaced. Needless to say, the car feels so nice to drive now, especially with the new clutch and flywheel! The clutch will be bed in properly for the next 500-1000kms or so and will also bed the new brakepads in as well. Mazdaspeed engine mounts were installed and there was no discernable increase in NVH which was awesome.

Now that the majority of the engine suspension and brakes have been tended to, there's only a few more things which I'd like to get done for the next service.

- Torsen 4.1 LSD
- Mazdaspeed Suspension Bushes Replacement
- Refresh Control Arms
- FM Chassis Frame Rails
- Maxim Works 4-2-1 Headers
- Fujitsubo Catback Exhaust
- Denso Fuel Pump + Bag
- SAMCO Silicone Hoses in BRG
- KG Works Retro Rear View Mirror

For now though, I can get back to focusing on the interior. I've ordered some Nakamae parts and they will be coming in shortly.

- Nakamae Quilted Sidestep Interior Trim
- Nakamae Quilted Transmission Tunnel Trim
- Nakamae Quilted Upper Package Tray Trim
- Nakamae Quilted Lower Package Tray Trim
- Nakamae Quilted Beltline Trim

Image

BRG.NA8
Fast Driver
Posts: 196
Joined: Sat Dec 12, 2015 10:32 pm
Vehicle: NA8

Re: 1996 BRG NA8C Build Thread

Postby BRG.NA8 » Fri Jan 06, 2017 7:03 pm

17/10/2016

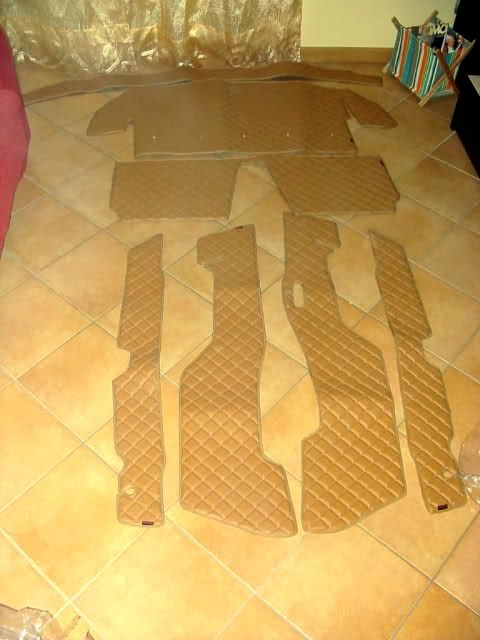
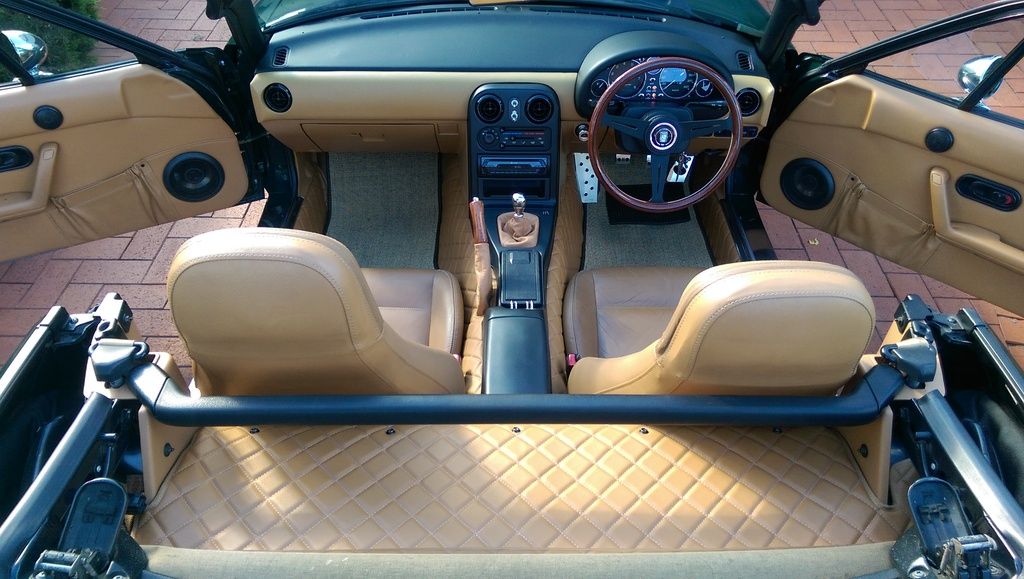
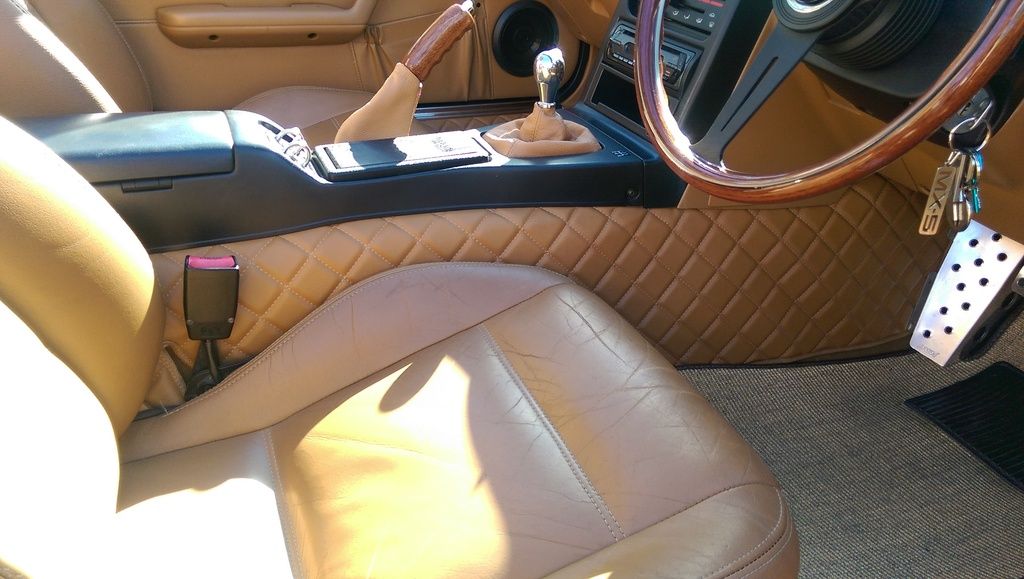
Nakamae Quilt Mat Interior Trim Set
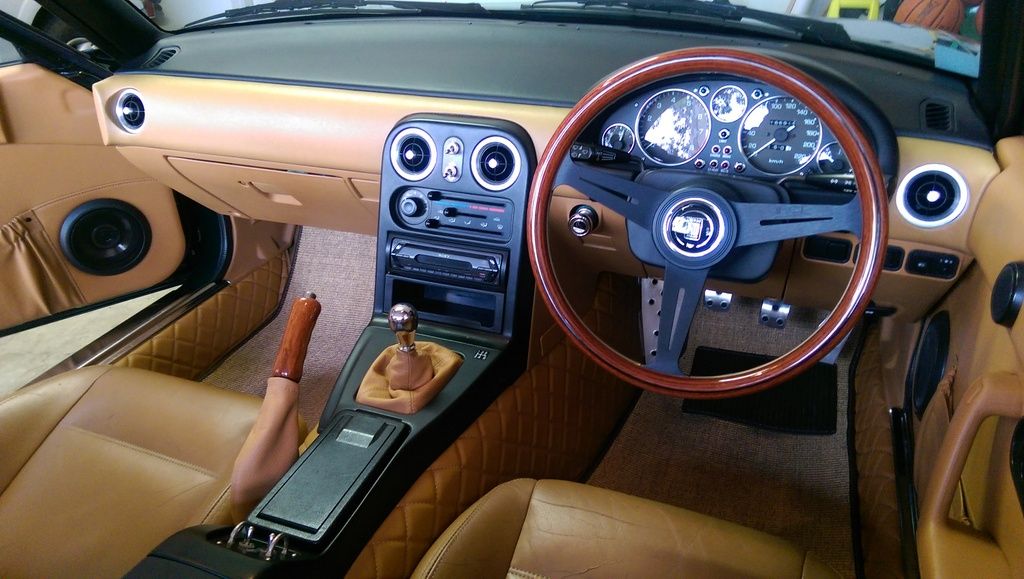
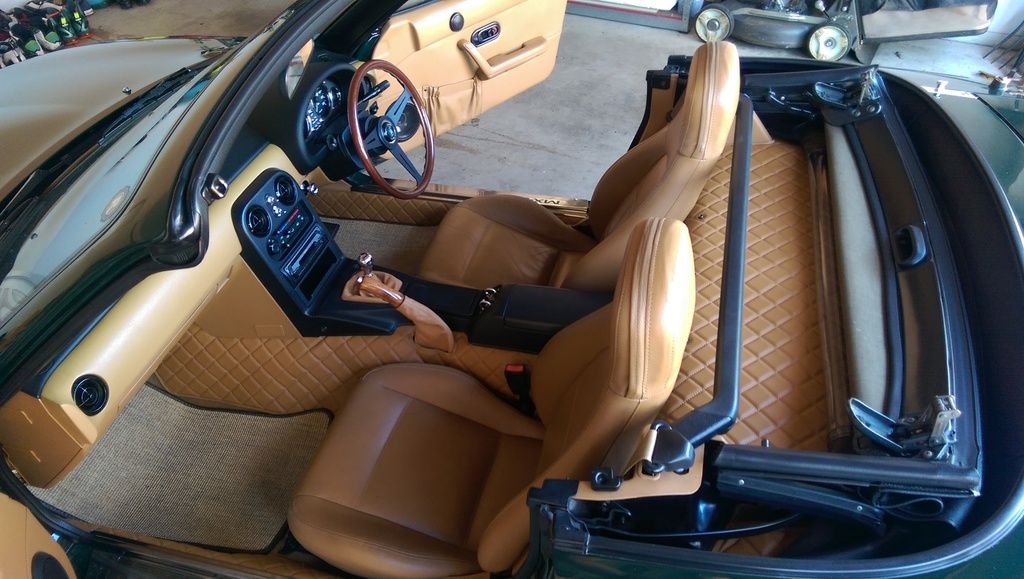
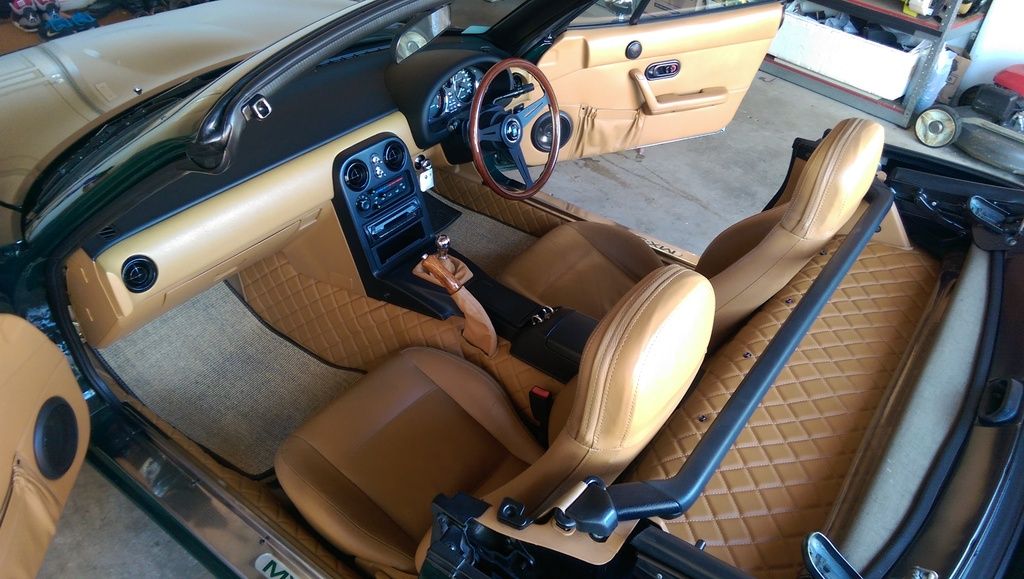
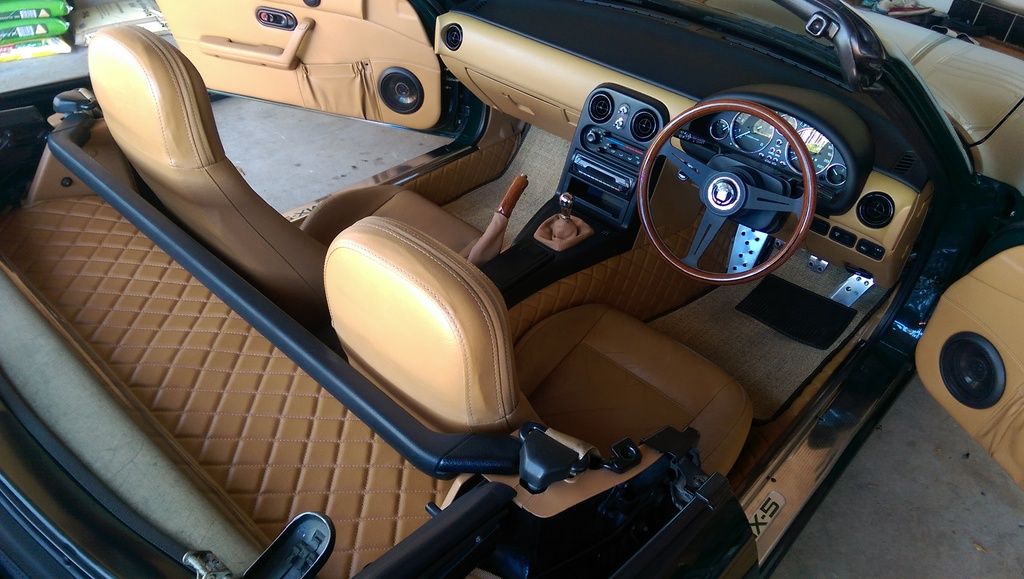
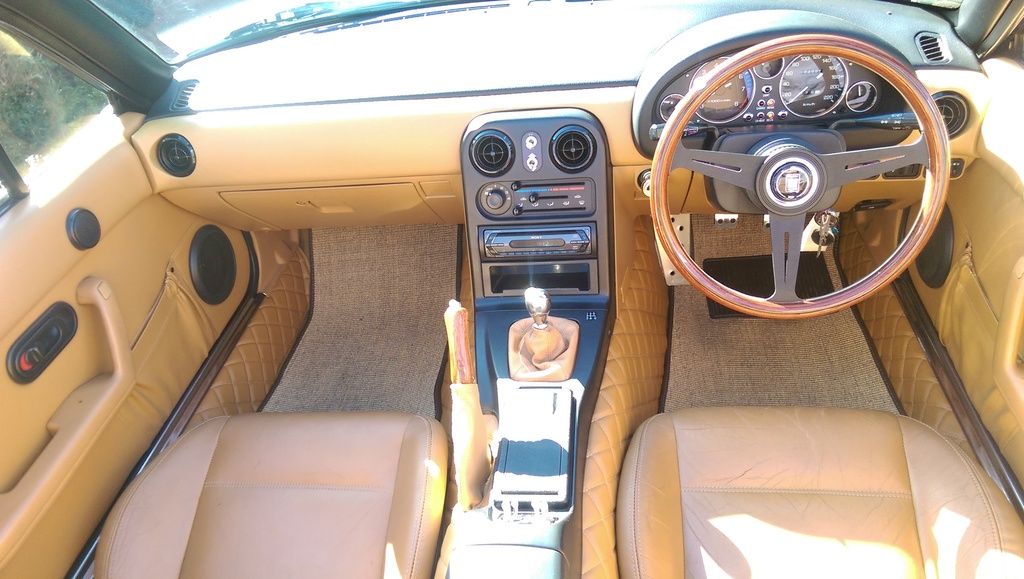
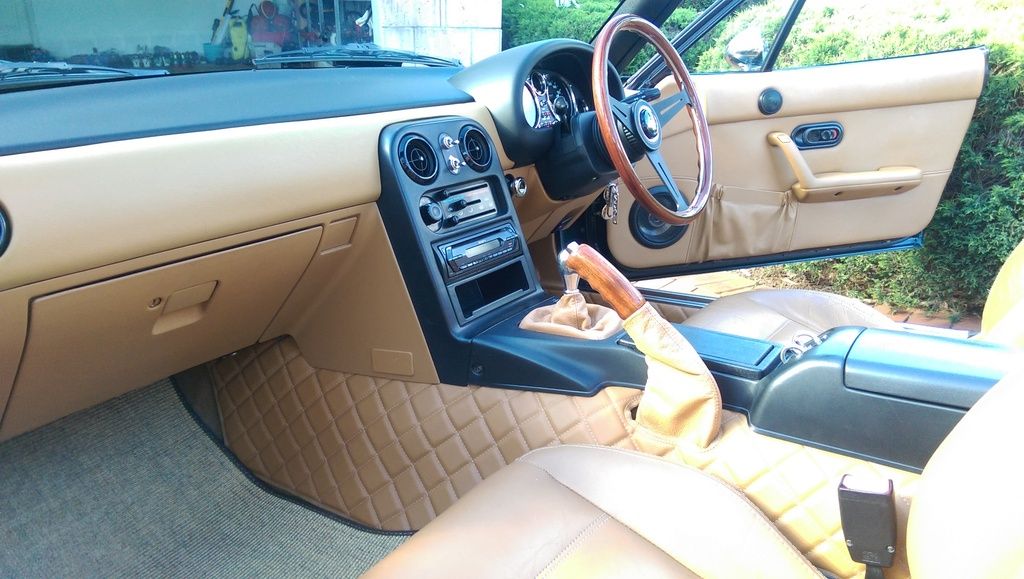
Received the Nakamae interior trim set today. I've been a fan of the trim pieces ever since seeing it on Adam's NA "Sharka" and also on Gianni's NA6. I had opted to keep it simple by not going too crazy on the quilted mat look so for now I decided to just get the transmission tunnel, side step, rear parcel upper and lower and the beltline done and see how it looks. I'm going to get the Nakamae seat re-upholstery kit with new covers and quilted centre to match but for the doorcards, I might just go the plain Nakamae ones and utilise the door pulls instead and replace the arm rest. I think this will give it a cleaner look overall. These will be the next big items interior wise.

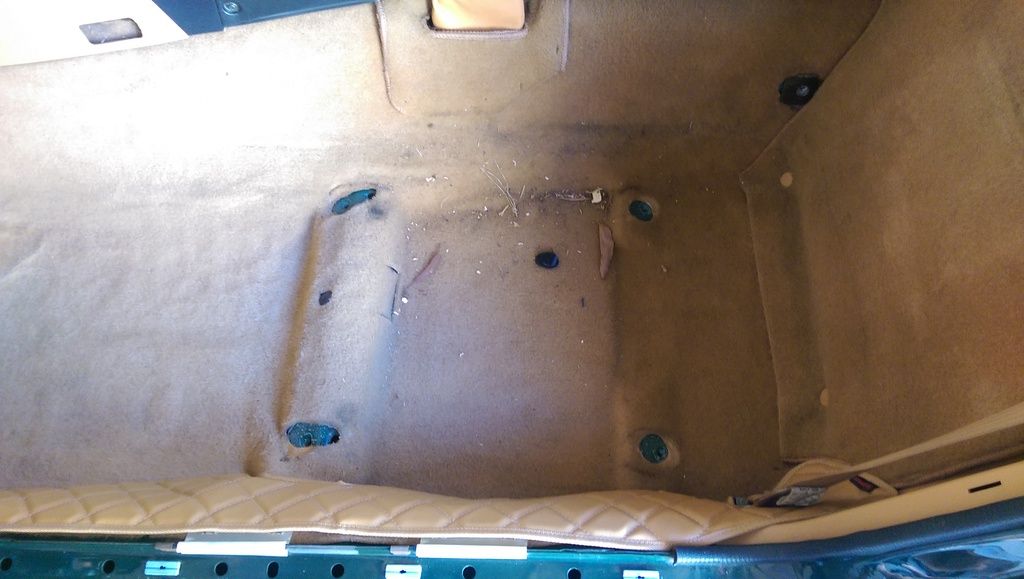
For now though, it looks really good! Install was pretty simple and I decided to take the seats out of the car to make it easier for me. To my surprise there was dead leaves and other crap under the seat so it's a good idea to remove the seats once in a while and give it a nice vacuum and cleaning.

Automotive archaeology. Finding random bits of crap under the seat.

Image

Result.

Image

Image

Image

Image

Image

Image

Image

Image


In other news, the silicone hoses I bought from CarbonMiata are failing on me after less than a year. They seem to be cheap chinese copies and the hoses have discoloured as they were probably manufactured without quality assurance in mind. Not only that, there's a smell of coolant coming from the engine bay and after going through my checklist of what it could be, I've deduced it must be the hoses. DON'T CHEAP OUT ON SILICONE HOSES! IF REPLACING, REPLACE WITH OEM OR GO FOR A QUALITY SILICONE HOSE SUPPLIER! I've contacted the Australian distributor for Samco silicone hoses and will be getting full coolant and ancillary replacement hoses. Should look good once done!
Last edited by BRG.NA8 on Fri Jan 06, 2017 7:05 pm, edited 1 time in total.

BRG.NA8
Fast Driver
Posts: 196
Joined: Sat Dec 12, 2015 10:32 pm
Vehicle: NA8

Re: 1996 BRG NA8C Build Thread

Postby BRG.NA8 » Fri Jan 06, 2017 7:03 pm

06/11/2016

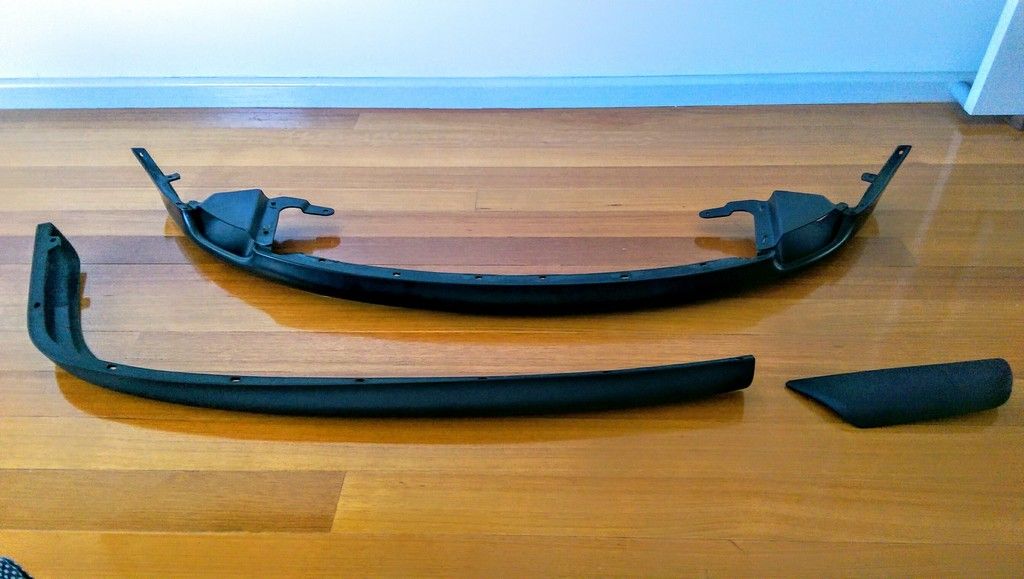
OEM Mazda Genuine Front Lip + Sunday Drive
Exterior got a minor cosmetic update, namely a genuine OEM Mazda front lip. Most of the front lips I've seen on other NA's are OEM replicas or copies. With this being a genuine part, it has the part number as well as having "Made In Canada" stamped inside the lip. Since it's a genuine original item, there were no fitment issues either. However, to be fair, I have test fitted an OEM replica front lip and the only difference from what I could see is that you'd probably want to use a hair dryer or heat gun to heat it up to get the lip to bend and form into shape to make the polyurethane more malleable as the fitment isn't 100%. It does take slightly more work but once it's on, you wouldn't be able to tell the difference between the genuine and replica lip. Given that the genuine lip would probably cost an arm and a leg if purchased brand new from Mazda, the replica is a cost effective way of achieving the same result for a fraction of the price and there's plenty of these going around second hand. Normally I'm against replica or fake parts but for something like a front lip, I'm okay with it. I just got lucky that I managed to score an original part!

OEM front lip and OEM rear lip. Managed to get the rears for free from a mate!

Image

OEM front lip attached.

Image

It was an absolutely gorgeous day today so I decided to take the MX-5 out for a drive. With the front lip now fitted, I decided to slightly raise the front so it wouldn't scrape. I do wish the car was a tad lower to rid the slight gap between the fender and wheels but as far as exterior goes, I'm very satisfied. Will need to book in a wheel balance and alignment soon. Driving through Bells Line of Road is always an absolute blast and the car as it stands is amazing to drive. All the major things have been tended to and the little niggles have been ironed out so everything is now strong and reliable and is now such a fun car to drive, more than ever. I do have a few other bits and bobs which will be refreshed but all in due time.

It's days like today that make those late nights working on the car worthwhile...

Image

Image

BRG.NA8
Fast Driver
Posts: 196
Joined: Sat Dec 12, 2015 10:32 pm
Vehicle: NA8

Re: 1996 BRG NA8C Build Thread

Postby BRG.NA8 » Fri Jan 06, 2017 7:05 pm

20/11/2016

Sunday Drive : Old Pacific Highway + Wisemans Ferry Rd
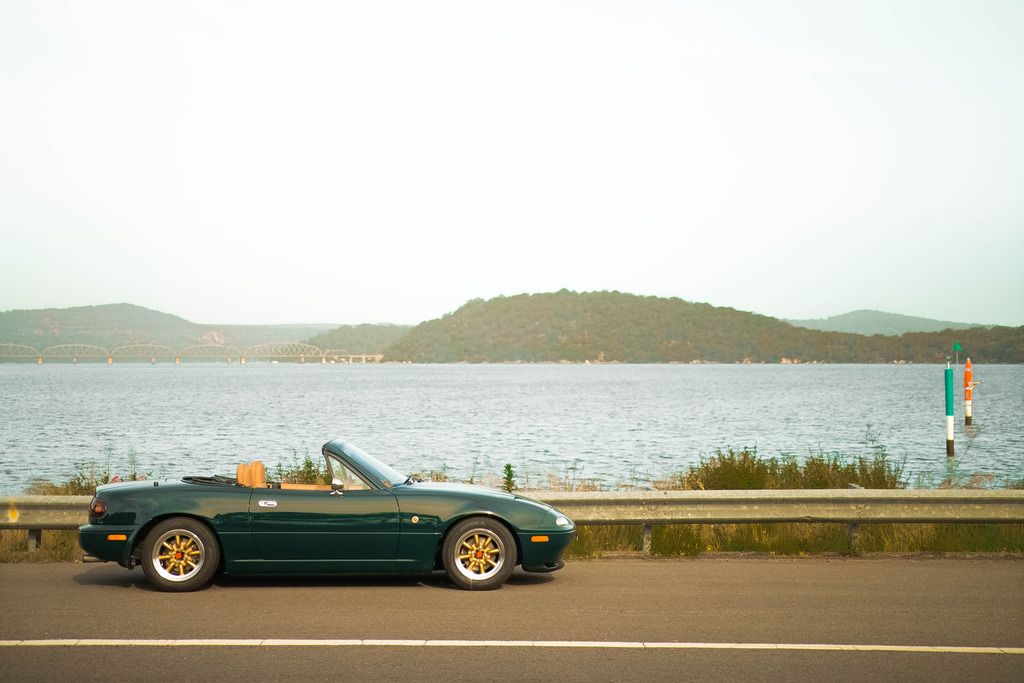
What a fantastic day for a drive today was. Gorgeous weather on a Sunday means taking the MX-5 and going for a spirited drive. The last time I went for a drive it was through Bells Line. Today, I decided to drive through Old Pacific Highway and then head back via Wisemans Ferry Rd. Have to say that the NA didn't skip a beat and ate up the black top like nothing. So much fun going through corners and for majority of the way, foot was flat to the floor. No cars, no traffic, just me and the road. Crossed the Hawkesbury River via the cable ferry and couldn't resist taking advantage of the amazing scenery at Wisemans Ferry so I decided to take a few sneaky photos.

Image

Image

Image

Image

Image

Image

BRG.NA8
Fast Driver
Posts: 196
Joined: Sat Dec 12, 2015 10:32 pm
Vehicle: NA8

Re: 1996 BRG NA8C Build Thread

Postby BRG.NA8 » Fri Jan 06, 2017 7:06 pm

06/12/2016

OEM Replacement Parts

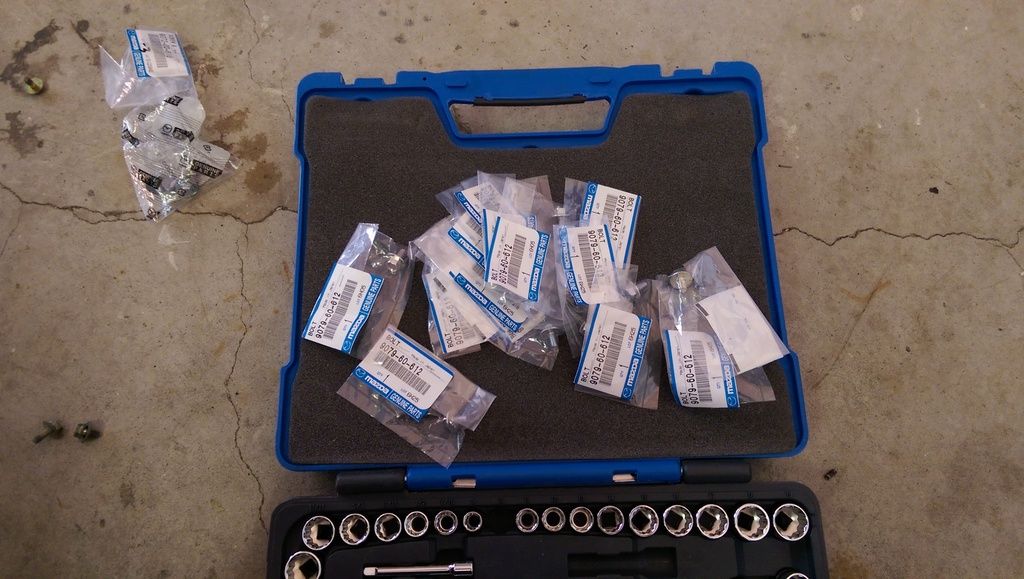
Replacing worn bolts, screws and other parts of the car and refreshing them with brand new genuine OEM Mazda parts. Ended up replacing from the engine bay most of the bolts and screws with new OEM items, new OEM soft top striker plates and bolts, new OEM soft top end caps, and a few other parts like rear tail light gaskets, exhaust hanger rubber mounts, plastic headlamp surrounds, etc. It's slowing all being refreshed just like how it was when it rolled off the factory floor at Mazda all those years ago.

OEM goodies!
Image

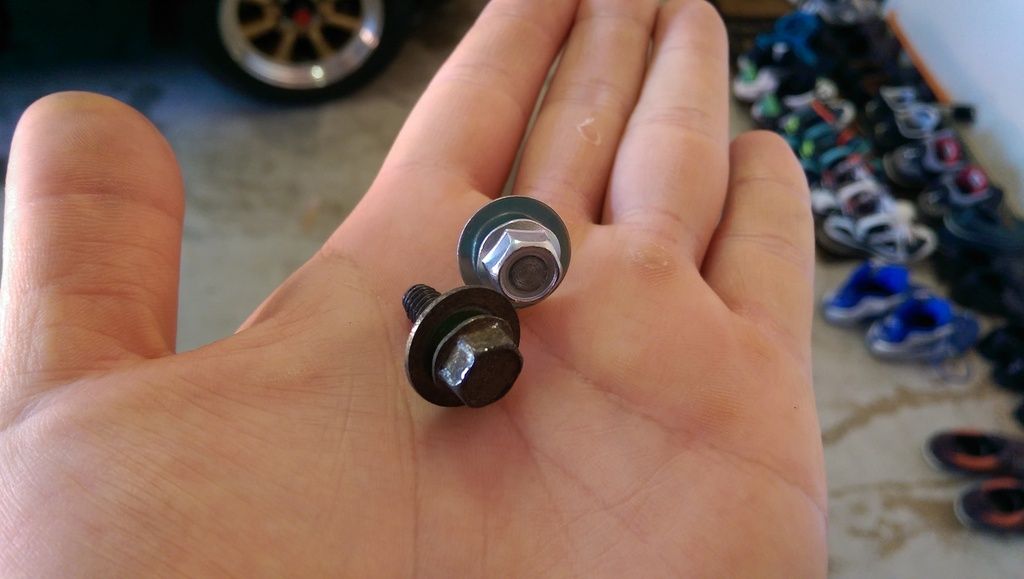
New soft top latch screws. Old ones were oxidised and looking tired.

Image

Replaced soft top latch end caps as the ones I had before had broken.
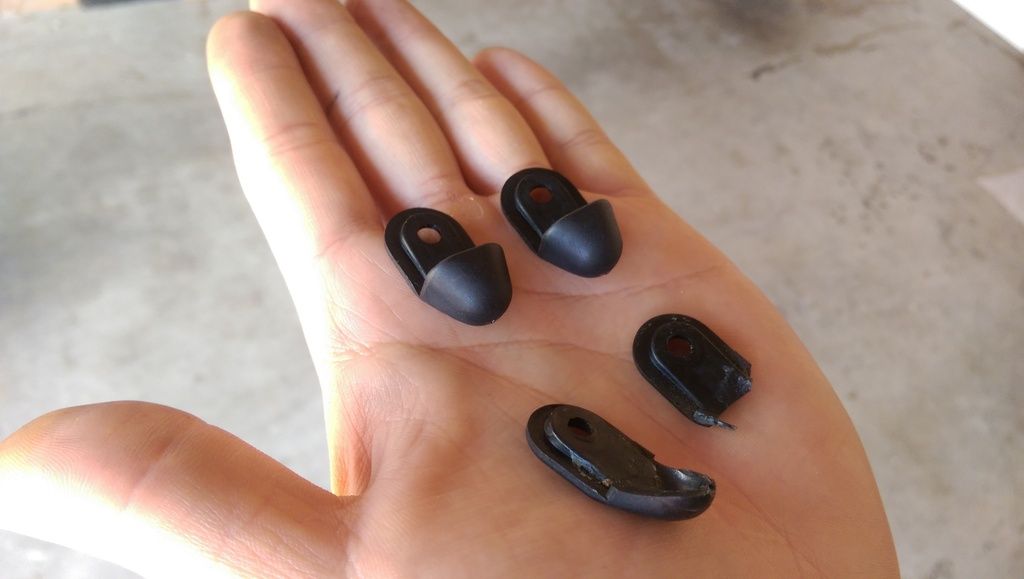
Image

New bolts for the engine bay.

Image

New soft top strikers with new bolts.
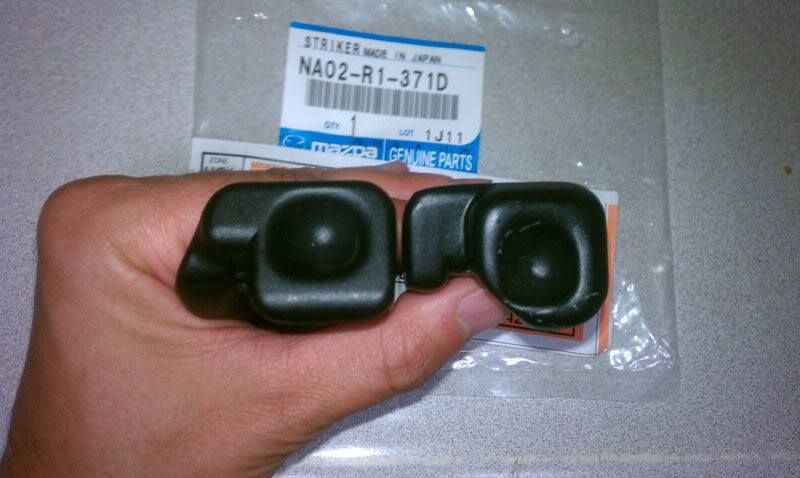
Image

Replaced both driver and passenger arm rests as both had one cigarette burn each on it. Picked these up for $20.00 a pair from a wreck.
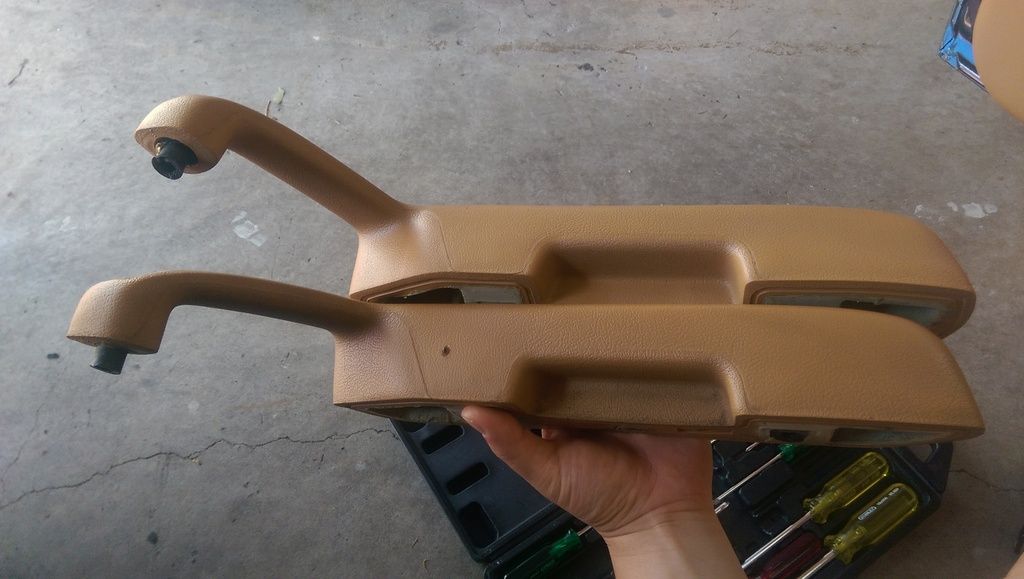
Image

For me, it's always a great feeling removing those tired, worn, old, rusted, oxidised items and replacing them with new ones. Some may question me doing this and would argue that as long as it's working why change it? Well, my answer to that is, it's a 20 year old car. If you have the chance and opportunity to change them out, why not?


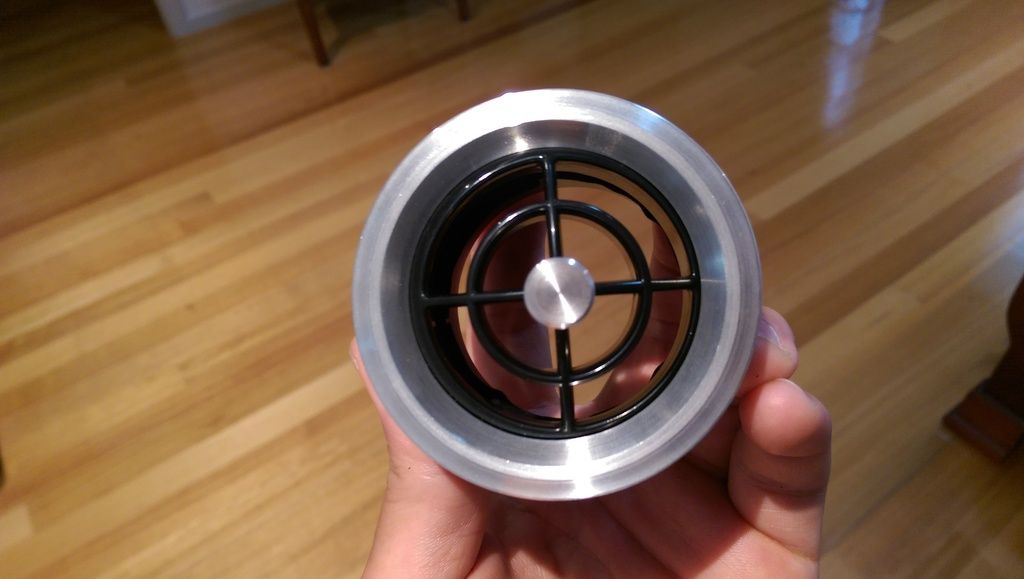
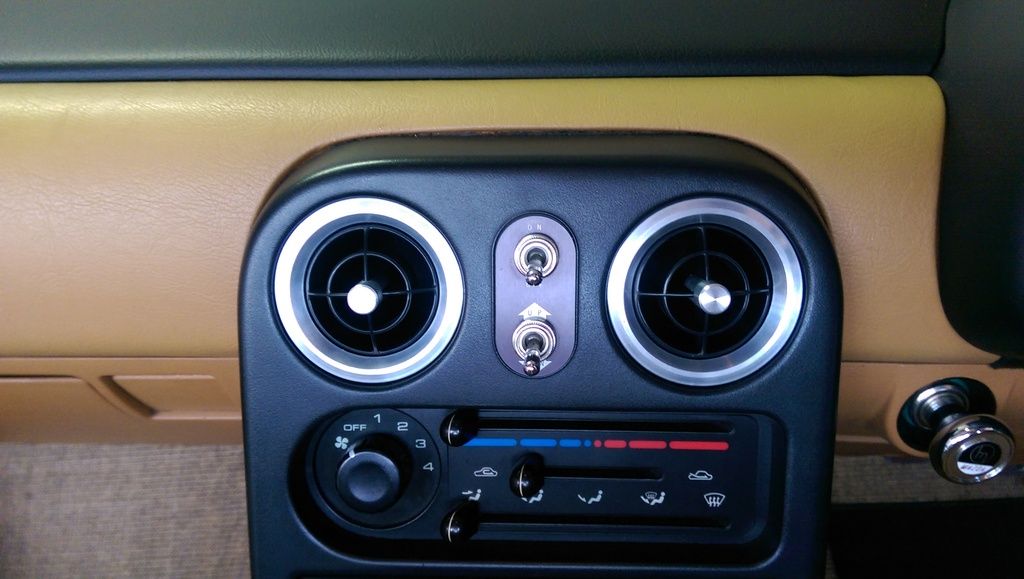
Garage5 Brushed Aluminium Vent Rings

For a while now I've had Adam's Sharka Vent Rings in gloss black installed. As much as I loved it, I decided to try Garage5's vent rings. Unlike the Sharka vents which go over the OEM plastic rings, these are a full replacement for the plastic rings. Also, I'm not 100% sure but have heard that these were now discontinued? Anyway, decided to give these a go. Also gave me a chance to swap out the vents to brand new ones as three of the four vent balls were drooping. I'll fix those up and keep them as spares.

Garage5 Vent Rings and brand new OEM vents with plastic ring removed.
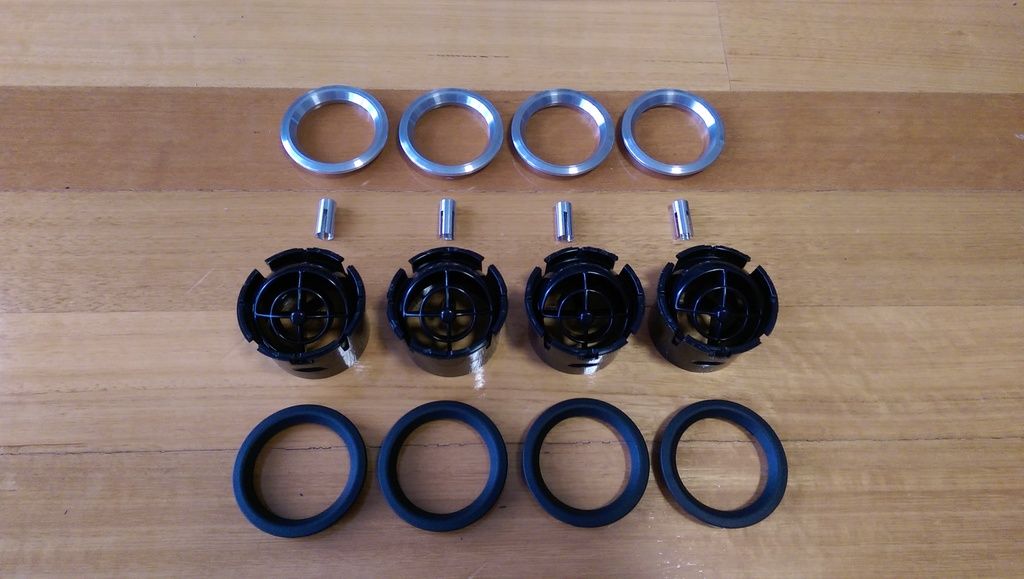
Image

Vent ring test fitted along with the little vent grab handle fitted also.
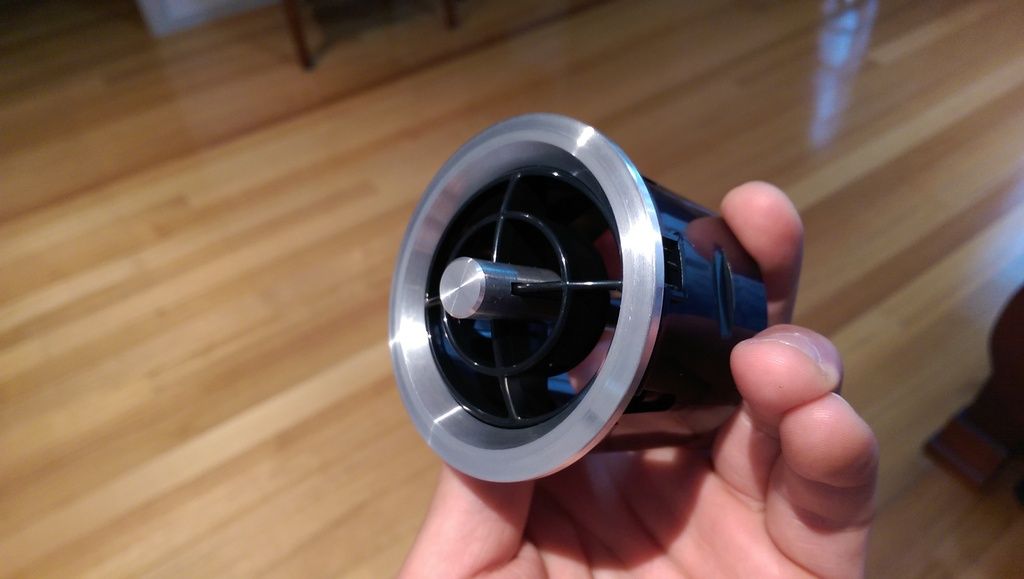
Image

Image

Comparison of the Sharka vent ring VS Garage5 vent ring.
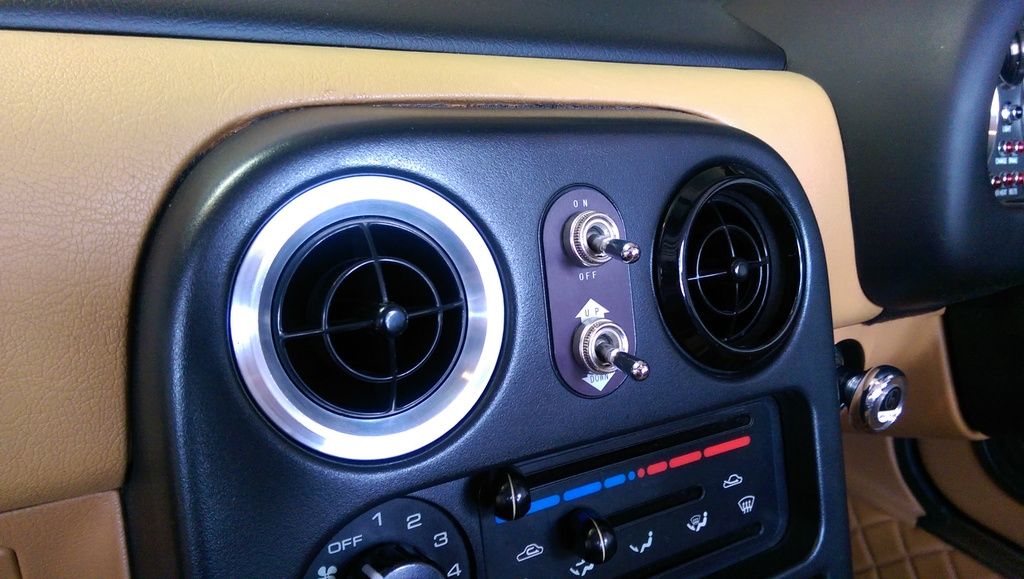
Image

Fitted in tombstone.

Image

Installed with vent grab handles.

Image

Comparison shot without the centre grab handles.
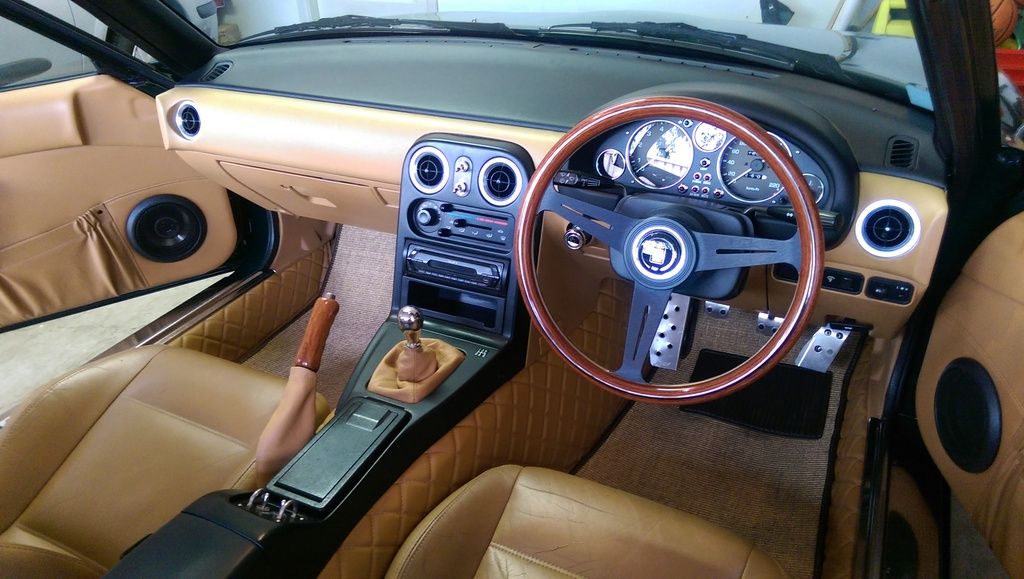
Image

I will be upgrading the HVAC soon too and I'm really liking Benpophams HVAC upgrade. I think with the Garage5 vents, a HVAC to something similar like what he has done will tie the rest of the interior in very nicely.

HVAC upgrade. Photo by Ben.
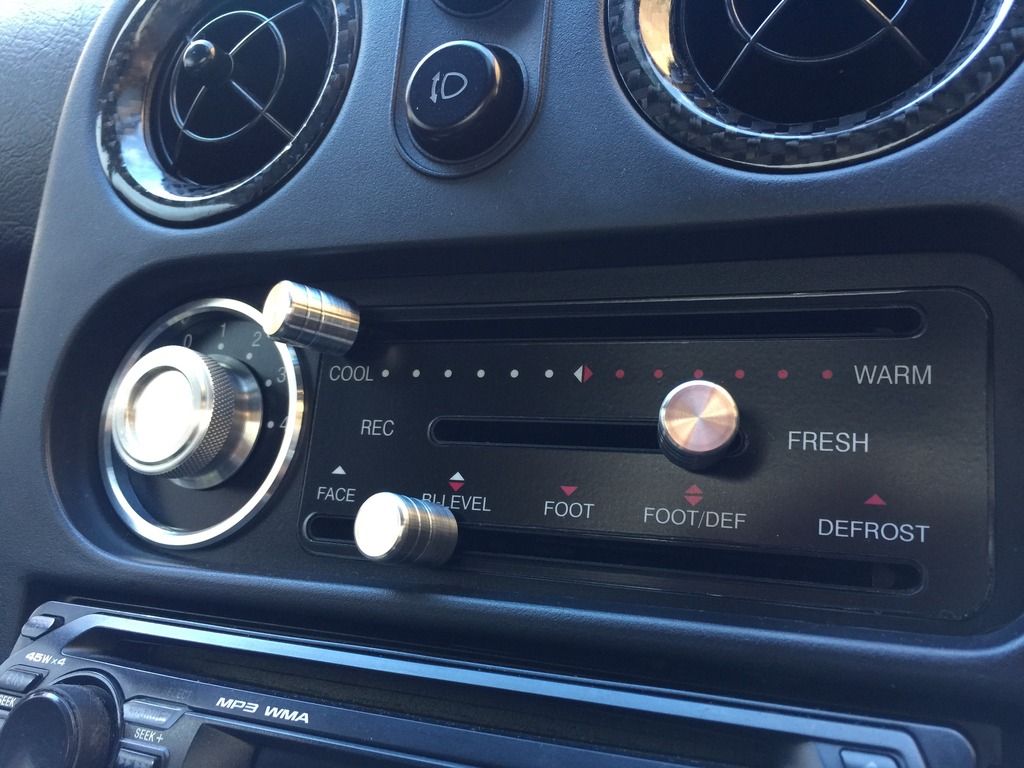
Image

I think for now I like the grab handles. It matches well with the ring and once I update the gauge cluster faces with the needle caps and upgrade the HVAC, it should freshen it up just that much more.
BRG.NA8
Fast Driver
Posts: 196
Joined: Sat Dec 12, 2015 10:32 pm
Vehicle: NA8

Re: 1996 BRG NA8C Build Thread

Postby BRG.NA8 » Fri Jan 06, 2017 7:06 pm

12/12/2016

One Year Ownership Anniversary
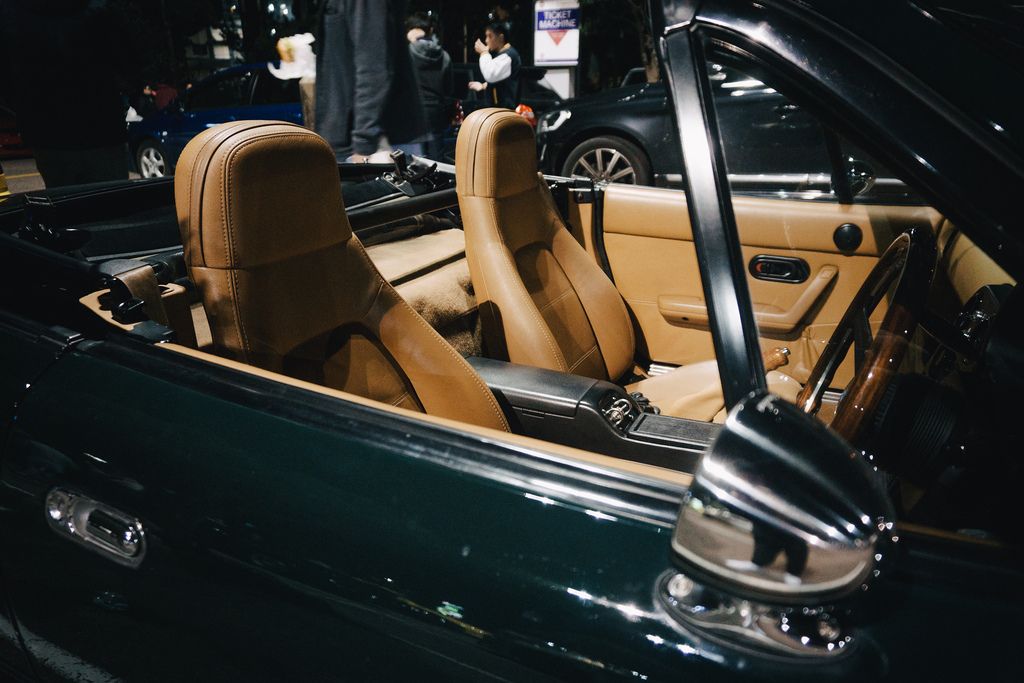
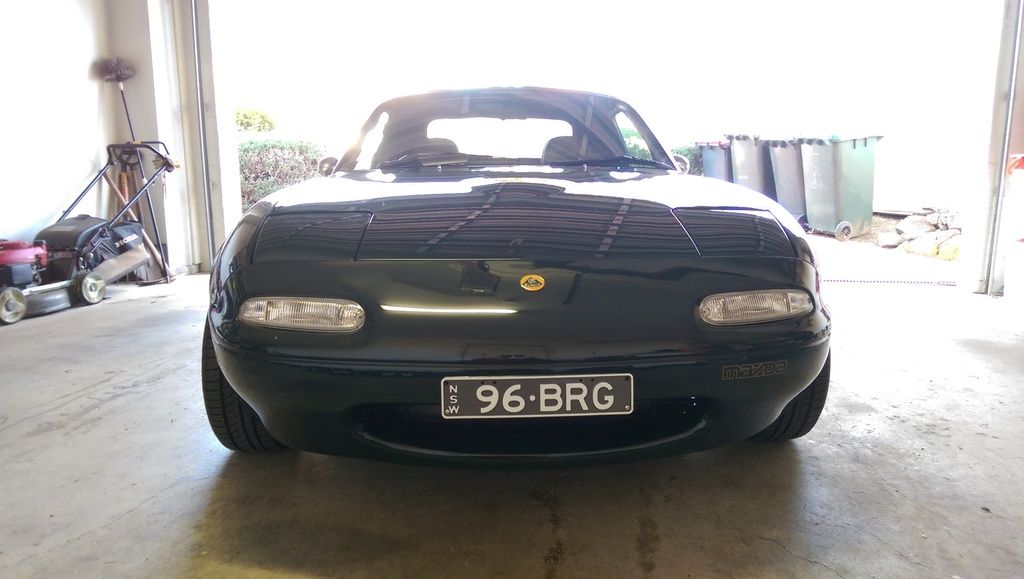
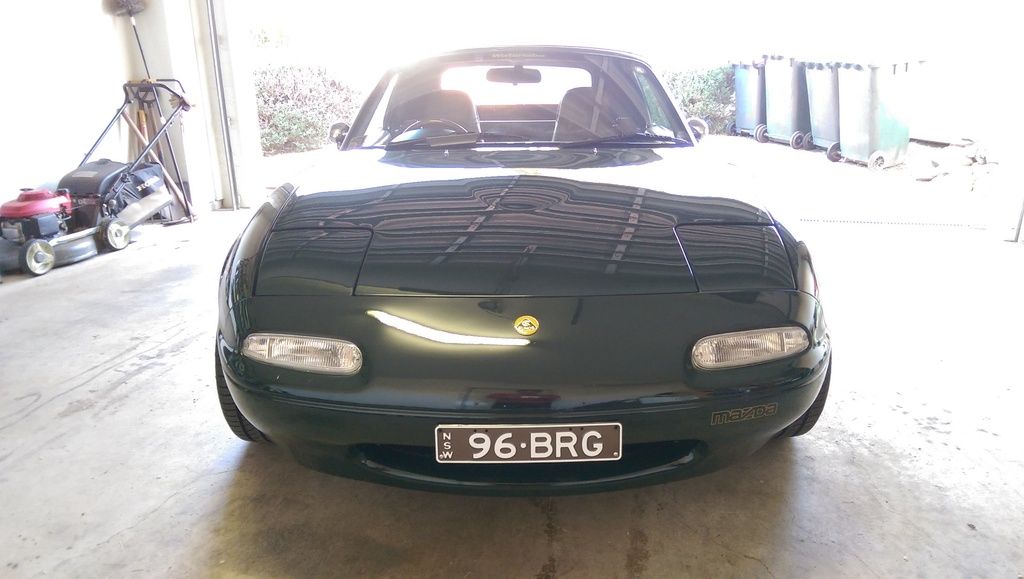
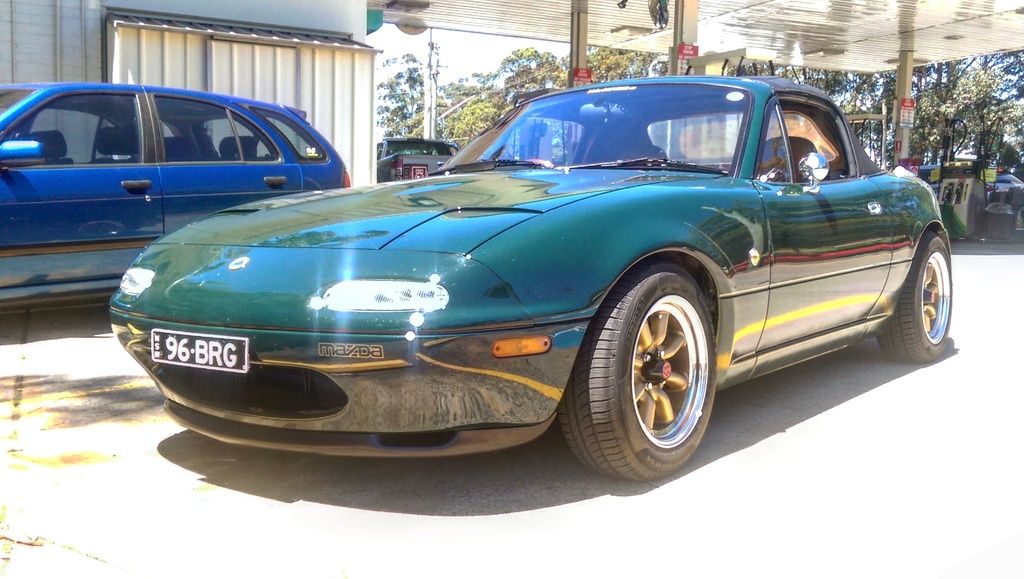
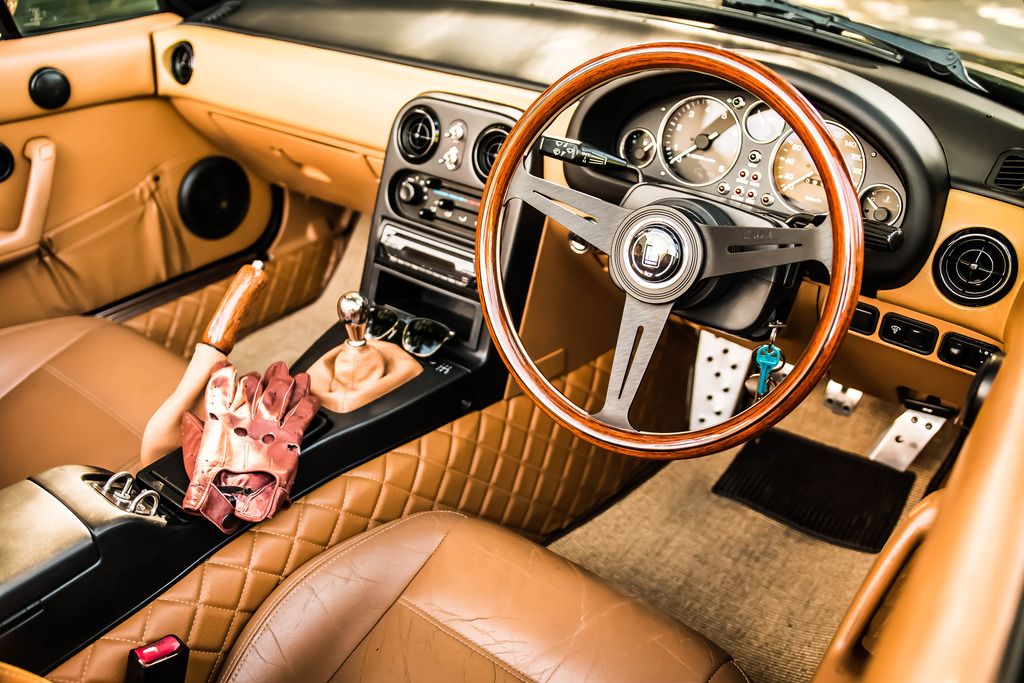
Today marks exactly one year since I took delivery of my NA8C MX-5. What a year its been! I bought this vehicle from the second owner, who had purchased it back in 2005 and had kept it for ten years until he decided to part ways with it. Unfortunately (or fortunately for me), the car was kept dormant most of the time in his garage with a car cover over it. The previous owner only clocked a total of approximately 2,000kms whilst in his possession as he only took it out a couple of times a year down to the shops and back as well as down to the mechanic for it to get serviced and to get its pink slip. When it was presented to me, it was 100% stock, zero modifications, zero rust, zero accident history, original paint from factory which still had a lot of depth, the paintwork had never been exposed to rain water and it only had one other owner prior to the previous owner before me; both of whom were elderly gentlemen in their 60's. Quite simply, it was (and still is) the cleanest MX-5 I have ever seen with this model being the more powerful NA8C with 1.8 motor as well as it sporting the limited edition British Racing Green with tan interior colour scheme. I was very lucky indeed.
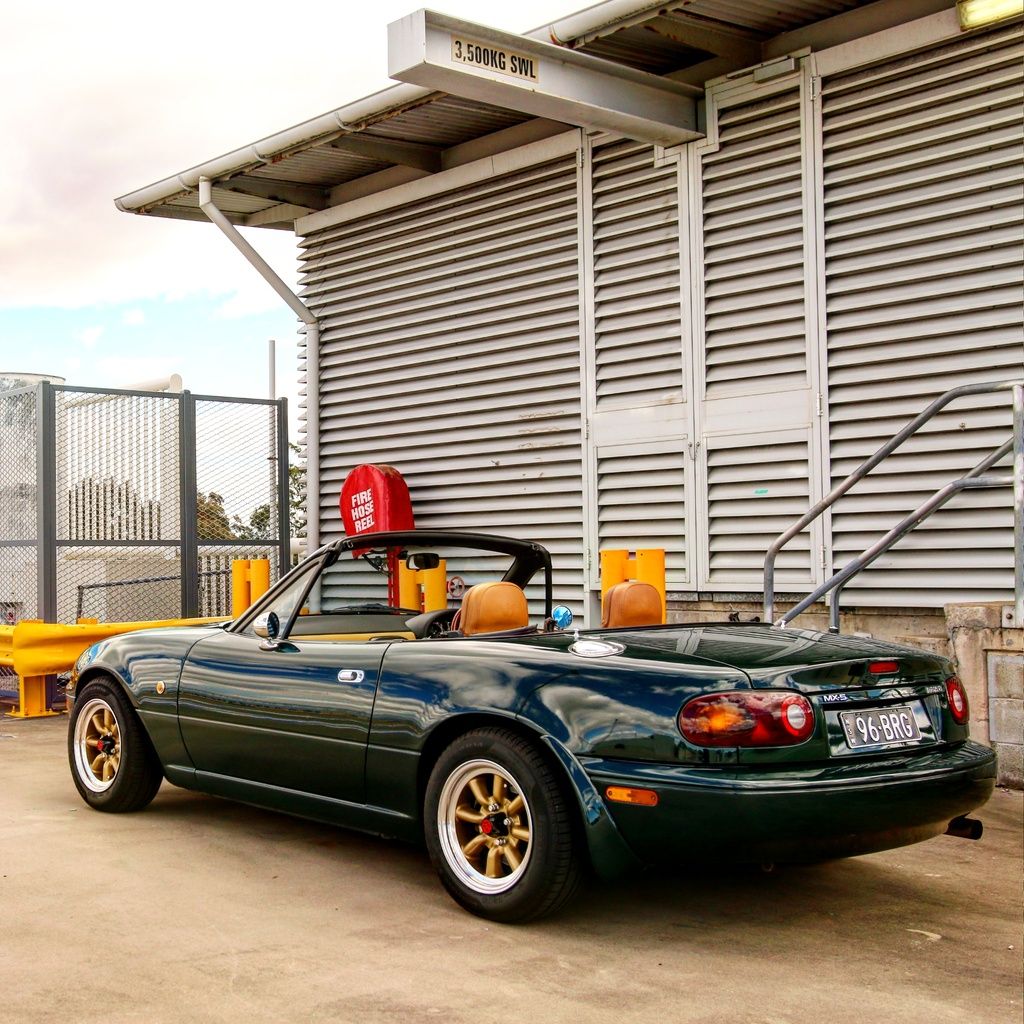
It's not quite so stock anymore but I have tried to keep the modifications period correct and sticking as close to the retro/vintage theme as possible as well as updating and refreshing those wear and tear parts which would have worn down with OEM Mazda or ever better quality aftermarket parts. The MX-5 gave me a smile when I first picked it up and it still gives me a smile to this day.

This car yearns to be dríven...and when dríven, it's massively rewarding.

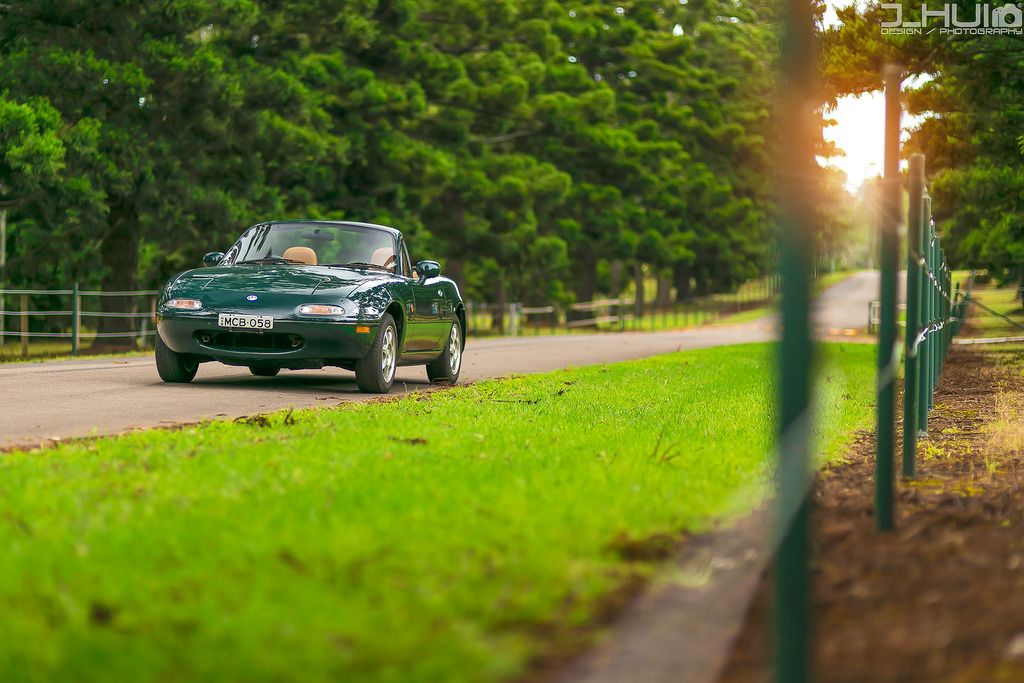
Throwback photo from when it was bone stock.

Image

Photography courtesy of Joseph from J_HUI - Design/Photography


Return to “MX5 Garage Chat”

Who is online

Users browsing this forum: No registered users and 103 guests