Honda Skunk2 Ultra Street Manifold and Skunk2 70mm Throttle BodyNote: this is a repost to bring this content into my garage thread. Here it the original thread:
http://mx5cartalk.com/forum/viewtopic.php?f=29&t=67635At the start of the year I saw a Honda Skunk2 Ultra Street intake manifold and 70mm throttle body on gumtree and figured I'd give it a go. I've always figured this manifold would fit nicely in my engine bay and I've been searching for a better option than the stock NA8 manifold. I was torn between ITBs and a plenum design and this pushed me over the line.
Here is a summary of my build. This has been posted on various forums for those who would like to follow and test it out on other engines. Just a not of caution
my engine is is NOT stock so if someone replicates this design on a less developed engine the results may be different. Having said that, please do and post your results!
My original aim was to modify the Skunk2 manifold via drilling new holes and filling in the ports. This didn't work out due to the angle of the manifold causing the TPS on the throttle body to hit the chassis and that the injector ports on the manifold would need to be welded then cut in half to clear the mazda injector ports.
This has been done with other Honda manifolds in the US successfully but for us RHD cars we have the brake booster in the way of the manifold so the tapered plenum is critical to clear all the brake lines etc. The typical Skunk Pro / Blox manifolds wouldn't fit without major mods to the brakes.
here is my test fit. A scale printout... looks good so I hit purchase.

My manifold rocked up 3 weeks later at the start of May.
Test fitment looked good. I needed to angle it up a bit to clear the throttle body on the chassis rails.
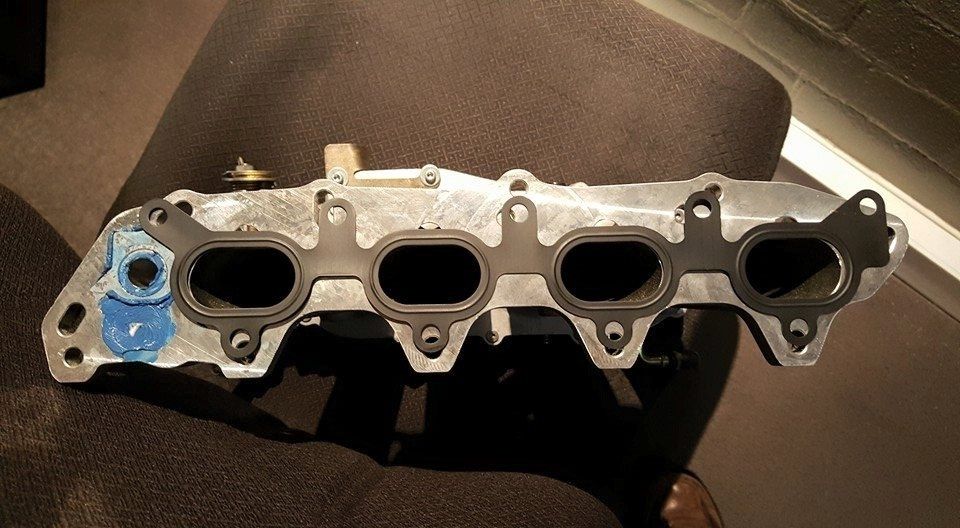
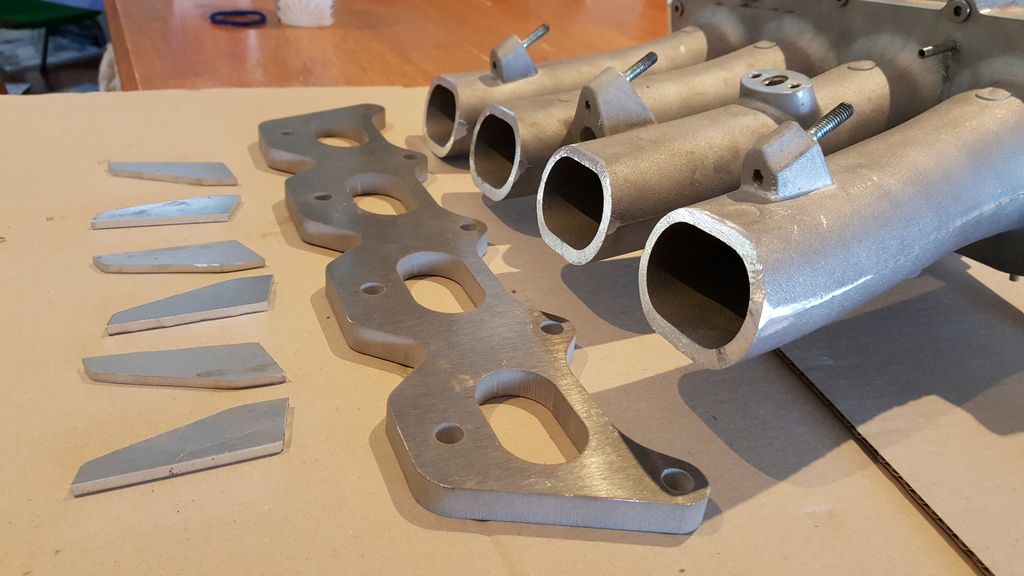
I cut off the flange on a table saw, had a new flange waterjet cut from 12mm ally and made up some braces and it was off to the welder. Note the angle of the cut so to lift the plenum up away from the chassis rails.
Once welded I machined it flat on my mill... Don't look at the mounting points, not the best!
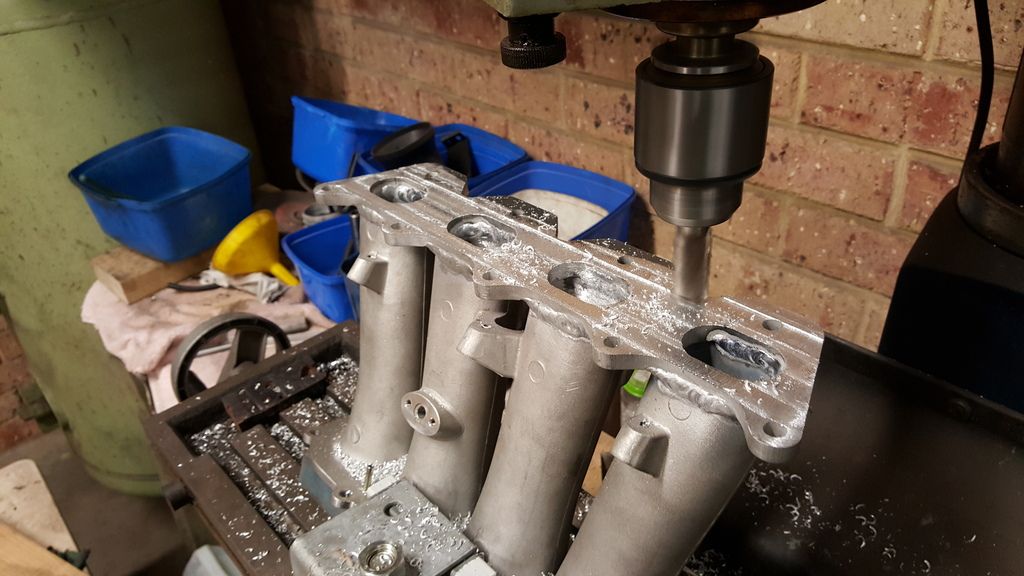
Get it welded professionally if you do it. The guys in the US have had big issues with the welds cracking due to the vibrations, which is why I added the bracing underneath.
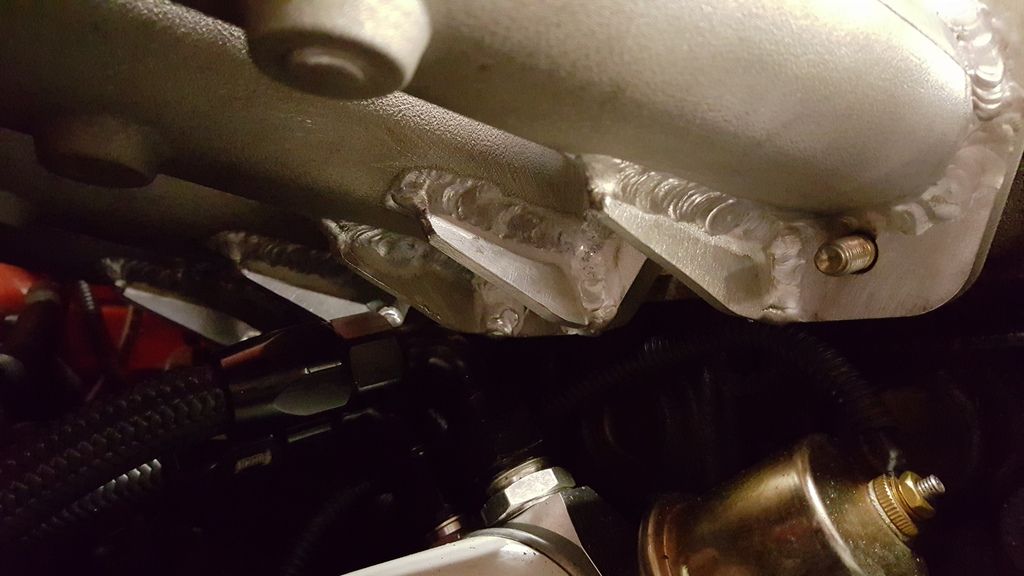
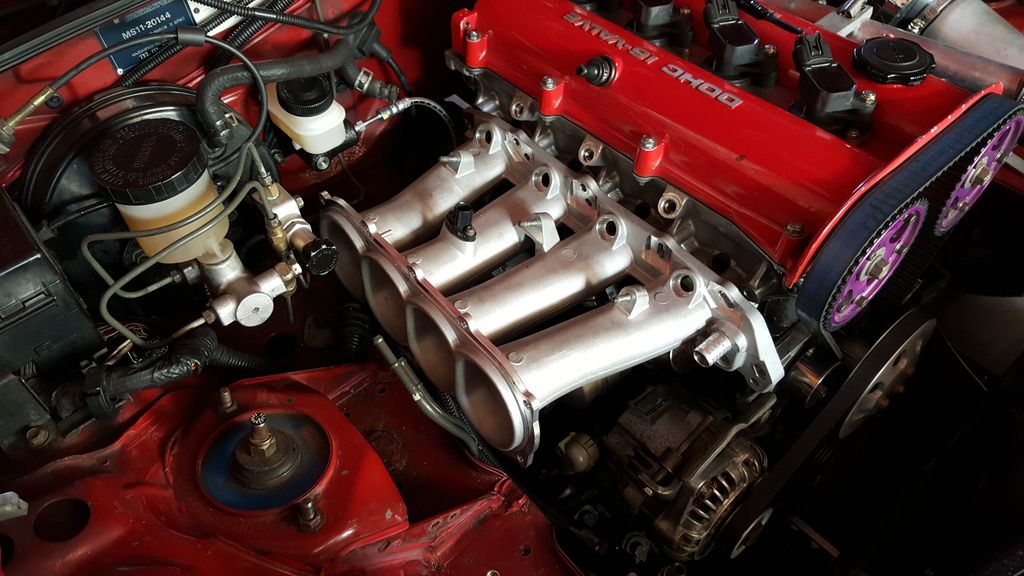
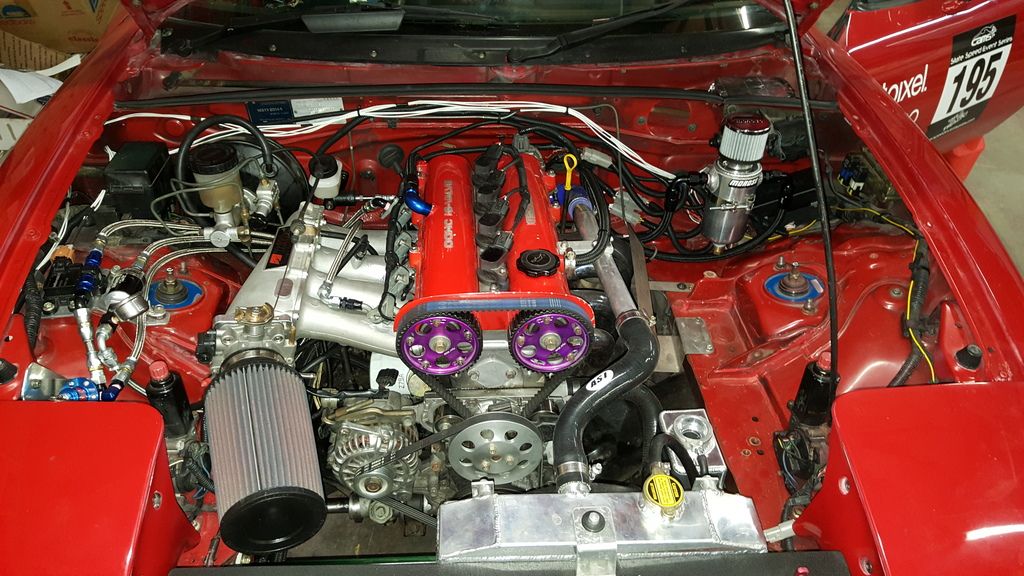
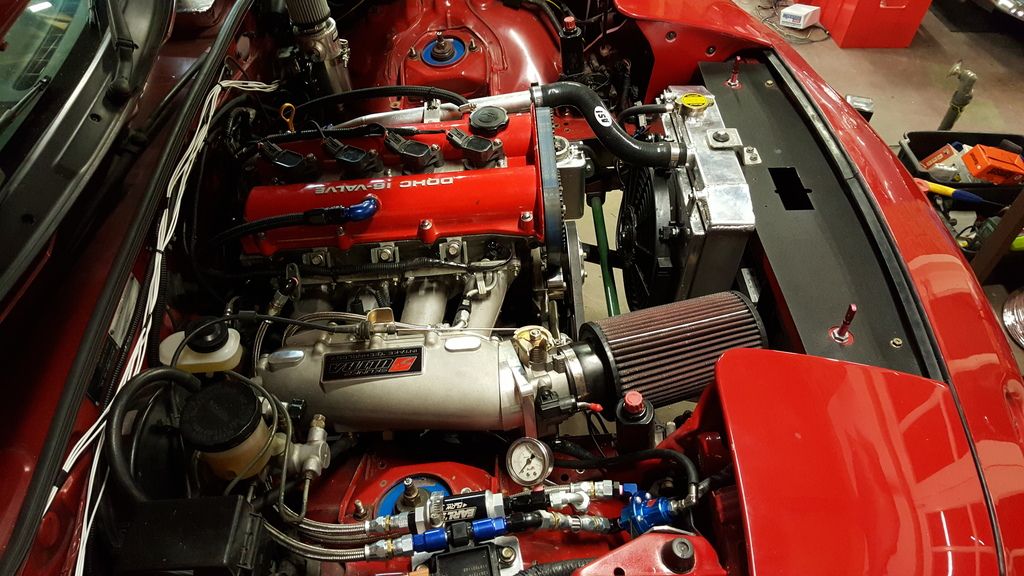
Here is it all welded up and mounted to the head. I machined the face of the flange down a few mm to take out the warping caused by the welding. Fitment is brilliant with the plenum missing the brake lines, biasing valve etc as well as all the throttle body clearing the chassis by at least 20mm. I have solid engine mounts so the motor can't move a lot. Also the throttle body aims the intake path to clear the pop-up lights.
Last of all... a dyno graph. Done on a dynopack hub dyno.
Red line is stock manifold (overlaid based on previous dyno)
Dashed line is 98 (95 Ron)
Solid line is E85
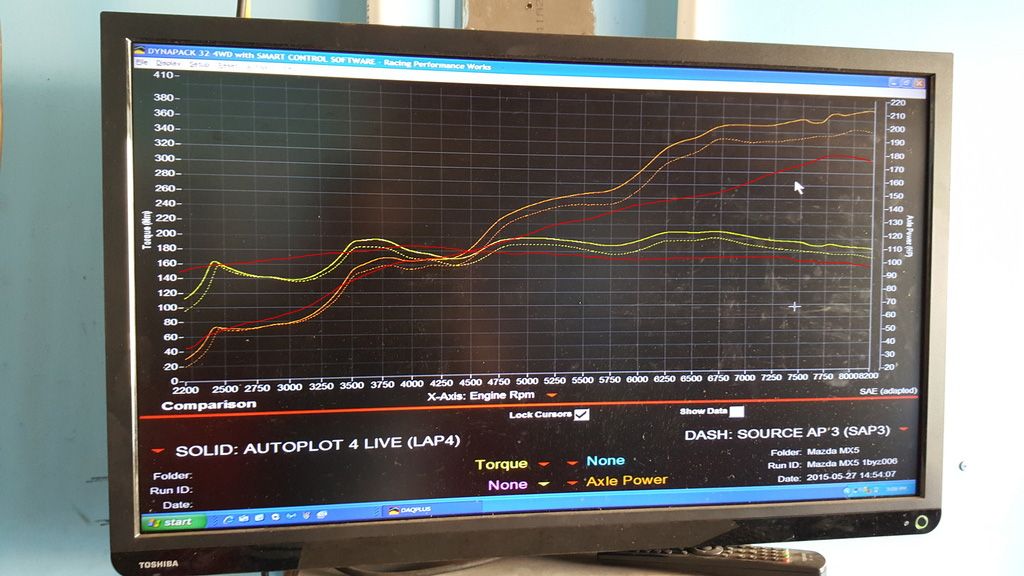
The gains were more than I had expected, with the harmonics lumps sitting nicely over my target rev range... 6200-8200. If I had have run the engine harder on the dyno I think it might have hit 8500 or more before the power band started to head down. The power difference at 6750 is around 50HP increase from stock manifold (10HP due to E85)
I doubt many engines would see the performance increase mine saw from this intake. I had suspected my engine was limited by the intake and this shows what a free flowing manifold on our engines can achieve. My calcs also showed the runner length of the Skunk2 to be ideal for my target rev range. I think I fluked that one to be honest but it's nice to get it right.
https://lastpixel.box.com/s/vwdgkpy65ok26o0gykhd984iew4my92aAbove is a link to the cad profiles I used for anyone wanting to try it. PM me before you do as I think the CAD of the inlet flange needs a few mods to make it easier.
NA8: N/A 200whp | Haltech | Skunk2 Intake | S90 TB | RCP | 5 speed c/r dogbox | 4.78 diff | AST Shocks
Barbs L: 64.12 | S: 58.62 | Collie: 49.72
 Ride Height by Eipeip, on Flickr