An MX5 Called M1L3S
Moderators: timk, Stu, -alex, miata, StanTheMan, greenMachine, ManiacLachy, Daffy, zombie, Andrew, The American, Lokiel
-
llmoose
- Driver
- Posts: 43
- Joined: Mon Feb 09, 2015 8:52 pm
- Vehicle: NA6
- Location: Melbourne
Re: An MX5 Called M1L3S
I won't tell you where I work then 
-
stilletto_rebel
- Fast Driver
- Posts: 454
- Joined: Tue Nov 18, 2008 11:42 pm
- Vehicle: NA6
- Location: Melbourne-ish
Re: An MX5 Called M1L3S
llmoose wrote:I won't tell you where I work then
Visit my garage thread
Don't like trolls? Go to your User Control Panel and put Mr Morlock on ignore. You'll be doing yourself a favour.
Don't like trolls? Go to your User Control Panel and put Mr Morlock on ignore. You'll be doing yourself a favour.
-
woot woot
- Learner Driver
- Posts: 8
- Joined: Tue Aug 20, 2013 9:01 pm
- Vehicle: ND - 2 GT
Re: An MX5 Called M1L3S
I always see this in reservior.
-
stilletto_rebel
- Fast Driver
- Posts: 454
- Joined: Tue Nov 18, 2008 11:42 pm
- Vehicle: NA6
- Location: Melbourne-ish
Re: An MX5 Called M1L3S
woot woot wrote:I always see this in reservior.
Yep, after 5.30pm on either Boldrewood or Strathmerton onto the top end of Cheddar heading for the Dalton entry onto the M80. Or at 7am (ish) in reverse heading to work...
Visit my garage thread
Don't like trolls? Go to your User Control Panel and put Mr Morlock on ignore. You'll be doing yourself a favour.
Don't like trolls? Go to your User Control Panel and put Mr Morlock on ignore. You'll be doing yourself a favour.
-
stilletto_rebel
- Fast Driver
- Posts: 454
- Joined: Tue Nov 18, 2008 11:42 pm
- Vehicle: NA6
- Location: Melbourne-ish
Re: An MX5 Called M1L3S
So this happened this morning on the way to work. My next milestone is 384,400km which, as you all know, is the distance between Earth and the Moon.


Visit my garage thread
Don't like trolls? Go to your User Control Panel and put Mr Morlock on ignore. You'll be doing yourself a favour.
Don't like trolls? Go to your User Control Panel and put Mr Morlock on ignore. You'll be doing yourself a favour.
-
stilletto_rebel
- Fast Driver
- Posts: 454
- Joined: Tue Nov 18, 2008 11:42 pm
- Vehicle: NA6
- Location: Melbourne-ish
Re: An MX5 Called M1L3S
On the weekend I finally got around to doing a little mod I've been wanting to do for ages; I 'upgraded' my jet washer nozzles to modern spray pattern ones. I used genuine Ford parts (for a Maverick or something big), they fit exactly the strange three pronged hole that's in the bonnet of my NA. It's a very straightforward mod.
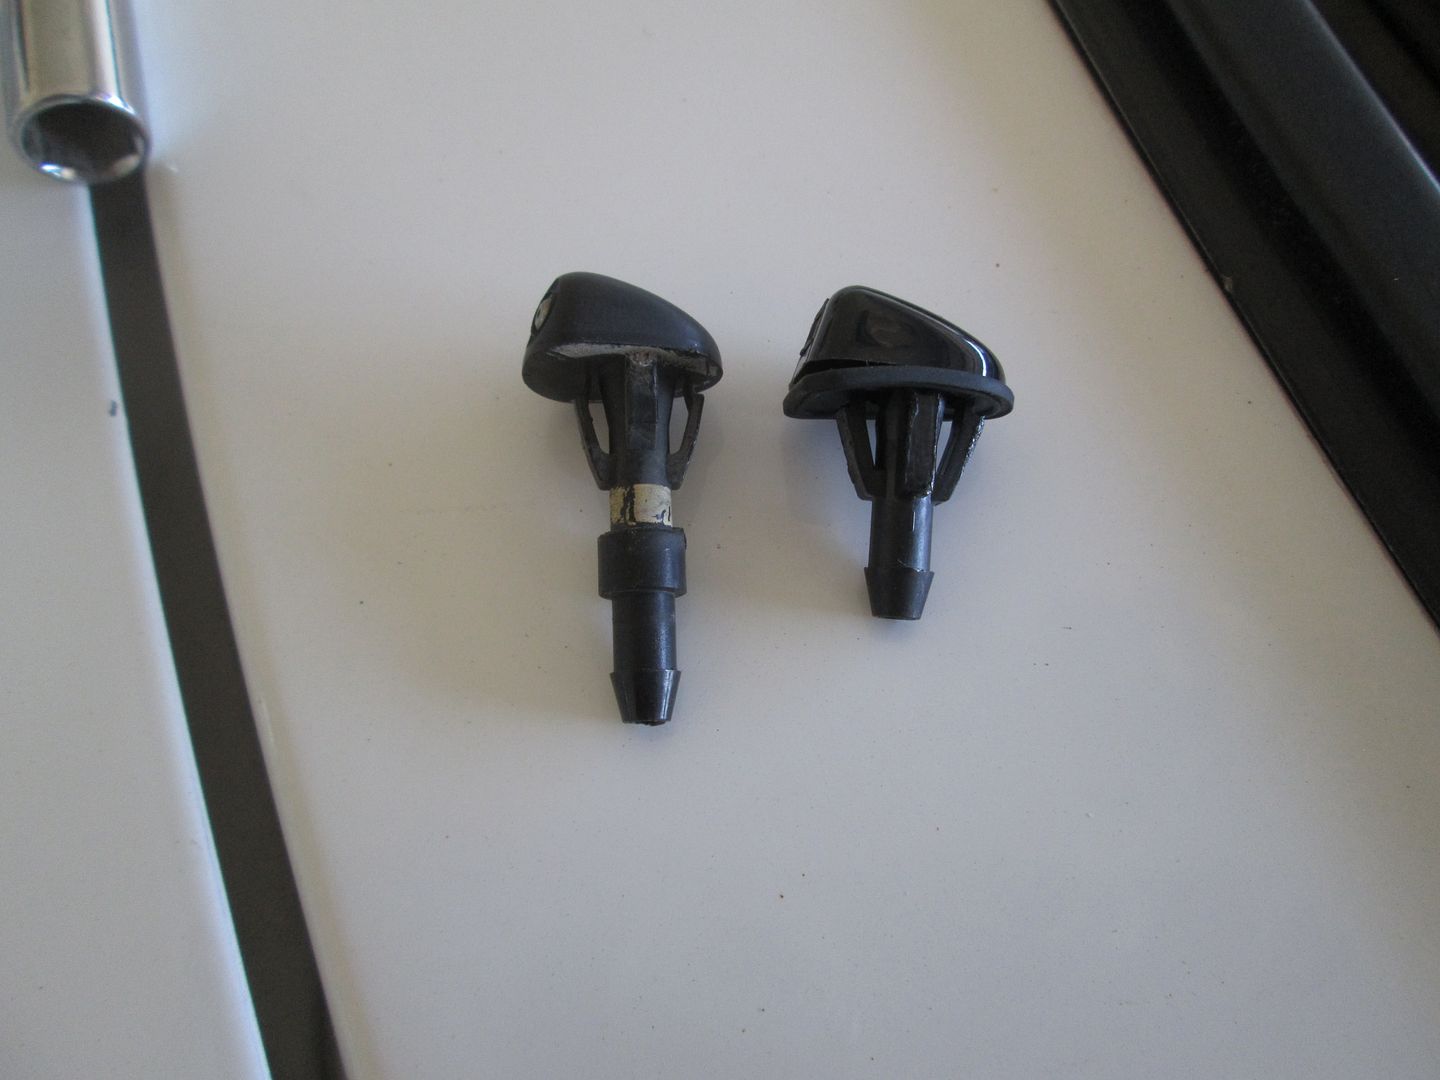
Old vs. New:
How to fit them:
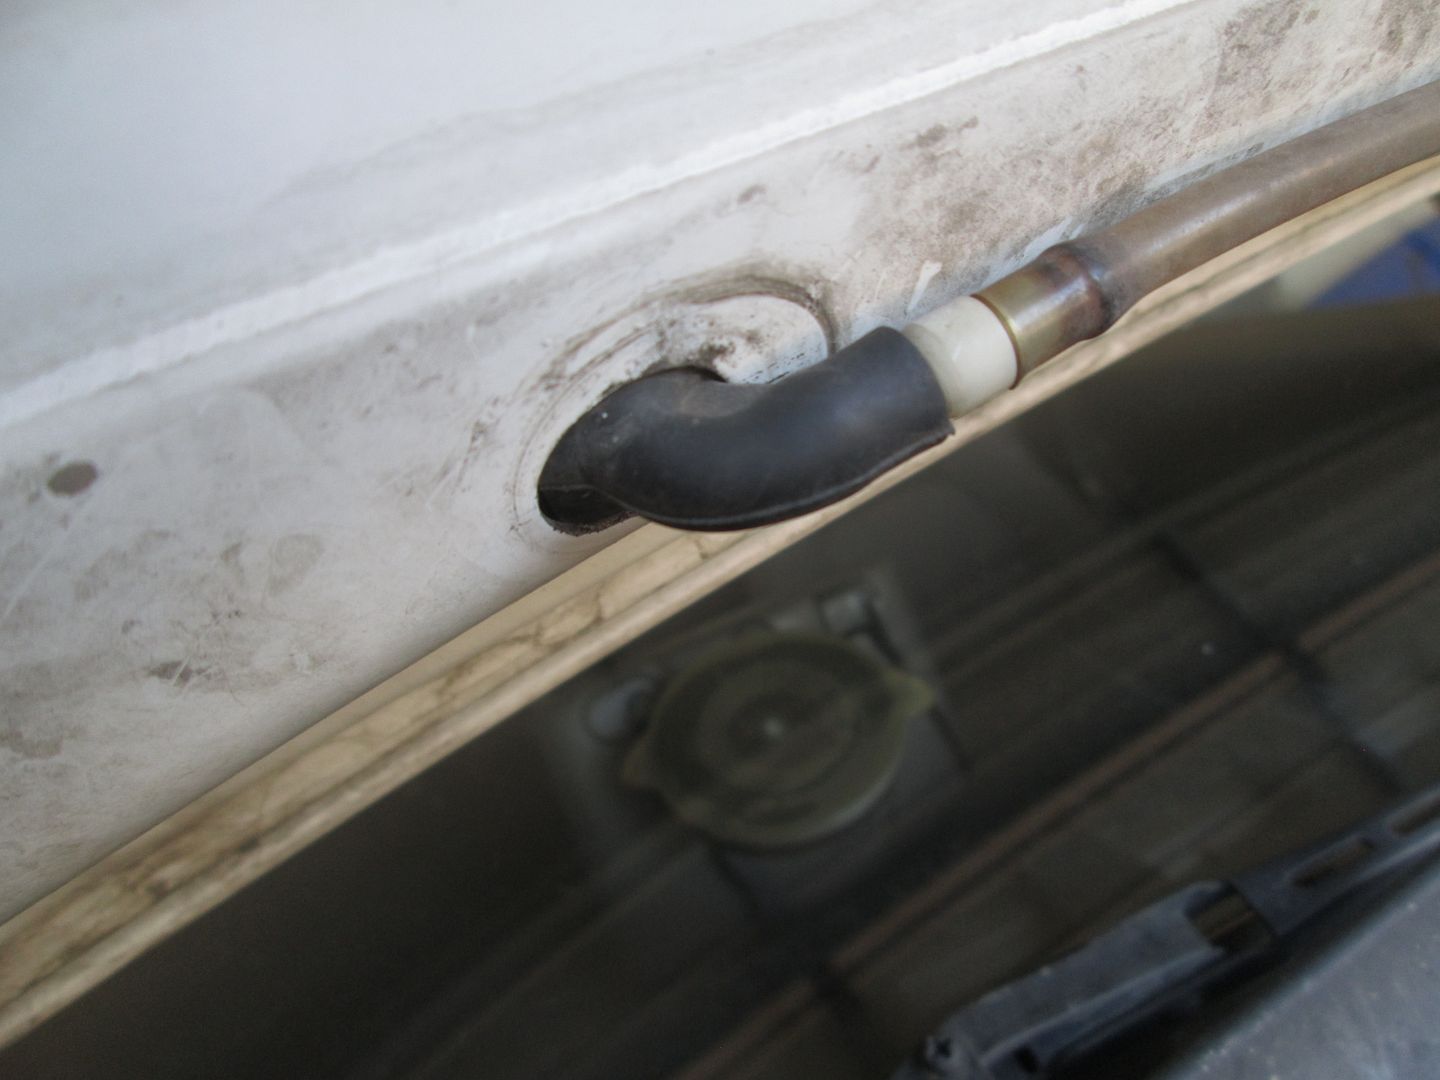
First pull off the pipe to your existing washers, mine had rubber on the end and came off quite easily with a steady tug. The old jet nozzles are held in with two plastic spring clips and have a side tag which locates them, I used a 9mm long socket which pushed both clips in at once whilst pulling the nozzle from the top of the bonnet. The new nozzles clip straight in to the same holes easily, the part the pipe goes onto is slightly shorter (as in the pic above), and I found I had to trim the rubber connector to allow it into the hole to reach properly.
A vid of before and after:
https://youtu.be/ux_y6kYAuS8
I'm very happy with it.
Old vs. New:

How to fit them:
First pull off the pipe to your existing washers, mine had rubber on the end and came off quite easily with a steady tug. The old jet nozzles are held in with two plastic spring clips and have a side tag which locates them, I used a 9mm long socket which pushed both clips in at once whilst pulling the nozzle from the top of the bonnet. The new nozzles clip straight in to the same holes easily, the part the pipe goes onto is slightly shorter (as in the pic above), and I found I had to trim the rubber connector to allow it into the hole to reach properly.

A vid of before and after:
https://youtu.be/ux_y6kYAuS8
I'm very happy with it.
Visit my garage thread
Don't like trolls? Go to your User Control Panel and put Mr Morlock on ignore. You'll be doing yourself a favour.
Don't like trolls? Go to your User Control Panel and put Mr Morlock on ignore. You'll be doing yourself a favour.
-
stilletto_rebel
- Fast Driver
- Posts: 454
- Joined: Tue Nov 18, 2008 11:42 pm
- Vehicle: NA6
- Location: Melbourne-ish
Re: An MX5 Called M1L3S
I've been thinking for a while now that I would like to change my doorcards for the Eunos-style grab handle, but without the actual grab-handle. I bought a pair of these from Autolink in the UK. When they arrived I was very underwhelmed by the thin, cheap leather they were made with. So I started looking around for something suitable. I remembered another MX5'er at a meet had shown me his custom grab handles, which were essentially guitar amp handles. He had made himself new doorcards and had screwed them on. Whilst they looked very good, I was concerned how well the doorcards were fixed to the door if he wasn't using the fix points the original handles used. Anyway, I bought myself a pair from ebay.
First I chopped off the metal brackets.
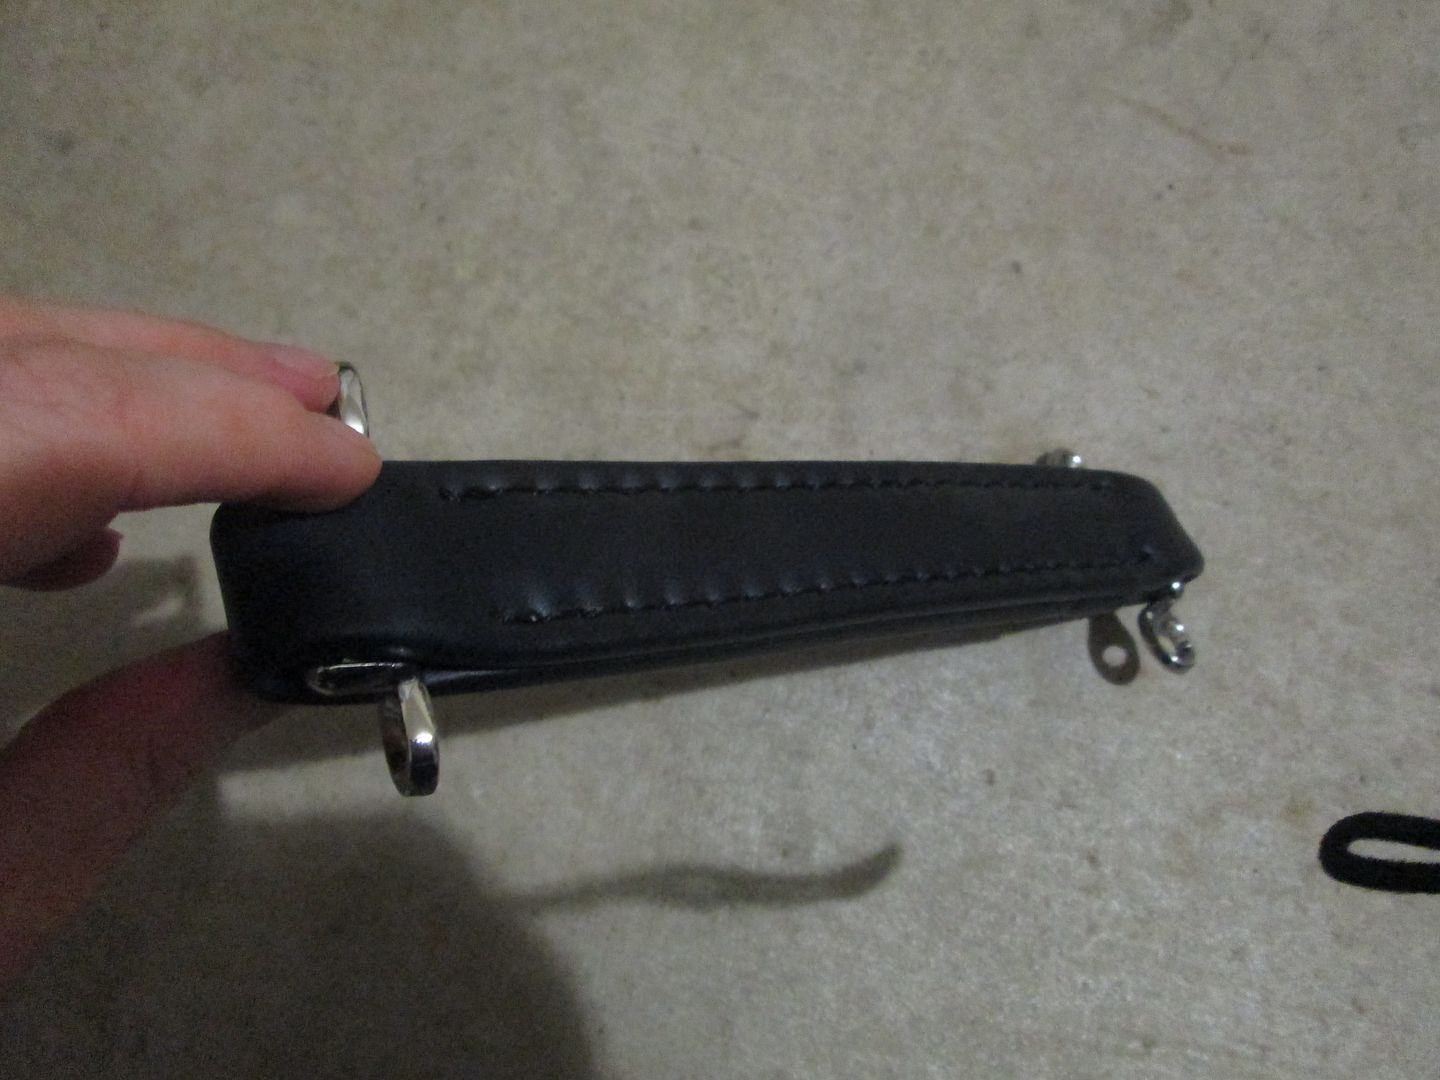
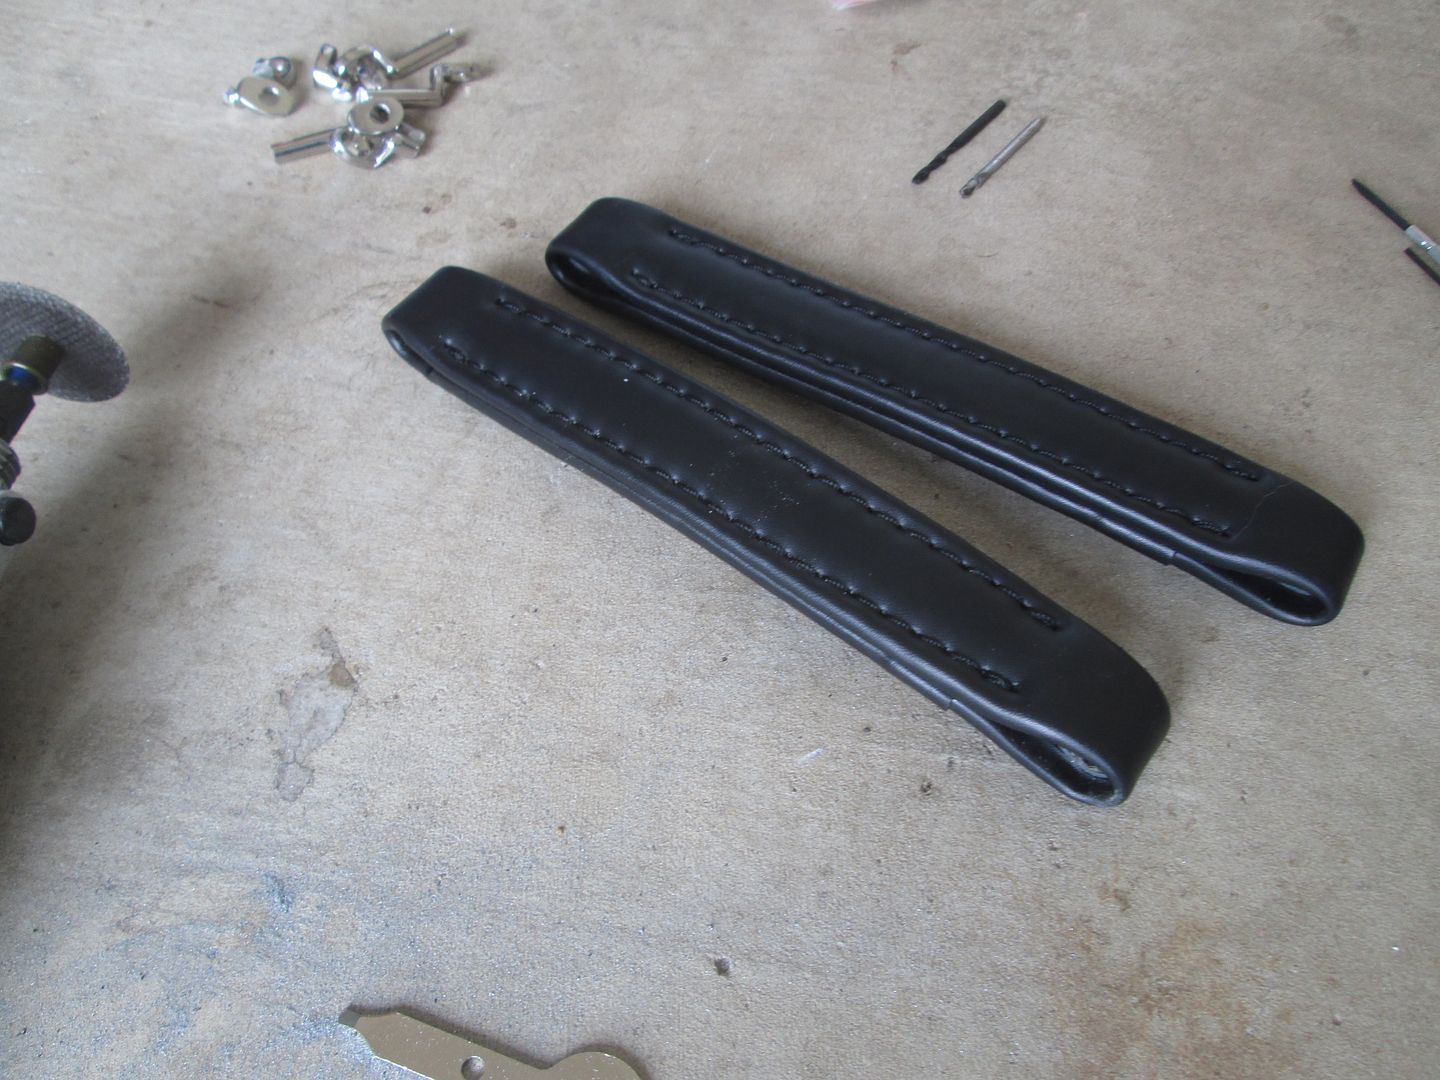
Then I tried to drill through the ends, but discovered the metal reinforcing bar in the middle was too much for my rotary tool. (I don't own a drill).
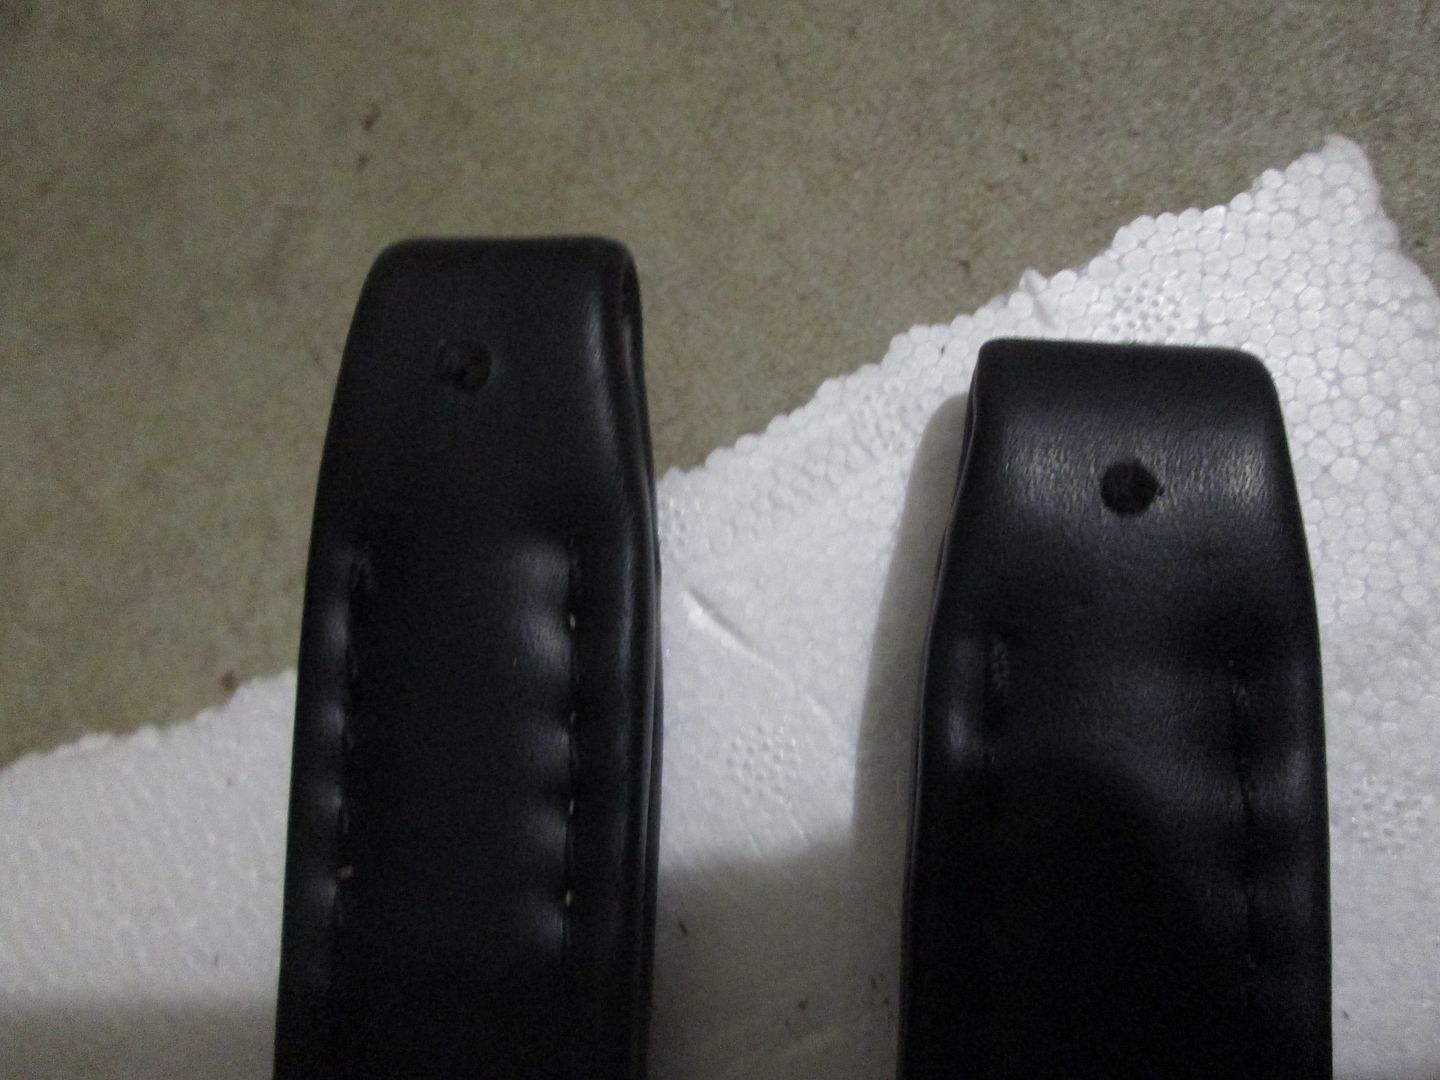
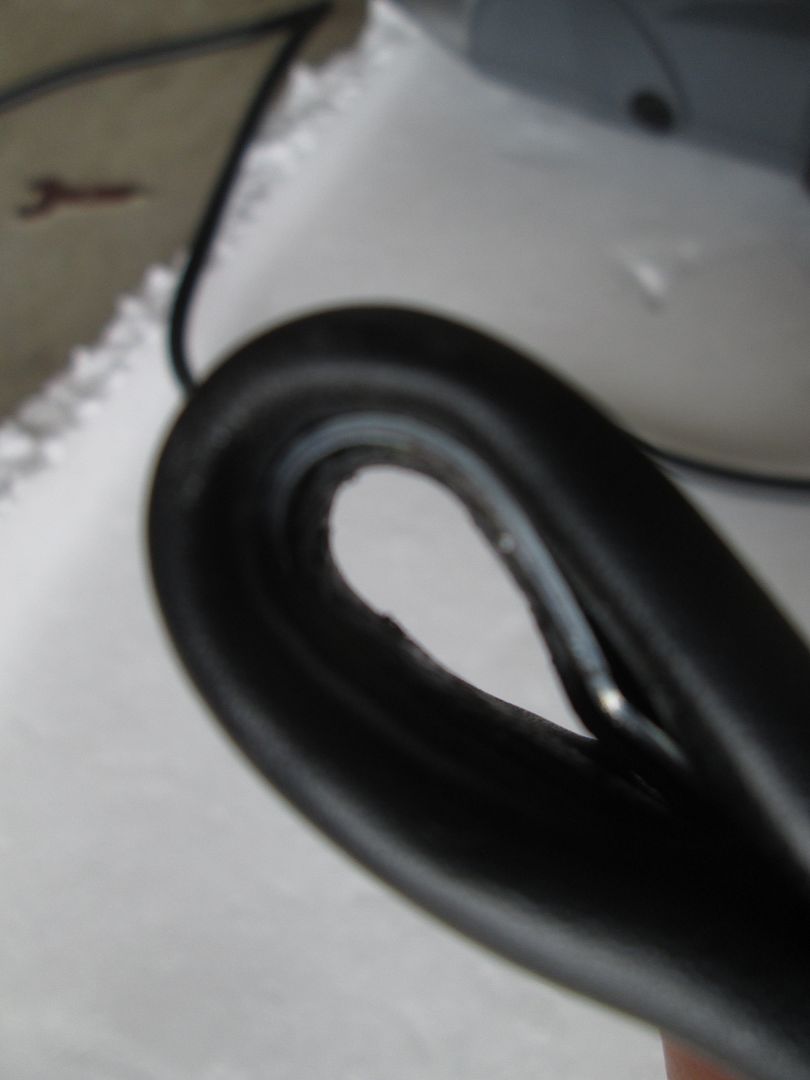
So I unpicked one side and removed the reinforcing bar, and sewed it back up using some black linen thread I had in my sewbox. As you can see in the next photo, you can't tell which side I unpicked. I know I can't!
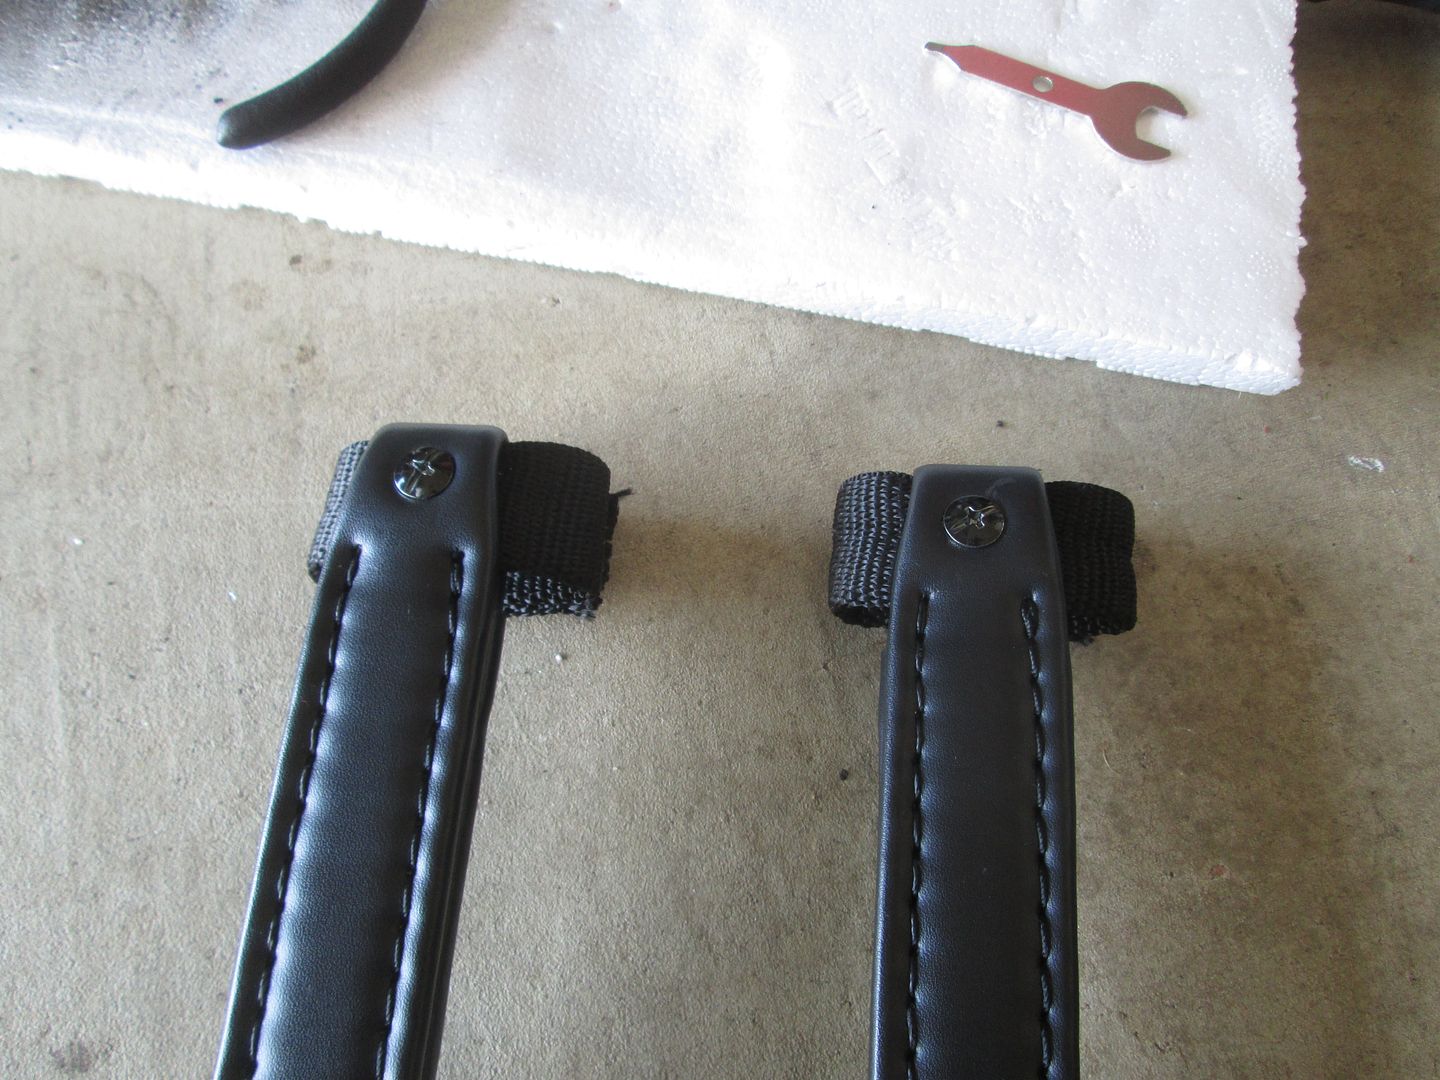
It was at this point that I actually thought I should measure the length of the handles to make sure they were big enough to reach the fixing points! They weren't. They were about a centimetre too short! Damn! No matter! I remembered I had some nylon webbing left over from another project and decided to use that to make tabs. This would give me the reach I needed. To cover up the holes I had made in the handles, I sprayed some screw-headed bolts black and fixed them in. I also sprayed black the screws that would be fixing them to the door.
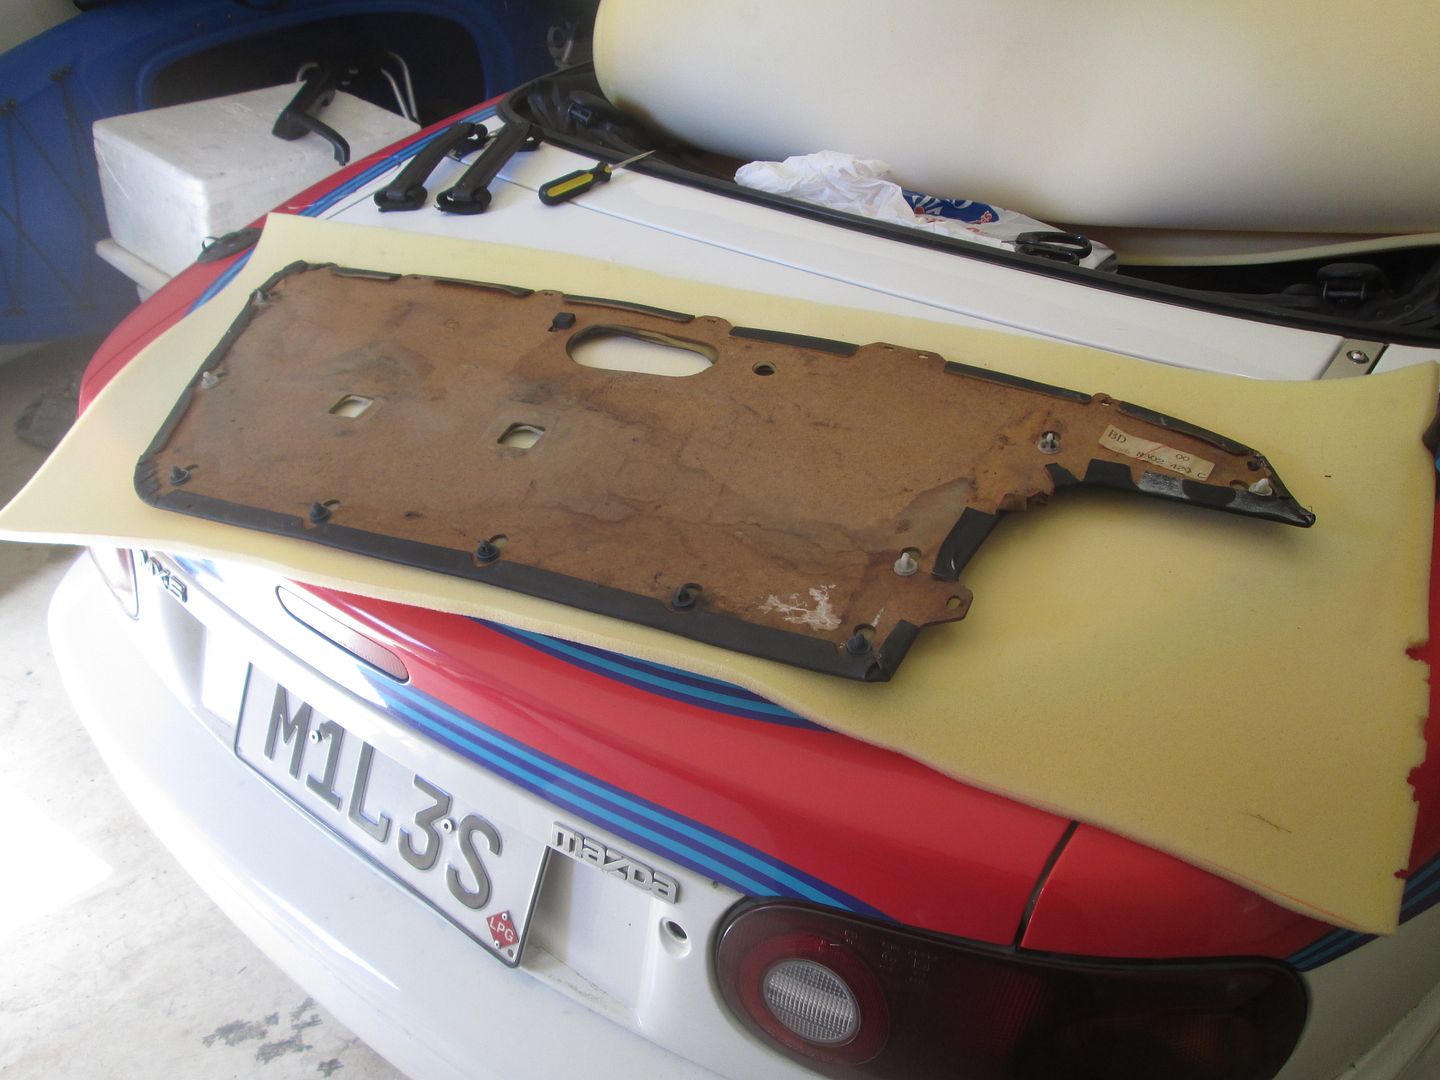
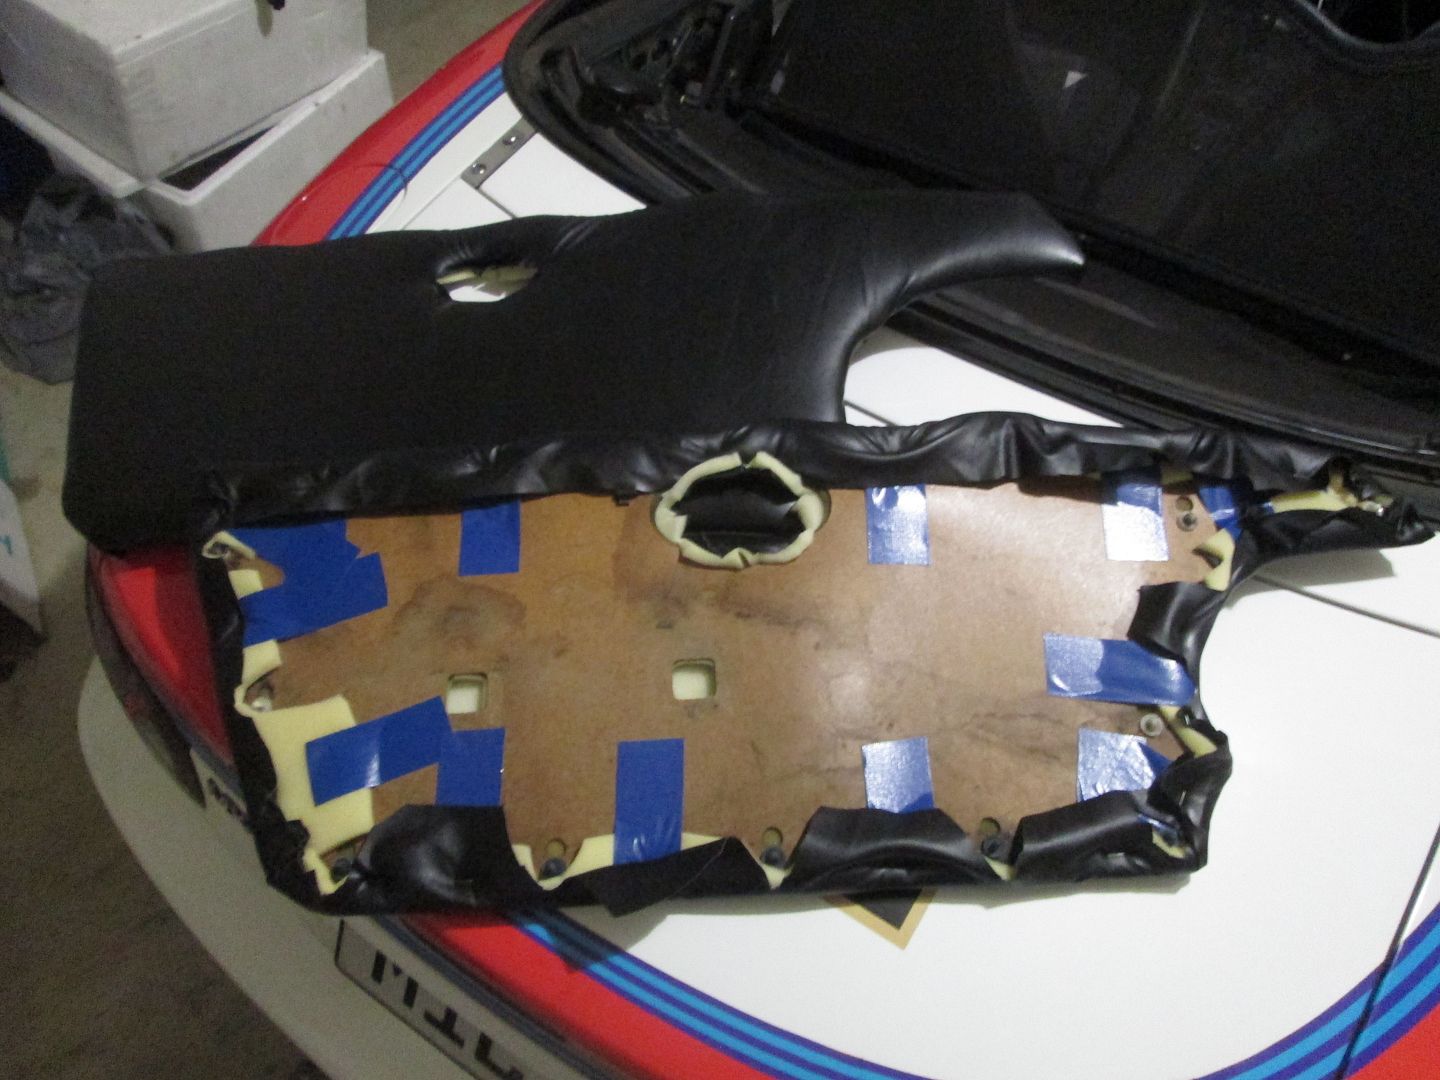
Then it was simply a case of re-skinning the doorcards with foam and faux-leather. However, my doorcards were looking a little worse than I was expecting, so I decided I wouldn't remove the old skin in case I damaged the doorcards further in the process.
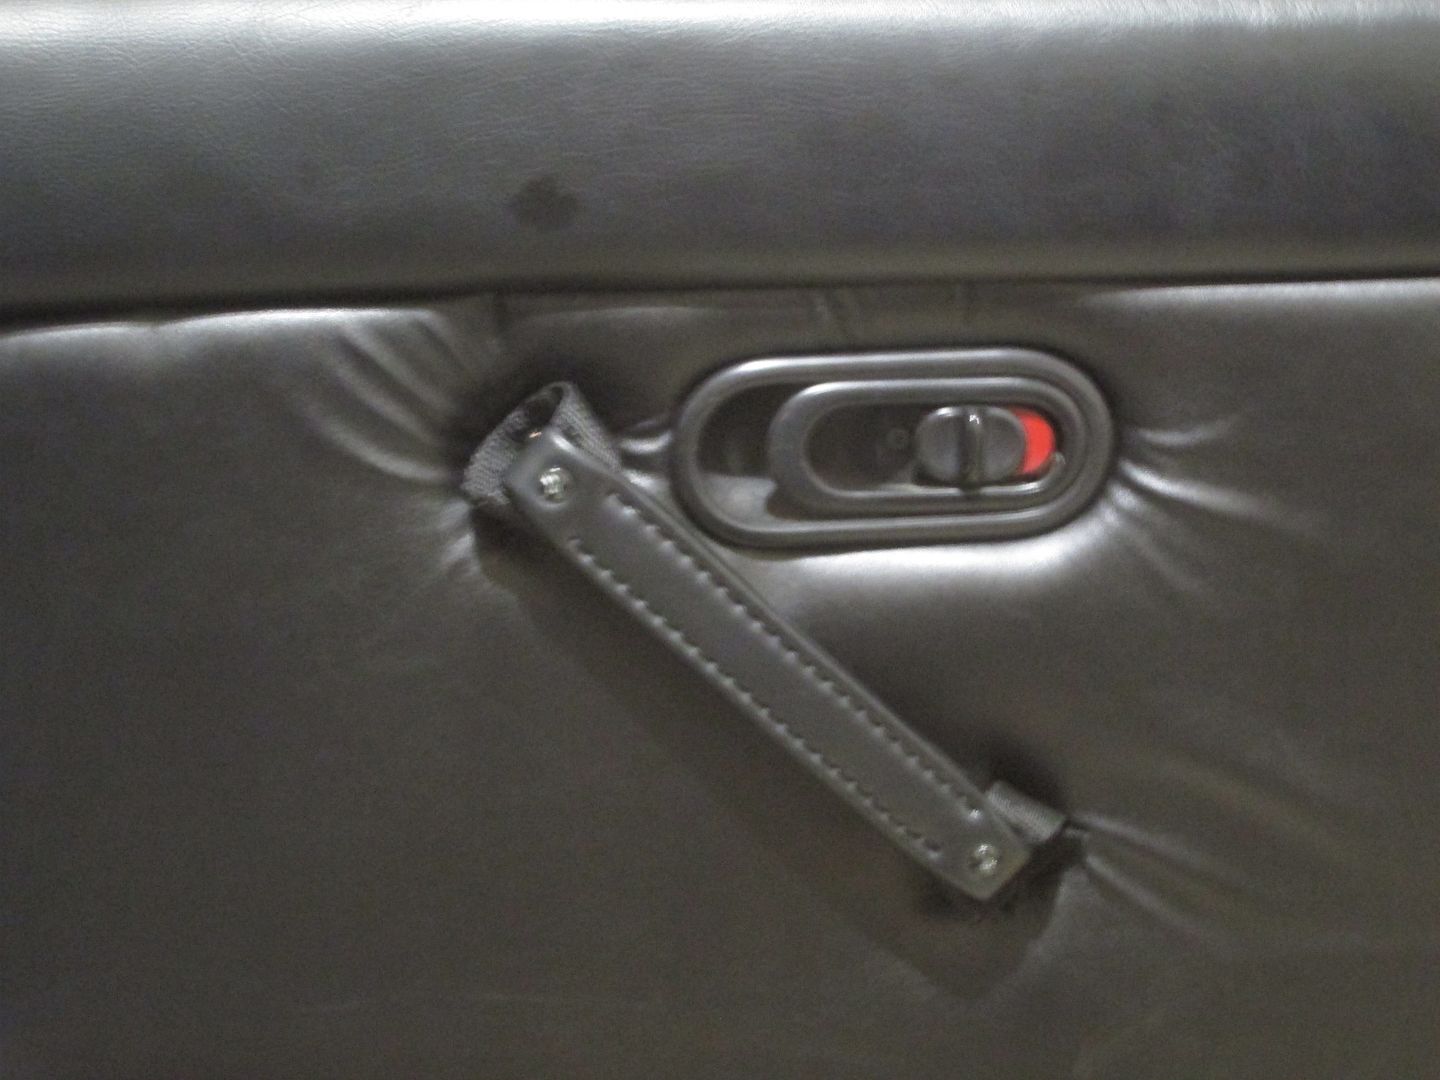
And finally, fixing it all back on M1L3S.
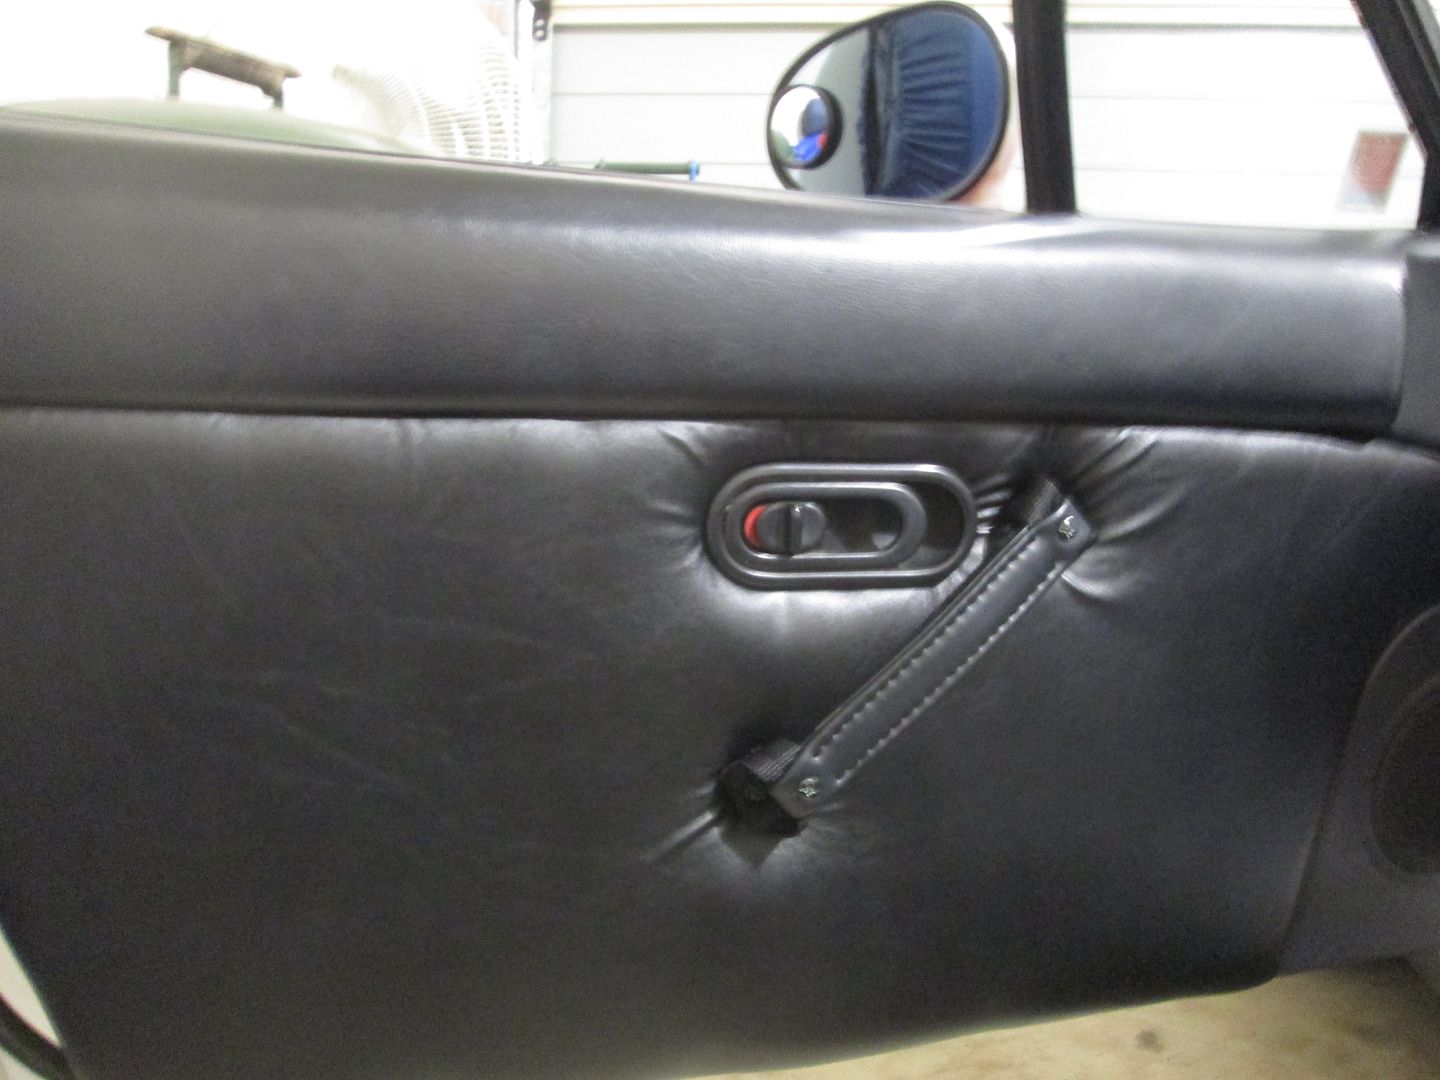
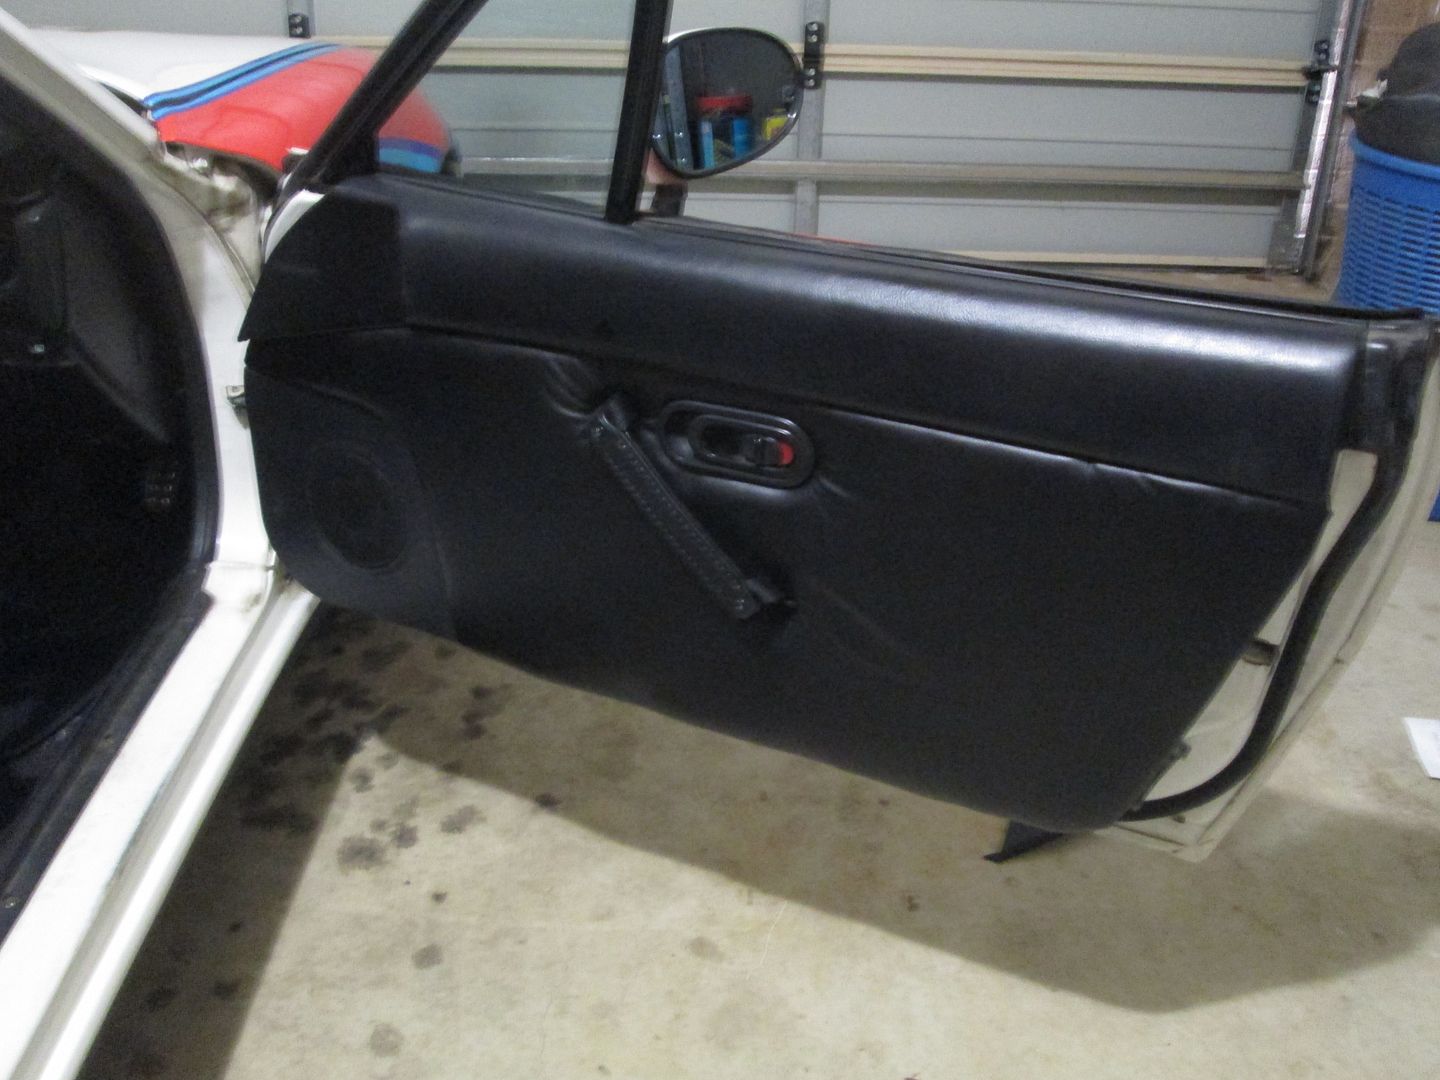
And this is how it looks with the door closed.
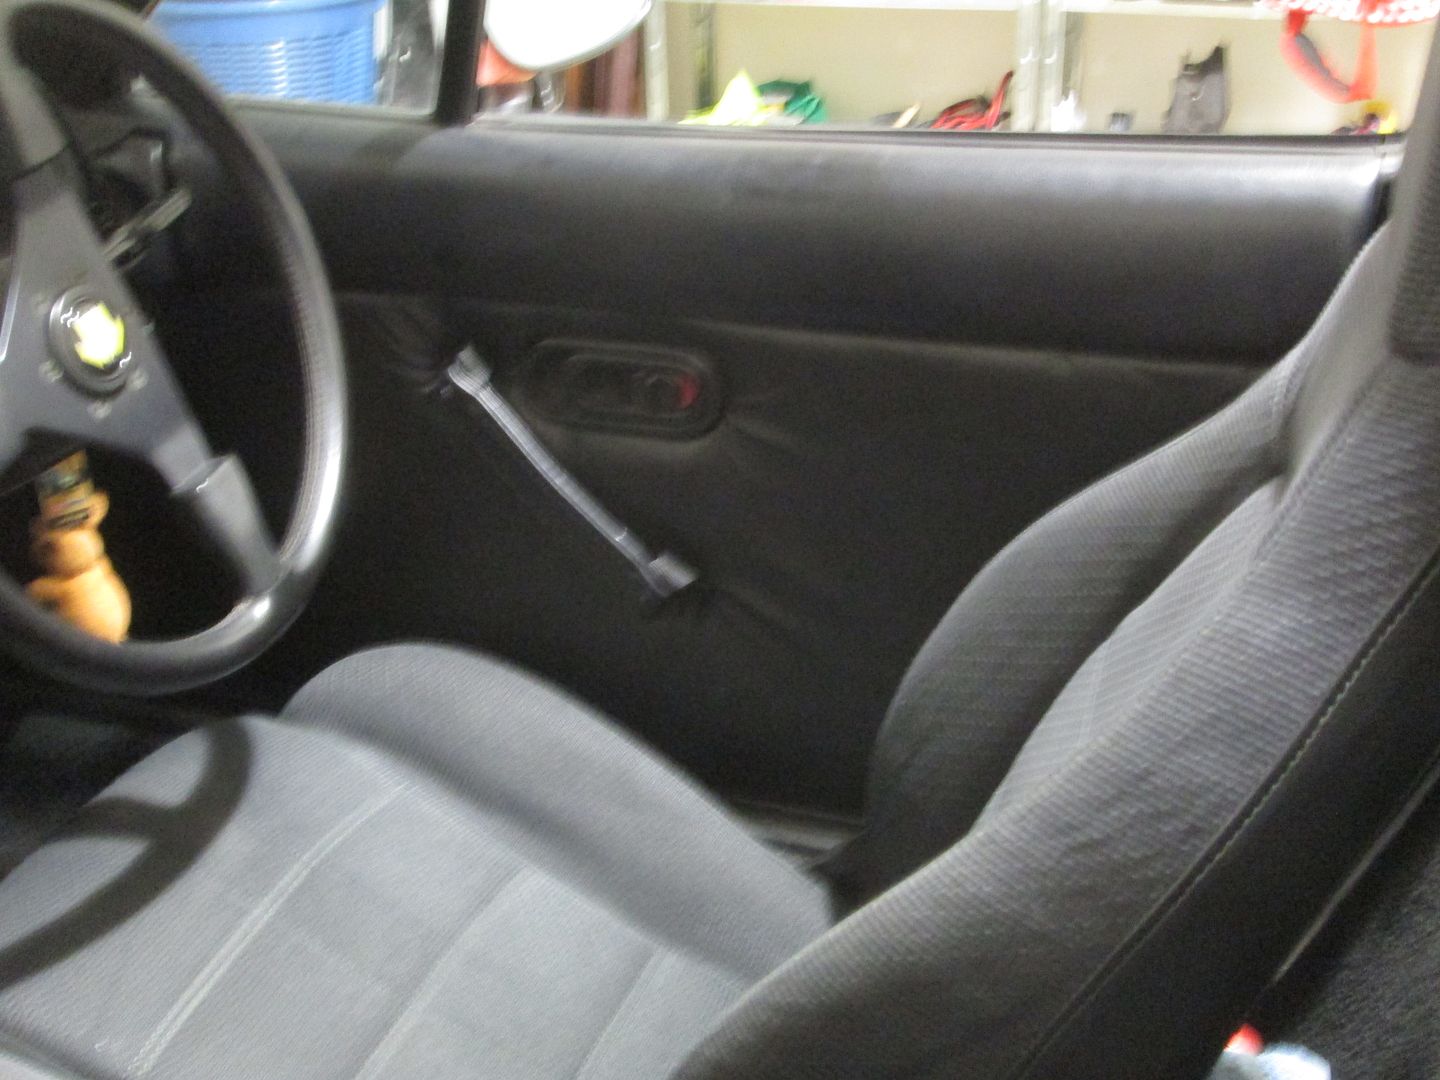
It's the first time I've re-skinned my doorcards or made new grab handles, but I'm very pleased with the result.
First I chopped off the metal brackets.


Then I tried to drill through the ends, but discovered the metal reinforcing bar in the middle was too much for my rotary tool. (I don't own a drill).


So I unpicked one side and removed the reinforcing bar, and sewed it back up using some black linen thread I had in my sewbox. As you can see in the next photo, you can't tell which side I unpicked. I know I can't!
It was at this point that I actually thought I should measure the length of the handles to make sure they were big enough to reach the fixing points! They weren't.

Then it was simply a case of re-skinning the doorcards with foam and faux-leather. However, my doorcards were looking a little worse than I was expecting, so I decided I wouldn't remove the old skin in case I damaged the doorcards further in the process.


And finally, fixing it all back on M1L3S.


And this is how it looks with the door closed.

It's the first time I've re-skinned my doorcards or made new grab handles, but I'm very pleased with the result.
Visit my garage thread
Don't like trolls? Go to your User Control Panel and put Mr Morlock on ignore. You'll be doing yourself a favour.
Don't like trolls? Go to your User Control Panel and put Mr Morlock on ignore. You'll be doing yourself a favour.
Who is online
Users browsing this forum: No registered users and 7 guests


