Ksharp's NC
Moderators: timk, Stu, zombie, Andrew, The American, Lokiel, -alex, miata, StanTheMan, greenMachine, ManiacLachy, Daffy
-
- Fast Driver
- Posts: 103
- Joined: Wed May 23, 2012 12:14 pm
- Vehicle: NC
- Location: Sydney East
Re: Ksharp's NC
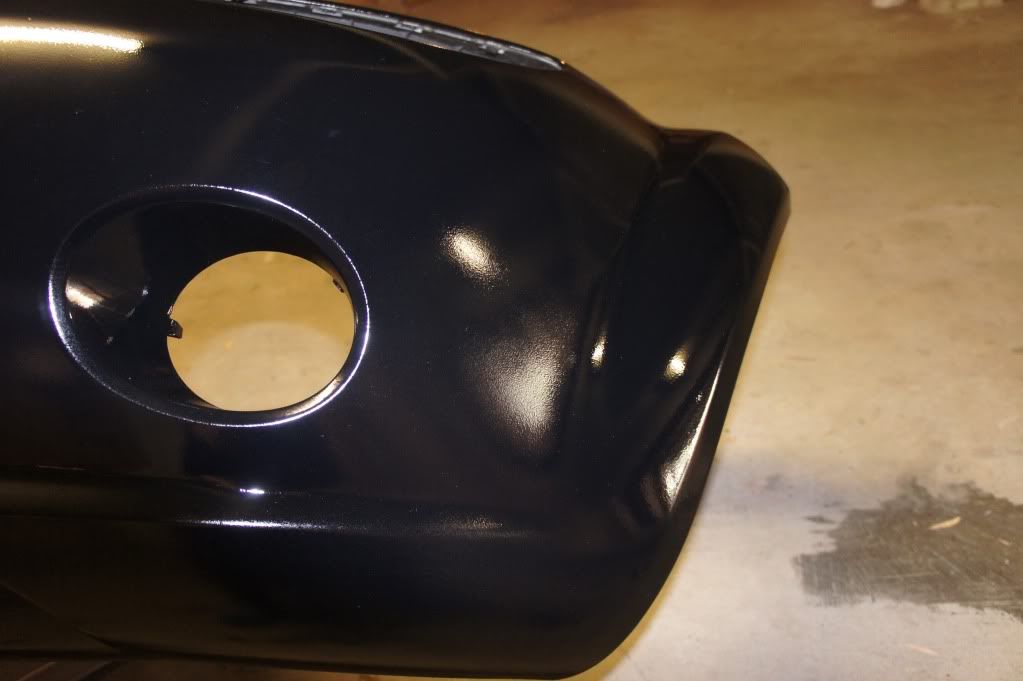
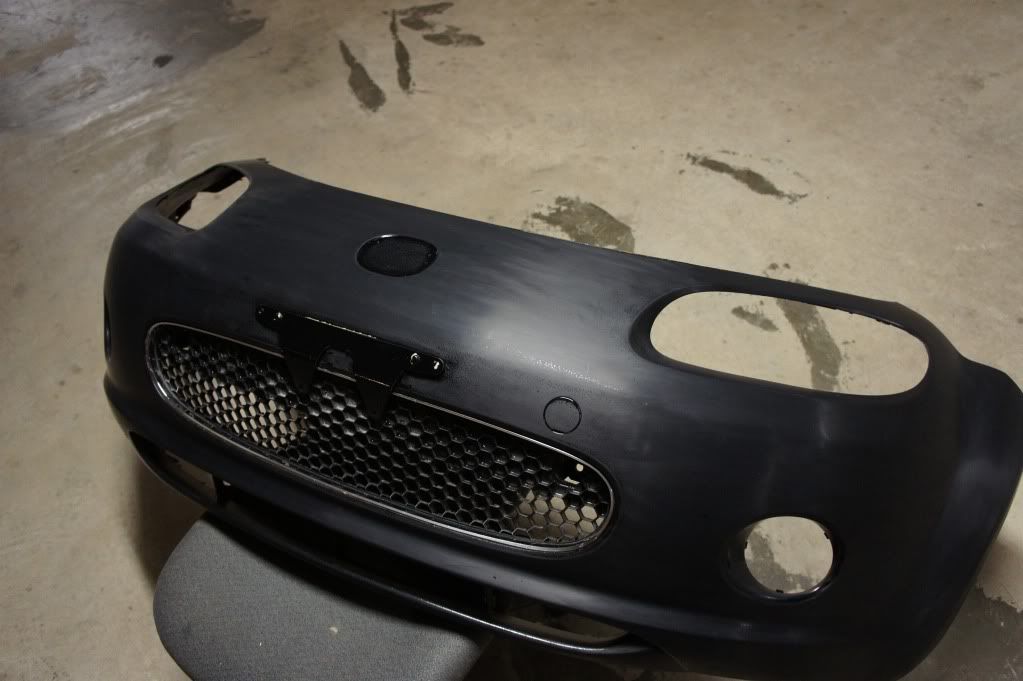
Left to dry for a week, the paint will settle to an orange peel finish
Sanded down with 1500 and then 2000grid
To bring back the shine, I used Meguiars medium-cut cleaner and fine-cut cleaner and then yellow wax. In hindsight, I would’ve familiarized myself with a rotary buffer to make light work.
No more stone chips
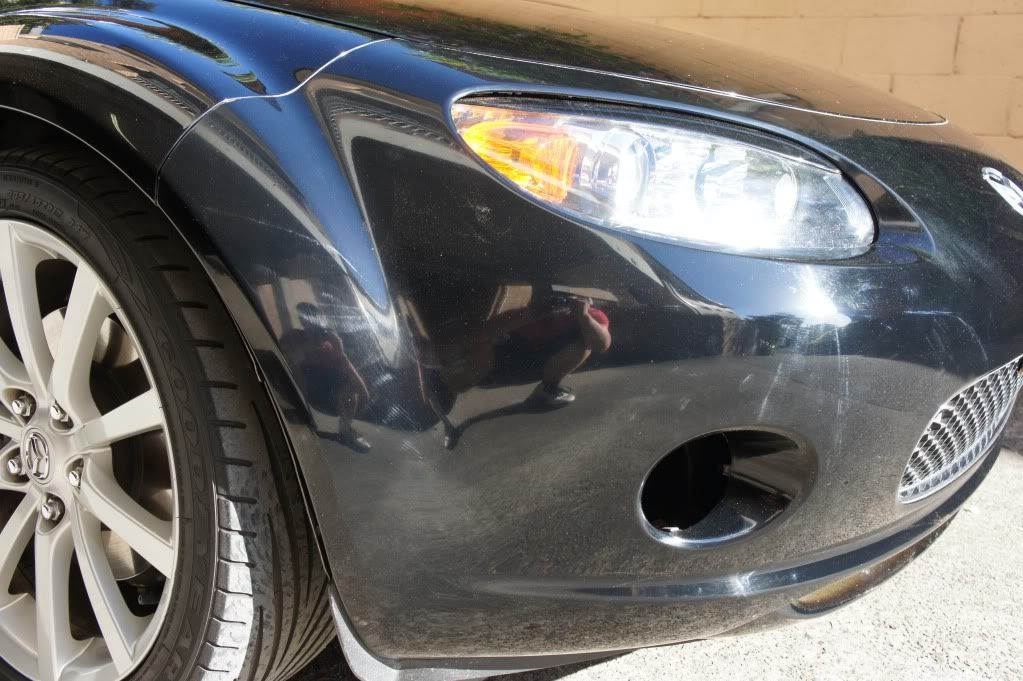
The colour is slightly different from the rest of the panels but not very noticeable. All in all, I'm 90% happy with the result, super happy with the fact that I did everything myself
Sanded down with 1500 and then 2000grid
To bring back the shine, I used Meguiars medium-cut cleaner and fine-cut cleaner and then yellow wax. In hindsight, I would’ve familiarized myself with a rotary buffer to make light work.
No more stone chips
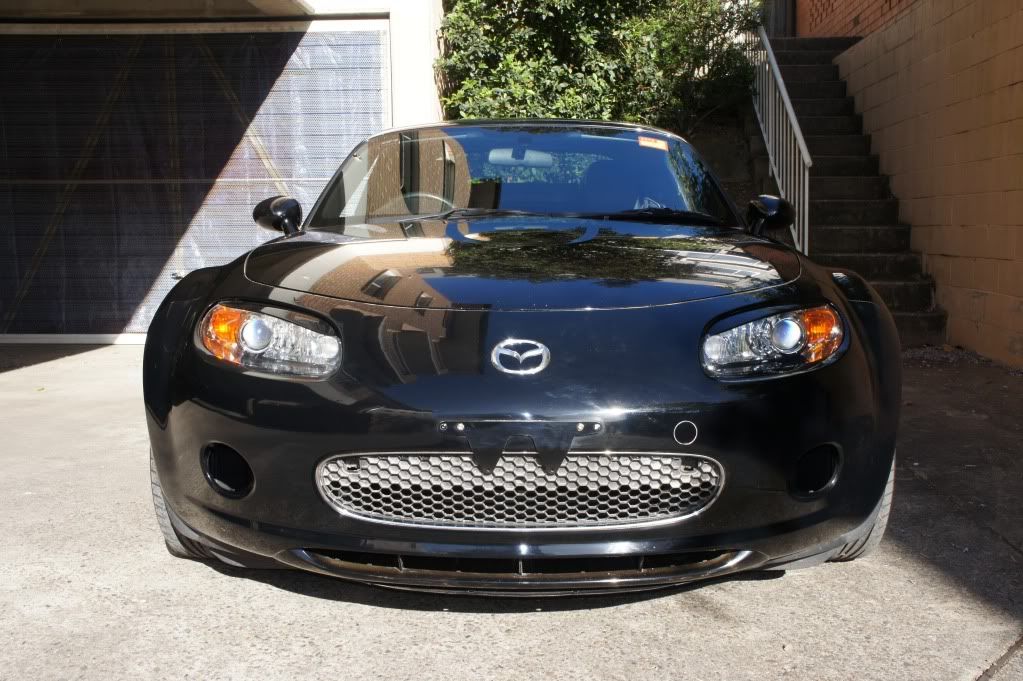
The colour is slightly different from the rest of the panels but not very noticeable. All in all, I'm 90% happy with the result, super happy with the fact that I did everything myself
-
- Fast Driver
- Posts: 103
- Joined: Wed May 23, 2012 12:14 pm
- Vehicle: NC
- Location: Sydney East
Re: Ksharp's NC
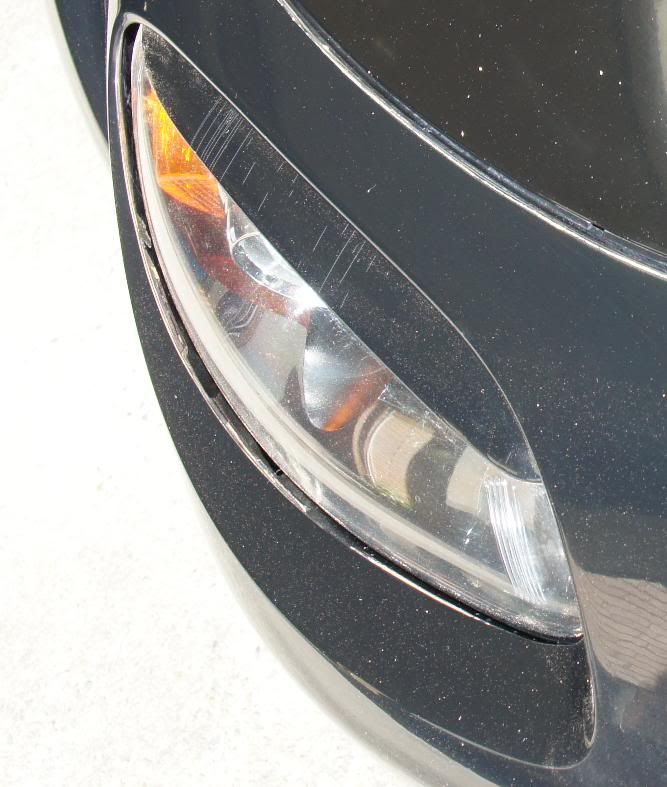
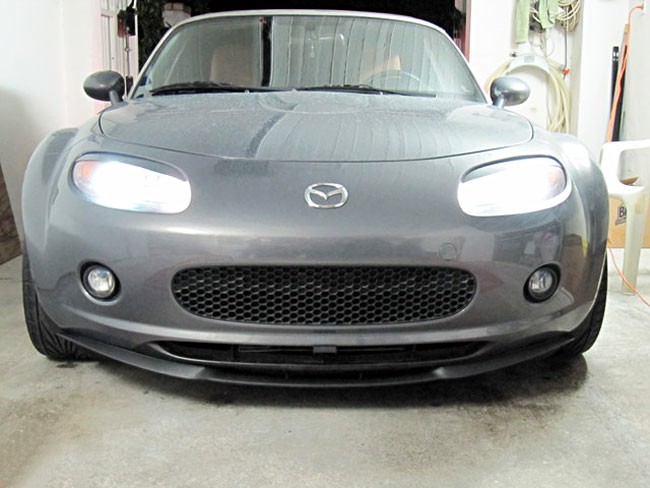
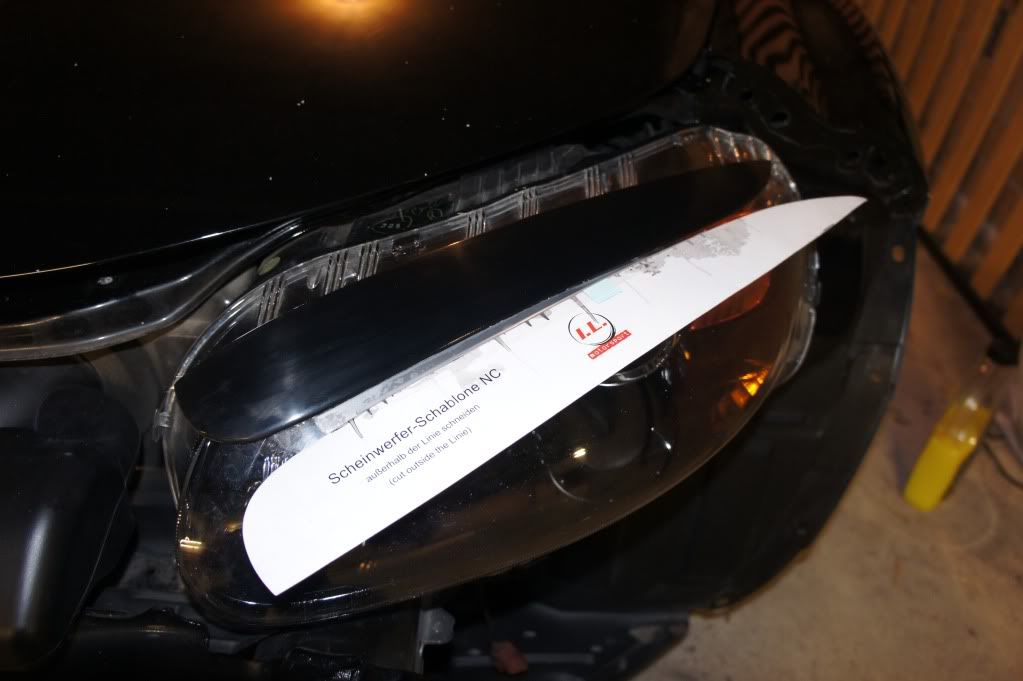
Eyelid
Got them from I.L.Motorsport. Depending on the position and angle, you make your MX-5 look extremely angry or extremely sleepy
I recommend sticking them to the headlights before sanding & polishing. This prevents you from bending the plastic (or cardboard?) which left these vertical lines in my finish.
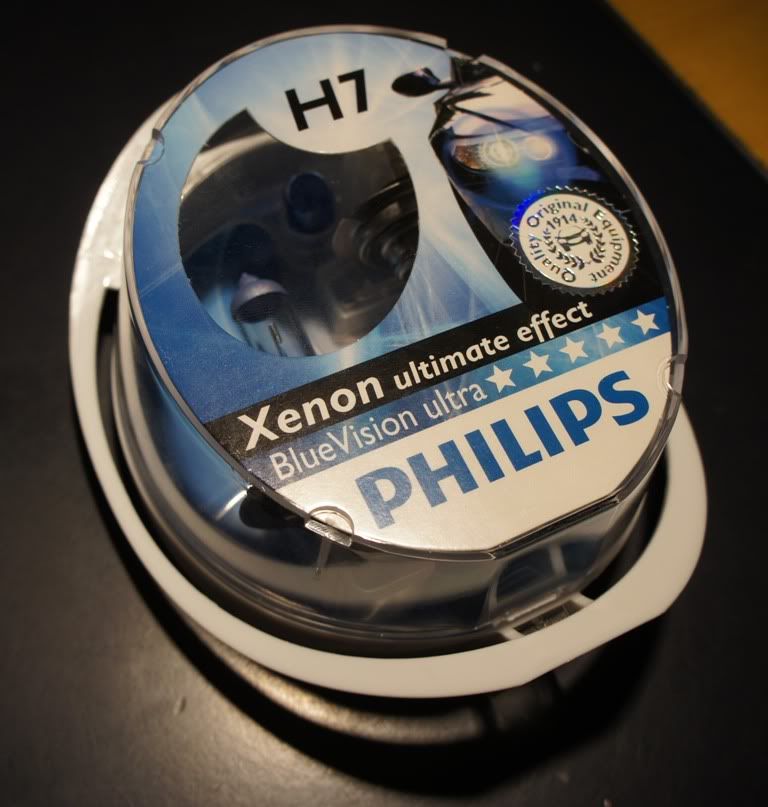
Lighting
Philips BlueVision Ultra, along with complementary blue park lights. Will be putting them soon, I’d probably remove the air intake to get better access. Is anyone running these?
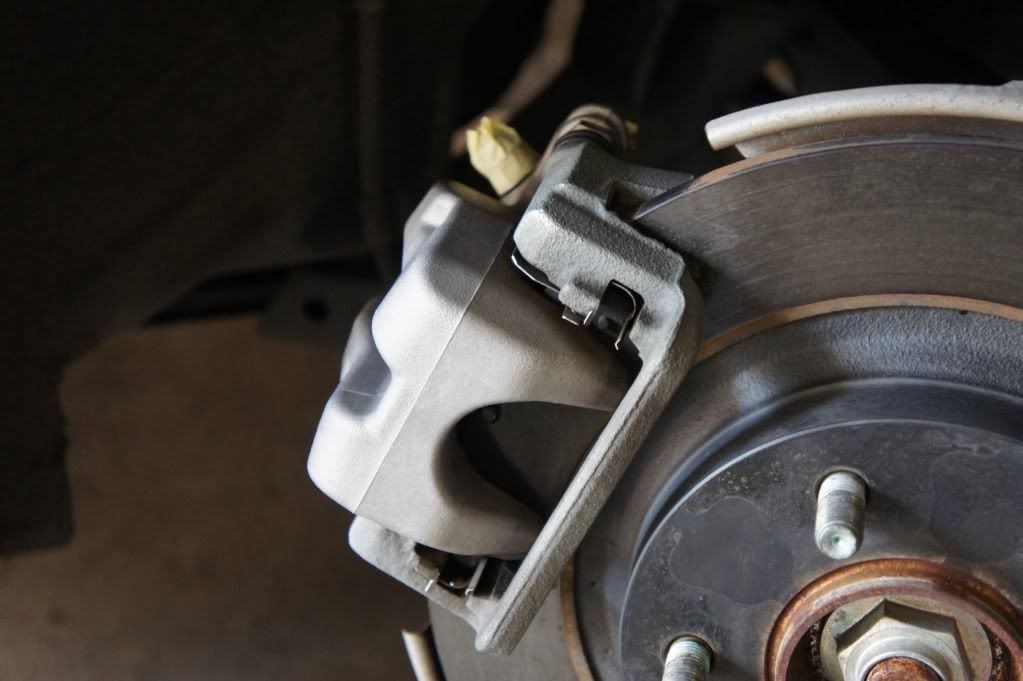
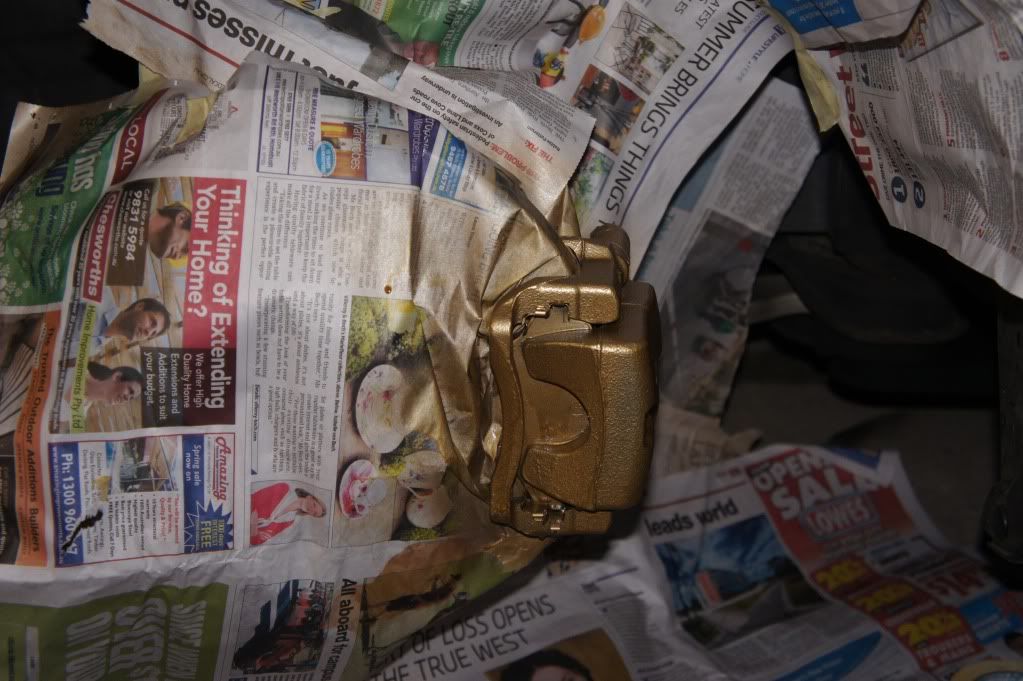
Caliper Paint
Cleaned
Gold, why not?
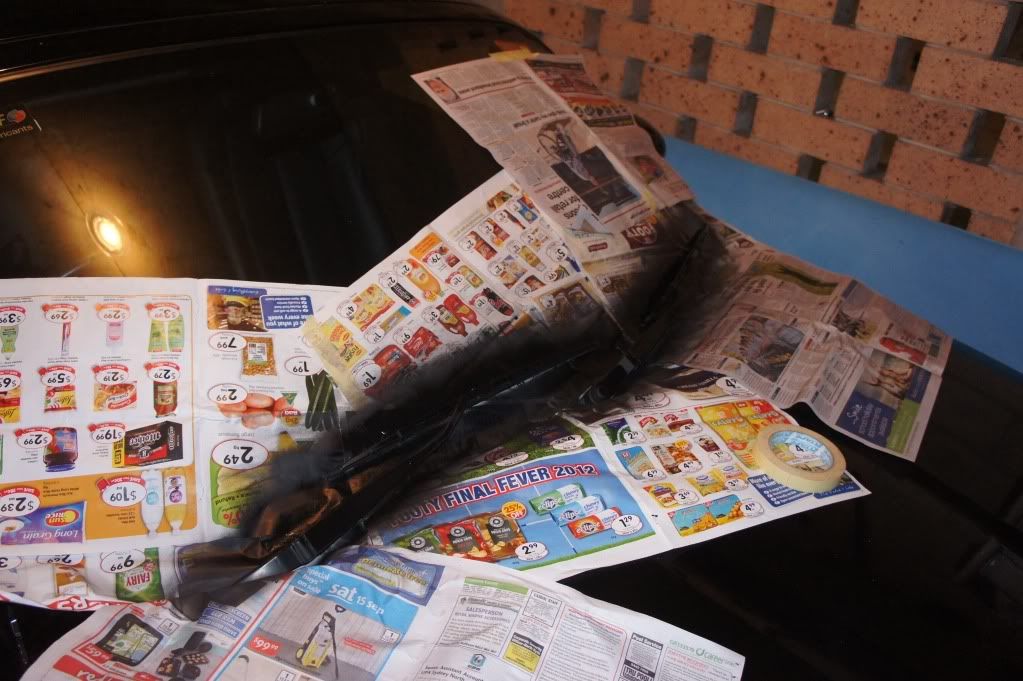
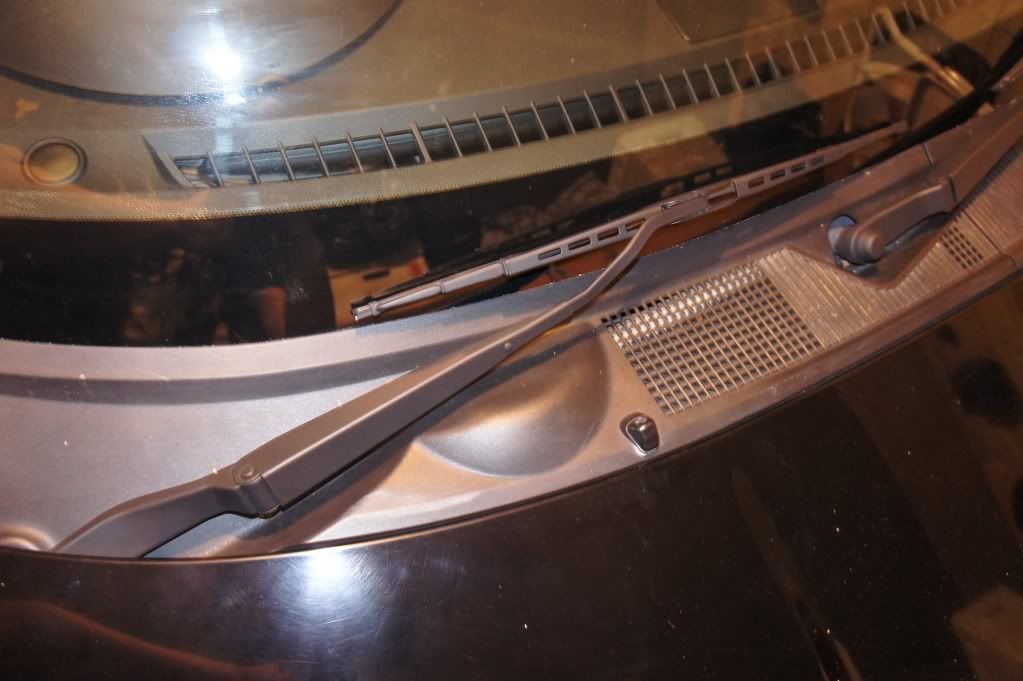
Wipers
Blaaaaack
-
- Fast Driver
- Posts: 103
- Joined: Wed May 23, 2012 12:14 pm
- Vehicle: NC
- Location: Sydney East
Re: Ksharp's NC
BBS RG-2
If all goes according to plan, I'll be getting the set of BBS from Dean after he finishes refurbishing his set of RS's. I'll be borrowing a guard roller and a heatgun from a friend shortly before going for a proper alignment at Spinning Wheels when they're fitted.
This is pretty sweet, don't you think?
NC Front Lip
Bought this lip http://www.ebay.com.au/itm/130750659160?ssPageName=STRK:MEWNX:IT&_trksid=p3984.m1439.l2649#ht_6286wt_1137 from Germany and still waiting. It will not be a direct fit but with some work, I'm sure I can make it fit. Will post progress pics when it's fitted.
Leatherique
Also bought some Leatherique Rejuvenator Oil & Pristine Clean to take care of my leather seats. Initially, I was planning on dying the seat red using their prepping agent & dye as well but my missus talked me out of it since the red seats will look odd with the silver/black look I'm going for. What do you guys think?
For example, see this video: http://www.youtube.com/watch?v=uoJvdEBYIUA
- neilhr
- Fast Driver
- Posts: 483
- Joined: Wed Jul 27, 2011 8:30 pm
- Vehicle: NC - Supercharged
- Location: North-West Sydney
- Contact:
Re: Ksharp's NC
mate you did a really fantastic job on the bumper! I've done a paint job before and know how time consuming and difficult it can be! I was also considering that lip once upon a time. Looks great for the price
Love the wheels! Any chance you could help me roll my guards too??
-
- Fast Driver
- Posts: 103
- Joined: Wed May 23, 2012 12:14 pm
- Vehicle: NC
- Location: Sydney East
Re: Ksharp's NC
Hey neil! It'll be my first time rolling guards but I'll be more than happy to help you once I figure out what I'm doing haha. How come you need your guards rolled? Don't they fit perfect?
-
- Fast Driver
- Posts: 310
- Joined: Tue Jul 13, 2010 10:26 pm
- Vehicle: NC
- Location: Northern Sydney
Re: Ksharp's NC
Credit to you to attack your panels with sand paper etc. You've definitely got cojone fortitude!
I think those gold calipers would look really nice with the gold detailing on ohlins
Kris's NC
viewtopic.php?f=57&t=43276
- neilhr
- Fast Driver
- Posts: 483
- Joined: Wed Jul 27, 2011 8:30 pm
- Vehicle: NC - Supercharged
- Location: North-West Sydney
- Contact:
Re: Ksharp's NC
ksharp wrote:Hey neil! It'll be my first time rolling guards but I'll be more than happy to help you once I figure out what I'm doing haha. How come you need your guards rolled? Don't they fit perfect?
No worries, if you got the proper kit it shouldn't be too hard! It would be really great to get the rear rolled and make it a bit more flush that's all
Very impressed what you have done with your car so far. Keep it up!
-
- Fast Driver
- Posts: 103
- Joined: Wed May 23, 2012 12:14 pm
- Vehicle: NC
- Location: Sydney East
Re: Ksharp's NC
kris wrote:Credit to you to attack your panels with sand paper etc. You've definitely got cojone fortitude!
I think those gold calipers would look really nice with the gold detailing on ohlins
If only I had the cash man...if only
neilhr wrote:ksharp wrote:Hey neil! It'll be my first time rolling guards but I'll be more than happy to help you once I figure out what I'm doing haha. How come you need your guards rolled? Don't they fit perfect?
No worries, if you got the proper kit it shouldn't be too hard! It would be really great to get the rear rolled and make it a bit more flush that's all
Very impressed what you have done with your car so far. Keep it up!
Btw neil, are you still running yellowspeed? The rear height adjustment is tragic... but I looked through your new wheels album just now and yours seem to sit lower than mine....HOW NEIL HOW, mine is maxed out and seems to sit higher I played around with the spring preload (dropped it by ~1cm) but that didn't seem to do much apart from breaking my back going over potholes
- neilhr
- Fast Driver
- Posts: 483
- Joined: Wed Jul 27, 2011 8:30 pm
- Vehicle: NC - Supercharged
- Location: North-West Sydney
- Contact:
Re: Ksharp's NC
ksharp wrote:Btw neil, are you still running yellowspeed? The rear height adjustment is tragic... but I looked through your new wheels album just now and yours seem to sit lower than mine....HOW NEIL HOW, mine is maxed out and seems to sit higher I played around with the spring preload (dropped it by ~1cm) but that didn't seem to do much apart from breaking my back going over potholes
Yeah they aren't that great with height adjustment. Mine have just dropped with age. They have a little bit of preload. Still ride and handle great. They are still higher than i would like though
- bruce
- Speed Racer
- Posts: 7706
- Joined: Fri Apr 25, 2003 11:00 am
- Vehicle: NA8 - Turbo
- Location: Victoria
- Contact:
Re: Ksharp's NC
That is an excellent job with the front bumper.
Katzkins leather seats get a good rap in the US. Leather is softer and easy to fit (you are a classic DIY man). $600 a pair in the States?
-
- Fast Driver
- Posts: 293
- Joined: Thu May 12, 2011 1:30 pm
- Vehicle: NC
- Location: NSW sydney
Re: Ksharp's NC
Very nice..
-
- Fast Driver
- Posts: 103
- Joined: Wed May 23, 2012 12:14 pm
- Vehicle: NC
- Location: Sydney East
Re: Ksharp's NC
Replacing H7 Main Beam Bulbs
Replacement of any light bulbs is relatively easy with the front bumper removed. There are four 10mm bolts holding the headlight in place (top, bottom, left, right).
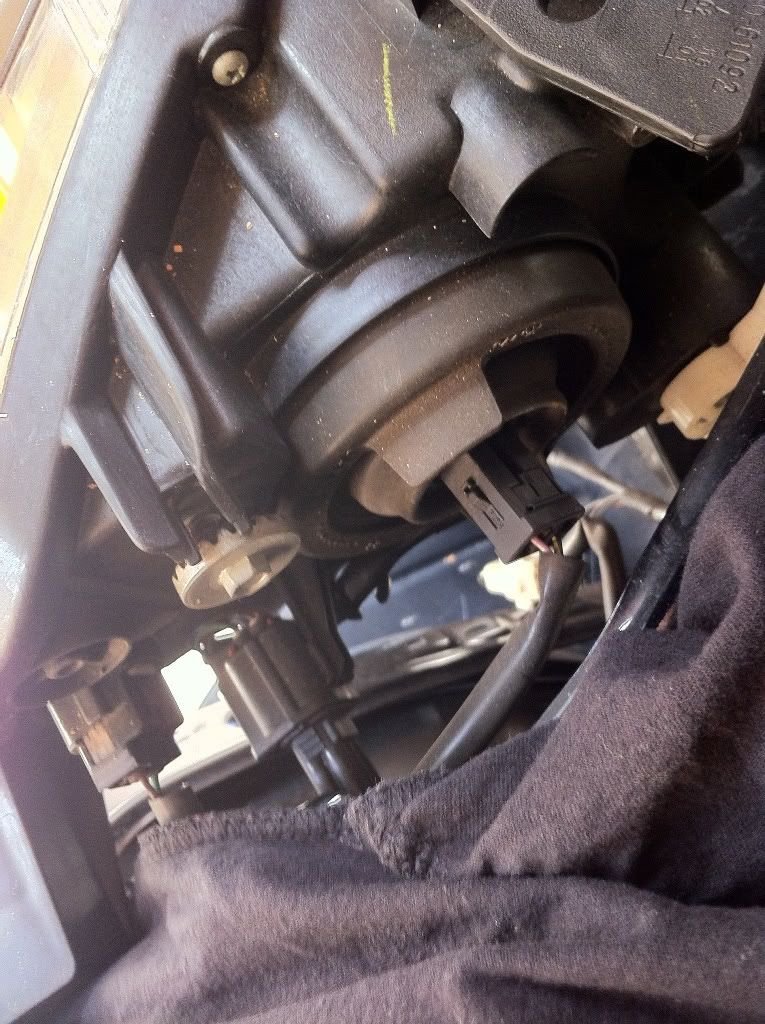
This is what the headlight unit looks like from behind, the huge one with the rubber seal around it is the main beam
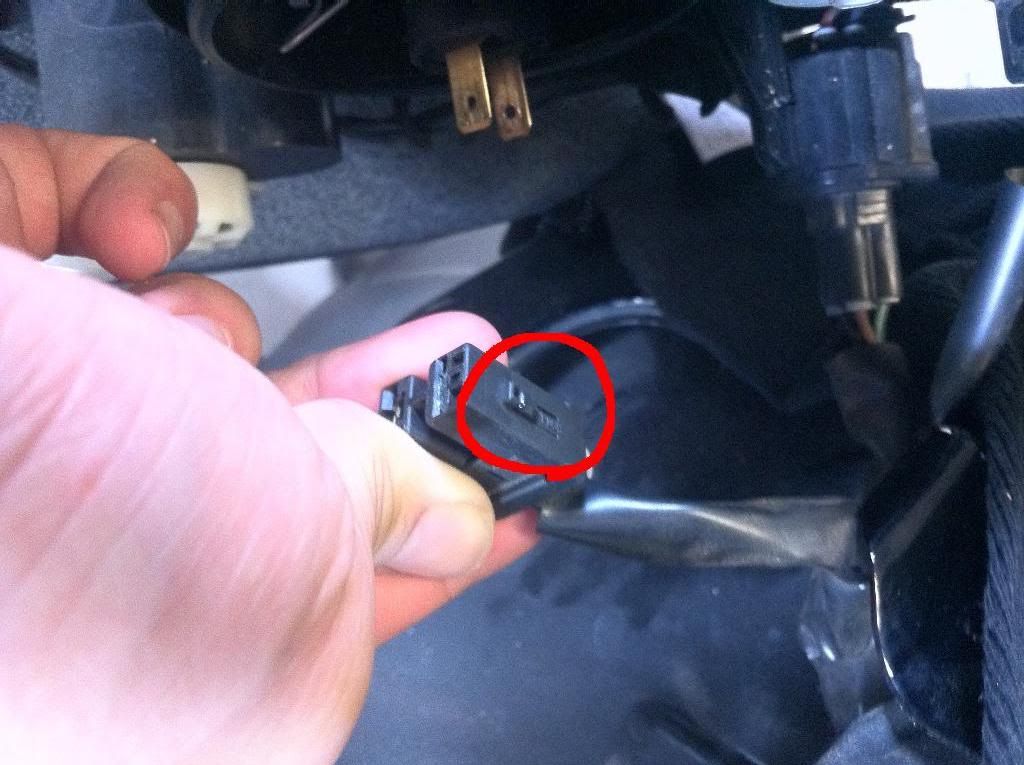
Press down on the clip (circled) to detach the cable, then wiggle the rubber seal loose and remove
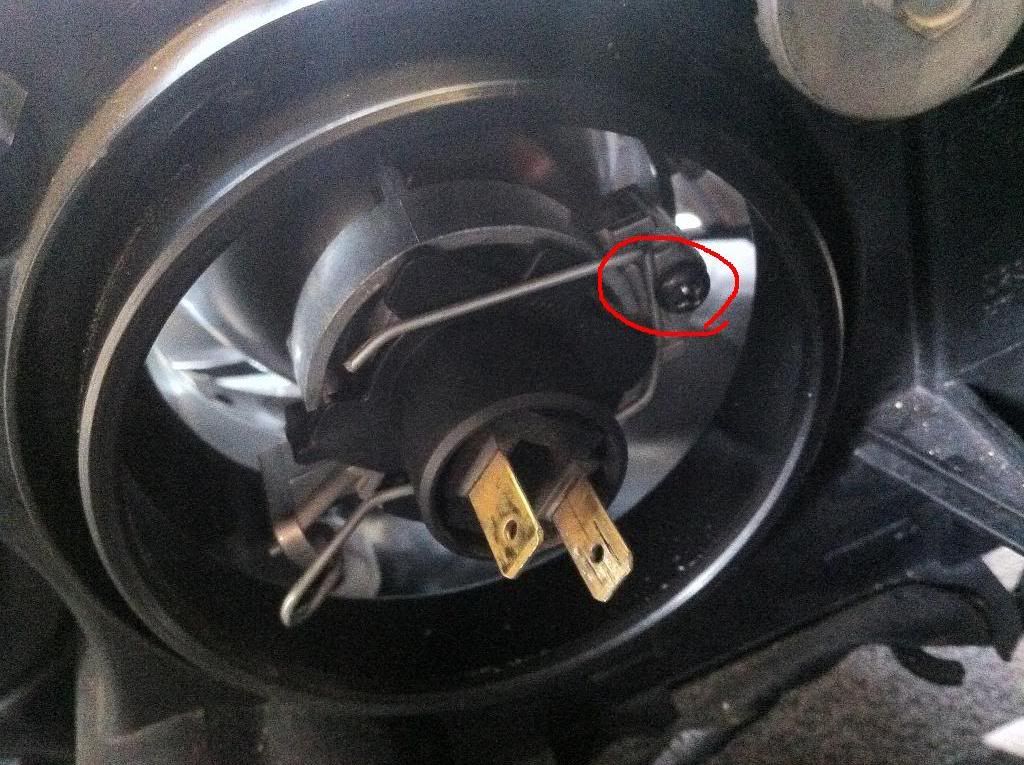
A silver metal wire is holding the bulb in place. Loosen this screw (circled) until the silver wire pops out. I wouldn't take the screw out completely as it's too easy to drop it and it may even fall into the headlight unit. After that, it should be pretty straight forward and be sure to test the lights before putting everything back together.
-
- Driver
- Posts: 84
- Joined: Tue Oct 18, 2011 2:04 am
- Vehicle: NC
- Location: Shire rat
Re: Ksharp's NC
Nice looking car!
How are the lights? I had the whiter ones and couldn't see very well in rainy weather. Changed to HID's recently and they're much brighter in the dark!
- Kev05
- Racing Driver
- Posts: 1456
- Joined: Sat May 19, 2012 11:24 pm
- Vehicle: NB8A
- Location: Brisbane
Re: Ksharp's NC
Good work!
- Okibi
- Speed Racer
- Posts: 10898
- Joined: Thu Aug 21, 2003 11:00 am
- Vehicle: NB SE
- Location: Perth, Western Australia
- Contact:
Re: Ksharp's NC
It's strange that you have to loosen the screw to remove the bulb, i'd have thought that bulb clip was just sprung in place like earlier models.
If you had access to a car like this, would you take it back right away? Neither would I.
Who is online
Users browsing this forum: No registered users and 115 guests