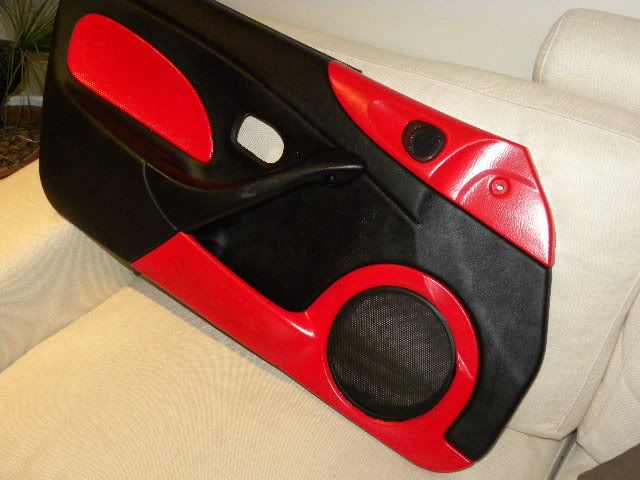
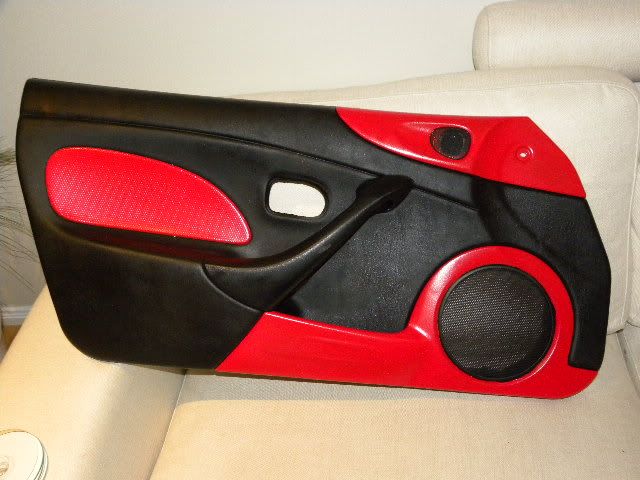
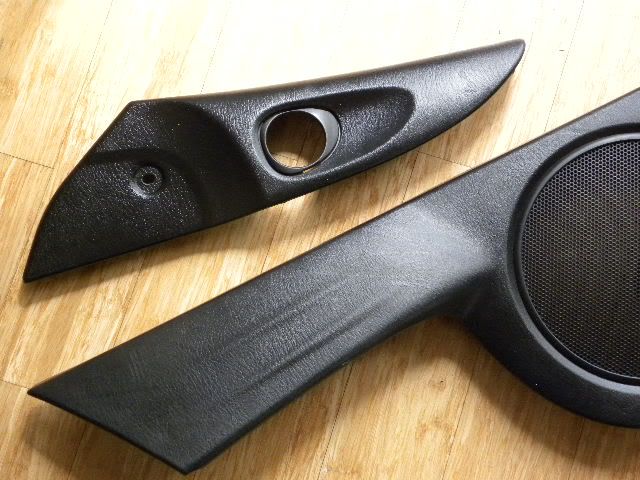
my guide to painting the door cards.
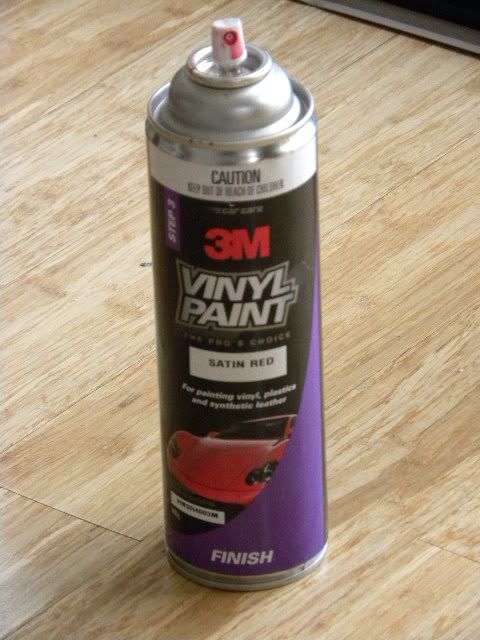
the paint - 3M vinyl
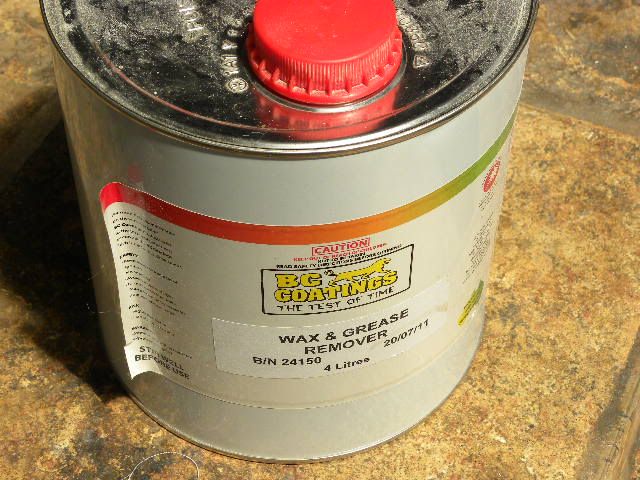
grease/wax remover 4 litres ( its cheaper in the long run)
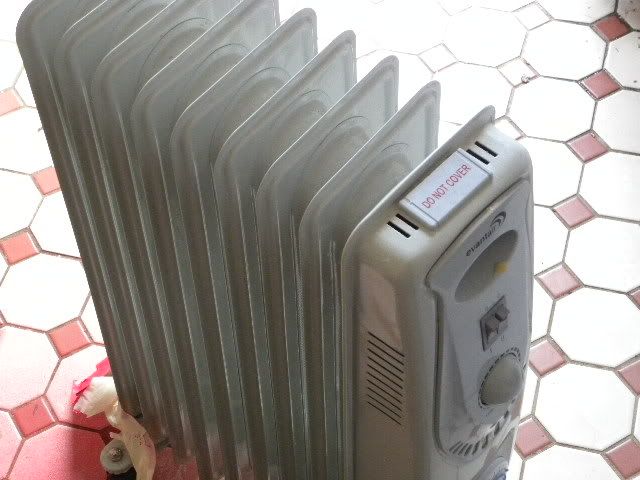
2000 watt oiled filled heater or any other heater
scaper/sandpaper and mashing tape.
i would have preferred to use vht vinyl dye as i have read good reviews but none was available locally in RED so i chose 3M vinyl from supercheap. no reports on this so time will tell if it's anygood. price about $17
i gave all areas of the work job a good hard scrub with grease/wax remover. if possibly buy a 4 litre tin. it's a bit over $20 and a lot cheaper in the long run than a spray can of the stuff. you can then use it time and time again
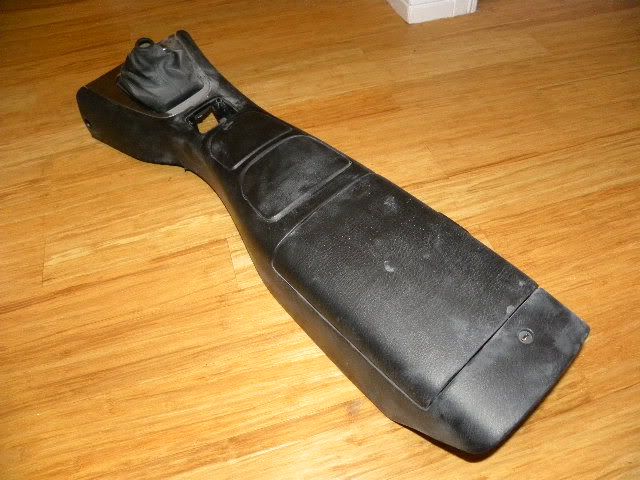
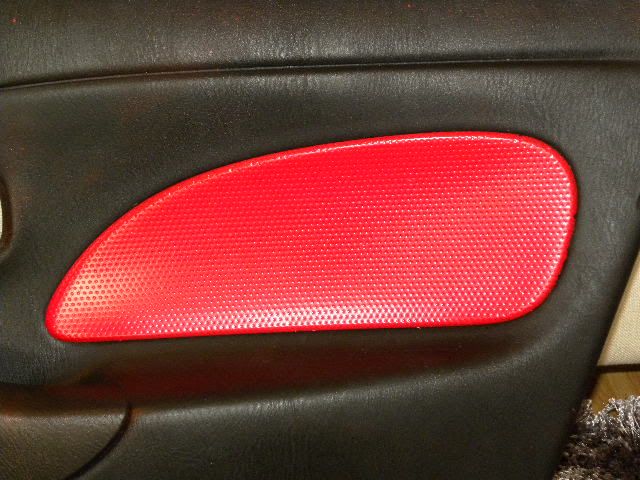
top area of door trim before/after the wax and grease remover. note after photo-the trim has lost its armorall gloss
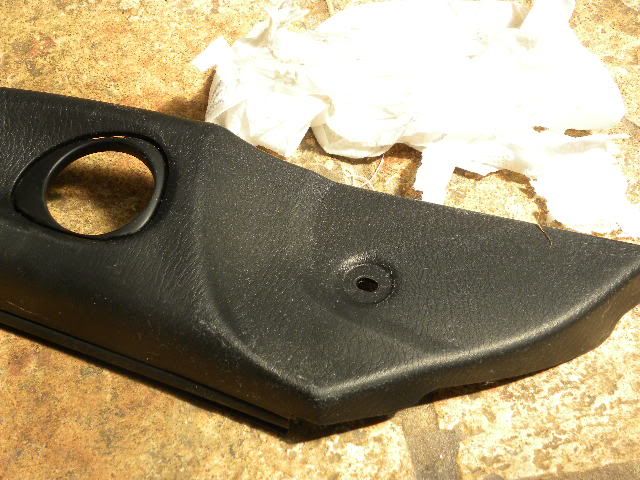
give all areas to be painted a thorough scrub. even after that you may still find problems with hard to get grease areas which will show up later on in the job.
now if the temps around 20 celius you can spray outside or where ever you choose. if the temps under - like 10 degrees - way too cold to spray. if you do it will take ages to dry and may develop runs and be messy.
alternately do what i did. into the laundry or any other small area and hook up a 2000watt panel heater.
takes about half hour to warm up and your in business and ready to go
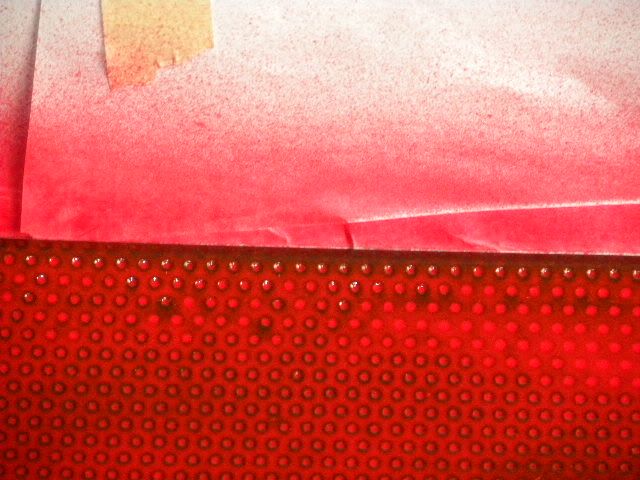
while you area is heating up you can get on with the masking
to make this easier use something like this
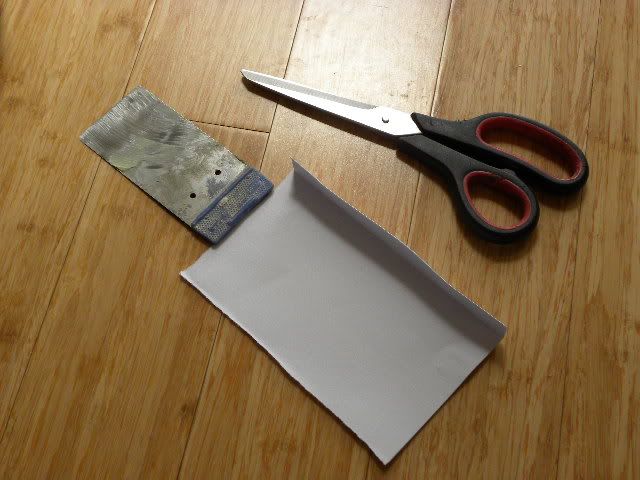
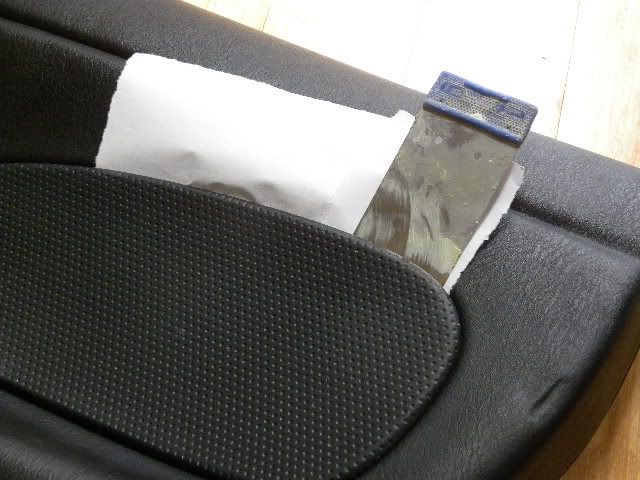
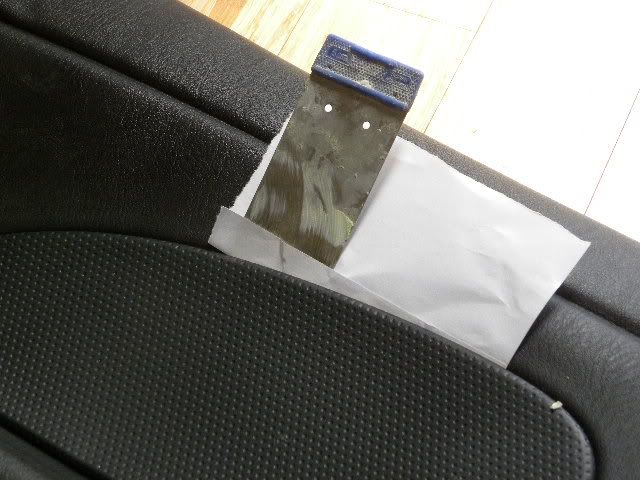
get some A4's cut to quarters then fold the bottom egde up 10mm. slide in your applicator then slip it in behind the door card and follow on around the door trim
once you have everything masked up it's time to spray. give it a good shake for 2 minutes

and do the same to the can

seriously, shake the can upside down for 2 full minutes to mix the paint thoroughly. i feel normal can shaking does not mix it well. after-all it's only a ball bearing doing the work. working the can upside down has the thick concentrate of paint at the high end -not the low.
with the paint i used i worked about 45 centimetres from the job. give the area a light coat -LIGHT!!!
place it in your drying room and go on to the next bit. by the time you do all three bits - here's what your pressure can sprayer looks like
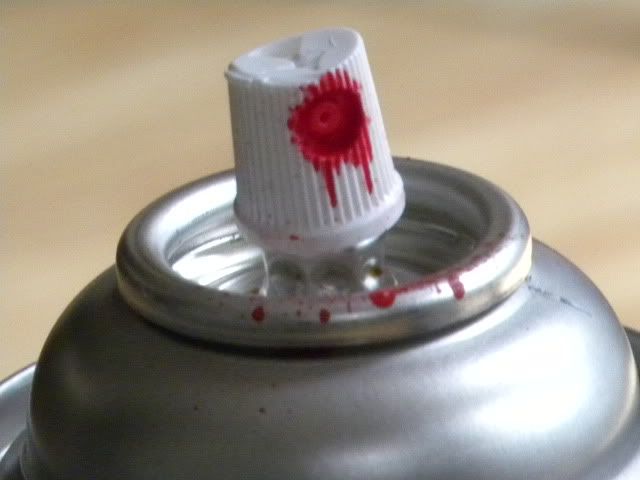
now before you go to coat 2 allow 10 to 15 minutes and clean the spray nozzle. why? it will probably save you an unexpected burst of paint on you work . so keep it CLEAN!
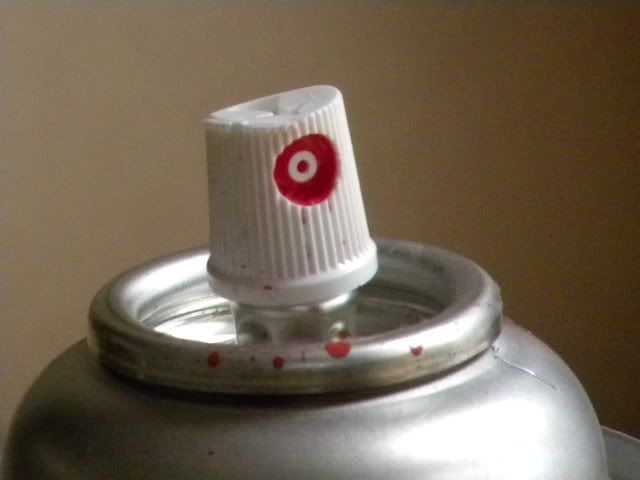
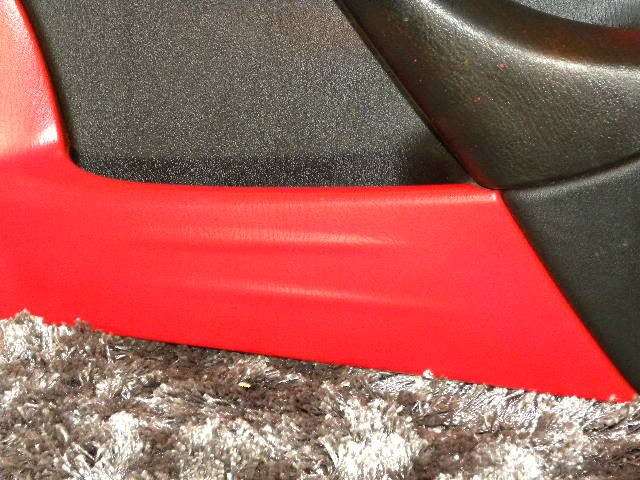
during the painting of the door card - up came a grease mark. there were 4 dots in all over two sections
only thing was to do was to totally rub out the areas with the grease/wax remover
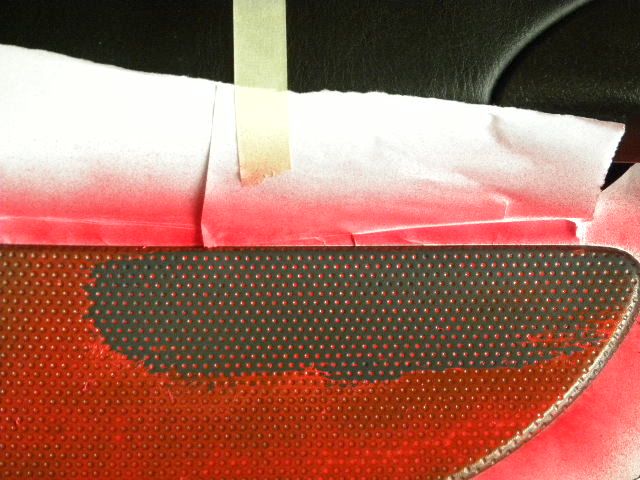
don't worry it's no big deal. clean the area up but make sure you don't leave any rough areas. if you have a couple of the rough areas give them a light rub with 600 wet/dry paper - again LIGHT! to smooth 'em out
now give go back to step one and give it a light spray. don't spray the total area - just the re-work.
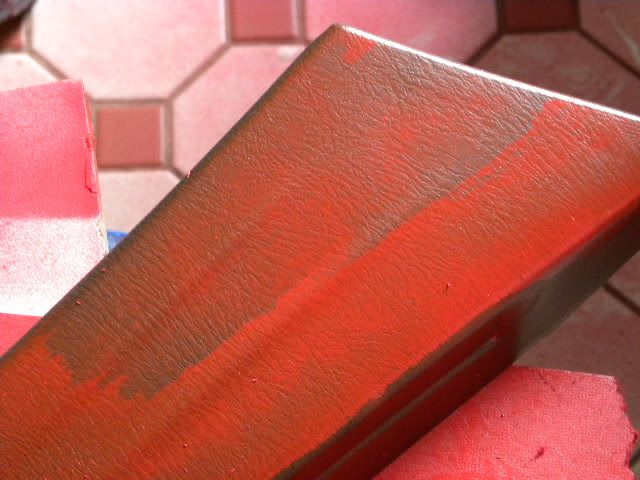
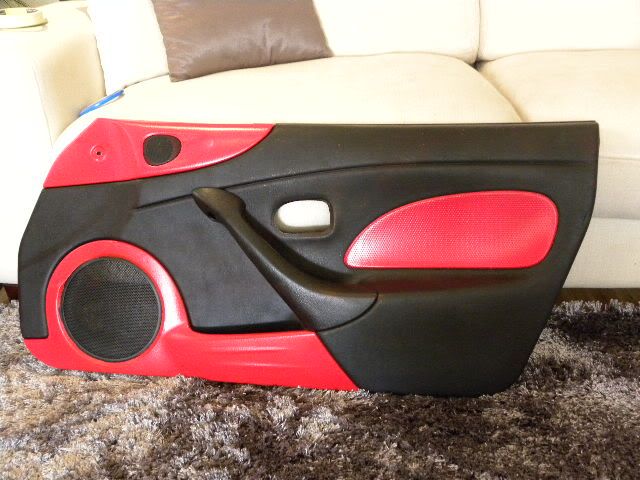
here's a completed work photo of the mess taken about 2 hours later. looks good and everything is fine
about 3 hours later the panel is completed with about 5 or 6 light coats of the vinyl paint. say 15 to 30 minutes flash times between the coats.
don't try spraying coat after coat in a short period of time. all you'll do is slap wet on wet and the paint will be soft and easily damaged. so please allow yourself proper drying time.
any-way it's not a perfect job but it's good enough for me. eyes are shot and i have to get other members of the family to mask so i'm never in full control.
but for you younger blokes it should be a push over. hope this of some use to future door card/ interior/exterior sprayers. it's all the same process.
now would i use the 3m vinyl again - not if i could get the vht vinyl dye. i wasn't really happy with the spray can nozzle. at times it shot jets of vinyl paint
i recall using other spray cans say 20 cm from the work area -but 45 cm was

and at times spray control was non existant.
on the other hand i might have had a crappy spray nozzle. one quick point to end. always pre fire the spray can nozzle elsewhere and not on the job. after a break it's usually the first burst that produces a paint splatter or excessive paint and a run.
enjoy your work and have fun. if you make a mistake its no big deal. rub it out and try again
cheers