billybunters - from a bmw z4 to a mx5 se
Moderators: timk, Stu, -alex, miata, StanTheMan, greenMachine, ManiacLachy, Daffy, zombie, Andrew, The American, Lokiel
-
Apu
- Speed Racer
- Posts: 2399
- Joined: Tue Apr 12, 2011 3:04 pm
- Vehicle: NB8B
- Location: North West, NSW
Re: billybunters - from a bmw z4 to a mx5 se
I should run a parallel thread on how NOT to paint your car, haha!
I dunnit de lazy way...
I dunnit de lazy way...
-
billybunter
- Racing Driver
- Posts: 1531
- Joined: Thu Nov 11, 2010 4:54 pm
- Vehicle: NB SE
- Location: orange nsw
Re: billybunters - from a bmw z4 to a mx5 se
hi
good to hear your all enjoying the read. over the years i too have painted a few quick ones. in this case i hope to do a reasonable job - so good preparation is the key.
will be starting shortly rubbing the clear of the front/rear bars. gee i hate that job!
good to hear your all enjoying the read. over the years i too have painted a few quick ones. in this case i hope to do a reasonable job - so good preparation is the key.
will be starting shortly rubbing the clear of the front/rear bars. gee i hate that job!
- de Bounce
- Racing Driver
- Posts: 1091
- Joined: Thu Feb 12, 2009 5:19 pm
- Vehicle: NC
- Location: Northern Burbs - Melbourne
Re: billybunters - from a bmw z4 to a mx5 se
Amazing effort!
This is set to become the definitive "how to" for prep and paint

This is set to become the definitive "how to" for prep and paint
- Old Dude
- Racing Driver
- Posts: 1166
- Joined: Tue Apr 07, 2009 8:06 pm
- Vehicle: NB8B
- Location: Gold Coast
Re: billybunters - from a bmw z4 to a mx5 se
de Bounce wrote:Amazing effort!
This is set to become the definitive "how to" for prep and paint
Not to mention "how to get your kids to help" but you haven't let us in on that one yet
Cheers
dale
"Everybody dies......, but not everybody lives" ;-)
MX 5 2001 Grace Green
NB8B
MX 5 2001 Grace Green
NB8B
-
billybunter
- Racing Driver
- Posts: 1531
- Joined: Thu Nov 11, 2010 4:54 pm
- Vehicle: NB SE
- Location: orange nsw
Re: billybunters - from a bmw z4 to a mx5 se
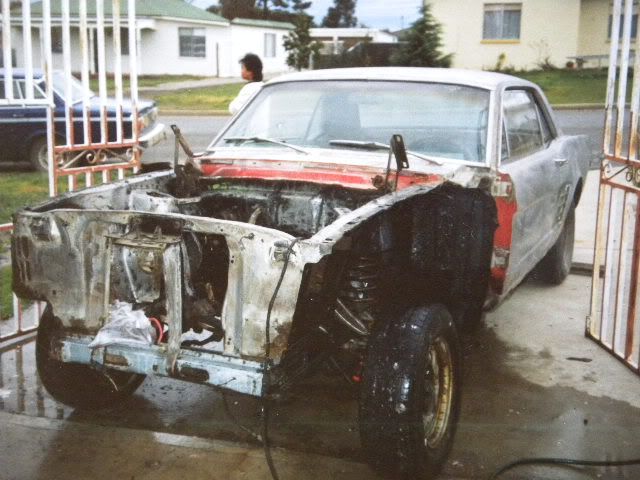
in case you think a 3hp compressor is not capable of painting a car i thought i'd show you these old pics.
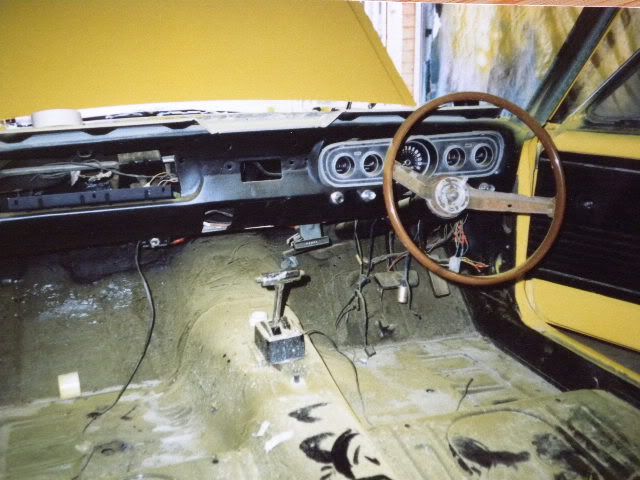
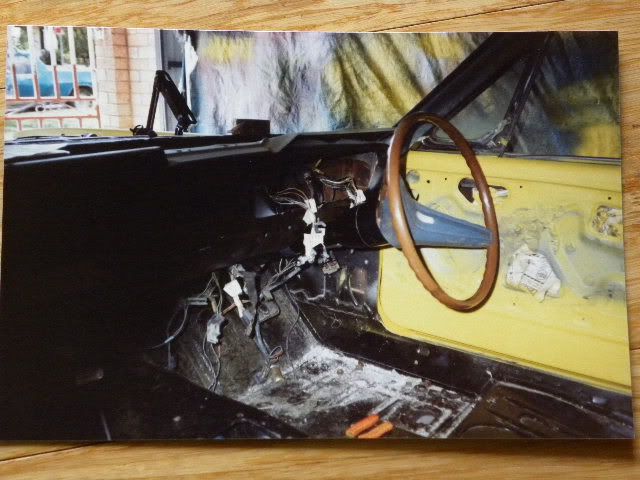
in 91 i bought this lhd mustang. a friend and i did the left to right conversion. after that i took it to a panel shop for minor repairs to the body. he offered me a bare metal re-spray for $5k.
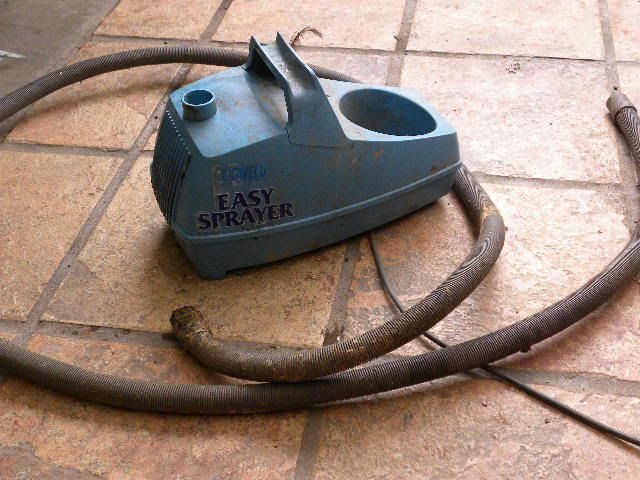
previously i'd painted one car with a painting system similar to the one below - minus the paint gun.
so i thought i'd have a go at painting it and surprise 2 years ago the same mustang came up on carsales.com i saw the horse on the side and thought " must still be the original paint"
so i gave the guy a ring and was told the paint was still as good as when he bought it off me 18 years ago.
so if you ever have a crack at painting - good prep - quality primer and topcoat.
in case your wondering - NO i'm not painting the mazda YELLOW.
in 91 what i bought for 6K
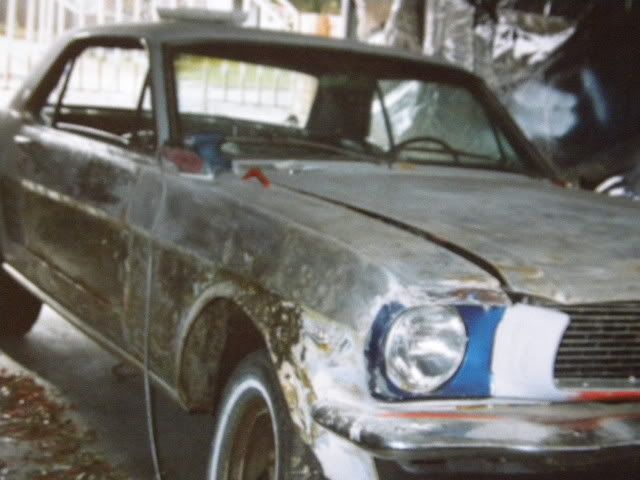
interior gutted
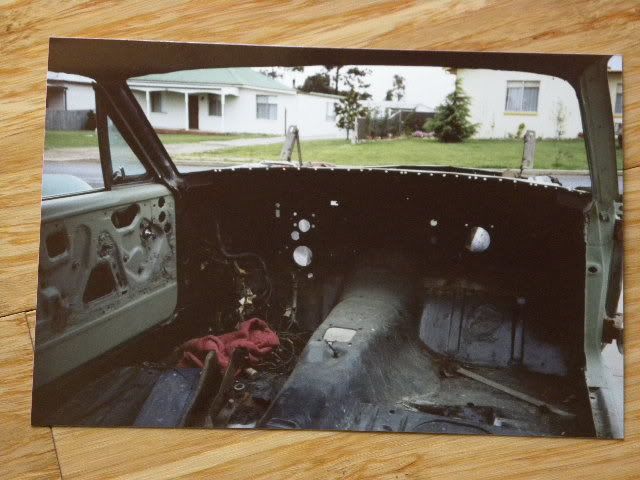
left to right conversion
final results
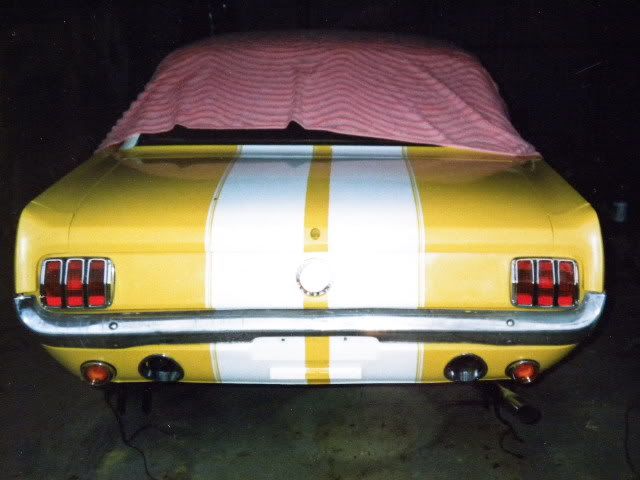
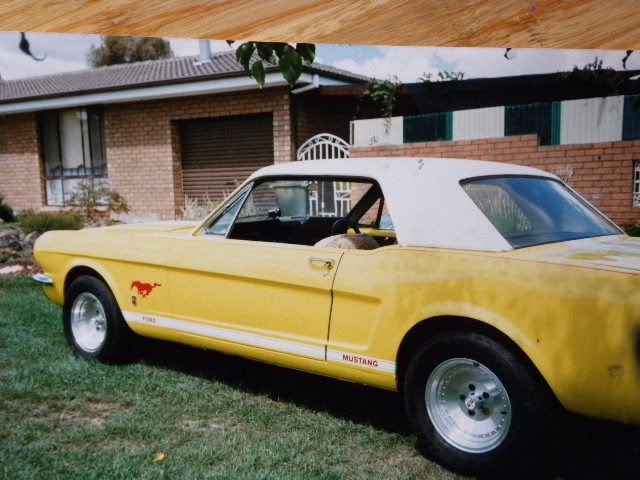
in 91 i bought this lhd mustang. a friend and i did the left to right conversion. after that i took it to a panel shop for minor repairs to the body. he offered me a bare metal re-spray for $5k.
previously i'd painted one car with a painting system similar to the one below - minus the paint gun.
so i thought i'd have a go at painting it and surprise 2 years ago the same mustang came up on carsales.com i saw the horse on the side and thought " must still be the original paint"
so i gave the guy a ring and was told the paint was still as good as when he bought it off me 18 years ago.
so if you ever have a crack at painting - good prep - quality primer and topcoat.
in case your wondering - NO i'm not painting the mazda YELLOW.

in 91 what i bought for 6K


interior gutted

left to right conversion


final results


-
billybunter
- Racing Driver
- Posts: 1531
- Joined: Thu Nov 11, 2010 4:54 pm
- Vehicle: NB SE
- Location: orange nsw
Re: billybunters - from a bmw z4 to a mx5 se
weather's pretty bad here for the next couple of days. thought some-one might be interested in this so here's how i repaired the 2 stone chips on the front right guard
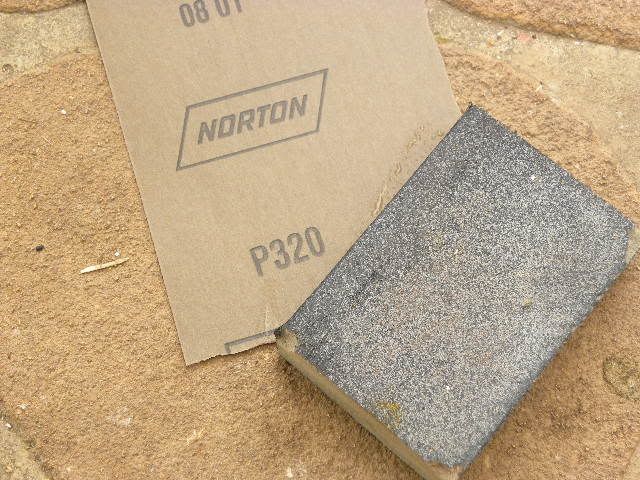
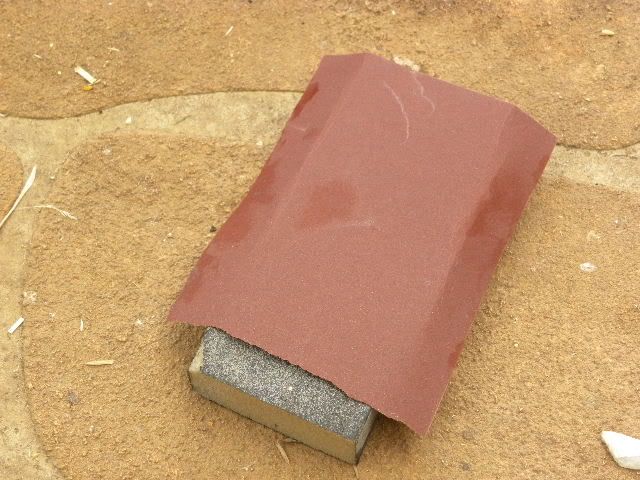
320 wet and dry and a soft sponge sanding block
the two stone chips in question

hit it first with grease/wax remover. followed on by a light sand with the 320 but 400 would have been fine. then bit of primer as it was down to the metal then a wipe with the putty ( sort of a finger wipe) as i couldn't find the rubber applicator. temp was cold so i let it dry for a couple of hours
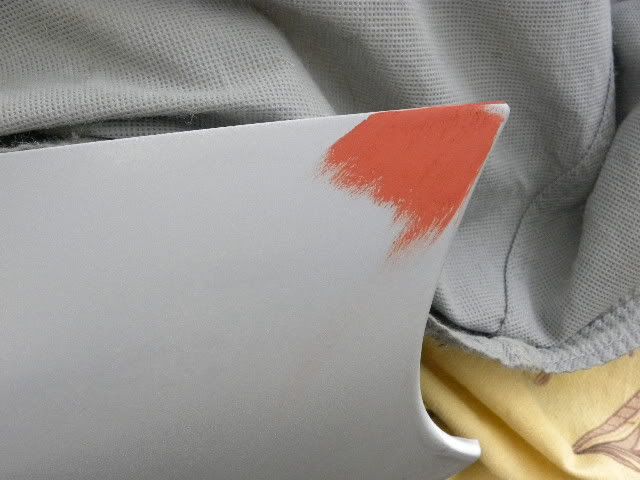
i then gave it a quick spray with the gloss black paint as a rubbing back guide coat. seen clearly - the black areas are the low points. the idea is to rub the sandpaper gentle across the work area. don't use your fingers or you'll end up with tram lines through your work. better still spend $5 and buy yourself a sanding sponge, wrap the sand paper around it and run it across the panel. left to right or what-ever turns you on.
don't forget to add a few drop of dish washing detergent to help lubricate your work area ON THE CAR.
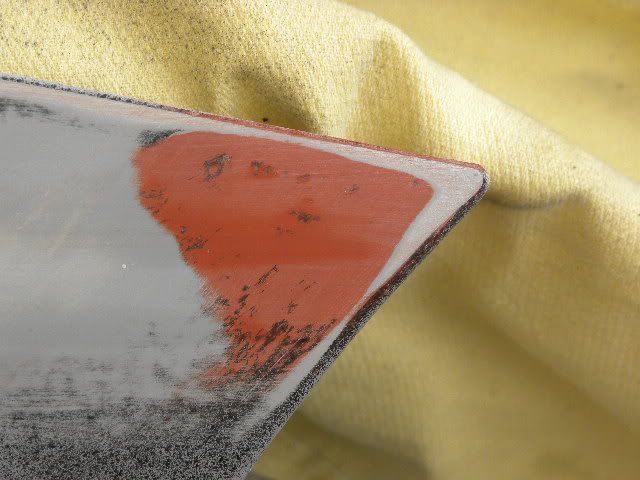
this is the end results , stone chips are gone and it's ready to prime. doesn't matter if it's a stone chip or ding - you follow the same pattern just different paper/filler etc.
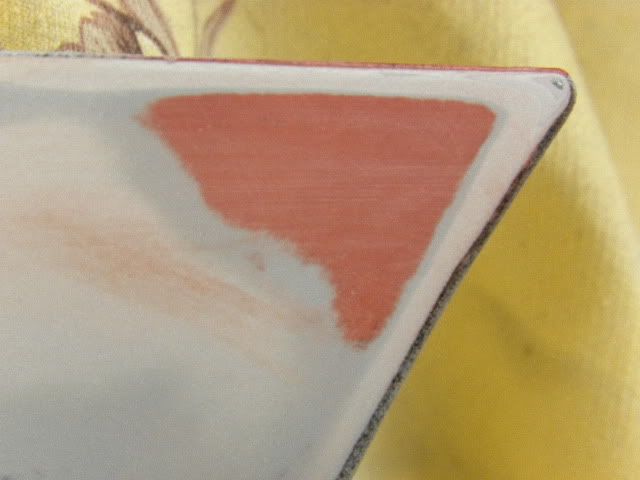
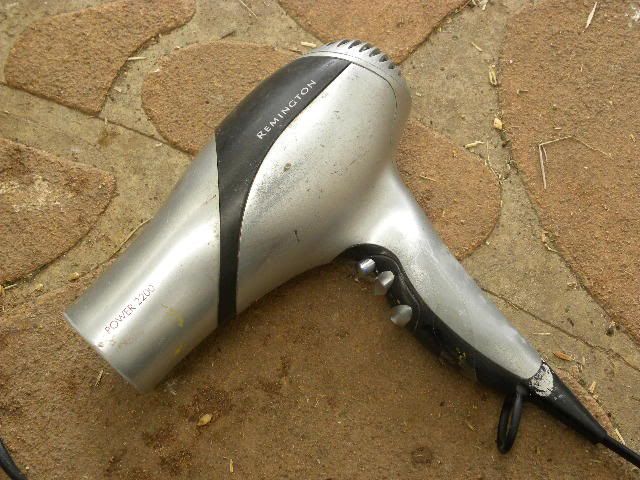
only 5 degrees today. panel repaired but bare metal showing so you need one of these. after you dry your hair concentrate on warming up the panel. a nice warm panel dries the paint fairly quick. also if you put too much primer on you can apply heat to stop a paint run.
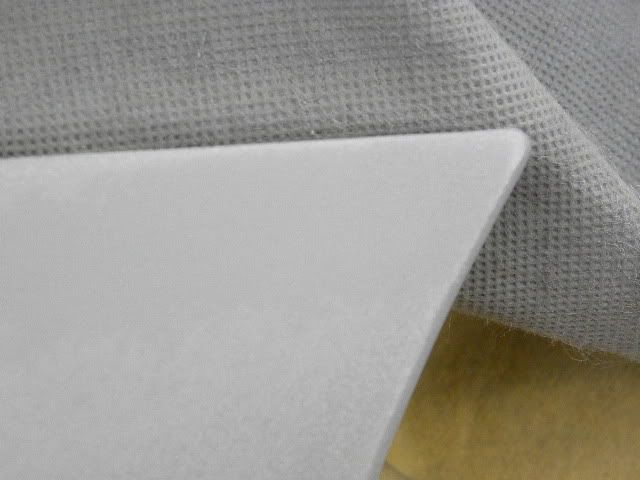
end results
well that's how i do it . seems fine to me so maybe it will help some-one down the track.
320 wet and dry and a soft sponge sanding block


the two stone chips in question

hit it first with grease/wax remover. followed on by a light sand with the 320 but 400 would have been fine. then bit of primer as it was down to the metal then a wipe with the putty ( sort of a finger wipe) as i couldn't find the rubber applicator. temp was cold so i let it dry for a couple of hours

i then gave it a quick spray with the gloss black paint as a rubbing back guide coat. seen clearly - the black areas are the low points. the idea is to rub the sandpaper gentle across the work area. don't use your fingers or you'll end up with tram lines through your work. better still spend $5 and buy yourself a sanding sponge, wrap the sand paper around it and run it across the panel. left to right or what-ever turns you on.
don't forget to add a few drop of dish washing detergent to help lubricate your work area ON THE CAR.

this is the end results , stone chips are gone and it's ready to prime. doesn't matter if it's a stone chip or ding - you follow the same pattern just different paper/filler etc.

only 5 degrees today. panel repaired but bare metal showing so you need one of these. after you dry your hair concentrate on warming up the panel. a nice warm panel dries the paint fairly quick. also if you put too much primer on you can apply heat to stop a paint run.

end results

well that's how i do it . seems fine to me so maybe it will help some-one down the track.
-
billybunter
- Racing Driver
- Posts: 1531
- Joined: Thu Nov 11, 2010 4:54 pm
- Vehicle: NB SE
- Location: orange nsw
Re: billybunters - from a bmw z4 to a mx5 se
forgot to mention the completion of the work. after the primer has dried - give it an hour or so then wet sand with 400 or 600 paper. wipe it over again with grease/wax remover to remove any foreign matter / greae etc then hit with the top coat.
always remember when using the grease/wax remover have two clean cloths. one cloth applies the cleaner and the other removes it. if you don't do this and play about with the one cloth any foreign matter will be removed from one area and deposited in another.
so best advise do it properly first time or you'll end up doing it all over again and again.
spray on one light coat of the base coat then wait a minute or two follow on later with even build up the layers of paint once you achieve the desired colour give it a couple of hours to dry. wipe it over again and hit it with the clear coat if applicable.
give it a couple of days - wet sand with 1000 grit and polish with a light cutting compound suitable for clear coat.
that's it
- PaulF
- Racing Driver
- Posts: 1824
- Joined: Fri Jan 28, 2011 5:55 pm
- Vehicle: NA6
- Location: Newcastle, NSW
Re: billybunters - from a bmw z4 to a mx5 se
I can't help but chuckle when I see MX-5 owners using "entry level hot air guns".  Enjoying the posts though; interesting and informative. Looking forward to seeing the end result.
-
billybunter
- Racing Driver
- Posts: 1531
- Joined: Thu Nov 11, 2010 4:54 pm
- Vehicle: NB SE
- Location: orange nsw
Re: billybunters - from a bmw z4 to a mx5 se
hi paul f
glad your enjoying the read. the entry level hot air gun was for the mustang 20 years ago. i upgraded the goods for the bmw's mgf and the SE. so it's a compresser job. not a big compressor but big enough.
tell you what - if i don't do a good job on the SE - you can come and pick it up and take it away free of charge.
now that's how confidient i think my spray job will be.
regards
-
93_Clubman
- Speed Racer
- Posts: 12060
- Joined: Mon Aug 08, 2005 11:35 pm
- Vehicle: Clubman
- Location: Melbourne
Re: billybunters - from a bmw z4 to a mx5 se
Lot of work BB, but a great job. Looks a lot cleaner just with all that rust inhibitor removed. Looking forward to the end result!
-
billybunter
- Racing Driver
- Posts: 1531
- Joined: Thu Nov 11, 2010 4:54 pm
- Vehicle: NB SE
- Location: orange nsw
Re: billybunters - from a bmw z4 to a mx5 se
your right about that. it's taken quite a few hours to remove all that goo. previous owner wasted his cash. it was just sprayed in places for visual effect but not were one expects - door sills etc
glad your happy with the progress. as a rule i don't like painting cars at all ( since my daughters mgf has shown itself around town she has had several of the young 'um wanting me to do a spray job on their cars.
no thanks to that one.
glad your happy with the progress. as a rule i don't like painting cars at all ( since my daughters mgf has shown itself around town she has had several of the young 'um wanting me to do a spray job on their cars.
no thanks to that one.
-
davidau
- Fast Driver
- Posts: 149
- Joined: Wed Aug 11, 2010 12:20 am
- Vehicle: NA6
- Location: Melbourne, VIC
Re: billybunters - from a bmw z4 to a mx5 se
Great work!! Can't wait to see the end result!
Leave your worries in God's hands
-
billybunter
- Racing Driver
- Posts: 1531
- Joined: Thu Nov 11, 2010 4:54 pm
- Vehicle: NB SE
- Location: orange nsw
Re: billybunters - from a bmw z4 to a mx5 se
hi
thanks - good to hear positive feedback
thanks - good to hear positive feedback
- de Bounce
- Racing Driver
- Posts: 1091
- Joined: Thu Feb 12, 2009 5:19 pm
- Vehicle: NC
- Location: Northern Burbs - Melbourne
Re: billybunters - from a bmw z4 to a mx5 se
+1davidau wrote:Great work!! Can't wait to see the end result!
-
billybunter
- Racing Driver
- Posts: 1531
- Joined: Thu Nov 11, 2010 4:54 pm
- Vehicle: NB SE
- Location: orange nsw
Re: billybunters - from a bmw z4 to a mx5 se
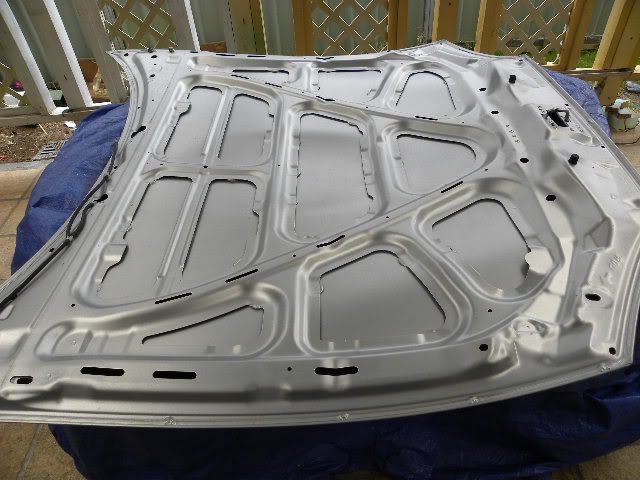
painting the underside of the bonnet
the nb's aluminium bonnet are very expensive and can easily be damaged with carless handling so prior to starting work i positioned it on a sturdy table
wrapped with a thick tarp.
to avooid damage while using the w/d sandpaper only light pressure was applied to the bonnet. always let the sandpaper do the work - muscle power is not required.
the nb's bonnet was also held a couple of inches off the table while the sanding took plasce.
again i point out if your not extremely careful handling this bottet then damage is the outcome.
sample only. here's a good example how not to rub back your work. once again 320 wet/dry.
on the left of the photo you will see the area i rubbed with a sponge block wrapped with the 320.
on the right how an inexperienced person could use the paper without the block. note the tram lines or finger mark streaks in the work.
on new paper that mess only took three or four passes over the work area and i was down to the metal.
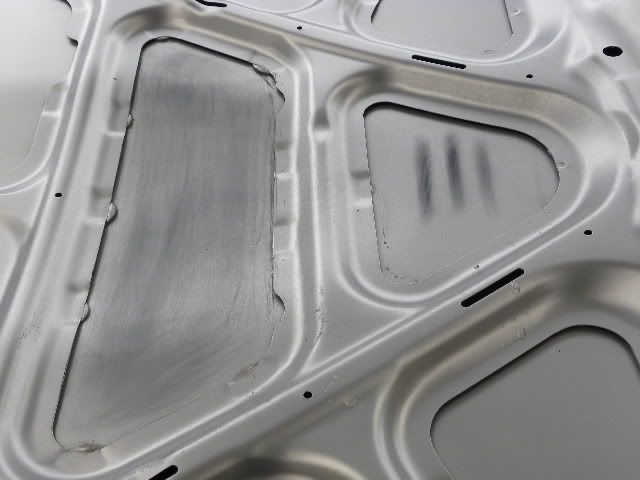
here i'm half way through the job and the muck-up area is still quite visable on the under side of the bonnet
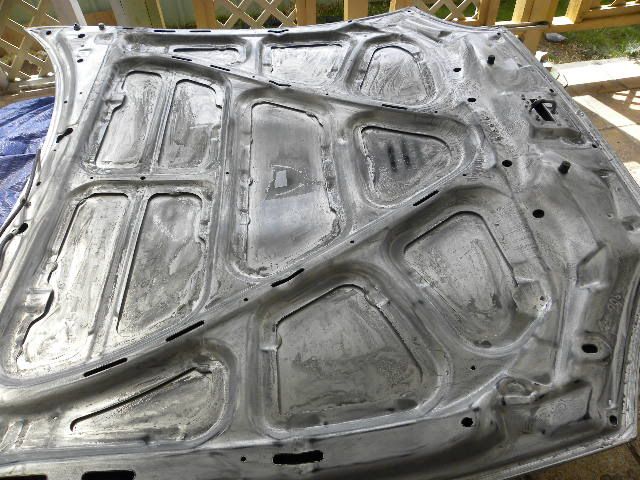
tip. always use good quality sandpaper. i'm about 3/4 of the way through the job. i'm still on the original quarter of paper and it still cutting and hasn't disintergrated like cheaper stuff.
paint under the underside of the bonnet was no where near as thick as paint on the exterior of the car.
only 5 degrees today - too cold for painting and hope to continue on with this when the weather inproves.
the nb's aluminium bonnet are very expensive and can easily be damaged with carless handling so prior to starting work i positioned it on a sturdy table
wrapped with a thick tarp.
to avooid damage while using the w/d sandpaper only light pressure was applied to the bonnet. always let the sandpaper do the work - muscle power is not required.
the nb's bonnet was also held a couple of inches off the table while the sanding took plasce.
again i point out if your not extremely careful handling this bottet then damage is the outcome.

sample only. here's a good example how not to rub back your work. once again 320 wet/dry.
on the left of the photo you will see the area i rubbed with a sponge block wrapped with the 320.
on the right how an inexperienced person could use the paper without the block. note the tram lines or finger mark streaks in the work.
on new paper that mess only took three or four passes over the work area and i was down to the metal.

here i'm half way through the job and the muck-up area is still quite visable on the under side of the bonnet

tip. always use good quality sandpaper. i'm about 3/4 of the way through the job. i'm still on the original quarter of paper and it still cutting and hasn't disintergrated like cheaper stuff.
paint under the underside of the bonnet was no where near as thick as paint on the exterior of the car.
only 5 degrees today - too cold for painting and hope to continue on with this when the weather inproves.
Who is online
Users browsing this forum: No registered users and 6 guests


