Slug Dub's NA
Moderators: timk, Stu, zombie, Andrew, The American, Lokiel, -alex, miata, StanTheMan, greenMachine, ManiacLachy, Daffy
- slug_dub
- Racing Driver
- Posts: 1228
- Joined: Fri Jun 19, 2009 11:02 pm
- Vehicle: NA8
- Location: Brisbane
- Contact:
Re: Slug Dub's NA
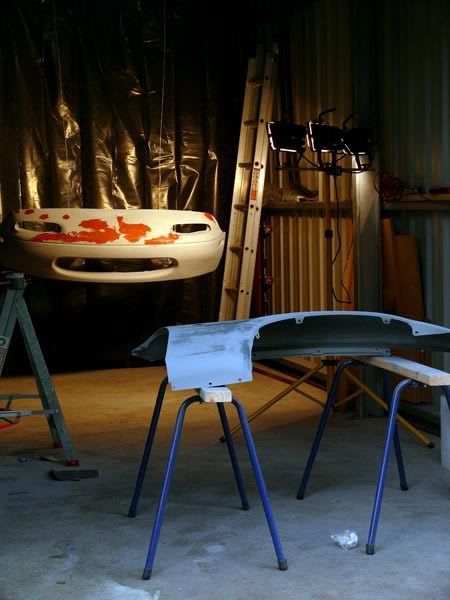
Painting stuff part 2...
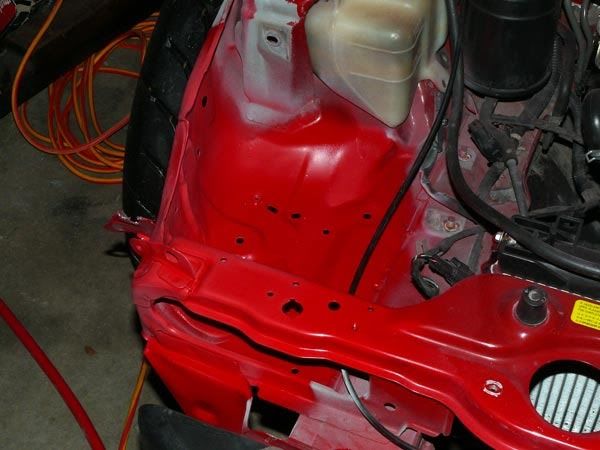
Gave the inside area some red... still a bit of undercoat showing from the masks but we were trying not to cover all the components in red!
Also we had thrown some filler into the blemishes on the nose. Its not a perfect nose and with more time we probably would have put more filler in and sanded and filled and sanded... there are still things visible in the nose but without being close up its not that noticeable, and a fair effort for the time we had available.
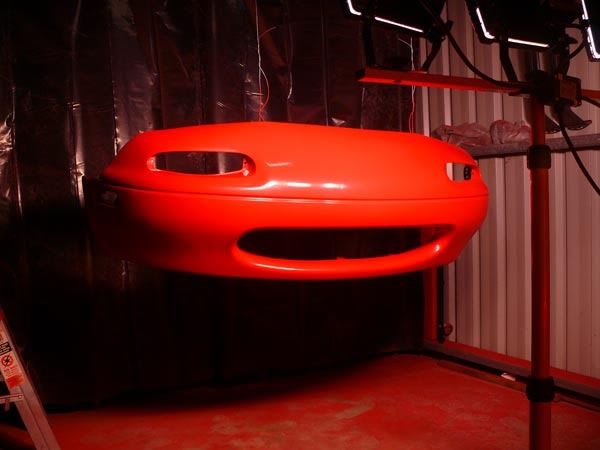
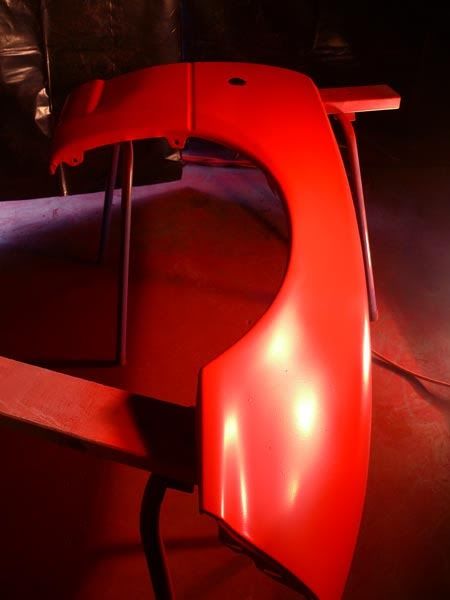
And after undercoating a few times and leaving overnight, finally we put on 4 or 5 layers of red!
Overall with the adverse conditions for painting I think our efforts turned out ok. Its not a perfect job but there's plenty of paint on to buff into and it should come up quite reasonably well compared with the rest of the car.
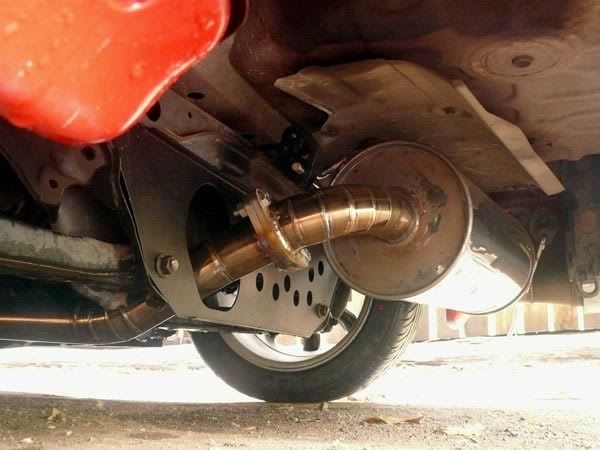
Also had the car at MX5 Plus the other day to get a new stainless midpipe made up. As the mild steel had rusted and cracked I got them to chop the whole lot, and it was possible to keep the muffler and weld on a new piece there as well to join to the midpipe.
Rhys must be on a bit of a lobster weld bender as this is what he produced...
There's a change in the sound but its subtle and I like it, really the same sound but a little more pronounced, and as I could clearly hear the engine over the exhaust before and now I hear both evenly, I think its worked out very well.
The American wrote:hella sic stance flushing pard harker yolo something something.
- slug_dub
- Racing Driver
- Posts: 1228
- Joined: Fri Jun 19, 2009 11:02 pm
- Vehicle: NA8
- Location: Brisbane
- Contact:
Re: Slug Dub's NA
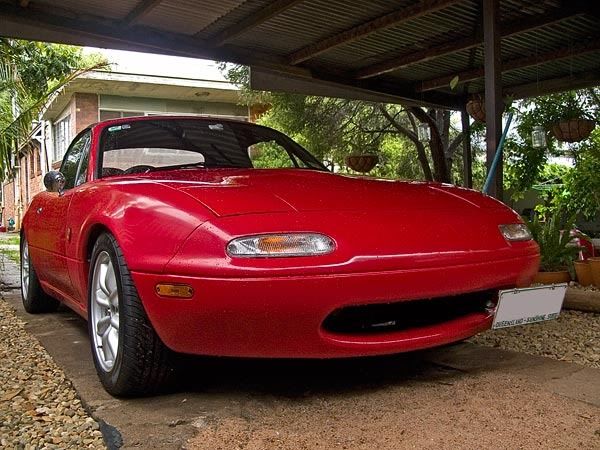
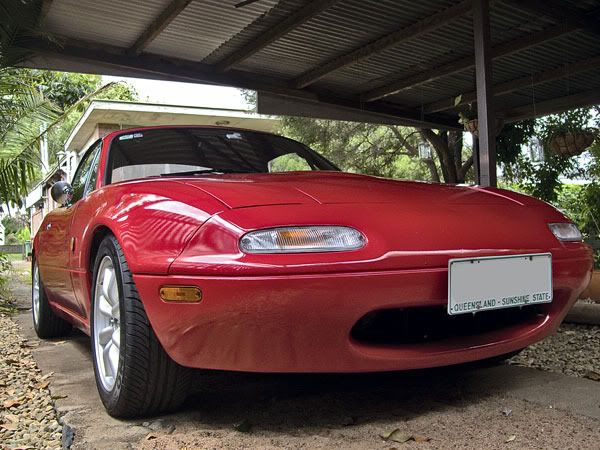
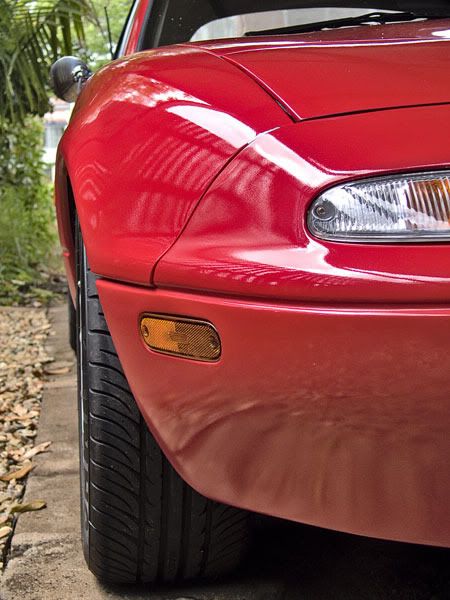
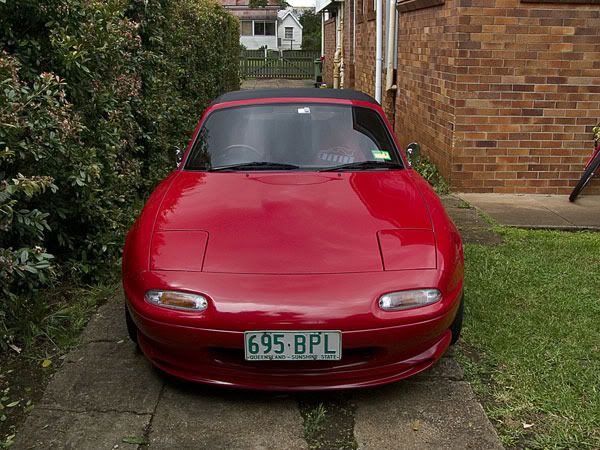
Car today after a clean yesterday before it started raining again Not so embarrassed to take it out now!
This is the weekend my Dad is visiting so hopefully tomorrow and Sunday have better weather to go driving... forecast looks hopeful but you never know.
The American wrote:hella sic stance flushing pard harker yolo something something.
- Okibi
- Speed Racer
- Posts: 10898
- Joined: Thu Aug 21, 2003 11:00 am
- Vehicle: NB SE
- Location: Perth, Western Australia
- Contact:
Re: Slug Dub's NA
Looks the goods, I need to do that to my NA !
If you had access to a car like this, would you take it back right away? Neither would I.
-
- Racing Driver
- Posts: 696
- Joined: Wed Dec 30, 2009 11:59 am
- Vehicle: NA6
- Location: Brisbane, QLD
Re: Slug Dub's NA
exhaust looks awesome. paint looks awesome..
whole car is pretty freakin awesome keep it up dude
NA6 - Longnose engine, JR cai, full custom exhaust, BC coilovers, NA8 front brakes, frog arms, cusco cage, secret element tie rods
- slug_dub
- Racing Driver
- Posts: 1228
- Joined: Fri Jun 19, 2009 11:02 pm
- Vehicle: NA8
- Location: Brisbane
- Contact:
Re: Slug Dub's NA
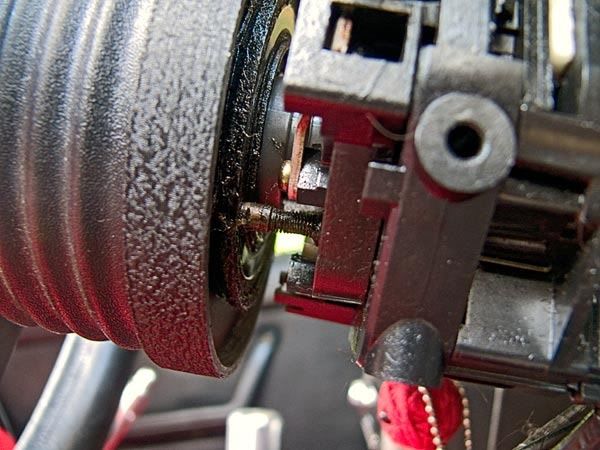
Took the centre column off for a few days as the rubbing was driving me nuts... but still it rubs!
Closer investigation has revealed something other than the cover as the culprit...
The short metal shaft with a spring on it is pushing on the back of the hub. There's a clean spot around the hub where it rubs Definitely only does it when its hot so it must be one of the things here expanding as it heats up.
I don't know what that little sprung thing is...
The American wrote:hella sic stance flushing pard harker yolo something something.
- Okibi
- Speed Racer
- Posts: 10898
- Joined: Thu Aug 21, 2003 11:00 am
- Vehicle: NB SE
- Location: Perth, Western Australia
- Contact:
Re: Slug Dub's NA
It's the power to the horn button.
If you had access to a car like this, would you take it back right away? Neither would I.
- slug_dub
- Racing Driver
- Posts: 1228
- Joined: Fri Jun 19, 2009 11:02 pm
- Vehicle: NA8
- Location: Brisbane
- Contact:
Re: Slug Dub's NA
Ah right... well its not that then.
Fiddled some more... there's a grey plastic piece behind the hub over the steering shaft that moves with the wheel (can be seen in the pic behind that horn electrical contact), and it might be the source of the rubbing though it seems like its rubbing on the inside face and not against the hub. The hub and wheel have a small amount of movement before this plastic piece follows with movement. Will have to remove the wheel and hub to get at it though.
The American wrote:hella sic stance flushing pard harker yolo something something.
- slug_dub
- Racing Driver
- Posts: 1228
- Joined: Fri Jun 19, 2009 11:02 pm
- Vehicle: NA8
- Location: Brisbane
- Contact:
Re: Slug Dub's NA
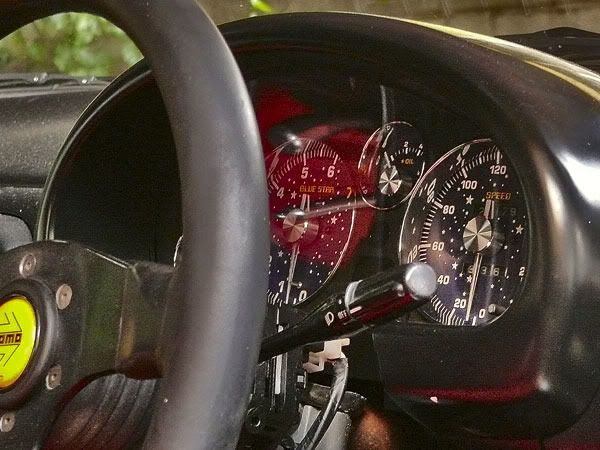
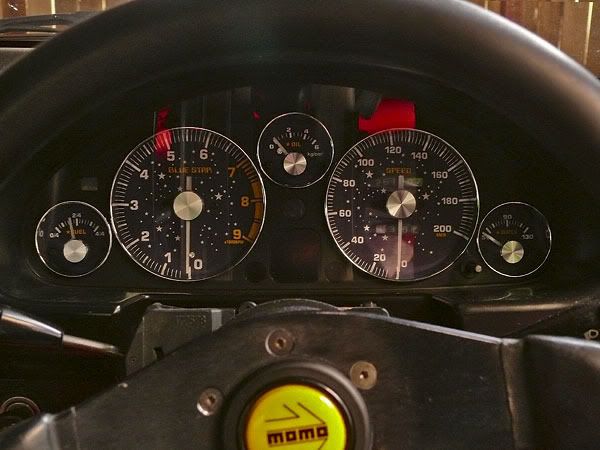
Fun with gauges
I have one of those brushed aluminium faces like the one Hammer bought on the way to add to this, so the gauge rings aren't set in there yet, I'm just seeing how it all looks together so far.
The American wrote:hella sic stance flushing pard harker yolo something something.
- slug_dub
- Racing Driver
- Posts: 1228
- Joined: Fri Jun 19, 2009 11:02 pm
- Vehicle: NA8
- Location: Brisbane
- Contact:
Re: Slug Dub's NA
Haven't received the aluminum gauge face yet but have the gauges in the car.
I like.
Have acquired some Clubman Bilsteins at last that need a bit of TLC but will be good to go. Was looking at the perches and the groove has a rounded inside edge for the stock springs that are round all the way to the bottom, however the King springs I have are tapered to a flat bottom, so they won't sit totally flush on the perch. Anyone who has experience with the Clubman shocks and Kings... should I be looking to change the perch? Are these springs unsuitable?
The American wrote:hella sic stance flushing pard harker yolo something something.
- slug_dub
- Racing Driver
- Posts: 1228
- Joined: Fri Jun 19, 2009 11:02 pm
- Vehicle: NA8
- Location: Brisbane
- Contact:
Re: Slug Dub's NA
Finally got to buff up the painted panels. They came up quite decently, the car now looks like one thing again
Looking closer there's definitely a lot of orange peel effect compared to a standard panel but for our first time out we're really very happy with what we achieved.
At this point I have to give props to my silent MX5 tinkering pal 'The Doctor', as without his time, help, tools and a bit more knowhow on most of the work we've done to the car, most of it wouldn't be done half as timely or as good.
Definitely more shiny compared to the photo a few posts back after the painting.
Yay I can put the lip back on now.
Next couple of weeks will be lots of diving on the postman everyday in the hope he is delivering more toys
The American wrote:hella sic stance flushing pard harker yolo something something.
- slug_dub
- Racing Driver
- Posts: 1228
- Joined: Fri Jun 19, 2009 11:02 pm
- Vehicle: NA8
- Location: Brisbane
- Contact:
Re: Slug Dub's NA
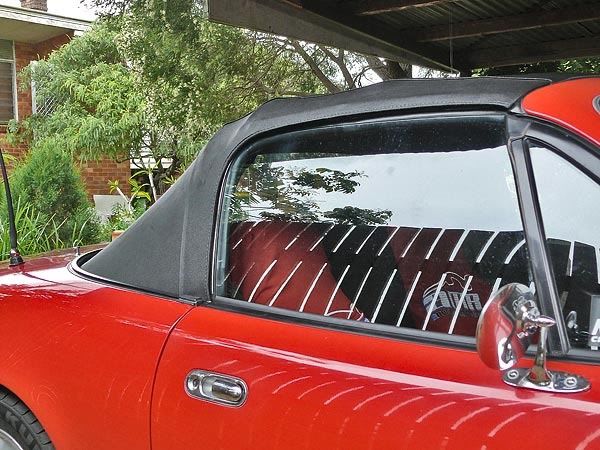
This weekend we finally exchanged the rather trashy softop for the NB softop I nabbed from Blackster last year
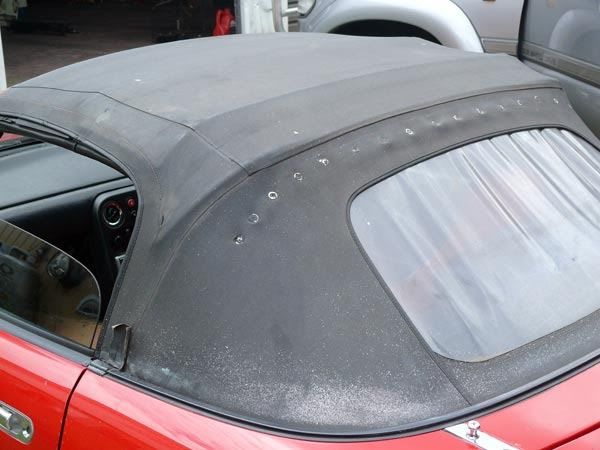
The old top was very trashy... some rather crappy previous fixes, and covered in spattered car polish as well from me not really caring too much about its condition of late
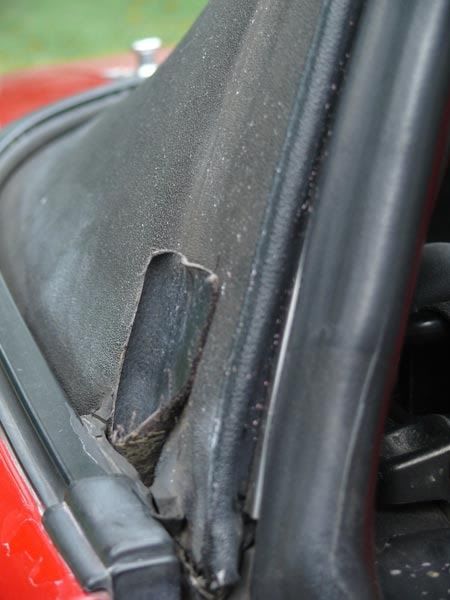
In pulling it off we found even more horrible fixing, there was a lot of glue used and some missing parts like the B-pillar clips, so instead where the top meets the door at the beltline a bunch of silicone had been used to close up the gap.
Grabbed another rain rail from MX5 Plus and combined the two damaged rails into one serviceable one, as well as finding some B-pillar clips.
Ticked off another box on the way to completing the 'Roadster Life' as we did a trip to Repco post top removal and were rewarded on the way home with an utter downpour... luckily we weren't that far from HQ and I was able to dry the car very quickly with the help of an airgun!
As the new top is an NB glass window and the frame is for an NA we had to add straps to the hoops and modify the tension cable springs as described in the Miata.net guides but this was no real problem.
While we had the top off we reco'd and painted some of the metal parts like the rear top set plates, some door trim parts and the front part of the hood where the handle goes.
New top went on much easier than I was expecting and we didn't see the need for any gluing. I was following the guides for torquing up the rain rail bolts but accidently sheared off one of the studs unfortunately, probably user error but they weren't that tight to take off initially and I dispensed with those specs for the remainder and tightened as tight as I could before going overboard. There's a very slight gap between the belt and the top compared to the opposite side so I'll have to pull apart the boot to get at those studs and replace it or use a bolt, but I don't forsee a water problem in the meantime.
New top pics...
Raising the top is no more difficult than before but putting it down needs a bit more care so it all lays down properly due to the different frame and the hoops not being attached now, but no dramas there. There's a flap on the inside of the top that vercroes just forward of the front hoop and we're not sure how that's supposed to sit.
The benefits of this change are so great I'm kicking myself for not having done it sooner... I can see out the back, noise inside is considerably reduced with no more holes allowing wind to whistle through, inside and outside look far neater than before, and it was far less hassle than I was expecting to get this job done.
In other news new shock bushes have arrived from Autolink in the U.K, and I have a steering wheel on the way I'm looking forward to.
The old top was very trashy... some rather crappy previous fixes, and covered in spattered car polish as well from me not really caring too much about its condition of late
In pulling it off we found even more horrible fixing, there was a lot of glue used and some missing parts like the B-pillar clips, so instead where the top meets the door at the beltline a bunch of silicone had been used to close up the gap.
Grabbed another rain rail from MX5 Plus and combined the two damaged rails into one serviceable one, as well as finding some B-pillar clips.
Ticked off another box on the way to completing the 'Roadster Life' as we did a trip to Repco post top removal and were rewarded on the way home with an utter downpour... luckily we weren't that far from HQ and I was able to dry the car very quickly with the help of an airgun!
As the new top is an NB glass window and the frame is for an NA we had to add straps to the hoops and modify the tension cable springs as described in the Miata.net guides but this was no real problem.
While we had the top off we reco'd and painted some of the metal parts like the rear top set plates, some door trim parts and the front part of the hood where the handle goes.
New top went on much easier than I was expecting and we didn't see the need for any gluing. I was following the guides for torquing up the rain rail bolts but accidently sheared off one of the studs unfortunately, probably user error but they weren't that tight to take off initially and I dispensed with those specs for the remainder and tightened as tight as I could before going overboard. There's a very slight gap between the belt and the top compared to the opposite side so I'll have to pull apart the boot to get at those studs and replace it or use a bolt, but I don't forsee a water problem in the meantime.
New top pics...
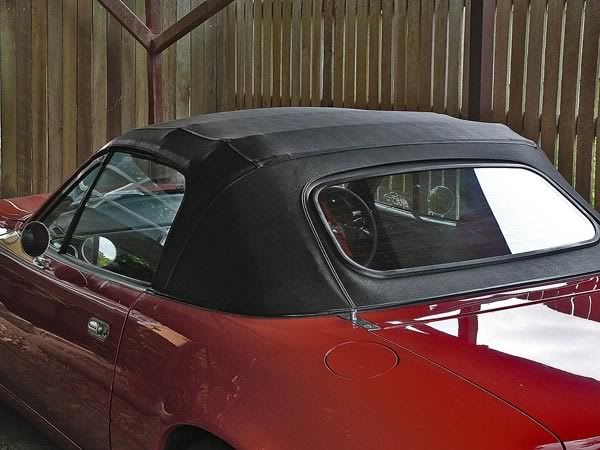
Raising the top is no more difficult than before but putting it down needs a bit more care so it all lays down properly due to the different frame and the hoops not being attached now, but no dramas there. There's a flap on the inside of the top that vercroes just forward of the front hoop and we're not sure how that's supposed to sit.
The benefits of this change are so great I'm kicking myself for not having done it sooner... I can see out the back, noise inside is considerably reduced with no more holes allowing wind to whistle through, inside and outside look far neater than before, and it was far less hassle than I was expecting to get this job done.
In other news new shock bushes have arrived from Autolink in the U.K, and I have a steering wheel on the way I'm looking forward to.
The American wrote:hella sic stance flushing pard harker yolo something something.
- slug_dub
- Racing Driver
- Posts: 1228
- Joined: Fri Jun 19, 2009 11:02 pm
- Vehicle: NA8
- Location: Brisbane
- Contact:
Re: Slug Dub's NA
TOYS!
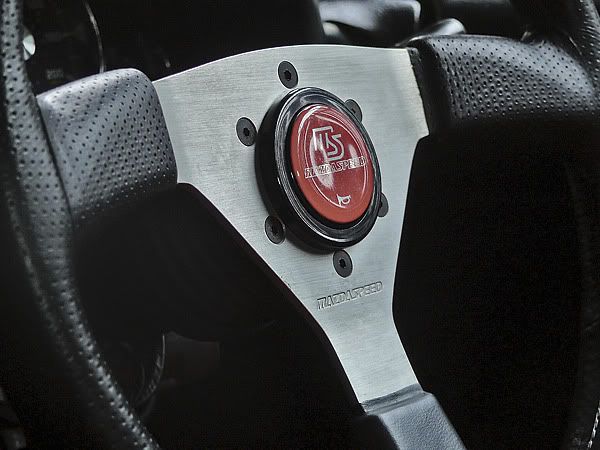
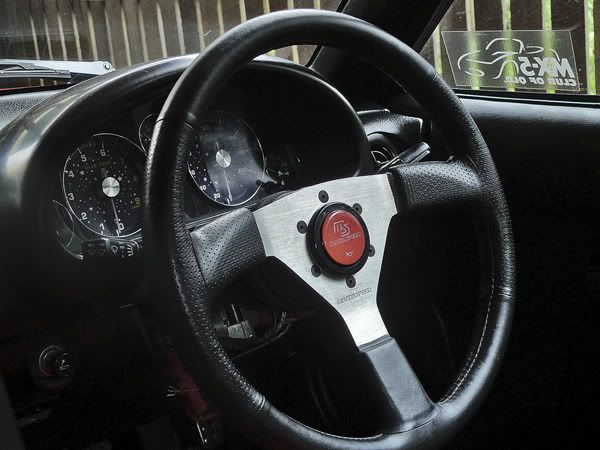
Earlier this week, courtesy of Rupewrecht, a Mazdaspeed steering wheel and red horn button arrived in the mail.
I like it already.
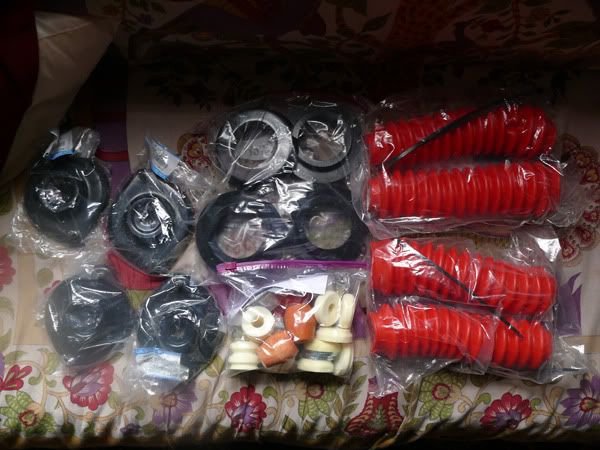
Today, Fatcat Motorsport parts arrived.
Now except for having some spring compressors I am good to go to change over the suspension... very excited by this prospect, and glad that they have arrived in time to get this changed before Christmas, as I'll be driving to Melbourne and back.
The American wrote:hella sic stance flushing pard harker yolo something something.
- wilch
- Fast Driver
- Posts: 108
- Joined: Wed Aug 02, 2006 9:44 am
- Vehicle: NA6 - Supercharged
- Location: USA
- Contact:
- slug_dub
- Racing Driver
- Posts: 1228
- Joined: Fri Jun 19, 2009 11:02 pm
- Vehicle: NA8
- Location: Brisbane
- Contact:
Re: Slug Dub's NA
Lots done yesterday!
Changed out the suspension for Clubman Billies, King Springs and Fatcat Motorsport parts. From FCM I used the NB top hats, spacers, and 36mm front/46mm rear bumpstops. Construction of all the components was straightforward, only tricky in parts with torquing down, and FCM have good instructions... didn't get to take any photos of this work in progress.
Post install thoughts: It is much better than before! Its still a stiff ride with the Kings but the springs and billies are working much better together and the rebound/compression actually works! The car is far less unsettled when it hits those bumps, and recovers much faster without excessive bouncing. I'm very happy with that aspect.
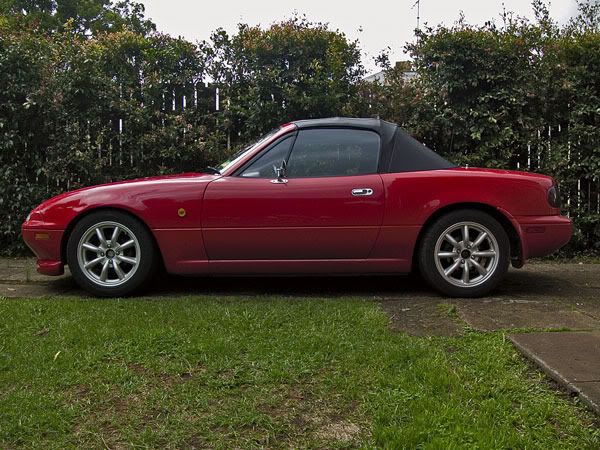
The rideheight has changed in an unexpected way however... the front is lower than before and the rears higher than before, by a small amount. It has meant that at full lock there is some tyre rubbing guard now, where there has not been before.
A photo of how it now sits:
I detect a very slight rake.
So I need a very small amount of height added to the front but I'm not sure what I might do to get that now. I'm really glad I got those FCM spacers to use otherwise it would be waaaay too low.
Also sorted timing to 14, and an oil/filter change, for the roadtrip to Melbourne.
Put back on the Rod Millen lip. I really like this lip but fitting it is a bit of a PITA... since it doesn't use any existing mounting holes and you have to drill through the front of the bumper. I don't think I've fit it quite as neatly as the last time so I have to adjust one side slightly.
Also we pulled apart the indicator mechanism on the steering shaft trying to fix the rubbing and squeaking coming from steering, and only succeeded in making it worse Back to the drawing board on that one!
The American wrote:hella sic stance flushing pard harker yolo something something.
-
- Fast Driver
- Posts: 430
- Joined: Wed Aug 16, 2006 8:24 am
- Vehicle: NA6
- Location: Brisbane
Re: Slug Dub's NA
Hey congrats on getting the Billies going. How much to rebuild were they?
Rob
Rob
Make something idiot-proof, and somebody will make a better idiot.
2007 Limited Edition (back in the saddle again)
Who is online
Users browsing this forum: No registered users and 107 guests