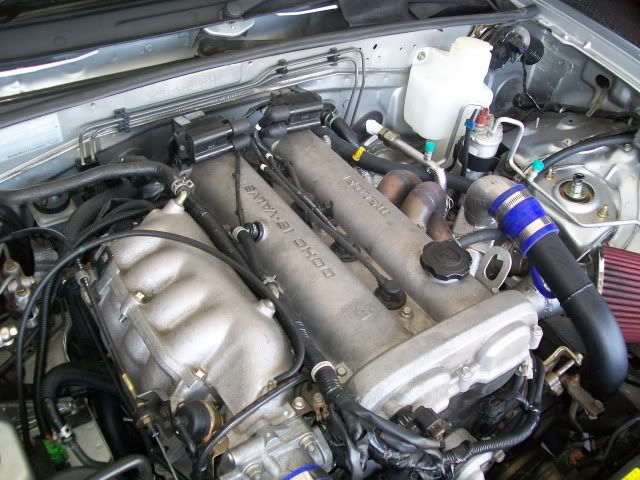
You can buy kits from flyin miata etc but i cant afford them so DIY is how i do most things if i can.
Apart from the wire and solder which i already had the hose and clamps cost me $52 which includes 1.5 meters of heater hose (19mm ? seemed a little lose but still worked....16mm was to small).
The purpose of the re-rout is to get rid of the hot pocket caused in the bp engines when mazda altered the outlet location to the wrong end of the motor. (well this is what i've read )
Anyway if your looking at doing this then you probably already know why your doing it.
First i sized up my engine bay for the amount of hoses and what bends they needed to heve and cruised on down to my local super cheap store.
I found these two little bad boys that will do the trick. Aussie made hoses
Mackay automotive products. part number CH1530, this one will come off the back once i move the thermostat and snout to the back.
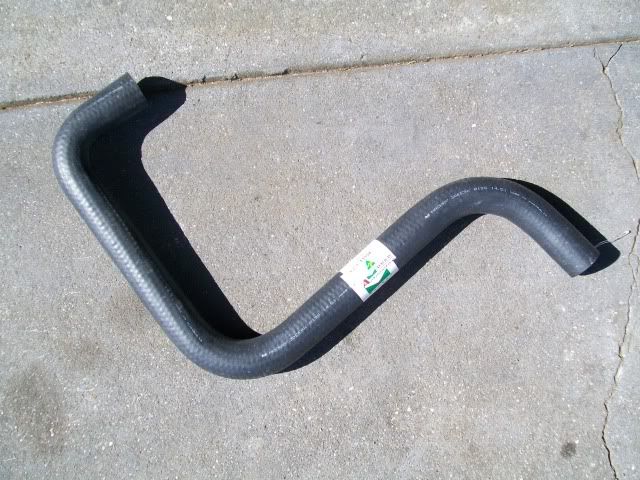
and this on is part number CH1805
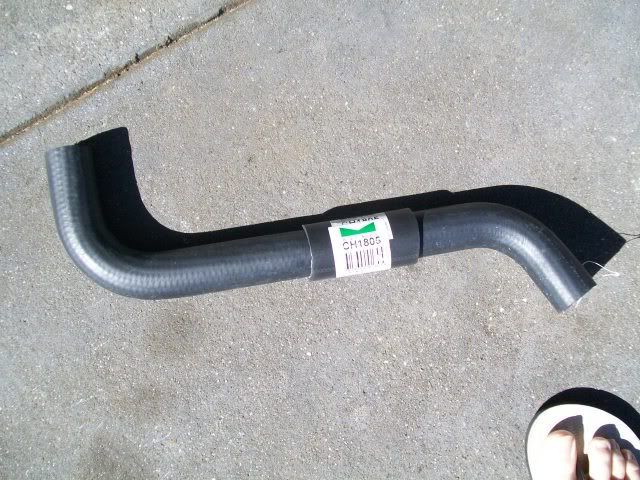
The above one goes at the front off the radiator
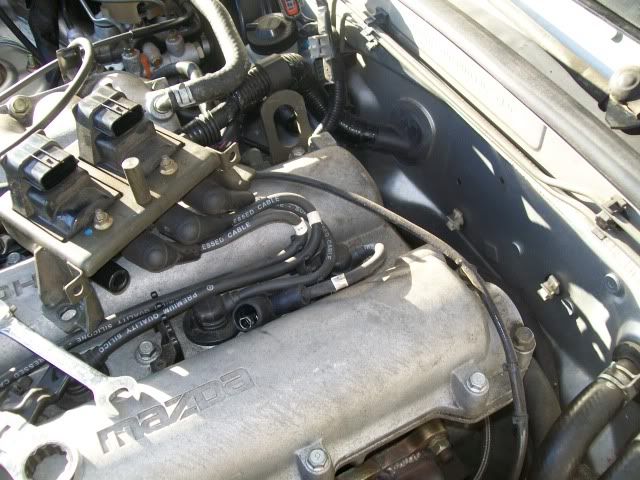
Remove the coil packs from the back of the head to gain access to the rear of the motor.
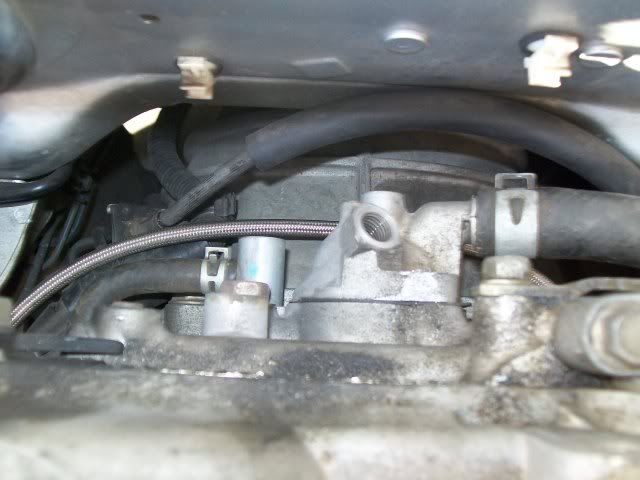
I have removed the temp sensor to give better access to the bolt and nut that hold the fitting in place.
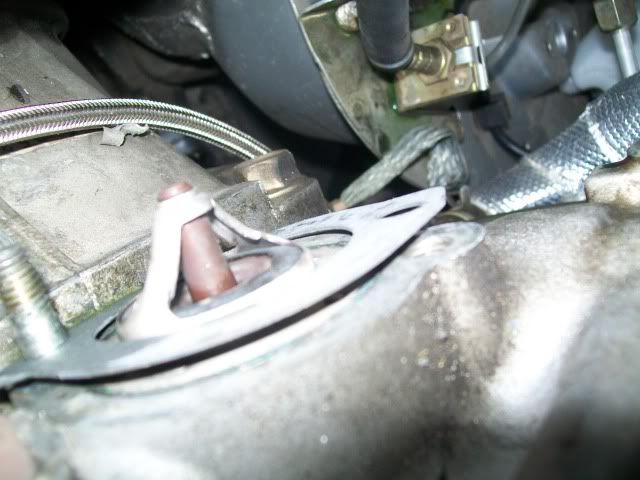
Remove the gasket (with a razor blade or scraper of some sort) from both ends of the motor once the snout and rear fitting are off.
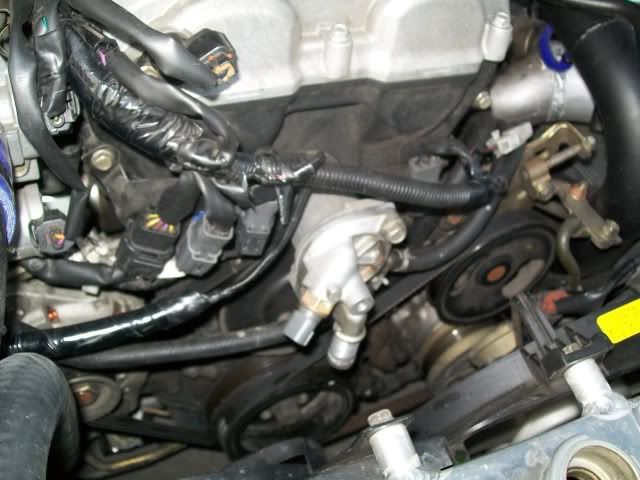
You will find there is a recess for the thermostat to sit in at the rear just like at the front. Note the small breather hole must go to the top as you put it in. The gasket can only go one way ! trial fit to work it out (the hole is offset to the bolt holes)
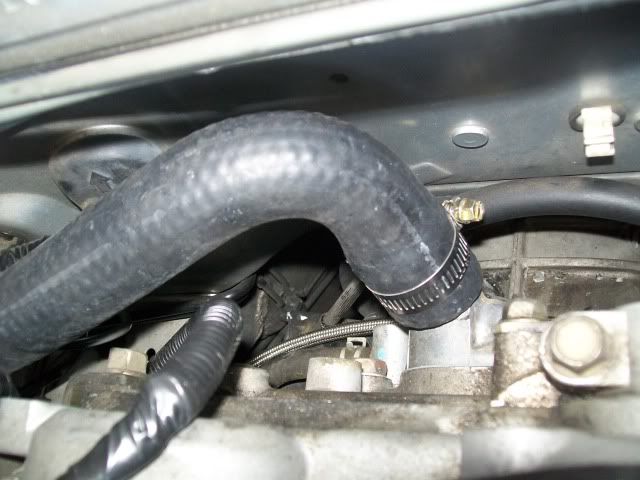
Once the snout is transferred to the rear and bolted up, you can fit the hose on (note neither hose needs cutting, they are just the right length)
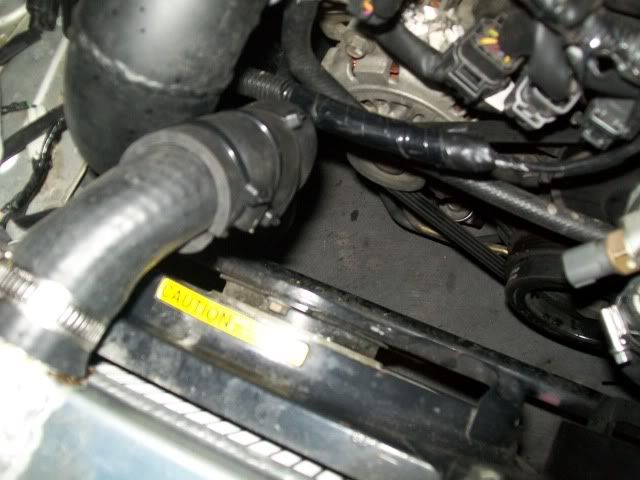
I built the hose from the back to the front. i.e. put on rear hose then put on joiner tube (30mm offcut of alloy pipe)(get is from "action aluminum" or some where like that) Then join the front hose onto that, then feed it through up onto the radiator..... I did it like this to make shoving the joiner in easier.
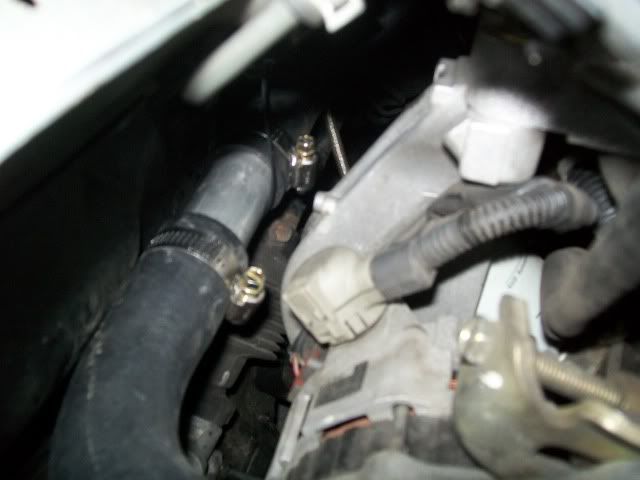
This is the shot of the alloy joiner pipe.
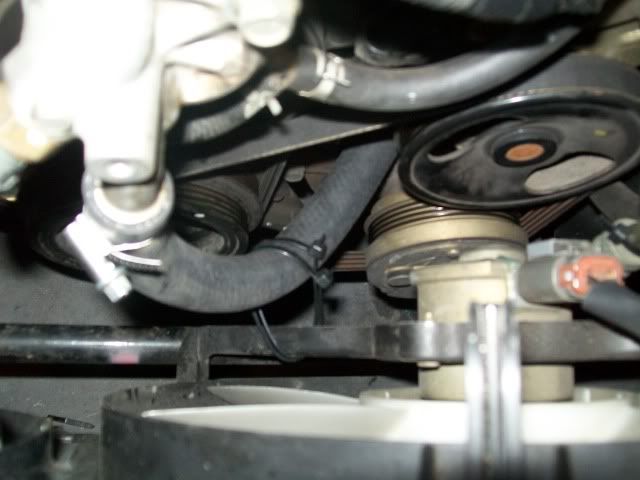
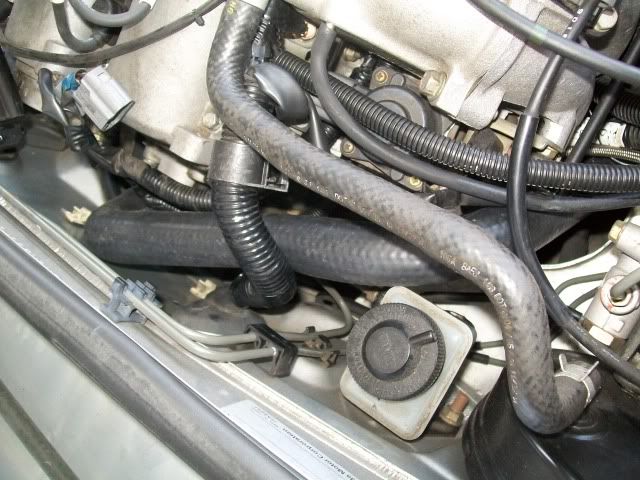
This shows where i ran the new heater hose, its a tight fit but it looks neater.
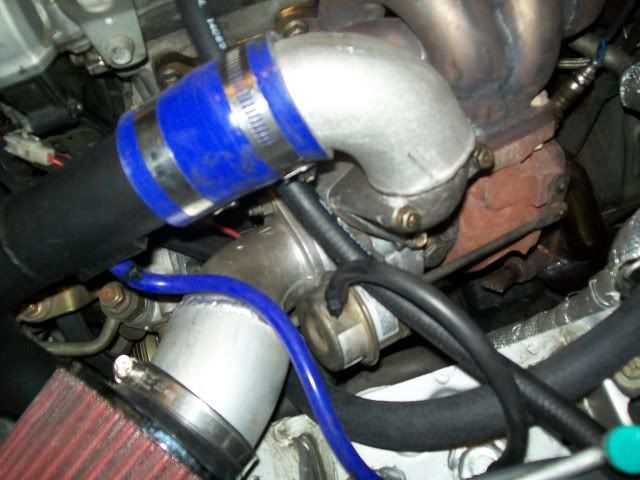
The rear rad hose CH1530
The wires need to be extended so the oem temp sensor can now reach the front of the motor.
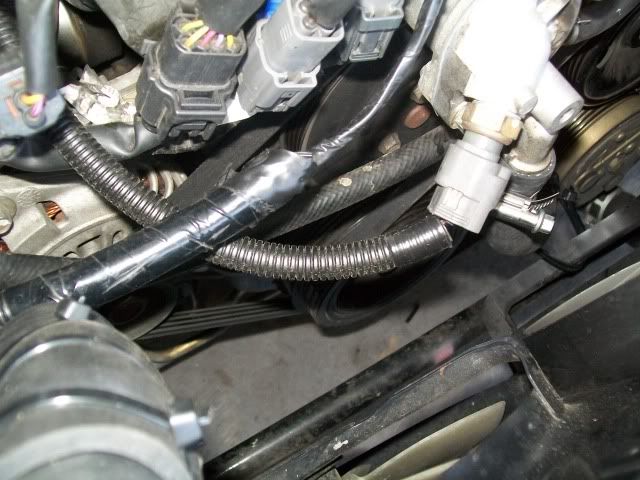
I used coloured wires to make it easy on myself. I soldered them up and stuck em through some conduit. I ran em down through with the injector loom,
using a length of metal wire to pull it through......no picture sorry.
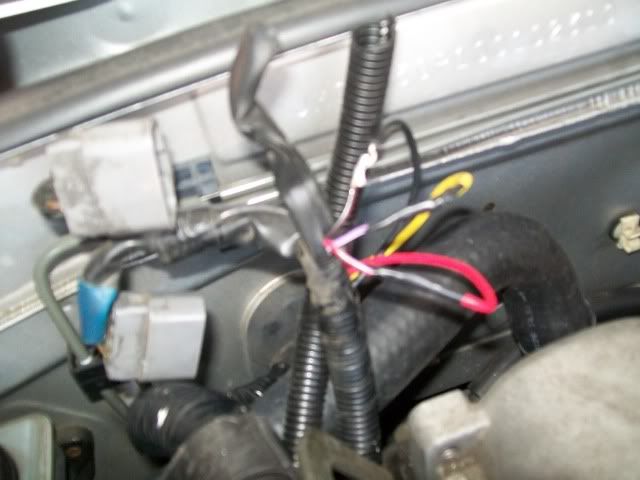
wiring finished at the rear should look like this.....
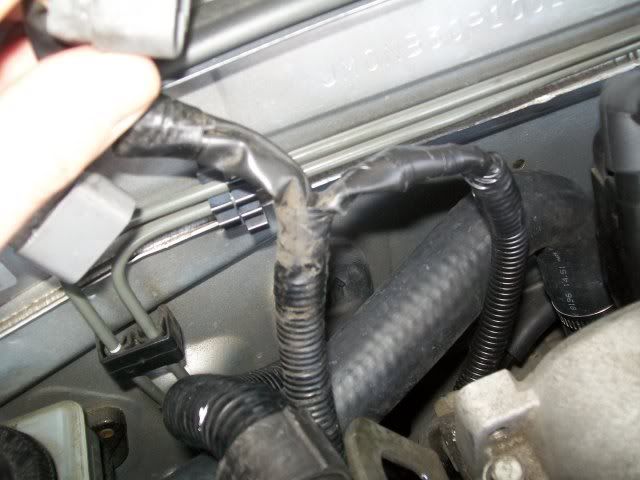
write the lead numbers on the coil packs as we are going to separate them for ease of mounting .
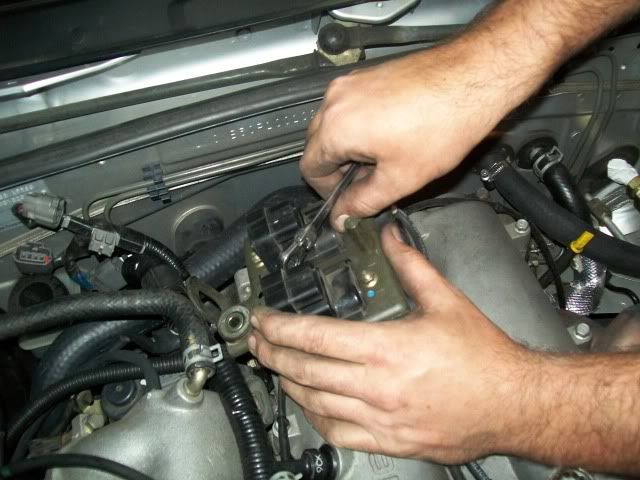
You will need 2 bits of metal 70Lx20Wx3mm thick, to make the brackets out of to hold the coil packs (no thinner than 3mm or you will have coil packs flying around your engine bay).
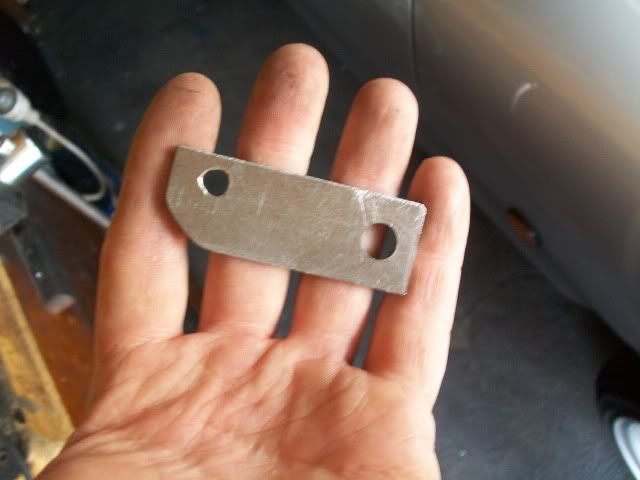
Two holes and a rounded of corner for aesthetics. The big hole is 10mm to give you a little adjustment, place it middle middle at the bottom.
The small hole is marked once you test fit the bracket and hold the coil where it should sit. (the hole is about 4mm from the edge and 12 from the top...note that mine dont sit flat though so if you are more anal about stuff then you might actually like to measure yours up exactly
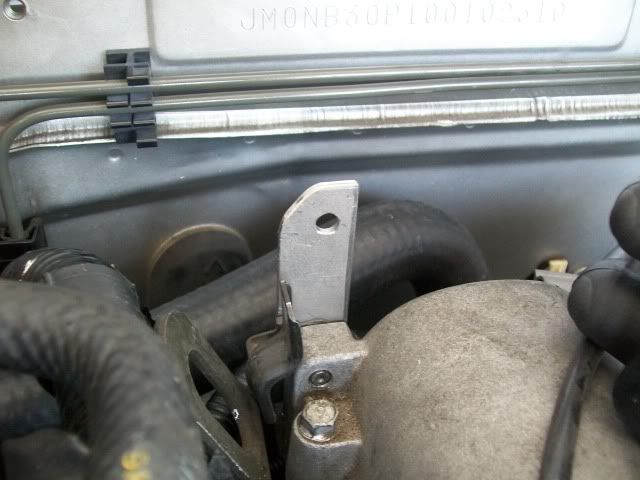
Paint em black and fit em up.....just finger tight at first to allow you to get em in the right spot etc.
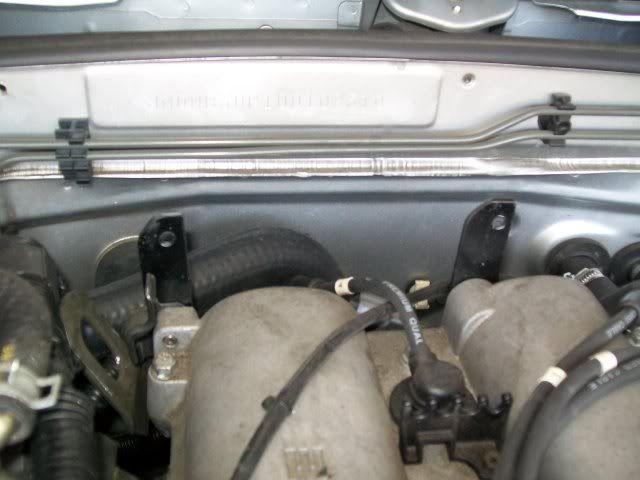
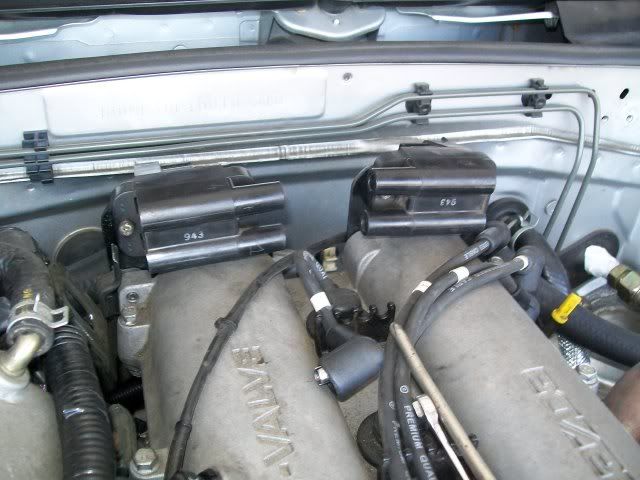
Mount the coil packs to the brackets and plug in your leads.
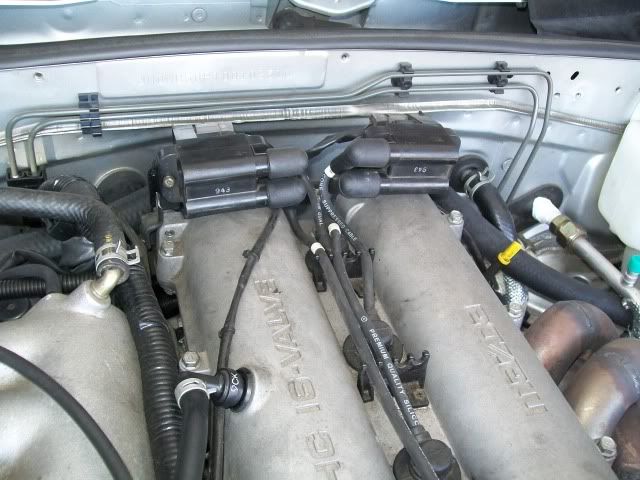
Coil packs mounted solidly and now add coolant and start her up and check for leaks....... all good away we go.
