Wazman's NB8a

Chat to do with your MX5/Miata/Eunos Garage Ride(s).

Moderators: timk, Stu, zombie, Andrew, The American, Lokiel, -alex, miata, StanTheMan, greenMachine, ManiacLachy, Daffy

User avatar
RobH
Fast Driver
Posts: 278
Joined: Fri Nov 02, 2007 8:18 am
Vehicle: NB SP
Location: Melbourne

Wazman's NB8a

Postby RobH » Tue Aug 11, 2009 10:59 am

Hi Wazman,

Below is a link to a thread that discusses suitable injectors for MX5's:

http://mx5cartalk.com/forum/viewtopic.php?f=29&t=37459&p=486772&hilit=SP+Injectors#p486772

Rob
Silver SP - KAAZ LSD, Enkei Rims, PSS9's and Project Mu Caliper upgrade kit.

User avatar
wazman
Fast Driver
Posts: 394
Joined: Sun Feb 15, 2009 11:39 pm

Wazman's NB8a

Postby wazman » Tue Aug 11, 2009 8:05 pm

Thanks Rob, I'll chech it out.

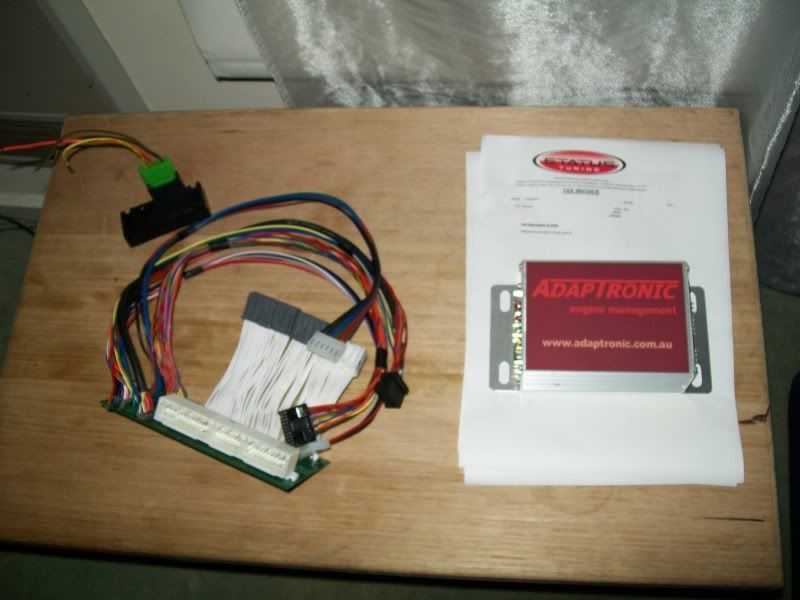
I ordered my ecu on Monday after a short chat to my Tuner ,Trent at "Status Tuning", he has tuned Adaptronic's before and said it was best value for money.
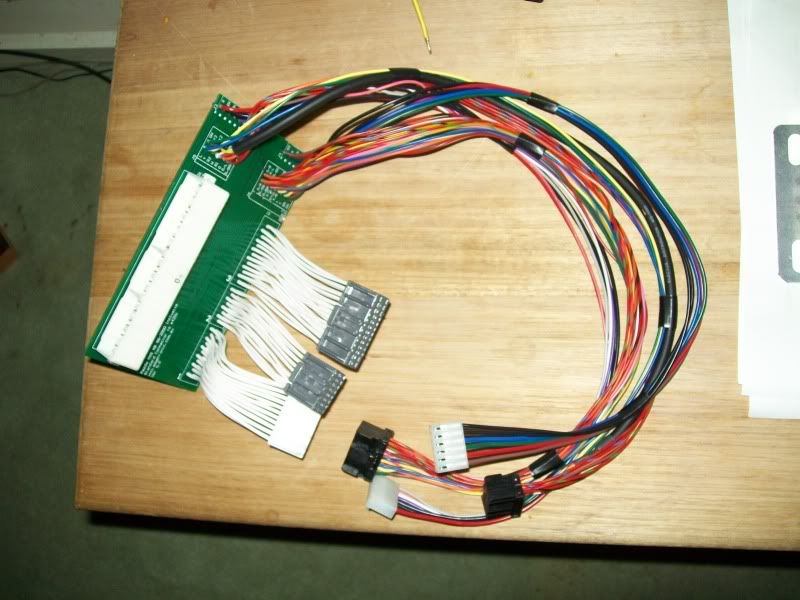
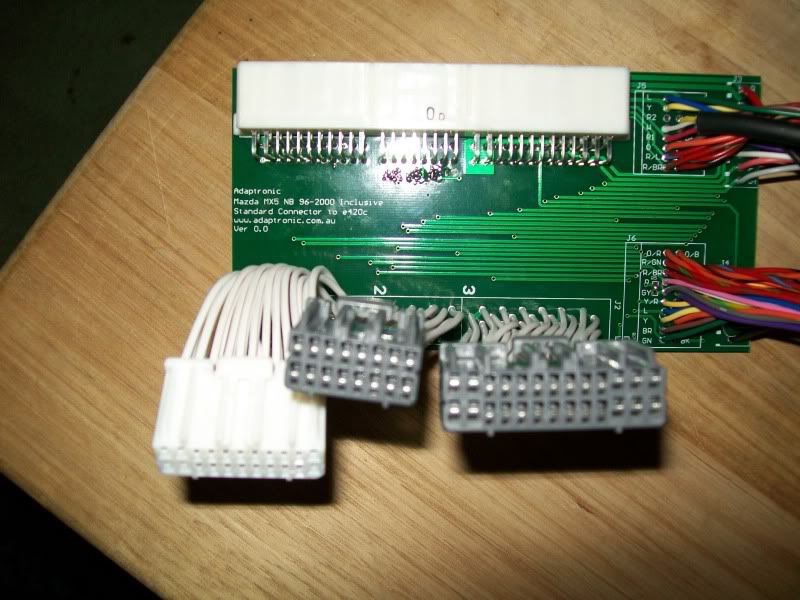
The link was not going to work as they changed there plug from 96 model on or something. Adaptronic sell a plug in setup that allow you to run the standard ecu in the 99 model (i'm assuming for the alternator and fans or some thing).
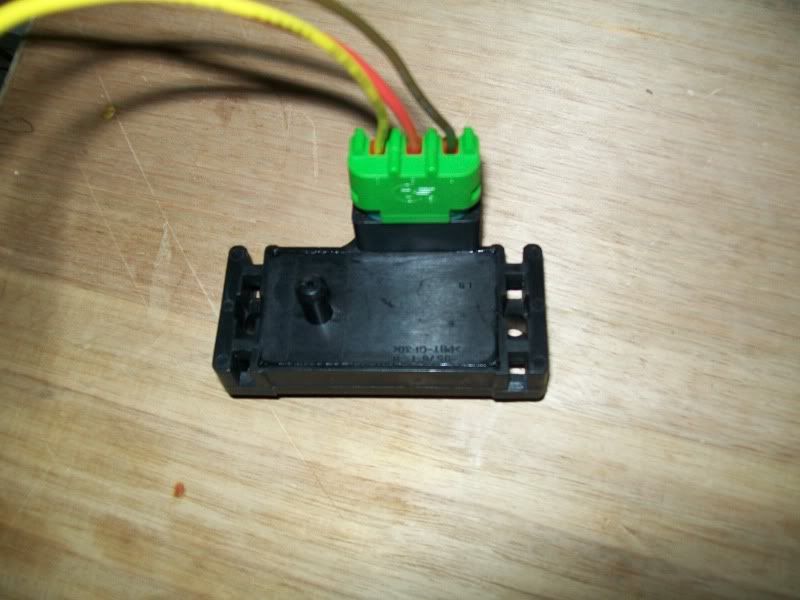
I bought the ecu and the plug and play setup....which came with the map sensor (3 bar !!) for $1155 (I'm a good customer so i got sweet deal, me and my mates take all our cars there)

Image
map sensor....
Image

Image

Image

The only wiring is the map sensor and its 3 wires :roll: Adaptronic sent a pin out diagram of the ecu so it shall be a piece of piss :D
I'm going to put the new ecu in with the standard engine setup and get it tuned, This will make trouble shooting way easier when i throw the hair dryer on :mrgreen:

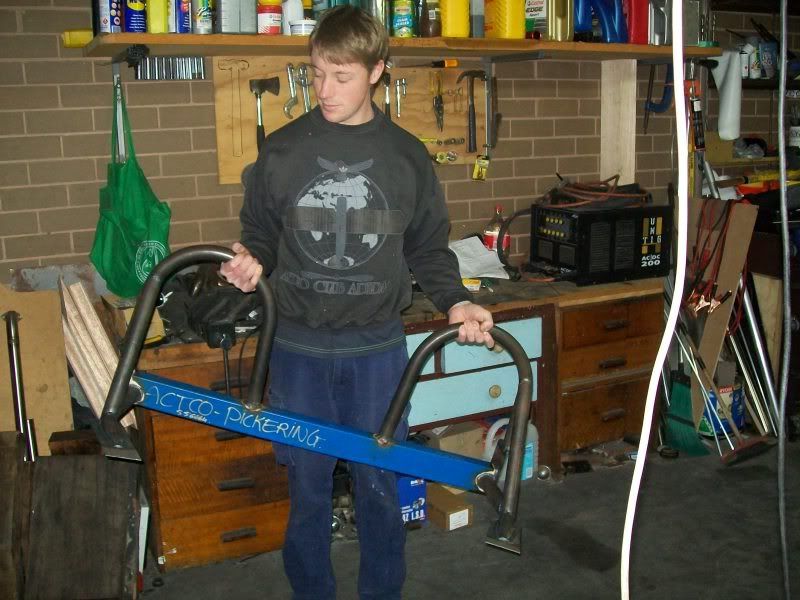
Roll bar is a work in progress still as the weather has been crap and my missus complained that all i ever do is play cars......so i had to do "quality time" on the weekend.Stay tuned for more on the roll bar......colour? candy red?........ i think i was trying to avoid unwanted attention wasn't i :shock:
ilovedrift.com

User avatar
philz
Wheel guru
Posts: 1297
Joined: Wed Jun 04, 2008 4:32 pm
Vehicle: ND - 2 GT
Location: Sydney

Wazman's NB8a

Postby philz » Tue Aug 11, 2009 8:15 pm

Very very cool, I love your write ups.

Will be keeping a close eye on this, very interested in the adaptronic.

RG.net
Racing Driver
Posts: 1692
Joined: Thu Apr 06, 2006 7:48 pm
Vehicle: NA6
Location: Sydney
Contact:

Wazman's NB8a

Postby RG.net » Tue Aug 11, 2009 8:48 pm

Adaptronic are a very good ecu, i was going to use it when i was going to install ITB's.
http://Run-It-Hard.com - We're here to have fun!

User avatar
wazman
Fast Driver
Posts: 394
Joined: Sun Feb 15, 2009 11:39 pm

Wazman's NB8a

Postby wazman » Fri Aug 14, 2009 12:55 am

Lets hope it works nicely and produces the number i want to see.

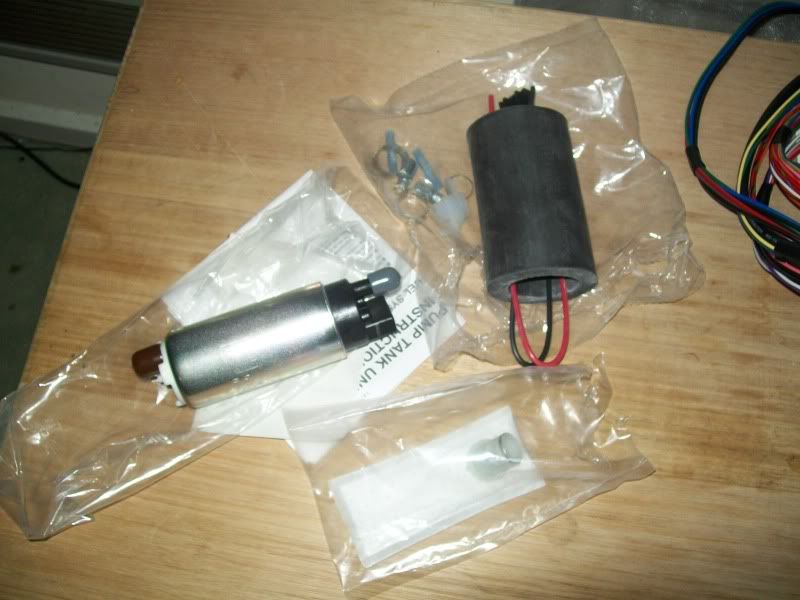
I bought a Walbro 255 fuel pump from "Merridian Motor sport"..... $235..... I saw cheaper on ebay.....but I am scared of fakes where something so crucial is concerned.
Image

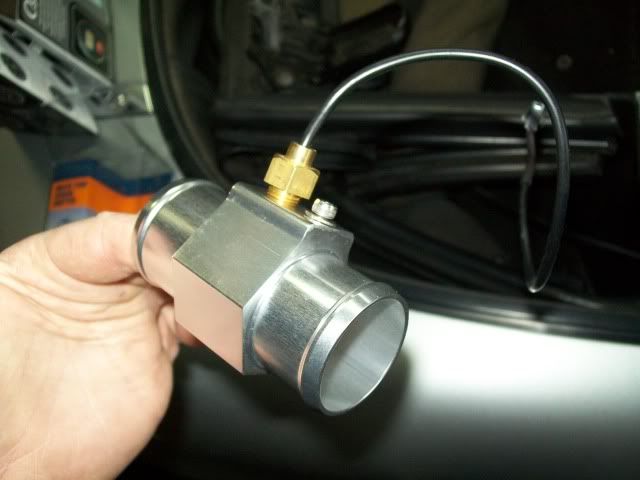
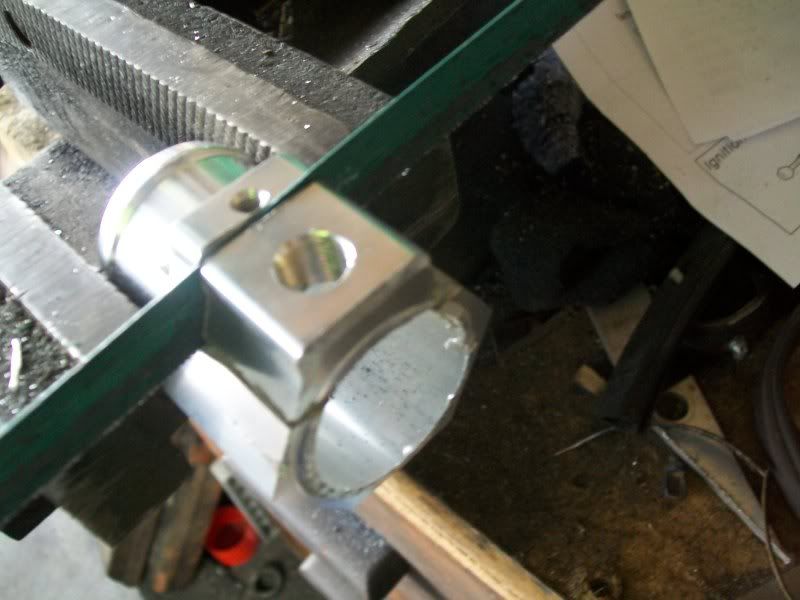
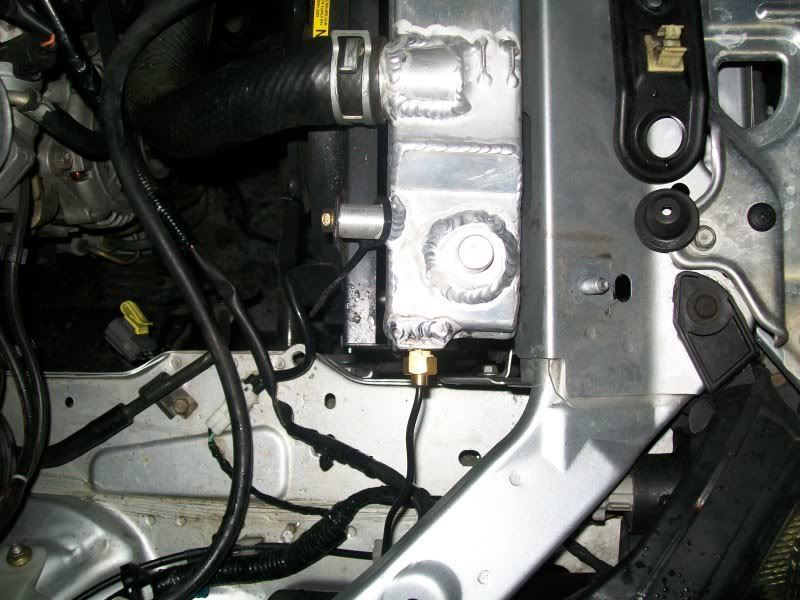
I had a thought last night on where i would put my water temp sensor......Time for some custom shite ! :roll:
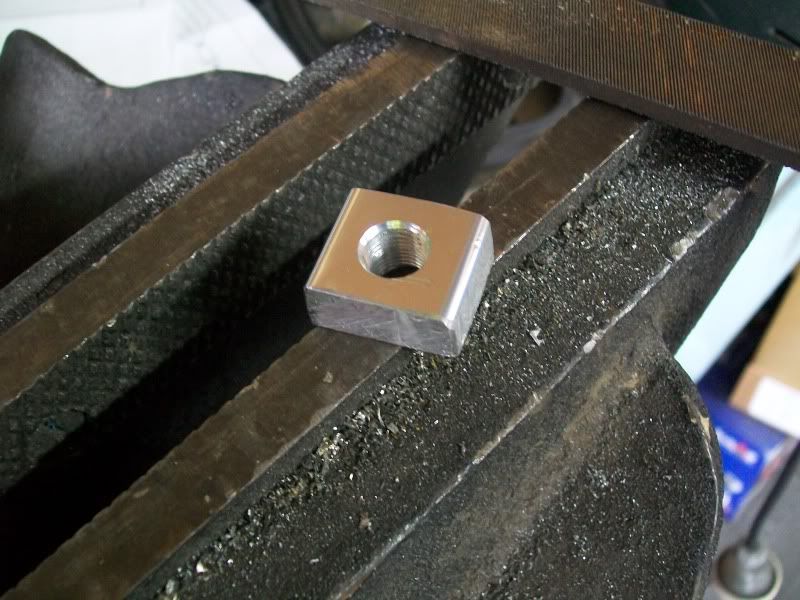
Take one "super cheap" rad hose sensor adaptor thingy and hack it up with a hack saw !
Image

Image
Being sure to leave enough meat so the heat dosn't distort the hole/thread...
Image
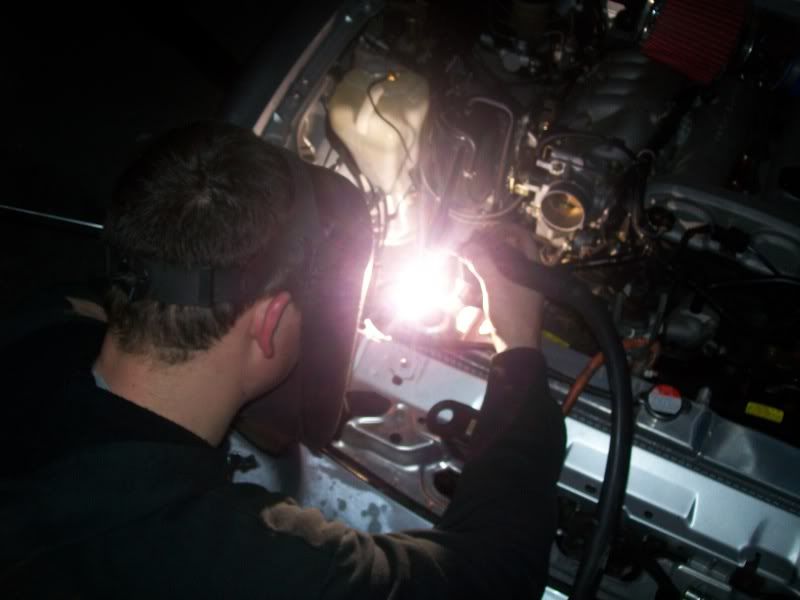
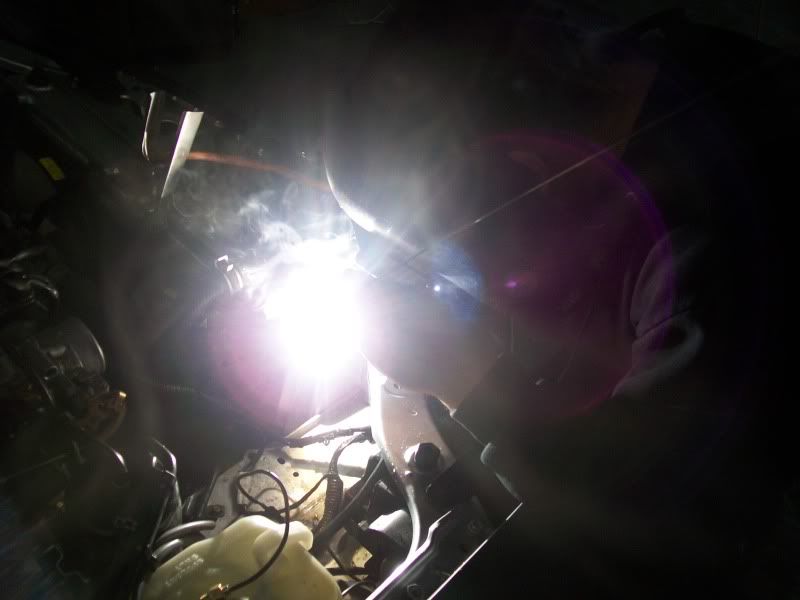
I'm a pretty lazy guy....CBF pulling out my rad to do such a little job..... when i can just force my house mate to work in tight quarters :mrgreen:
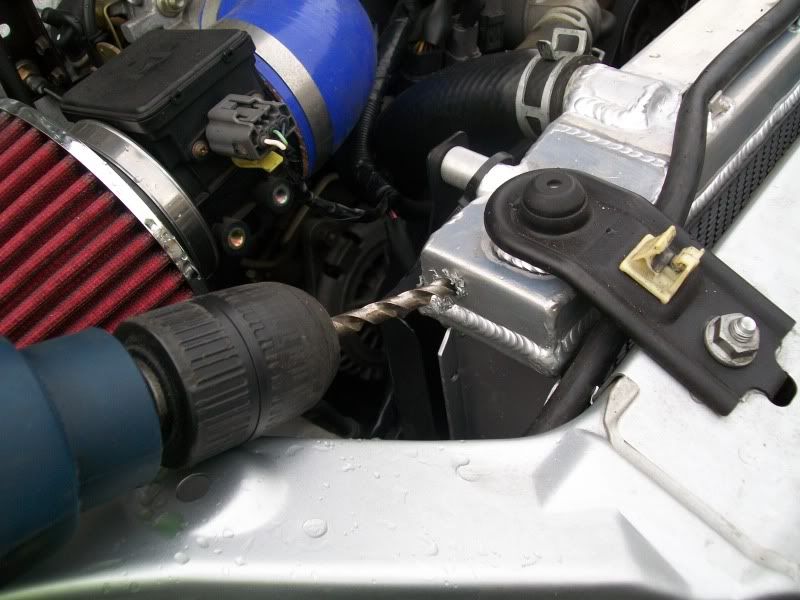
So i just drill straight into the side of the rad where i wanna place my sensor (checking that i wont damage the core first of course).
Image
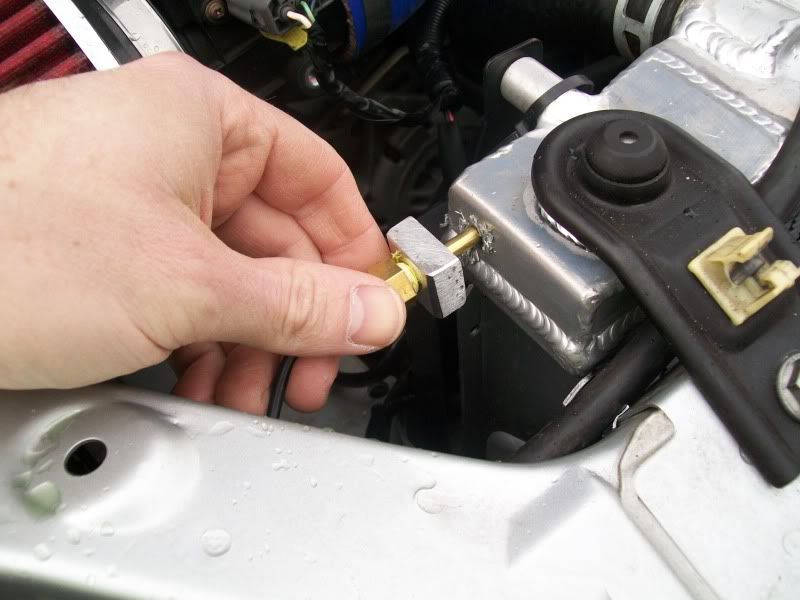
Drilling first with a 4mm bit the an 8mm, the thread on the sensor did not protrude through the hole in the block i cut so the hole only had to be big enough for the tip of the sensor.....
Image
Give my house mate a cookie and tell him to get to it!
Image

Image
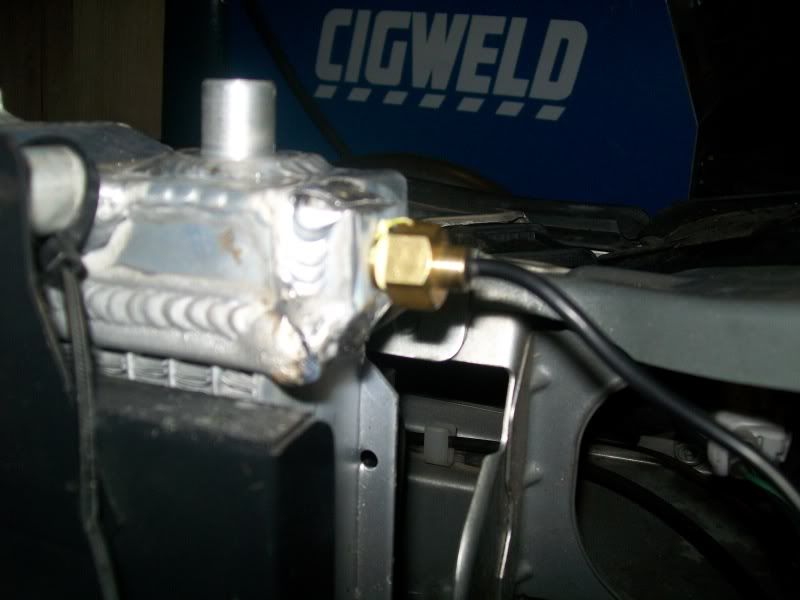
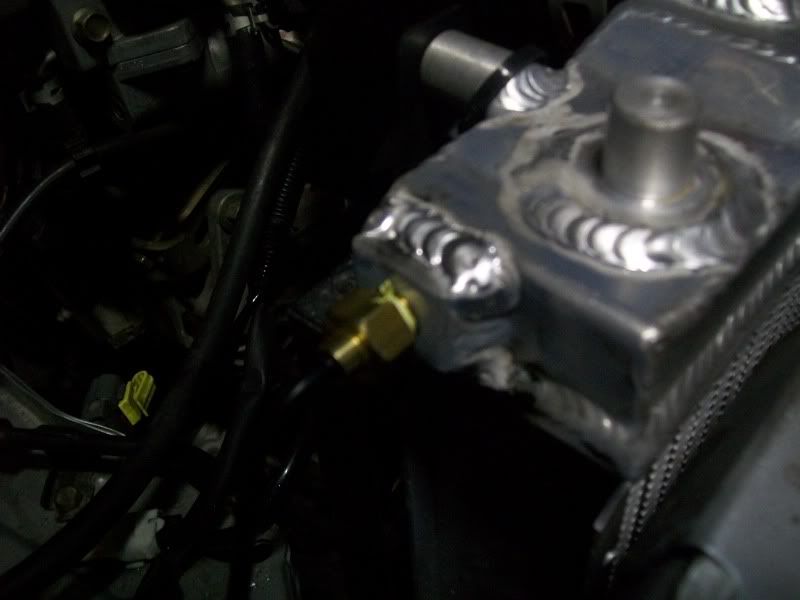
The coolant was leaking out as he was welding.....cooling the weld to much =more abuse in my direction :roll: but it came up ok.
Image

Image
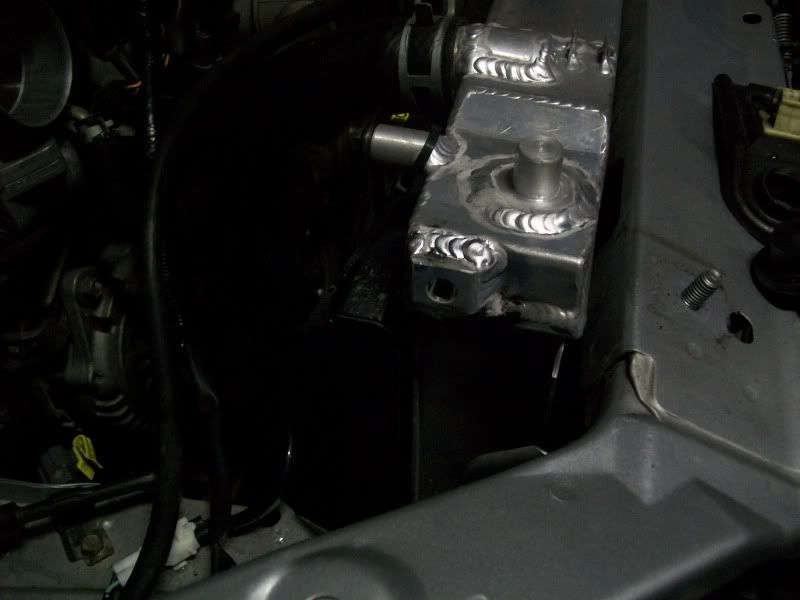
...and in goes the sensor 8) much more attractive the a big ugly silver thing butchered into my rad hose !
Image

Image

Image
ilovedrift.com

User avatar
Okibi
Speed Racer
Posts: 10898
Joined: Thu Aug 21, 2003 11:00 am
Vehicle: NB SE
Location: Perth, Western Australia
Contact:

Wazman's NB8a

Postby Okibi » Fri Aug 14, 2009 1:23 am

Nice work :mrgreen:
If you had access to a car like this, would you take it back right away? Neither would I.

User avatar
wazman
Fast Driver
Posts: 394
Joined: Sun Feb 15, 2009 11:39 pm

Wazman's NB8a

Postby wazman » Fri Aug 14, 2009 1:32 am

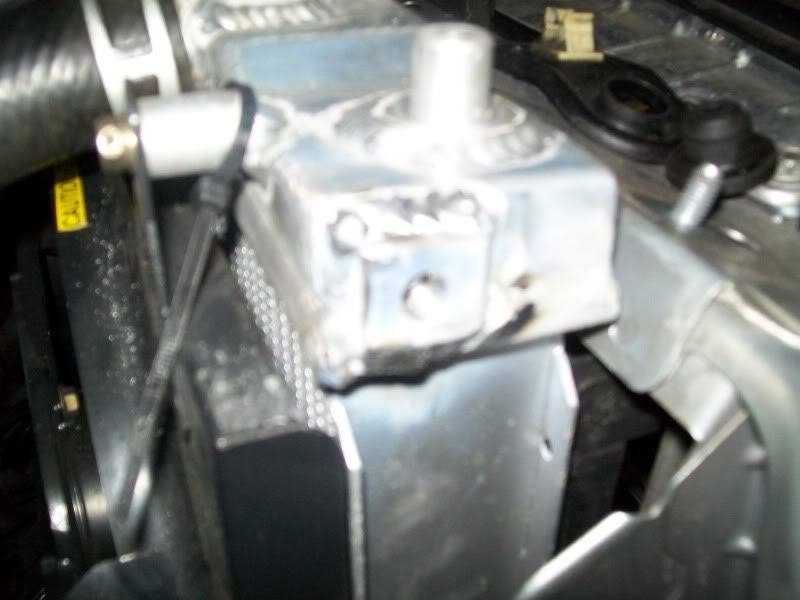
Sorry about the blurry pic's.....its not the best camera and it was dark.

The bottom weld is ugly because of the coolant that was running through it as he welded.

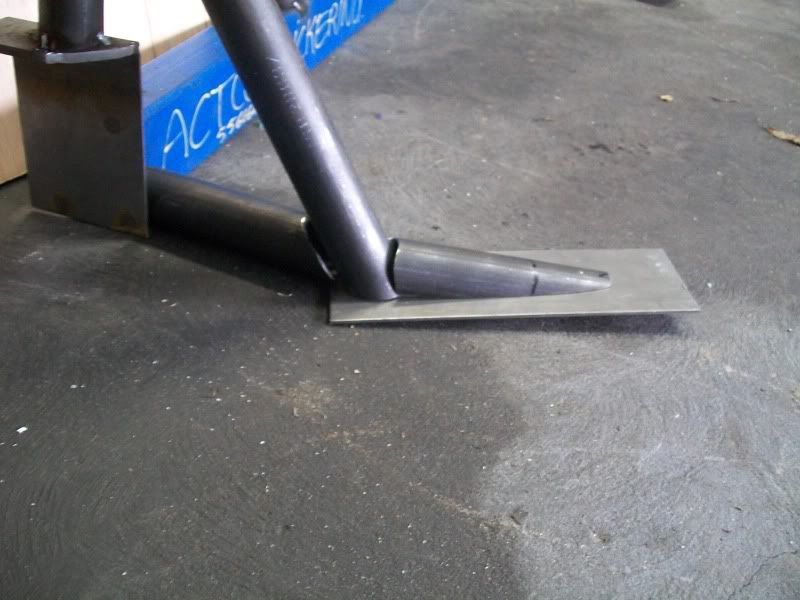
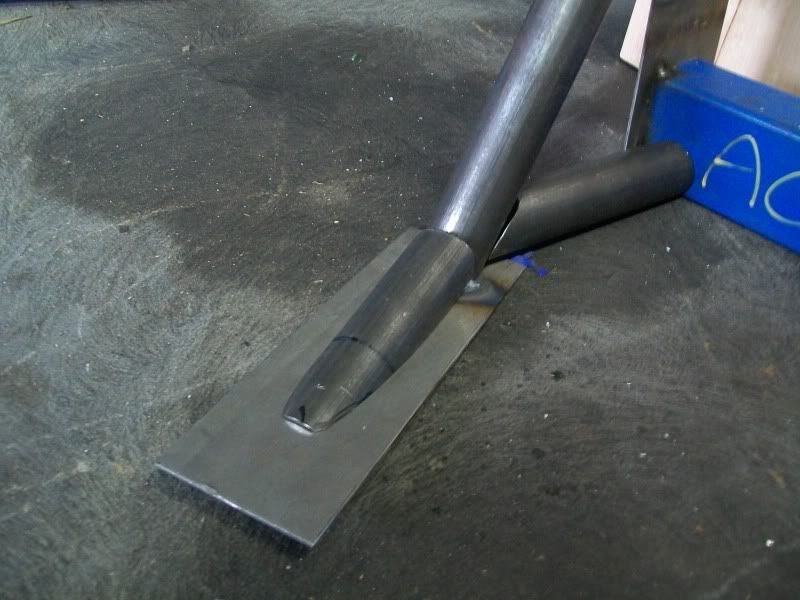
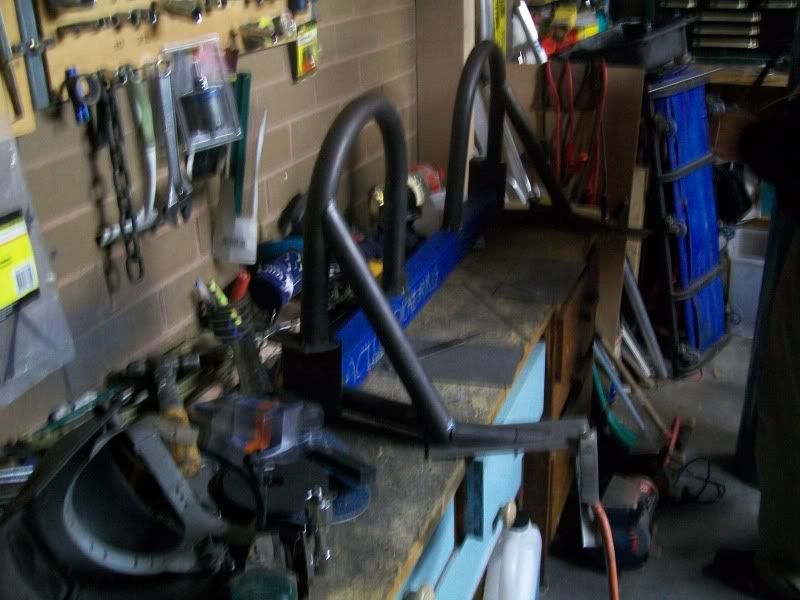
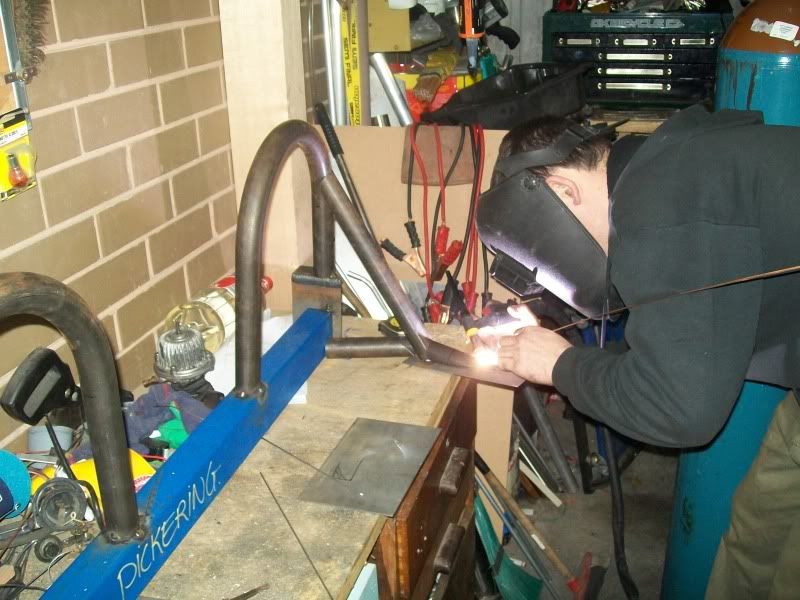
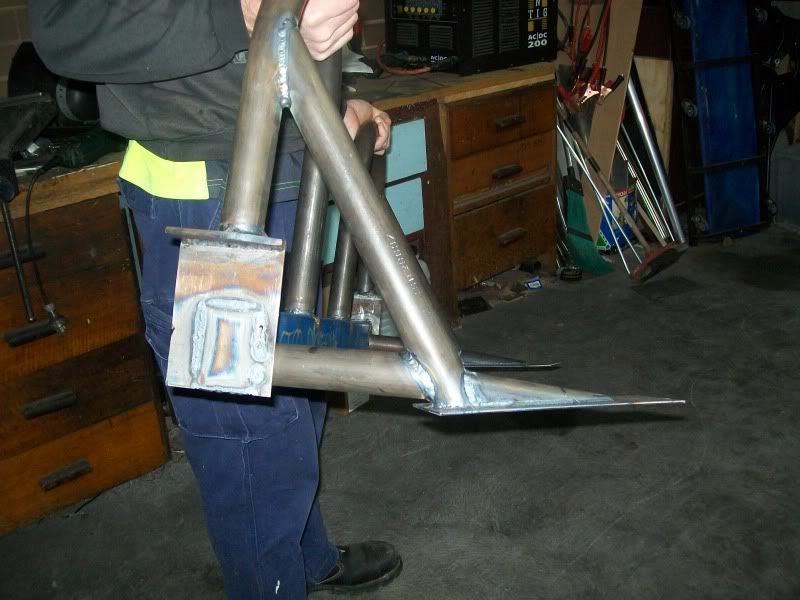
We finished welding up my roll bar while we were on a roll. I had cut the extra gusset bits to strengthen the rear legs and foot plates.
Image
Dont mind the gaps.....I wasn't finished, i just snapped some pic's for the thread.
Image
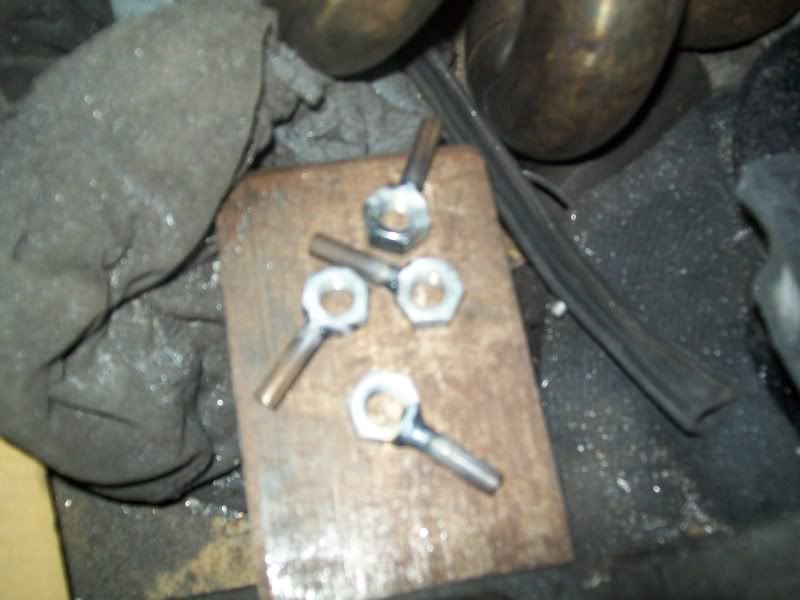
These little bad boys are to go in the seat belt tower, top and side (using the existing holes), the bits of 5mm rod welded to the nuts will stop them spinning as they come into contact with the inner wall of the seat belt tower as i do the bolt up and they try to turn on the inside....... There will be pic's later if you don't get what i mean 8)
Image
Time for the roll bar to be fully welded.
Image

Image
All done :mrgreen:
Image

Image

Now i just have to drill some holes and dummy fit the bolts......make sure it clears everything when its bolted down tight......then i'll get it painted.
ilovedrift.com

wun911
Speed Racer
Posts: 2114
Joined: Tue Sep 11, 2007 12:13 pm
Vehicle: ND - 2 GT
Location: Melbourne

Wazman's NB8a

Postby wun911 » Fri Aug 14, 2009 11:39 pm

Ohhh nice work...

May I ask how is the kaz lsd on the race track? And how much roughly all up including the install???
every ounce counts

User avatar
wazman
Fast Driver
Posts: 394
Joined: Sun Feb 15, 2009 11:39 pm

Wazman's NB8a

Postby wazman » Sun Aug 16, 2009 1:18 am

It was a nice day today so i got out into the garage and fitted my walbro fuel pump.

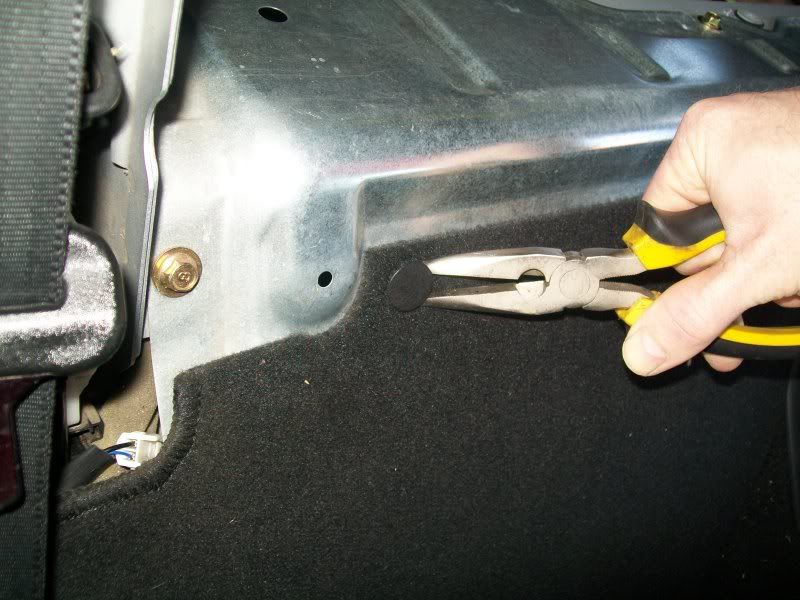
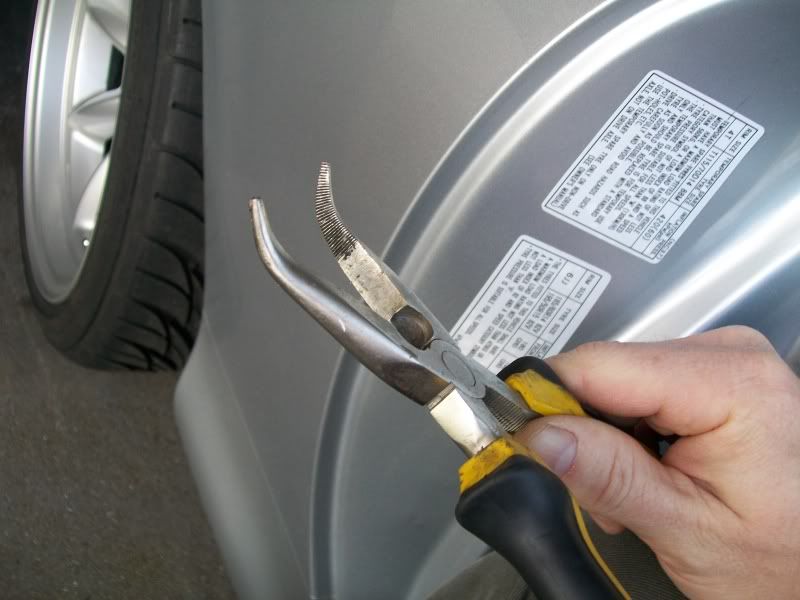
first I need to remove the carpet......I used this pair of bent nose pliers....very hand tool, as you will see.
Image
Use em to get behind these little suckers then just lever em out 8)
Image
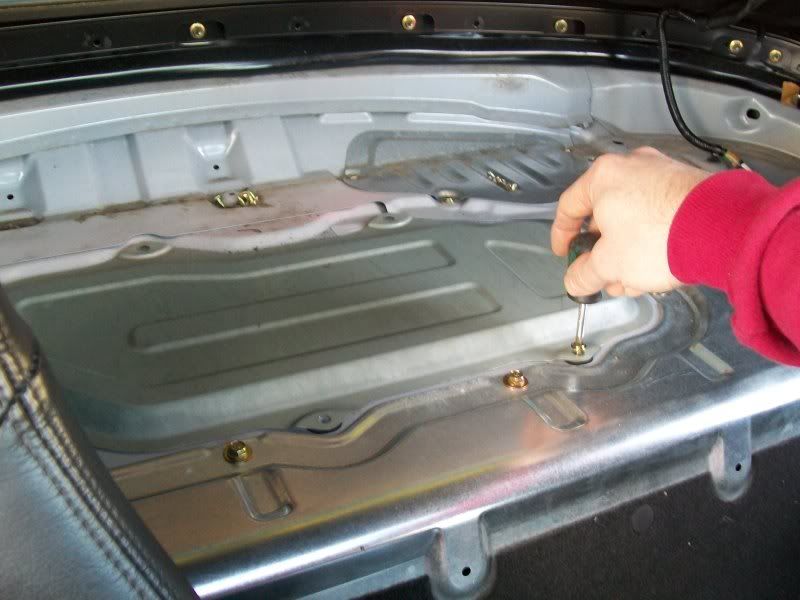
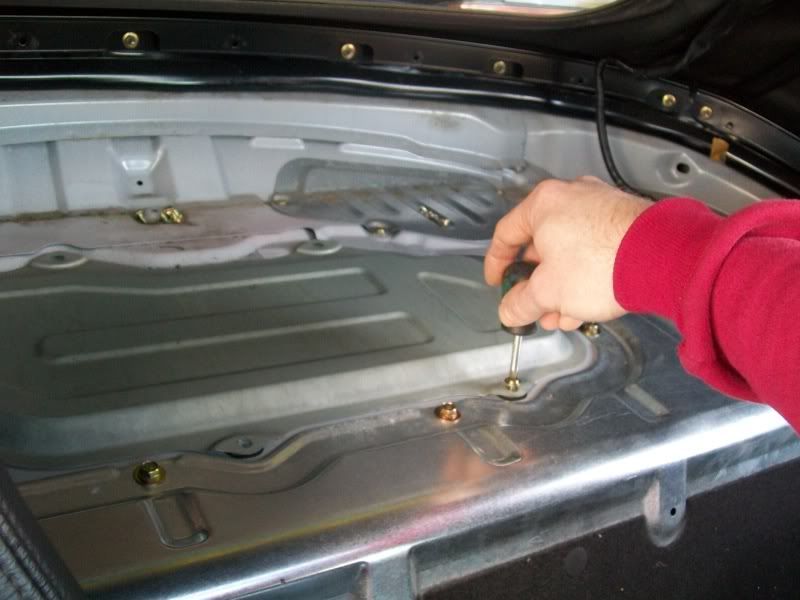
Then i used a philips screw driver to undo the screw's holding down the access cover to the fuel tank.
Image
Then i undid the screws that hold the fuel pump assembly into the tank, being careful not to drop any down the side of the tank.
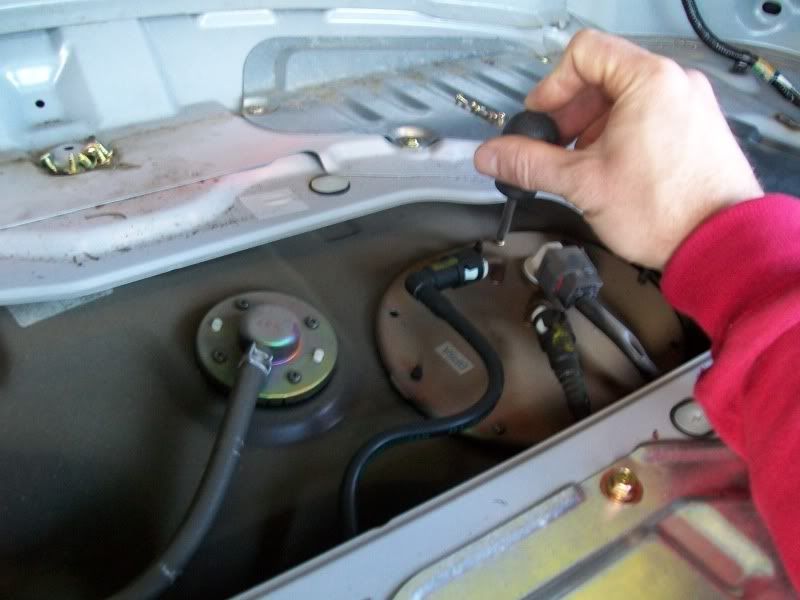
Image
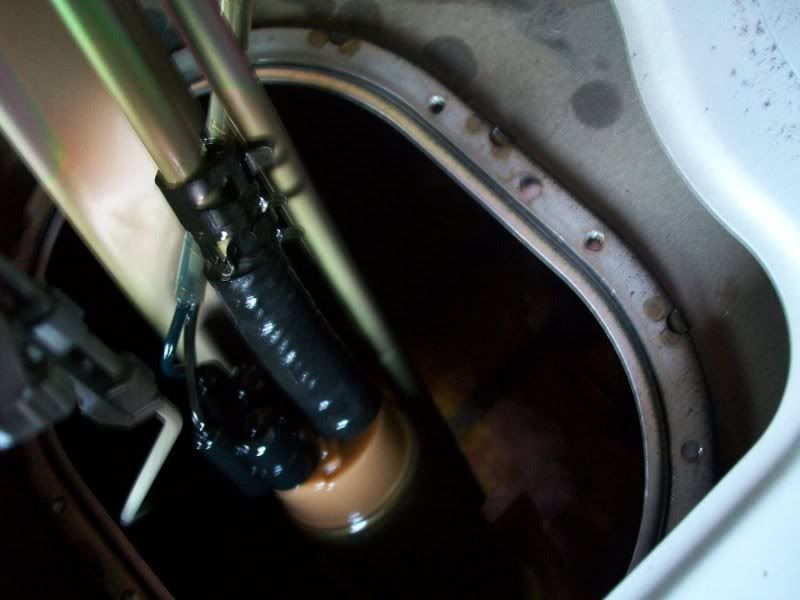
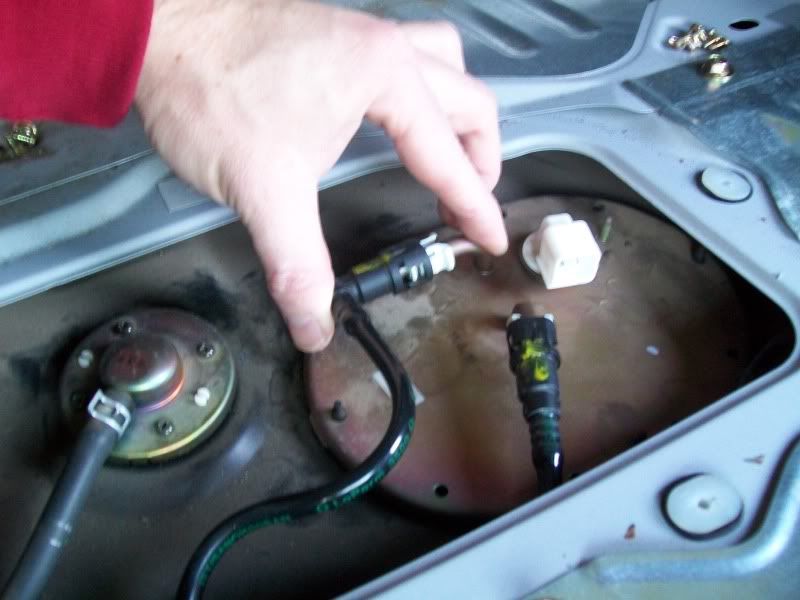
Never seen an mx5 setup before so i pulled it half out carefully to have a look. Because the fuel line will be under pressure i decided to undo the clamp off the short black hose that connects to the top of the pump to release the pressure, so i can take the lines off the top of the fuel pump assembly....otherwise i'd spray fuel all over my parcel shelf :idea:
Image
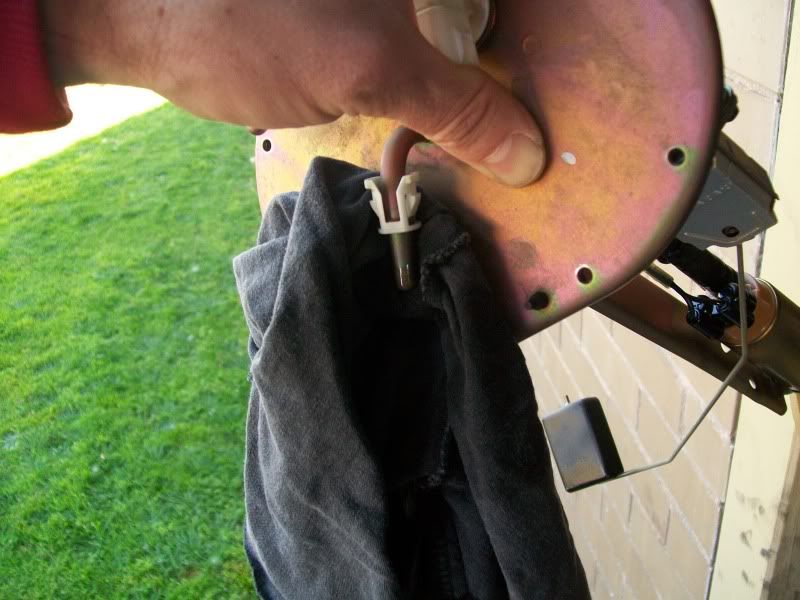
Once the pressure is out of the line i can now remove the fuel lines from the top of the assembly. They undo by squeezing the white tabs on the connectors and wriggling the black connection off, leaving the white bit on the metal pipe.....
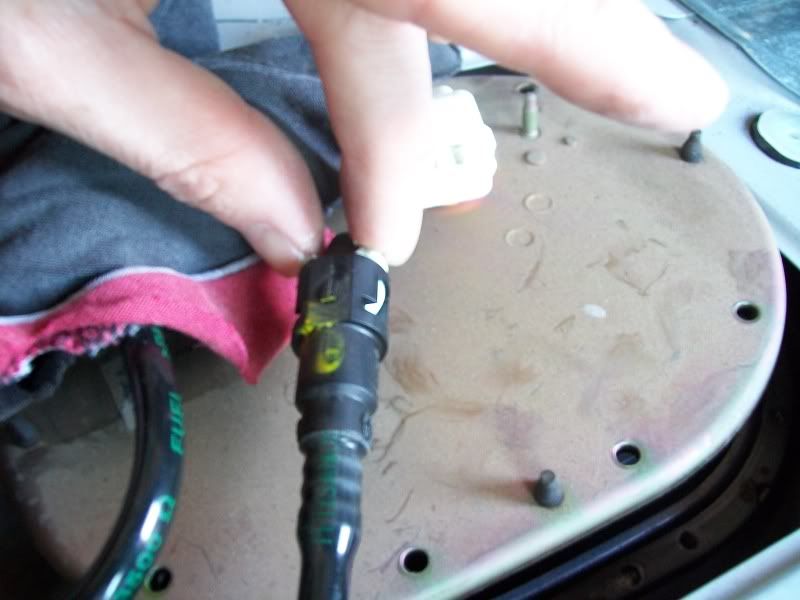
Image
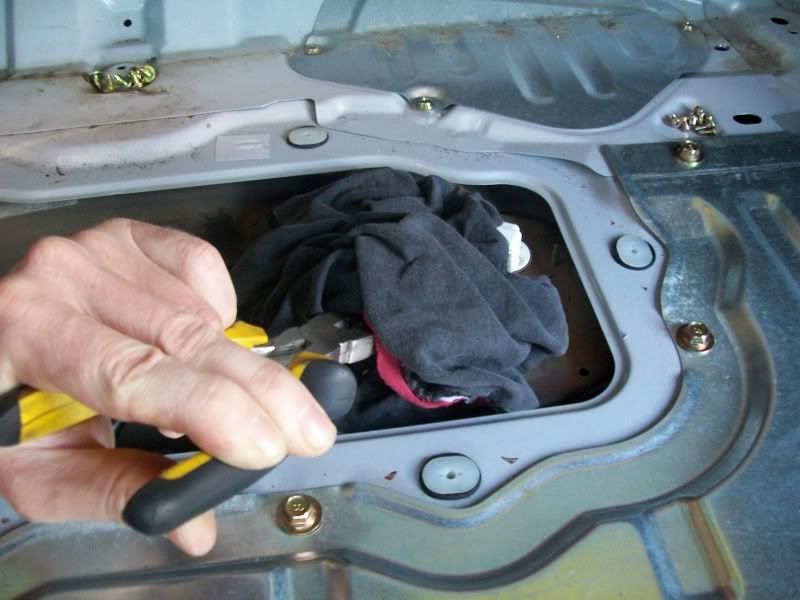
This line is the return line so it is under no pressure...though still dribbled a little fuel out...hence the rag under it upon removal.
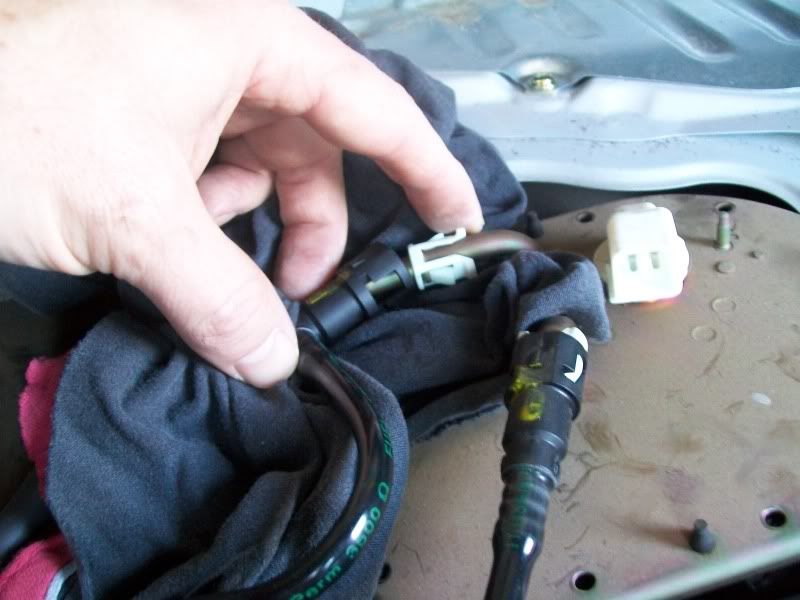
Image
Being my first time doing this and not wanting to get covered in fuel....I wrapped the rag around the connection after unclipping the clip and then wriggled it off with pliers while covered completely by the rag.
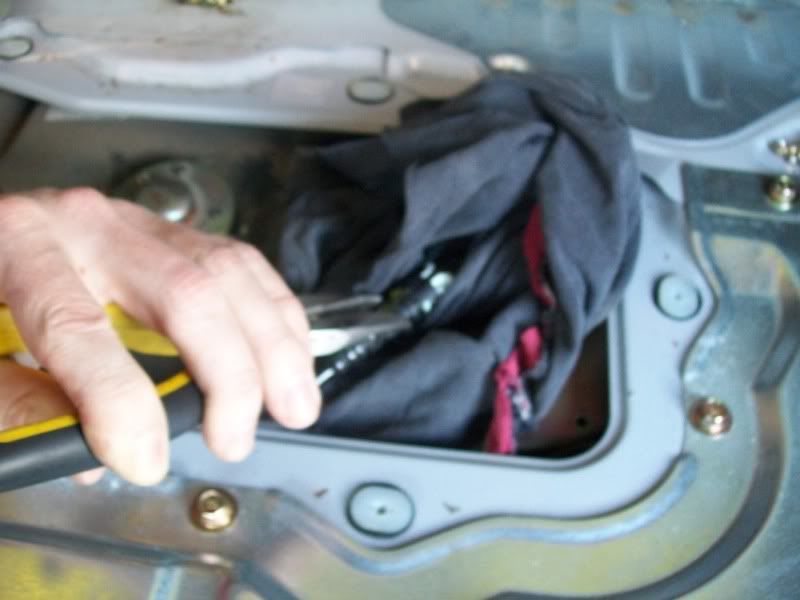
Image

Image
I left the rag around the metal lines to catch any fuel that will run out when i lift it out...
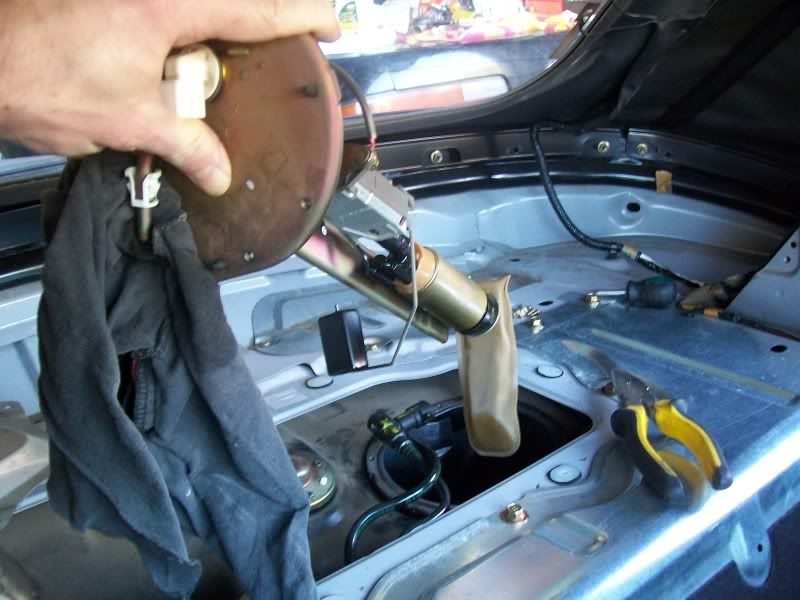
Image

Image
Obviously i'm taking this photo after the pump is out......but when i lifted it up i stuck the ends of the fuel lines into the hole and tapped out any fuel so it did not end up all over the place.....
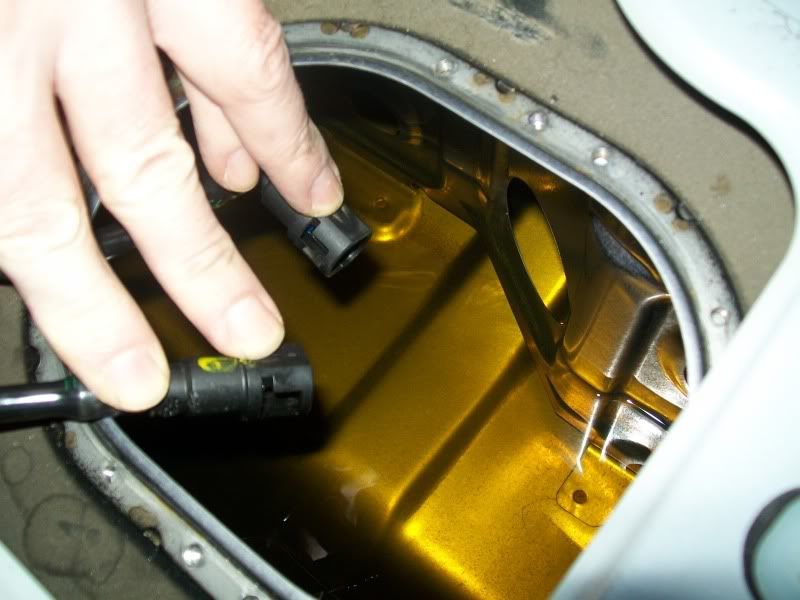
Image
I lay the assembly on the ground and begin removing the pump.....cut the wires, leaving enough length for a little play...
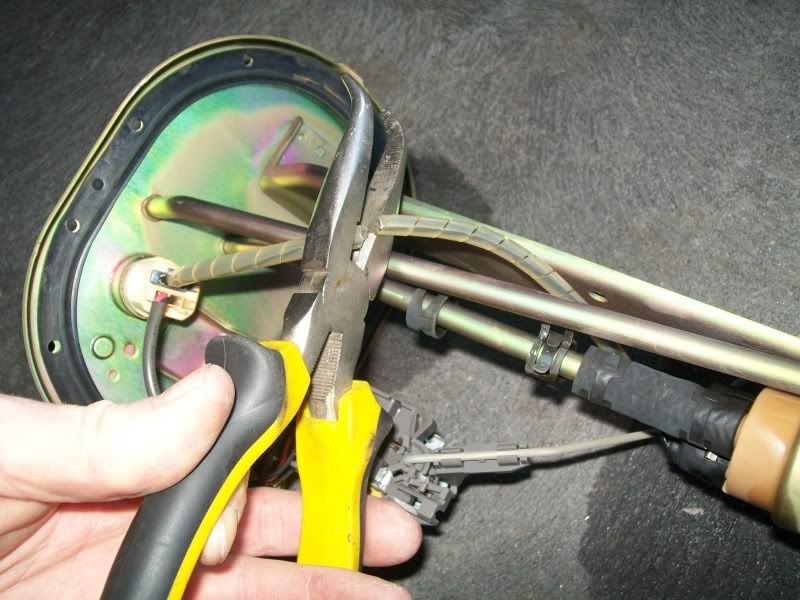
Image
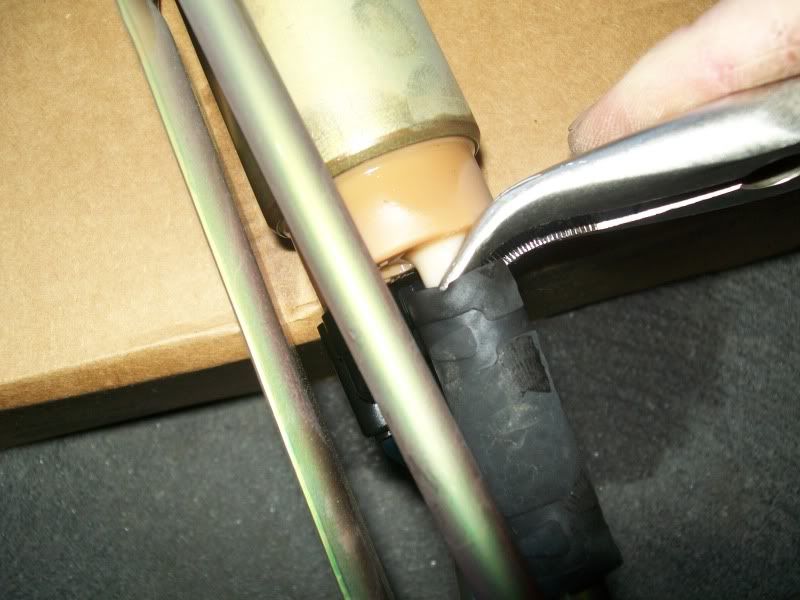
wriggle the hose off the pump using hand pliers.
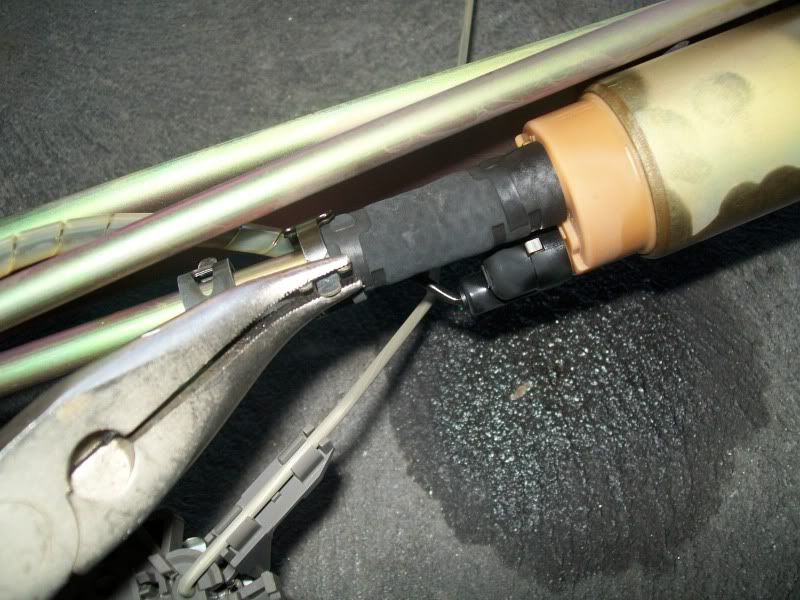
Image

Image
The hose is all that really holds the pump in place....there is just 2 rubber tabs that locate into the metal support plate at the bottom.
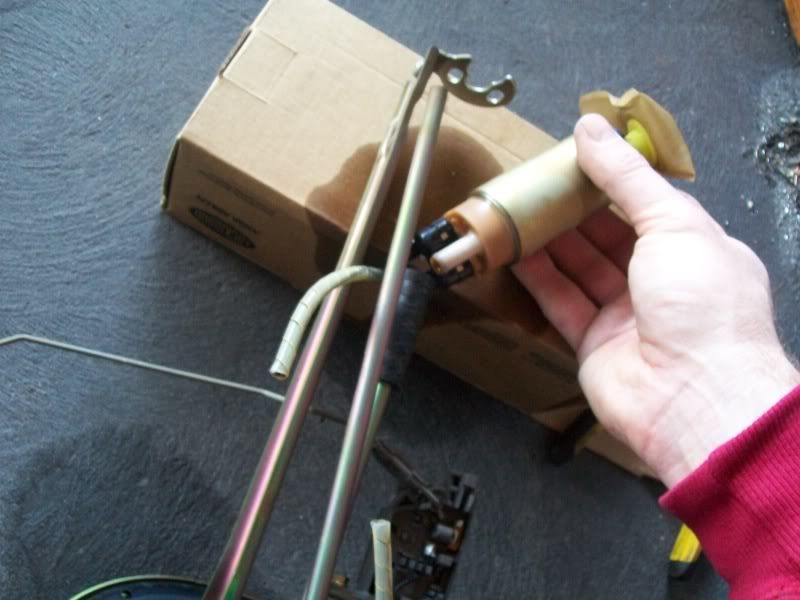
Image
After removing the pump from the cradle, you need to get the black rubber thingy off the bottom....it just pulls off.
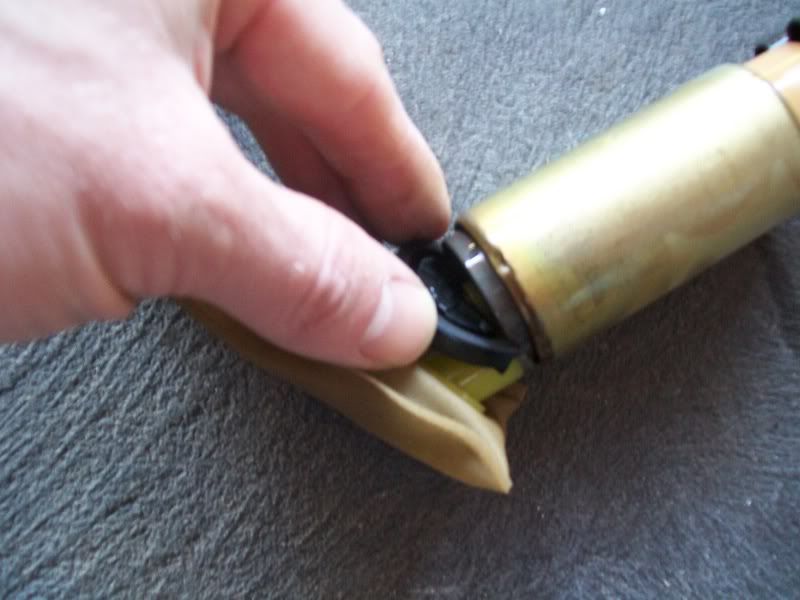
Image

Image
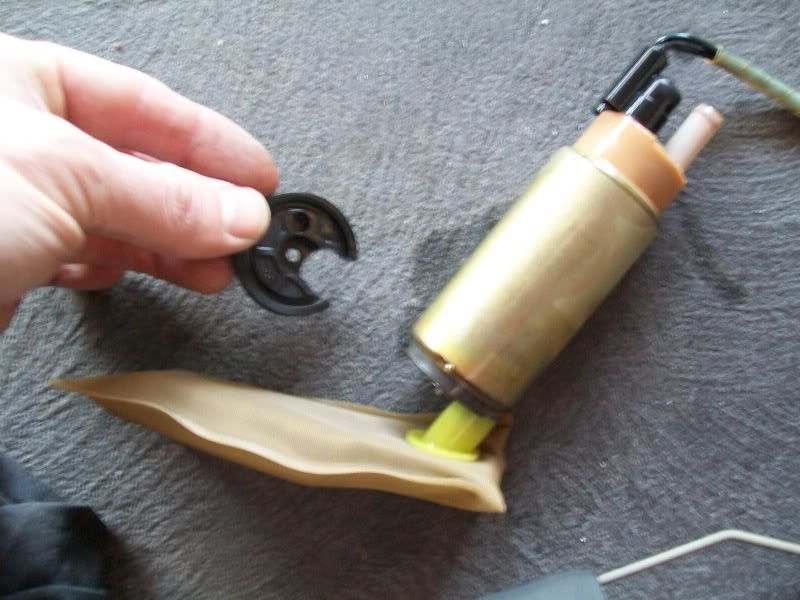
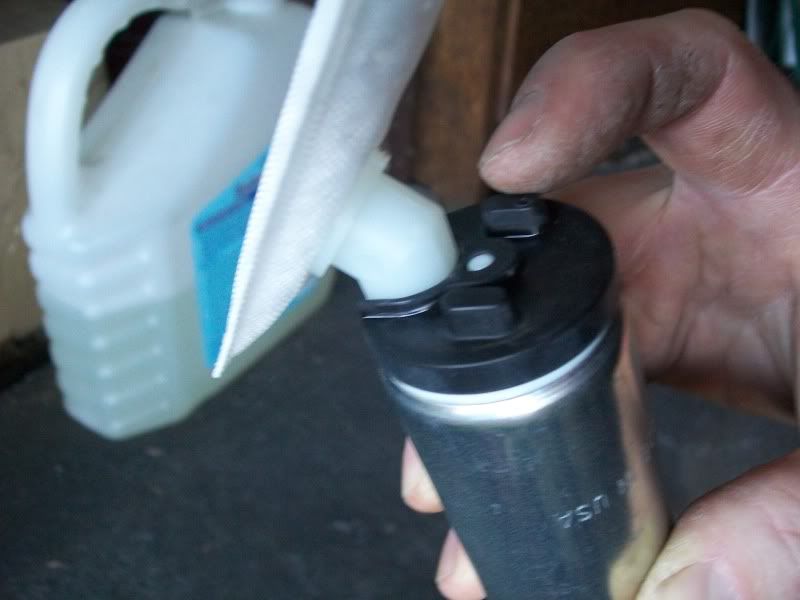
Time to put the filter onto the bottom of the new walbro, it is located by a small dowel next to the intake on the pump, which goes into the corresponding hole on the filters locating tab.
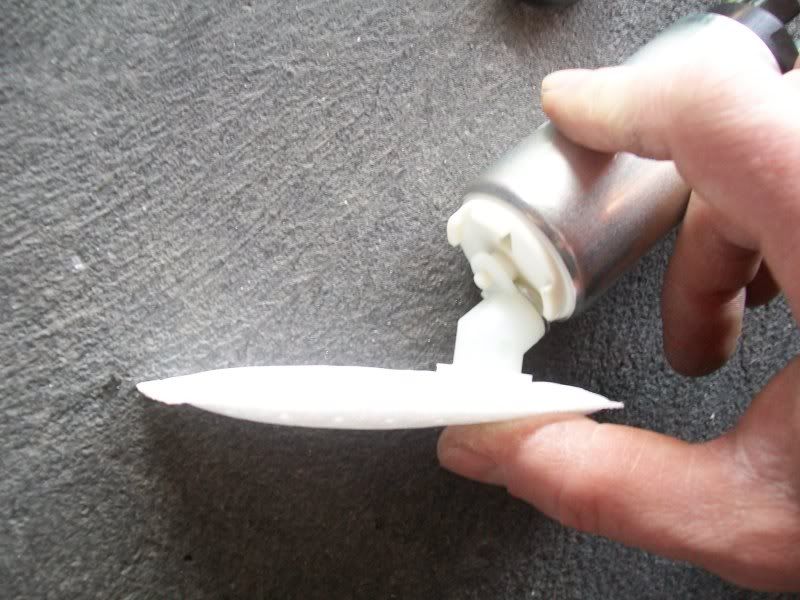
Image
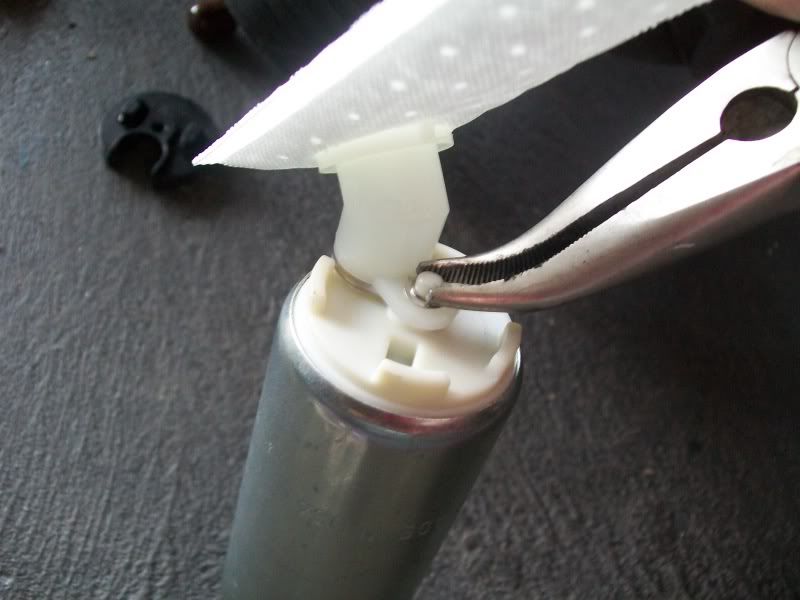
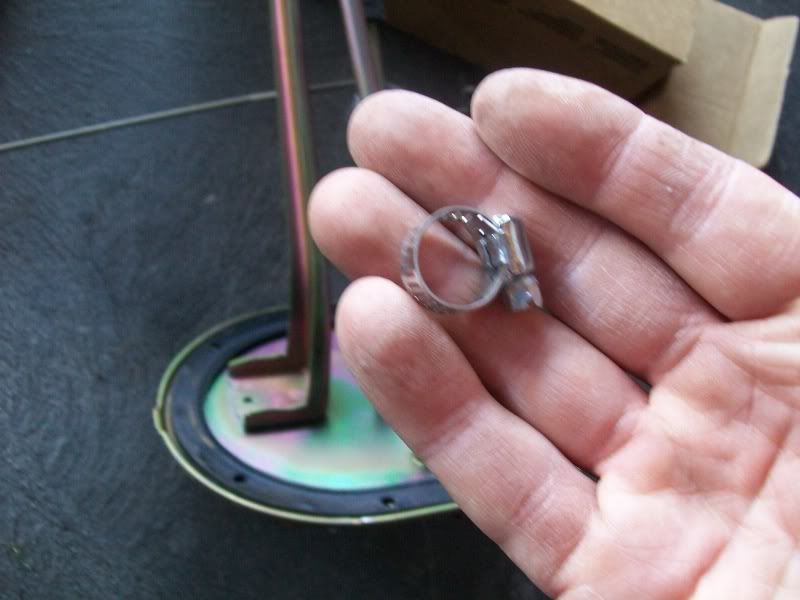
Be careful when opening your pack of goodies that comes with the walbro...there is a tiny metal clip washer that needs to be pressed onto the locating dowel to hold the filter onto the pump.
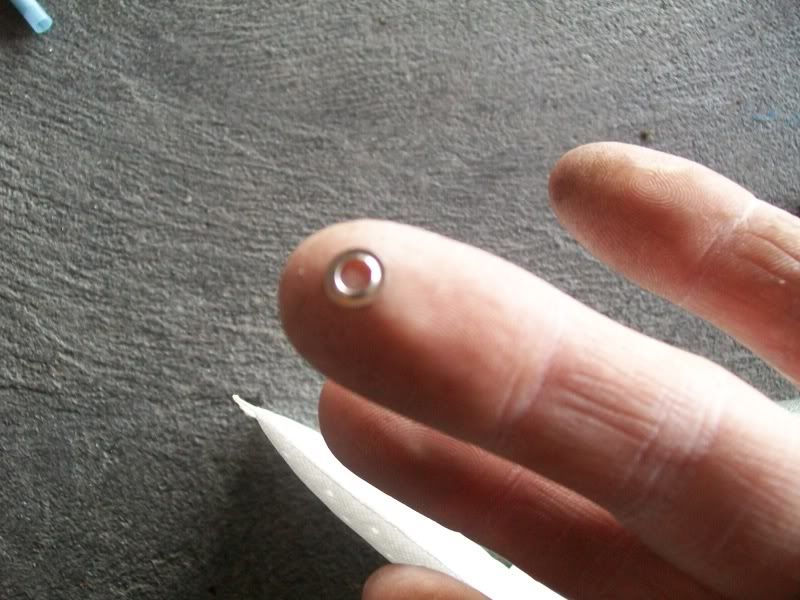
Image
Not so easy to get on.....a couple of swear words later... :roll:
Image
Last edited by wazman on Wed Aug 19, 2009 11:00 pm, edited 1 time in total.
ilovedrift.com

User avatar
wazman
Fast Driver
Posts: 394
Joined: Sun Feb 15, 2009 11:39 pm

Wazman's NB8a

Postby wazman » Sun Aug 16, 2009 1:24 am

Fit the rubber locating boot to the bottom of the pump.
Image
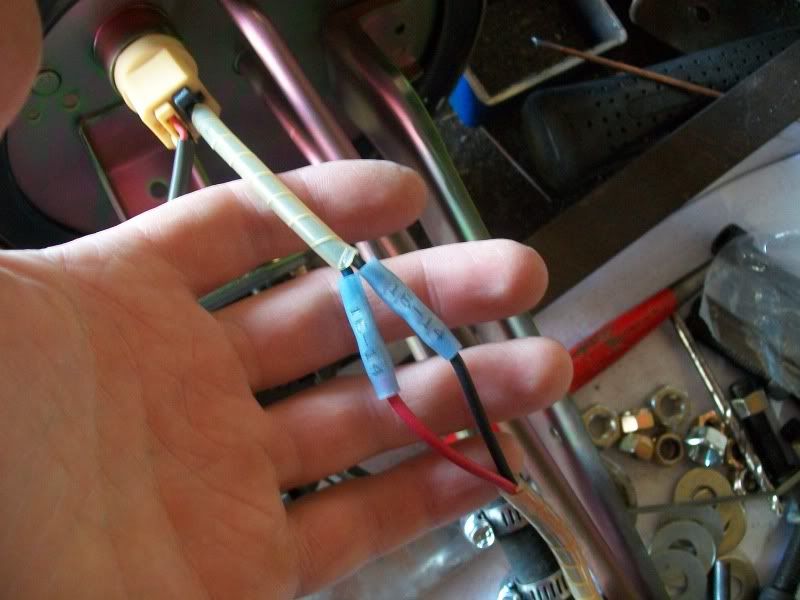
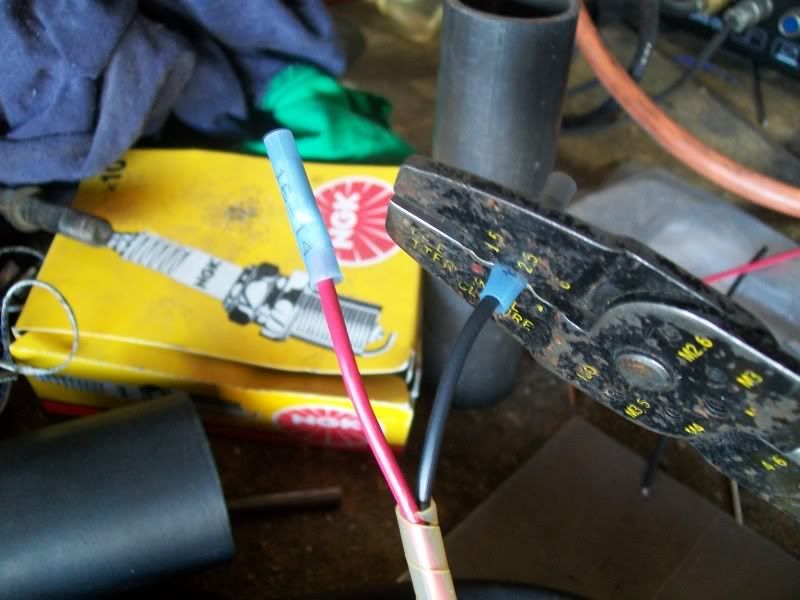
Join the supplied plug to the wires previously cut....look on top of the old pump to see which is which (+ or -)....connectors are supplied with walbro.
Image
If you don't have a crimping tool......then go get one you tight arse! or you'll be pulling it all out again when the wires come loose otherwise :shock:
Image
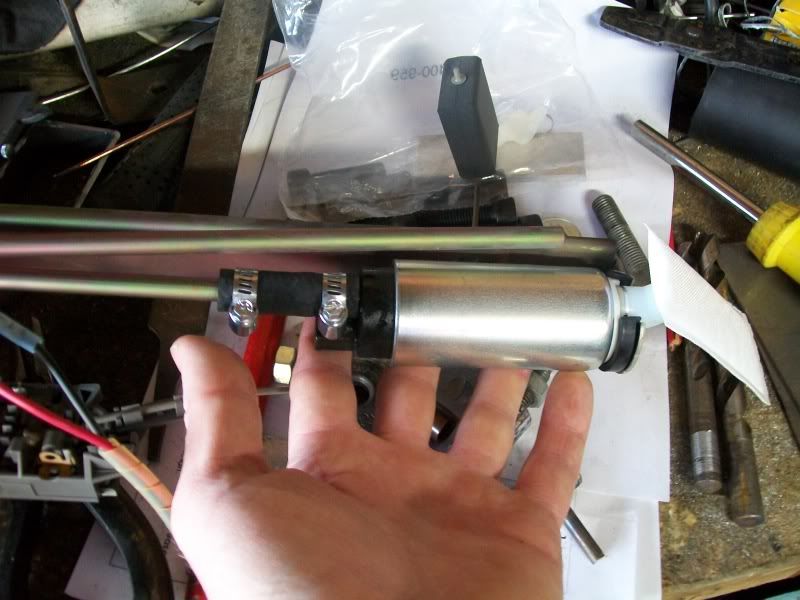
Be sure to use the supplied hose clamps....i figure they are ment to handle a little extra pressure :|
Image
and we are done.....
Image
Last edited by wazman on Sun Aug 16, 2009 1:29 am, edited 1 time in total.
ilovedrift.com

User avatar
wazman
Fast Driver
Posts: 394
Joined: Sun Feb 15, 2009 11:39 pm

Wazman's NB8a

Postby wazman » Sun Aug 16, 2009 1:26 am

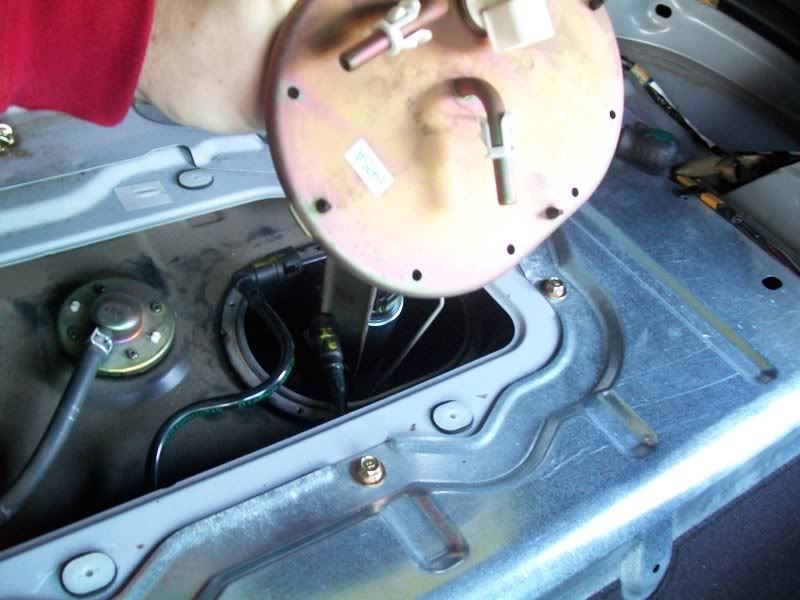
back in she goes.....be careful of the float and the rest of the fuel gauge sender !!!! these things are temperamental :?
Image
The fuel lines just clip back on.....with a firm push.
Image
screw it all back down without dropping a single screw into the tank 8) ....i actually turned the key before i screwed it down to see if i had managed to do it right :roll:
Image

The price of T28 turbo's atm is breaking my balls ! :evil: i refuse to pay more than $300 for second hand nissan crap.....
I'll find one... :wink:
ilovedrift.com

User avatar
wazman
Fast Driver
Posts: 394
Joined: Sun Feb 15, 2009 11:39 pm

Wazman's NB8a

Postby wazman » Sun Aug 16, 2009 1:40 am

If you are going to attempt this yourself :D .....keep in mind that anything that is made from rubber and had contact with fuel (seals, pump connection hose, base boot thingy) will all shrink as they start to dry out ! :? .......i recommend not leaving the job half done over night or you might find yourself looking for a new tank assembly seal :shock: ........ I went shopping in the middle of this project and came back to put the pump in and found the seal had shrunk so much i had trouble getting the screws back in because the holes no longer lined up. :|
ilovedrift.com

Jace
Racing Driver
Posts: 661
Joined: Fri Oct 24, 2008 7:47 pm
Vehicle: NA6
Location: Geelong

Wazman's NB8a

Postby Jace » Sun Aug 16, 2009 11:56 am

excellent write up. very informative!

Juffa
Racing Driver
Posts: 1751
Joined: Sun Apr 27, 2003 11:00 am
Vehicle: ND - 2 GT
Location: Bayside - Melbourne
Contact:

Wazman's NB8a

Postby Juffa » Sun Aug 16, 2009 1:36 pm

Great write up and photos. As an FYI I believe another way to reduce pressure in the fuel system is to undo the fuel cap.

Re the fuel injectors, have a look at www.turbonet.com they have some calculators there for this very purpose,as well as a list of compatible injectors. I'm running 9lbs boost with Maxda 330cc injectors on a standard fuel pump and a Link PnP ECU and still plenty of head room.

J
Former owner of Mailbu Stacey, Smurfette and Tweety.

wun911
Speed Racer
Posts: 2114
Joined: Tue Sep 11, 2007 12:13 pm
Vehicle: ND - 2 GT
Location: Melbourne

Wazman's NB8a

Postby wun911 » Mon Aug 17, 2009 9:13 pm

I really like this DIY stuff with lots of pics

I hear these pumps are noizy any feed back?

some of it should be put onto the "technical guids"
every ounce counts


Return to “MX5 Garage Chat”

Who is online

Users browsing this forum: No registered users and 44 guests