Just thought i'd cut and paste some of the more handy parts of my build thread in here.
It was a nice day today so i got out into the garage and fitted my walbro fuel pump.
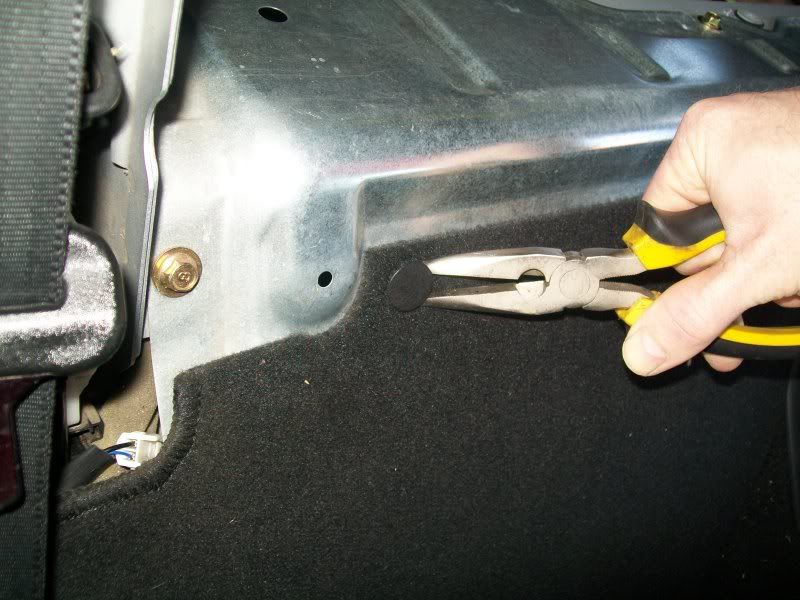
first I need to remove the carpet......I used this pair of bent nose pliers....very hand tool, as you will see.
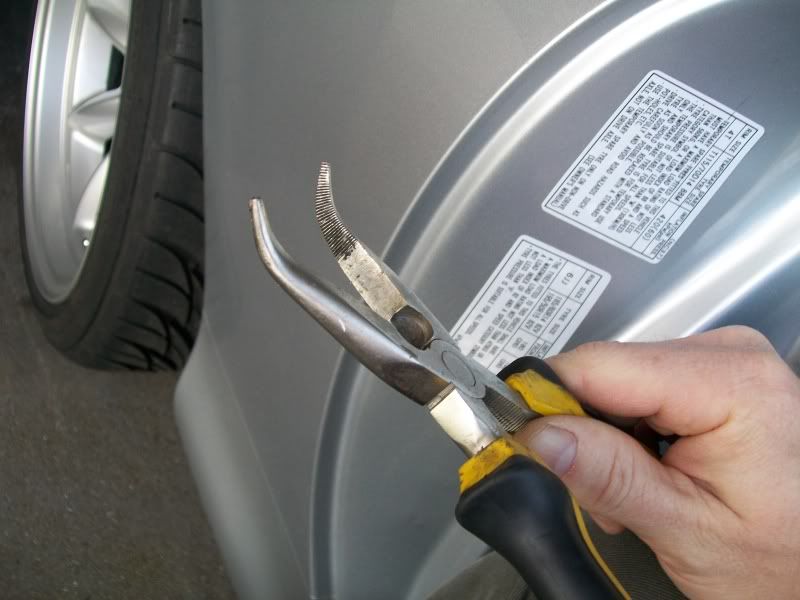
Use em to get behind these little suckers then just lever em out
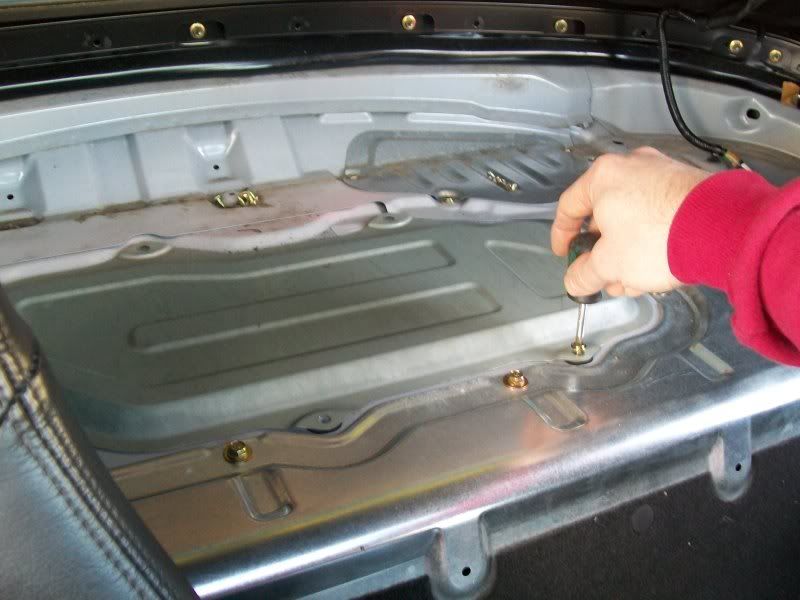
Then i used a philips screw driver to undo the screw's holding down the access cover to the fuel tank.
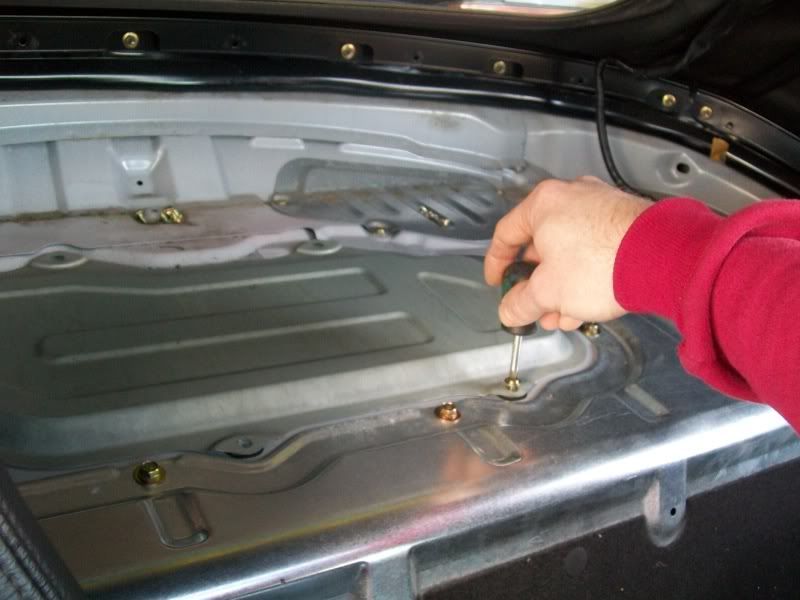
Then i undid the screws that hold the fuel pump assembly into the tank, being careful not to drop any down the side of the tank.
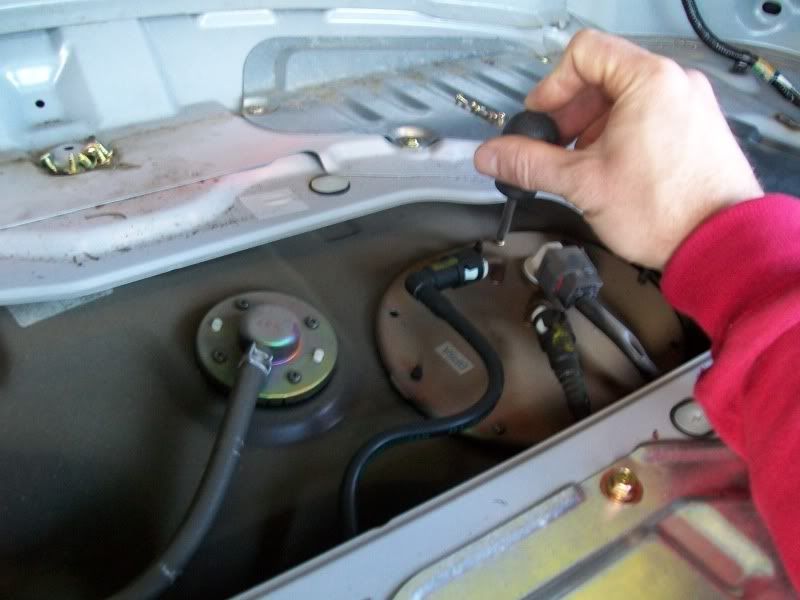
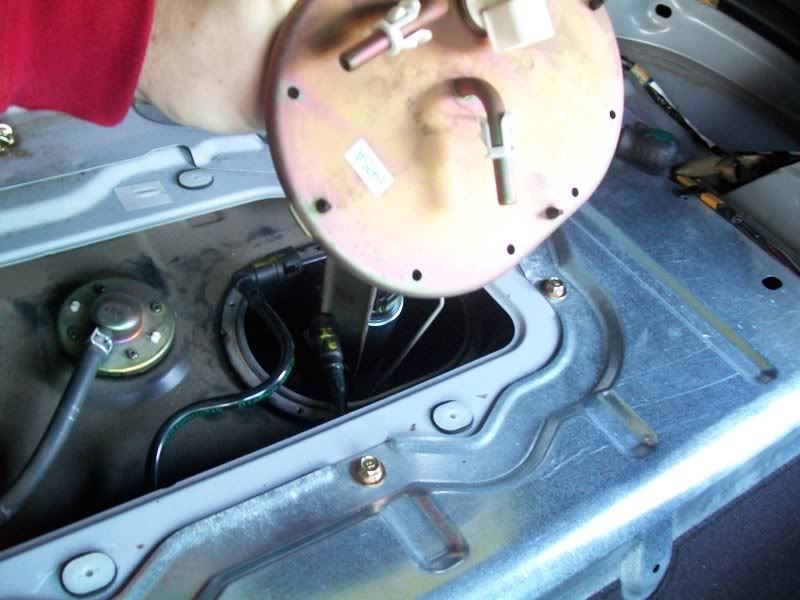
Never seen an mx5 setup before so i pulled it half out carefully to have a look. Because the fuel line will be under pressure i decided to undo the clamp off the short black hose that connects to the top of the pump to release the pressure, so i can take the lines off the top of the fuel pump assembly....otherwise i'd spray fuel all over my parcel shelf
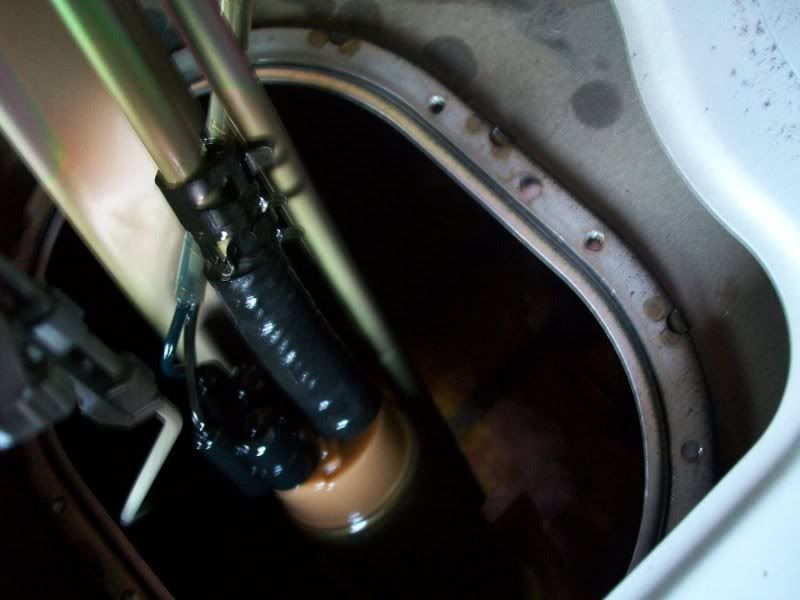
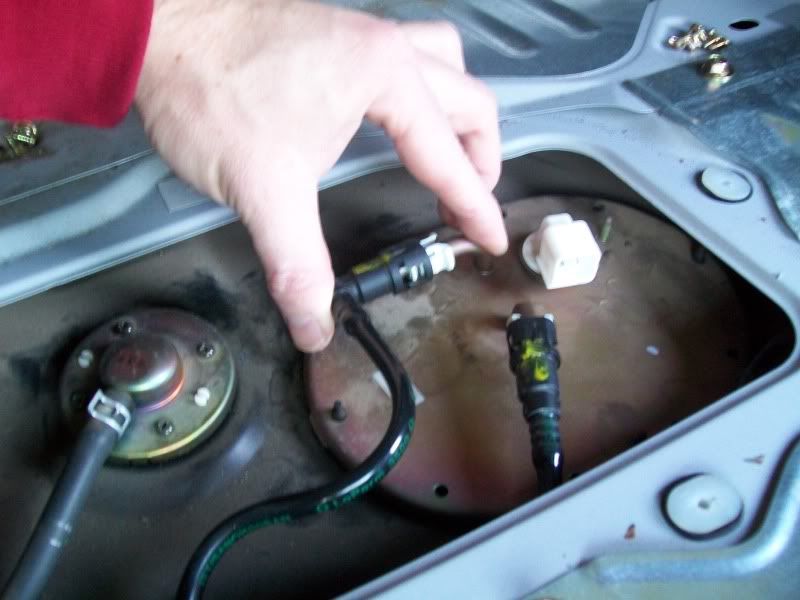
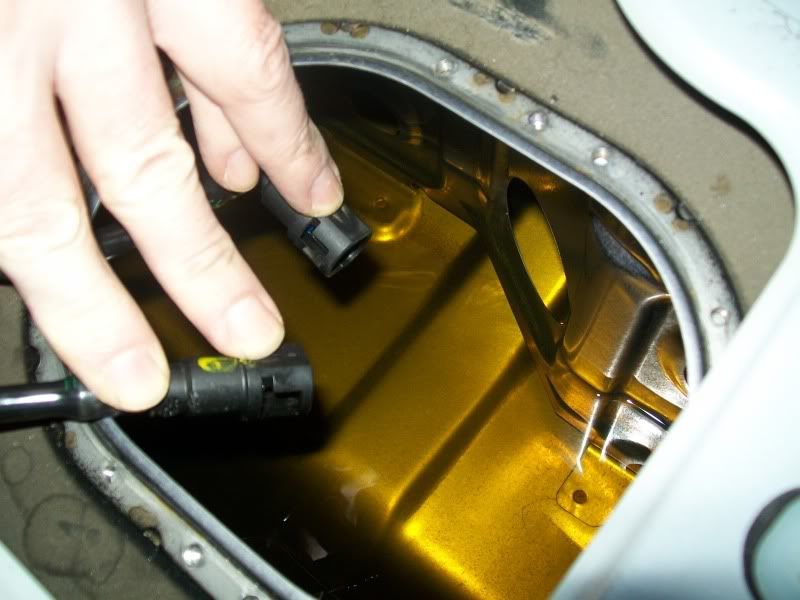
Once the pressure is out of the line i can now remove the fuel lines from the top of the assembly. They undo by squeezing the white tabs on the connectors and wriggling the black connection off, leaving the white bit on the metal pipe.....
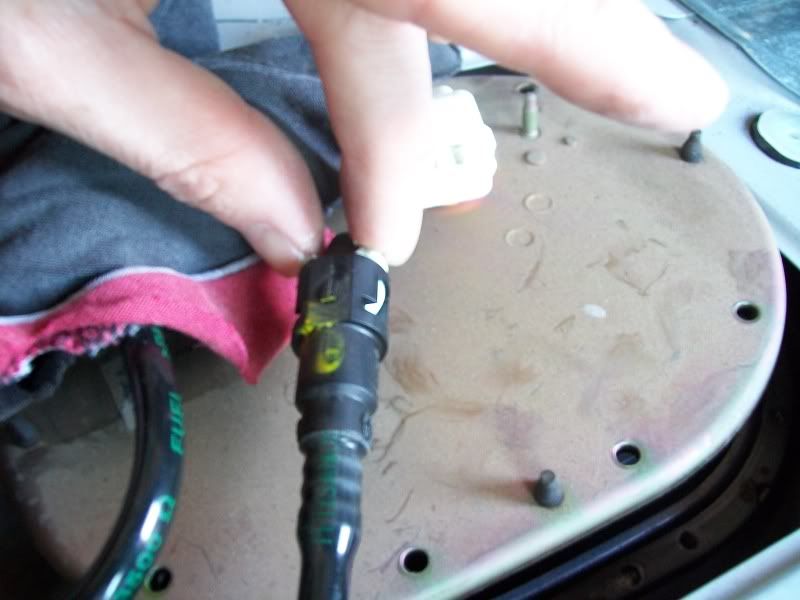
This line is the return line so it is under no pressure...though still dribbled a little fuel out...hence the rag under it upon removal.
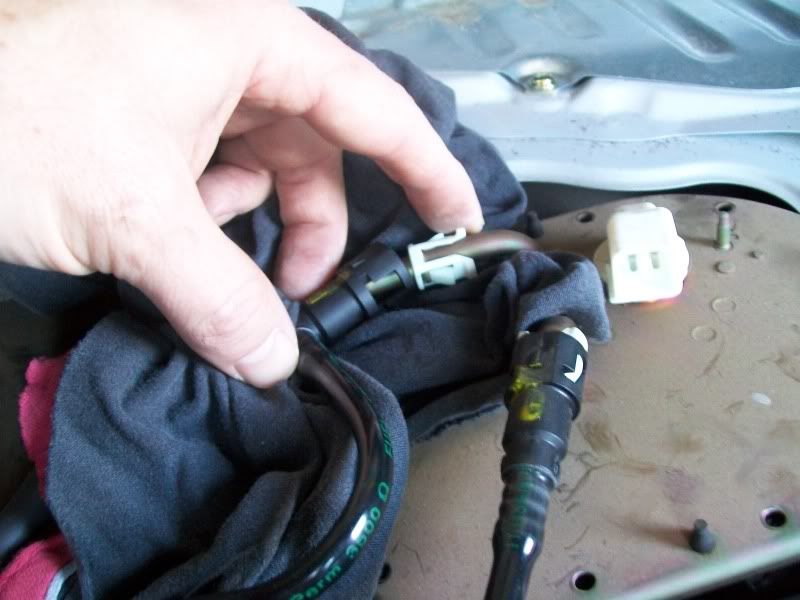
Being my first time doing this and not wanting to get covered in fuel....I wrapped the rag around the connection after unclipping the clip and then wriggled it off with pliers while covered completely by the rag.
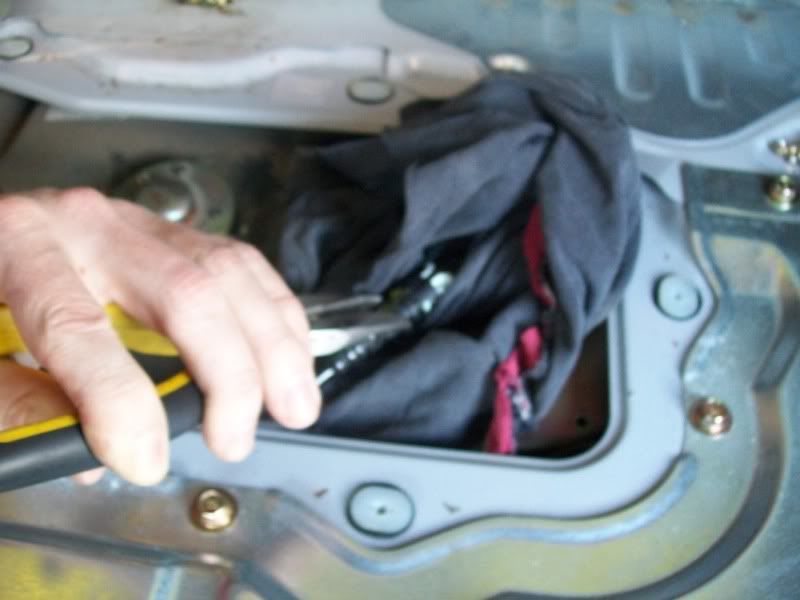
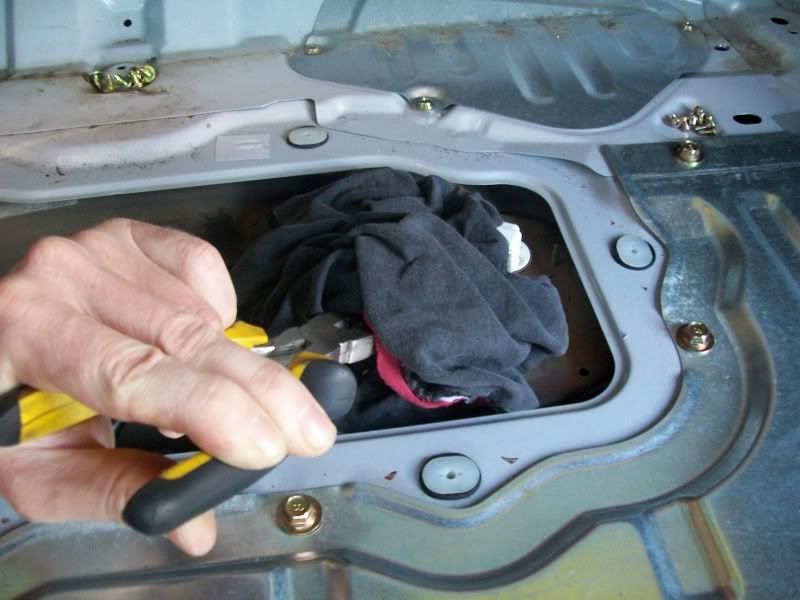
I left the rag around the metal lines to catch any fuel that will run out when i lift it out...
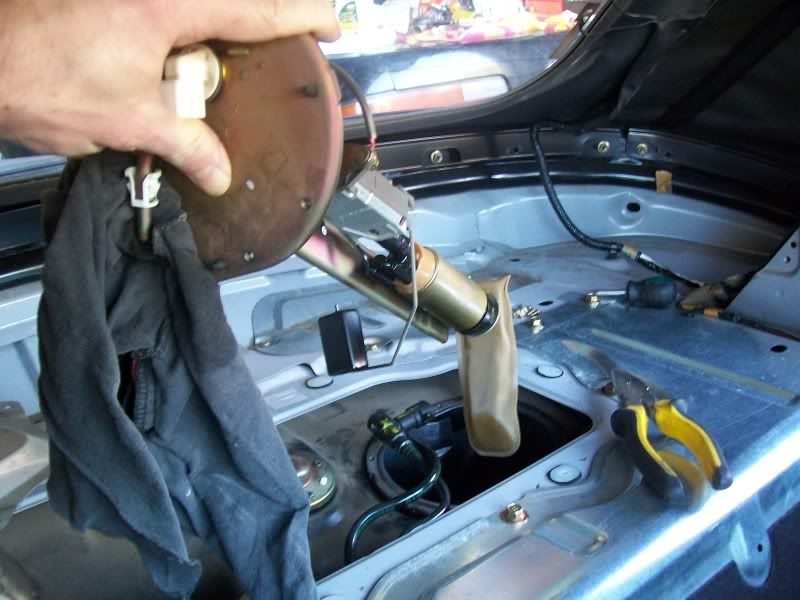
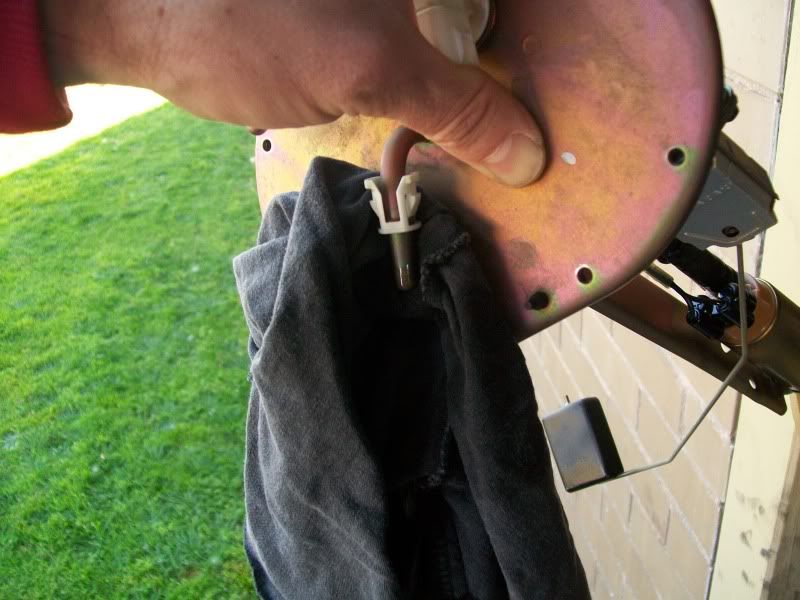
Obviously i'm taking this photo after the pump is out......but when i lifted it up i stuck the ends of the fuel lines into the hole and tapped out any fuel so it did not end up all over the place.....
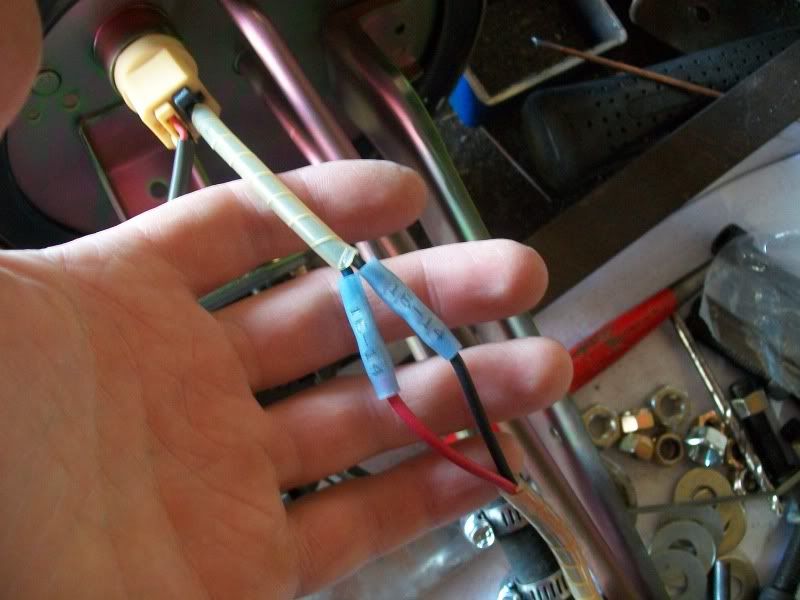
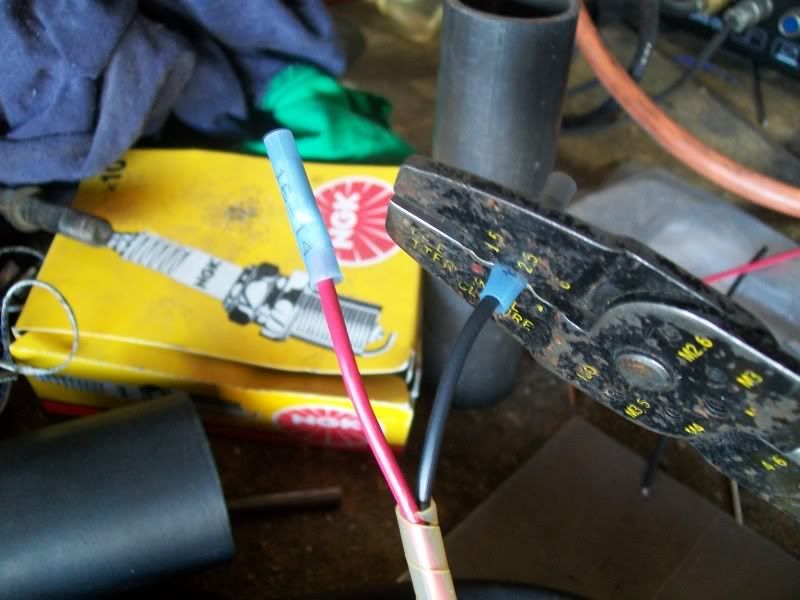
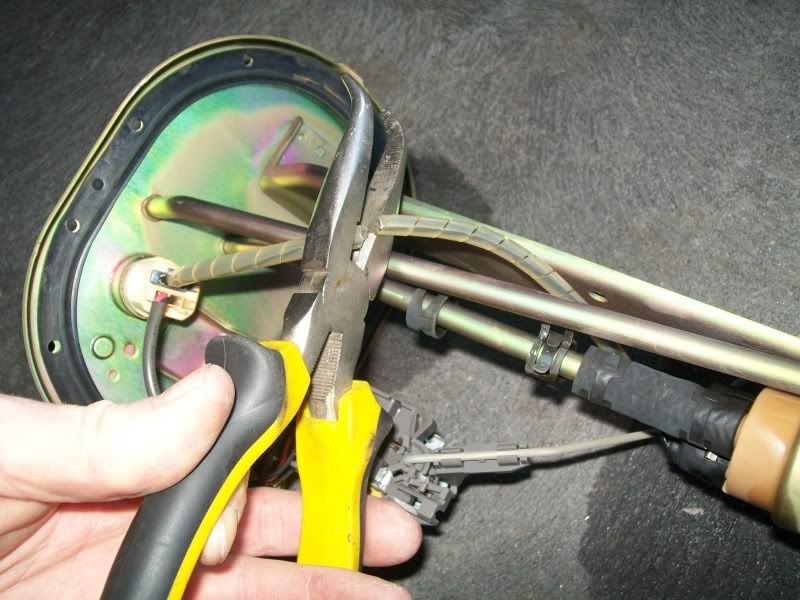
I lay the assembly on the ground and begin removing the pump.....cut the wires, leaving enough length for a little play...
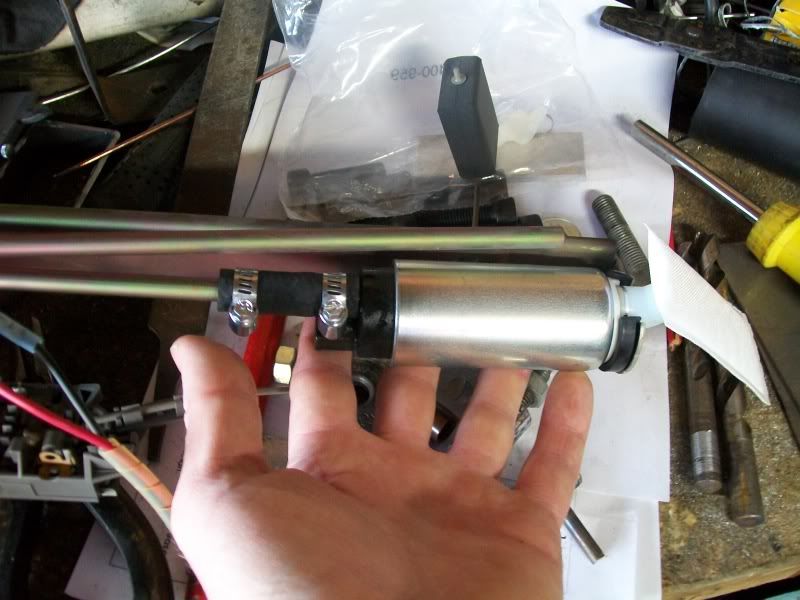
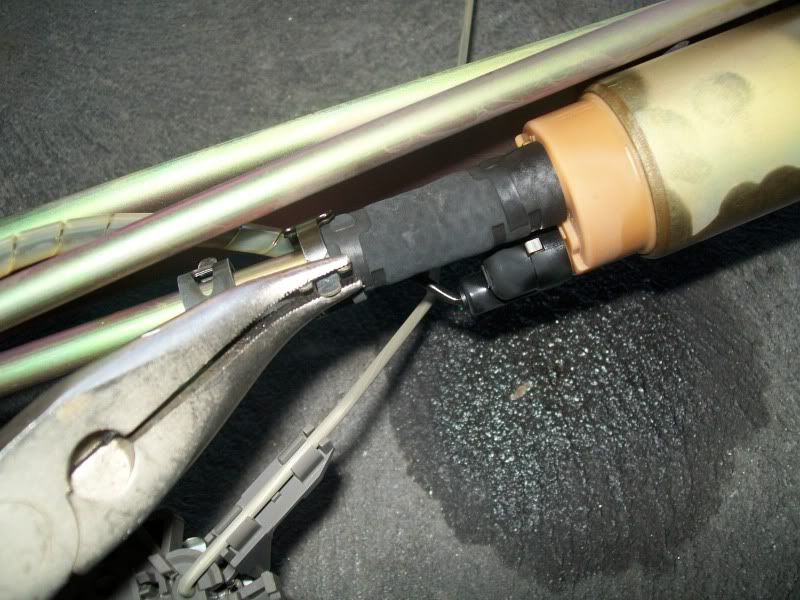
wriggle the hose off the pump using hand pliers.
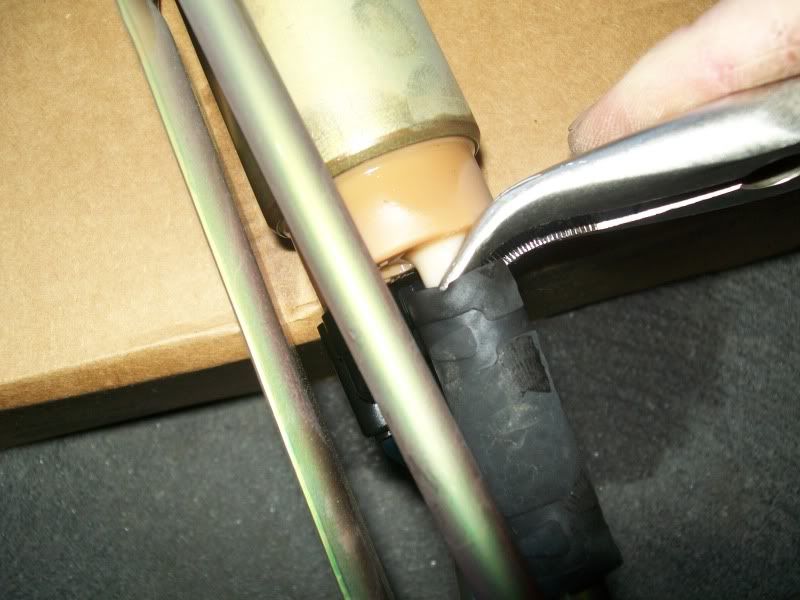
The hose is all that really holds the pump in place....there is just 2 rubber tabs that locate into the metal support plate at the bottom.
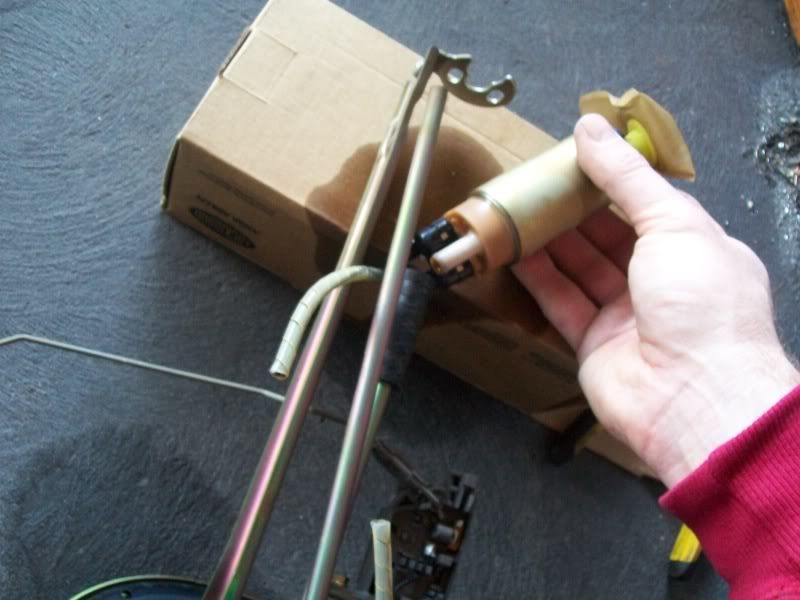
After removing the pump from the cradle, you need to get the black rubber thingy off the bottom....it just pulls off.
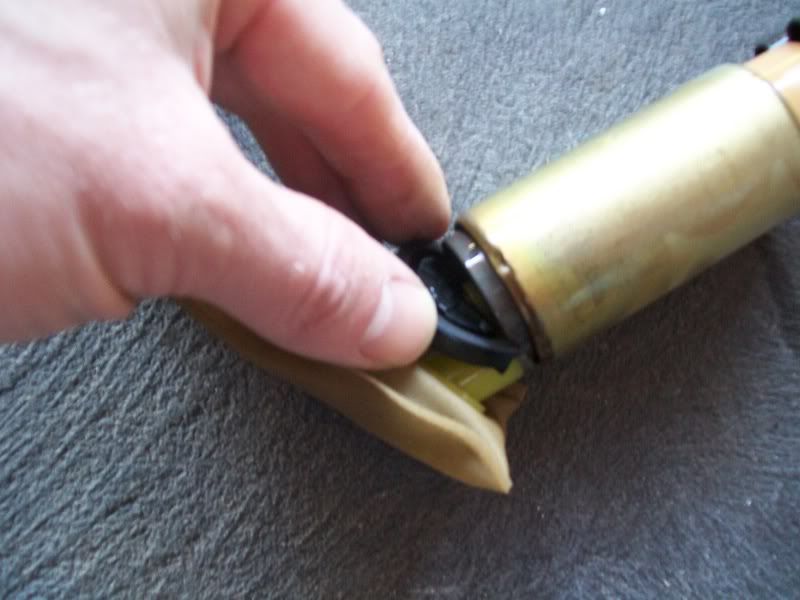
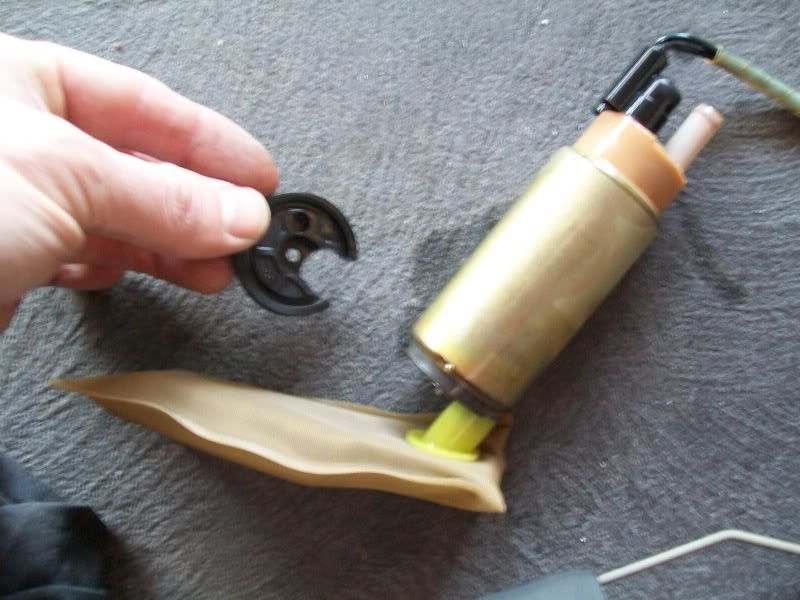
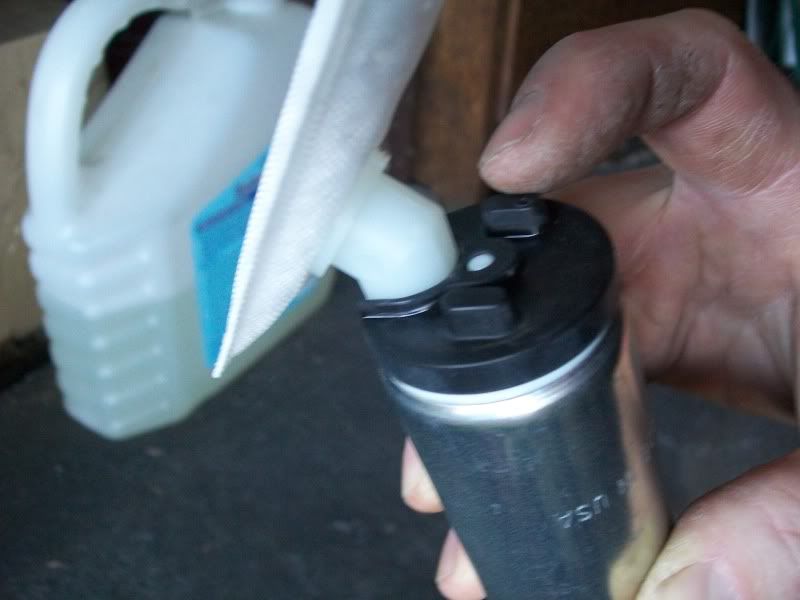
Time to put the filter onto the bottom of the new walbro, it is located by a small dowel next to the intake on the pump, which goes into the corresponding hole on the filters locating tab.
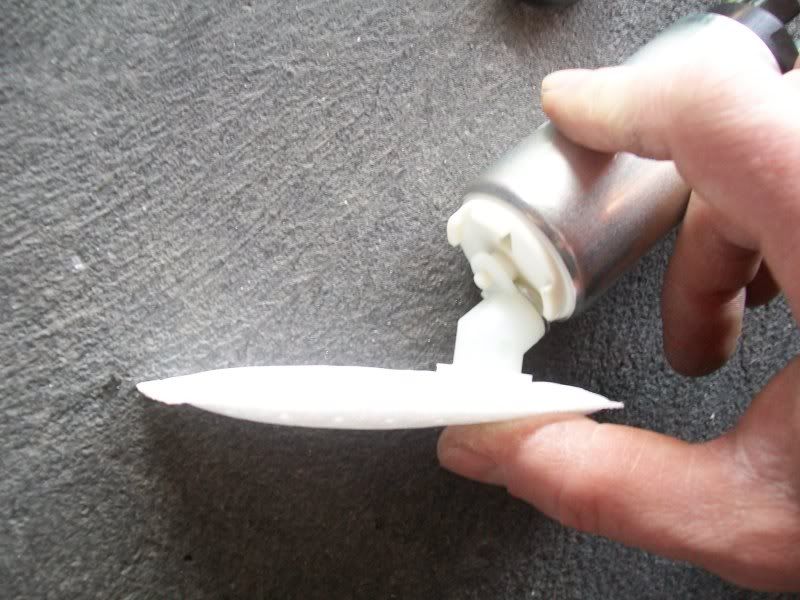
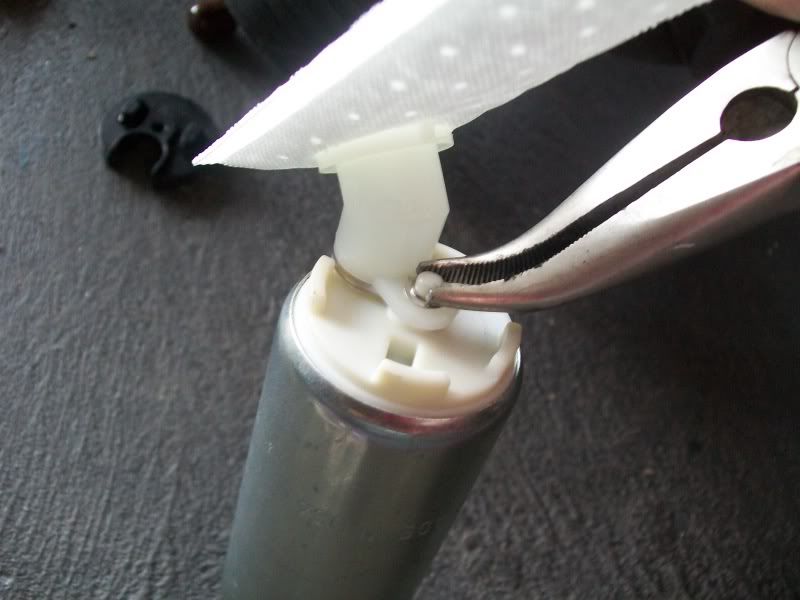
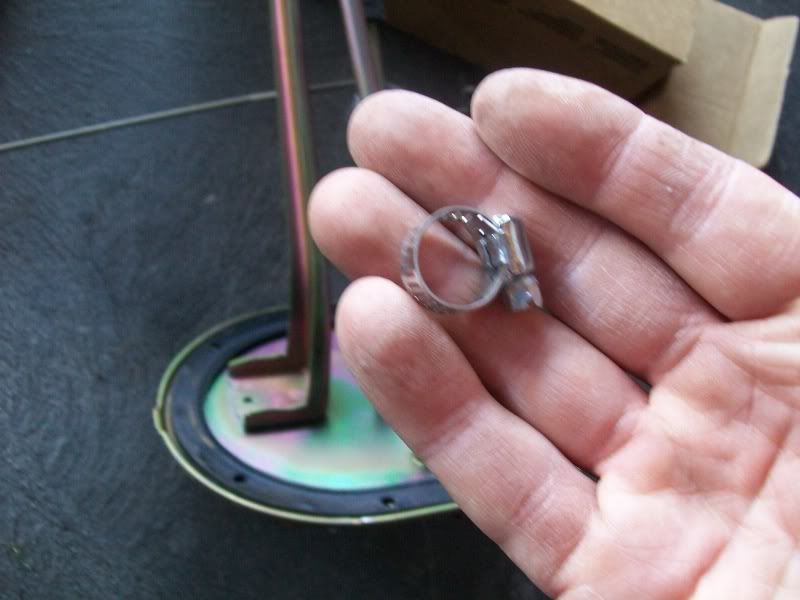
Be careful when opening your pack of goodies that comes with the walbro...there is a tiny metal clip washer that needs to be pressed onto the locating dowel to hold the filter onto the pump.
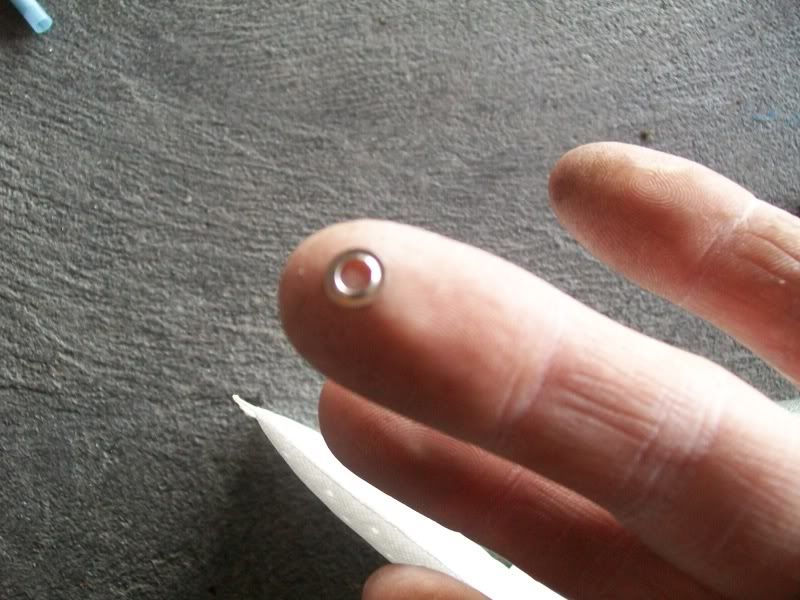
Not so easy to get on.....a couple of swear words later...
