Originally posted by Lokiel, Sat Apr 21, 2012 10:17 pm[
I'd hoped to have completed the PLX sensor install over the 4-day Easter weekend but unfortunately after 2 days of crawling around under the car to fit the Wideband O2 sensor and kneeling in the passenger side footwell (wire stripping, crimping, soldering and wire-weaving), my knees and back couldn't take any more so I didn't get far after that - I think I'm getting OLD!!! I finished it up today.
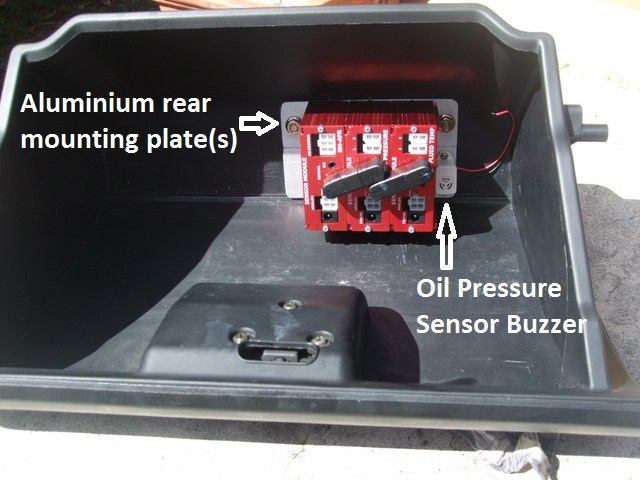
I'd decided to mount the PLX sensor modules in the glovebox since I couldn't find enough room under the dash anywhere that allowed me easy access to them - this is VERY important because there's a LOT of connections so a lot can go wrong. In hindsight I now think I should have removed the passenger seat and mounted all PLX modules on the passenger seat floor, then put the seat back in when everything was working.
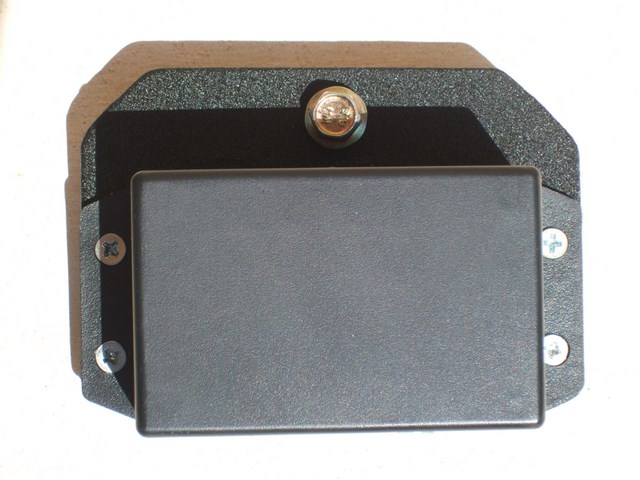
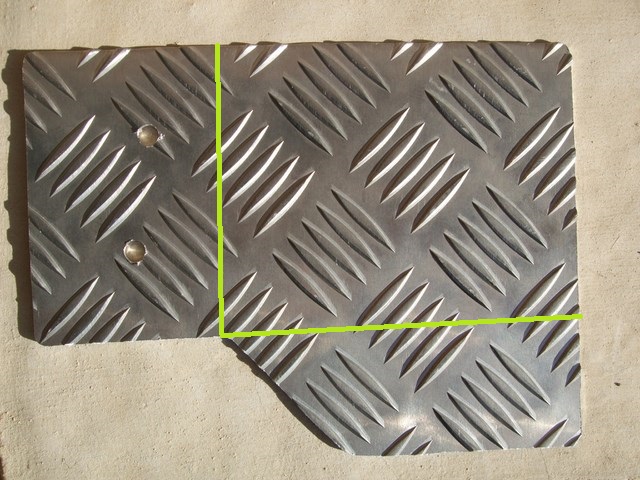
Initially I mounted the sensor modules to the rear of the glovebox by removing the sensor backplates and screwing them into a couple of wider aluminium strips that allowed me to bolt it to the glovebox and mount the oil pressure sensor's buzzer to it.
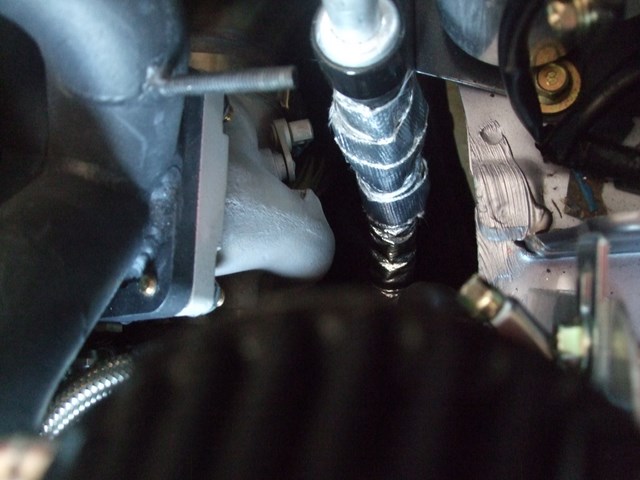
I started the Easter weekend by installing the Maruha 78Thermostat adapter.
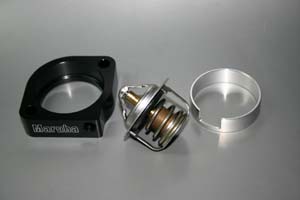
(see http://www.maruhamotors.co.jp/miata/parts/watertempsensor.html).
The adapter has a 1/8" PT thread (aka 1/8" BSPT-28) but the PLX sensor has a 1/8" NPT-27 thread. The adapter's threading didn't extend too deep and I wanted to mount the temperature sensor as deep as possible so I figured why not re-tap it as a 1/8" NPT-27 thread? The 1/8" NPT-27 tap I ordered had arrived so I re-tapped the adapter and installed the PLX sensor using Loctite Copper Maxx Silicone (as used on the oil drain blanking plate) to ensure that it sealed completely. This silicone is sensor safe and doesn't affect its electrical conductivity. I drained the coolant and fitted the adapter using the same Loctite Copper Maxx Silicone, then let it set for 24 hours before re-filling the coolant.
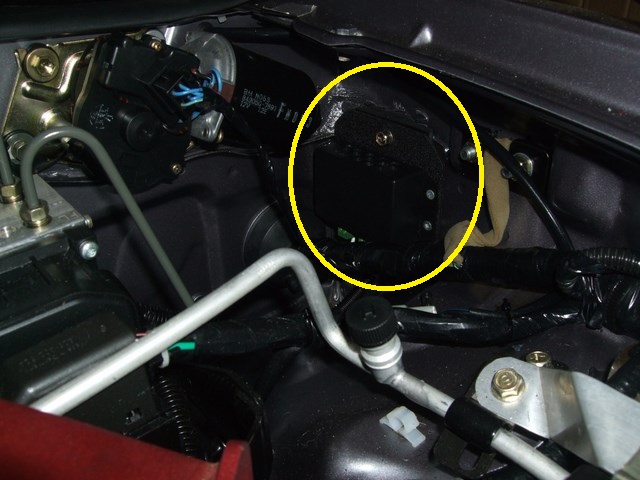
While waiting for the silicone to set, I wired the water temperature sensor into my new sensor harness and tidied it up using split loom. The green dots below show the routing of the new sensor harness.
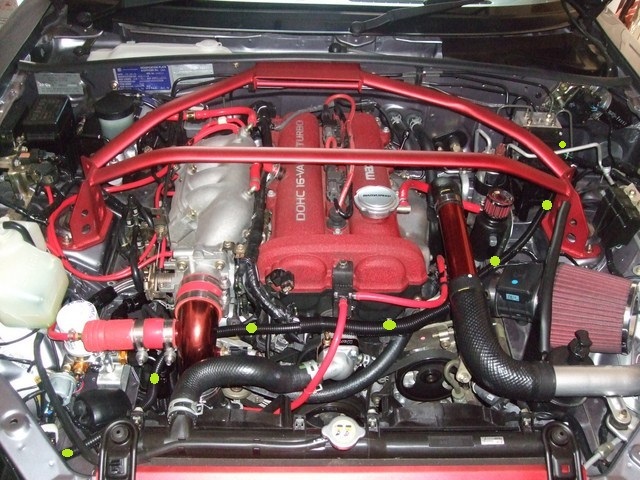
I wrapped the new harness to the existing factory harness in front of the engine using larger split loom (see just below the boost solenoid) which keeps everything nice and tidy.
I needed to swap my Innovate LC-1 Wideband O2 sensor for the PLX sensor. Luckily swapping the sensors in the exhaust pipe wasn't as much of a drama as removing the blank sensor bung was originally - that took forever to get out with an Allen key. Removing the O2 sensor only took a few minutes with a spanner - unfortunately on the SE/MSM though you need to remove a plate first to access it. Periodically fresh-air calibrating the LC-1 sensor isn't as much of a drama as I feared it may have been. I was quite surprised how caked in carbon crud the LC-1 sensor was but it probably was due to the fact that its been in the car when I did my initial dodgy "filthy-rich" tune and has had a few professional tunes since then too. Even though the PLX sensor doesn't require fresh air calbration, it may be prudent to clean it up every now and then.
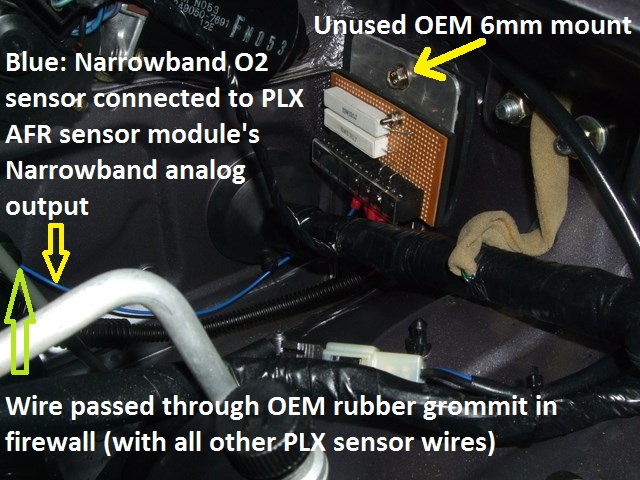
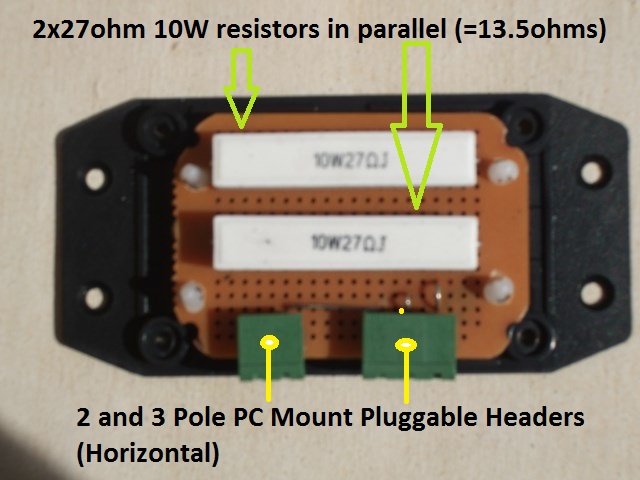
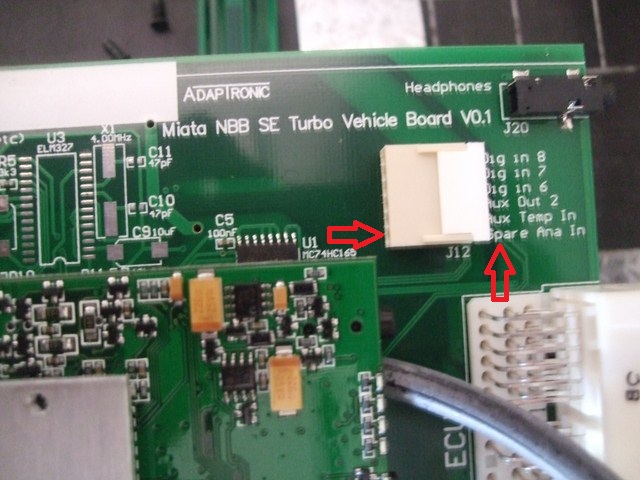
The Innovate LC-1 Wideband O2 sensor interfaced to the Adaptronic e440 ECU via a serial cable. The PLX AFR sensor module only provides a 0-5V analog output which needs to be wired into the Adaptronic's "Spare Analog Input" (0-5V Analog In) on its 6-pin connector so I had to crack open the e440 and connect it to the PLX AFR Sensor Module's Wideband 0-5V output.
Since my oil filter cooler/relocation kit install had taken so long to install, the original PLX DM-100 OBDII gauge+module I wanted had finally become available so I ordered it and it arrived just prior to Easter (AFTER I'd drilled holes into my glovebox unfortunately).
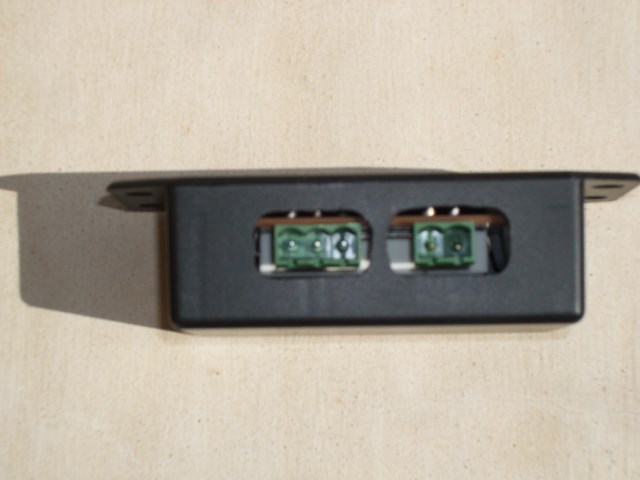
The DM100/DM200 gauge module is twice as long as the other sensor modules and has connections on the front and rear:
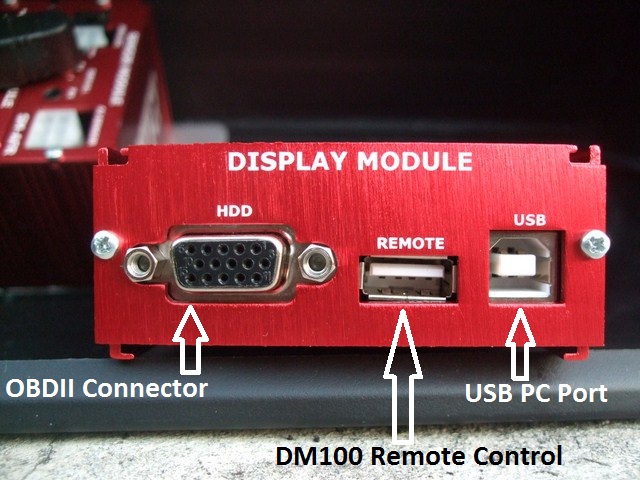
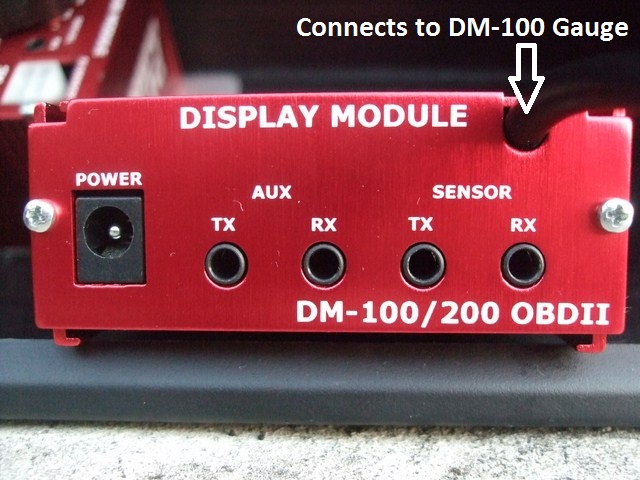
This meant I could't simply join it to the other modules, it would need to be mounted separately and I would have to move the sensor modules
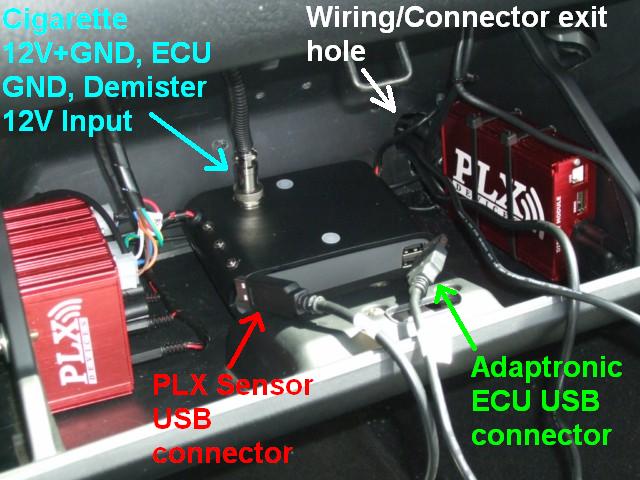
At this point I still hadn't thought of the "under the passenger-seat" mounting idea so I shifted the sensor modules to one side of the glovebox and the display module to the other side of the glovebox:
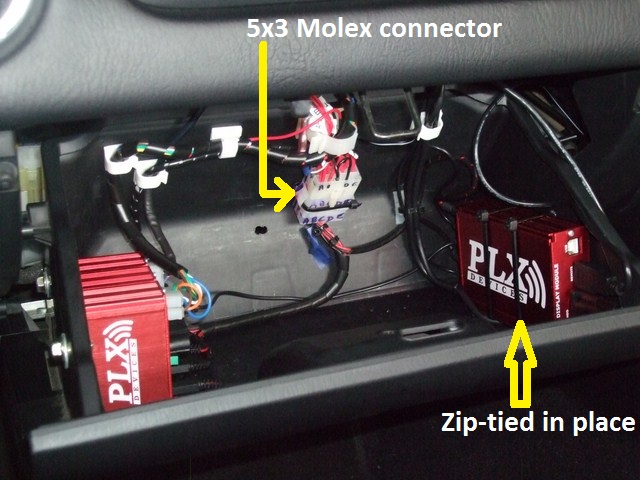
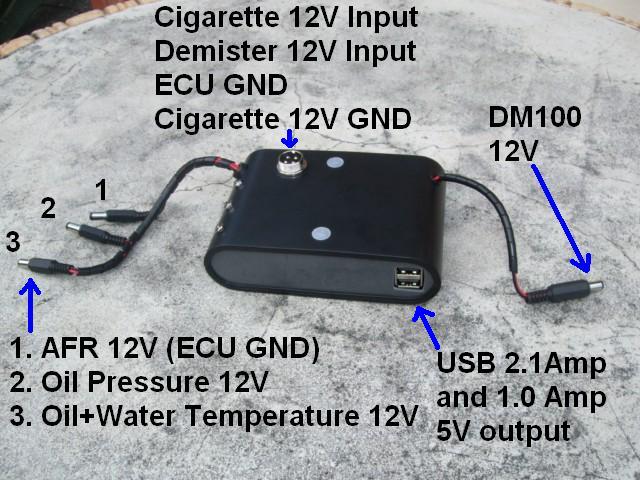
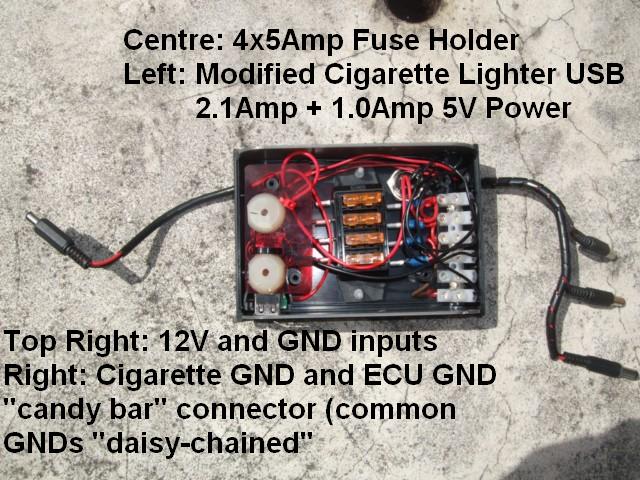
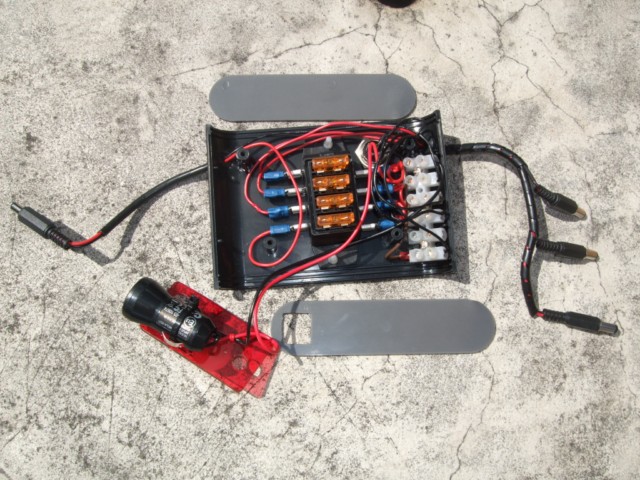
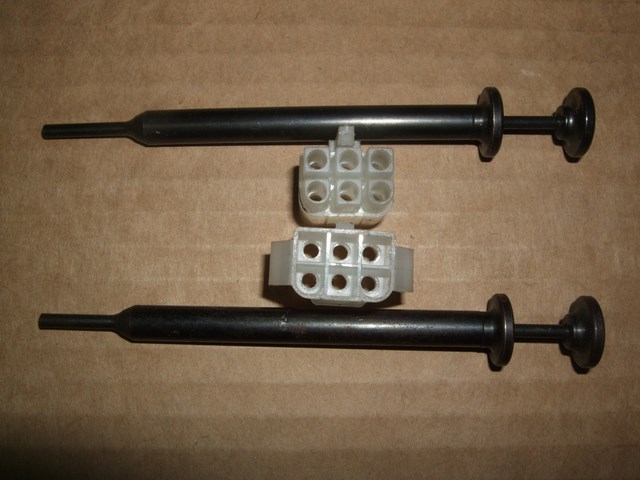
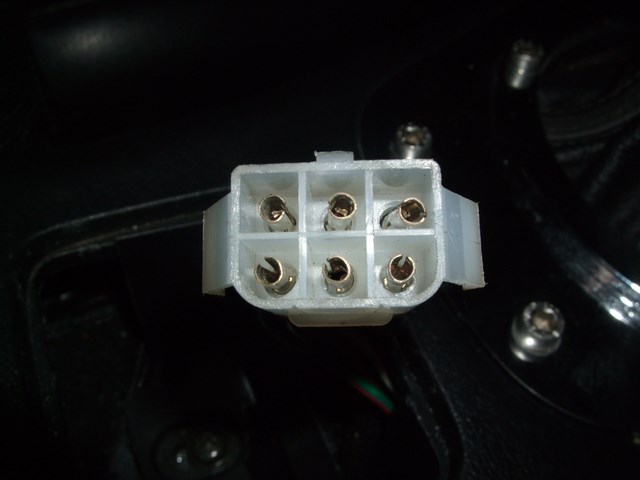
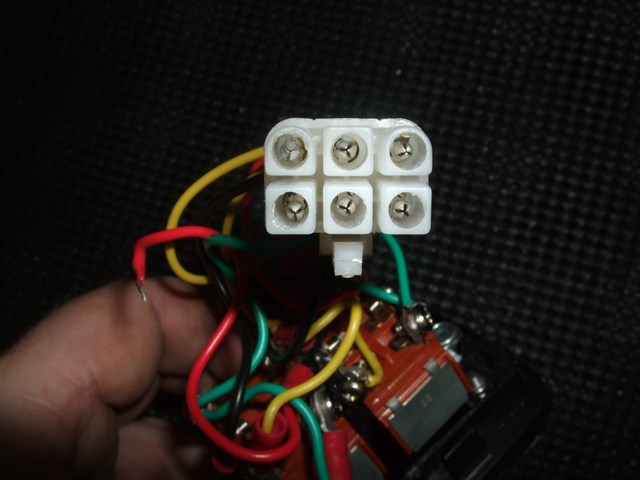
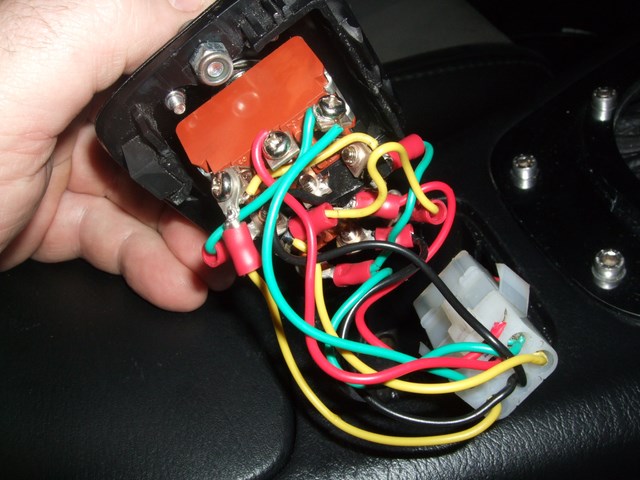
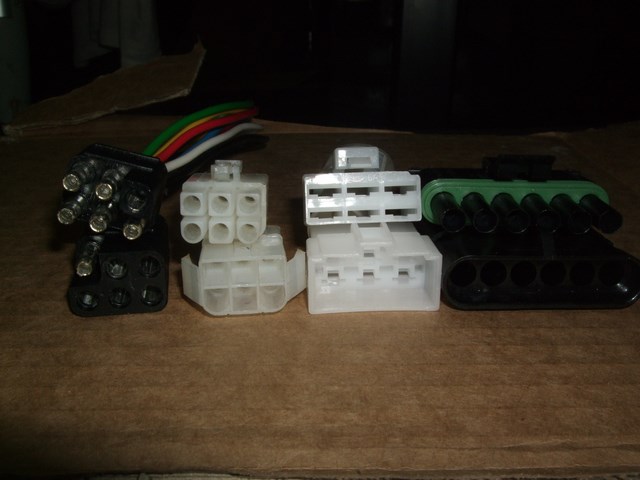
That's a 5x3 molex connector there! Each sensor/gauge module requires its own power supply and the oil pressure buzzer requires its own 12V input too so I needed at least 9 connections (plus it never hurts to have spares).
The AFR sensor module's 12V power is tapped from the demister since it's only active when the ignition switch is in the ON position, not during cranking (important if the battery is low) or when in the Accessories position (important since it wont drain the battery - the AFR sensor needs to be heated to operating temperature so it draws a lot of power and will drain the battery in the Accessories position).
The AFR sensor module's GND is connected to the e440's GND to ensure that there is no variation (important since the AFR analog output is fed into the e440).
All other power and GND connections are wired into the cigarette lighter.
The demister and cigarette lighter 12V taps contain 5 Amp fuses (tucked under the dashboard and easy to access).
Everything has been connected via plugs&sockets so it can be disassembled/reassembled.
Since I now had 2 PLX gauges, the DM-100 and DM-6, I decided to mount the DM-100 in the OEM water temperature gauge's location (the factory water temperature gauge, like the factory oil pressure gauge, is essentially a dummy gauge and even the linear resistor mod I did wasn't that great) and the DM-6 in the A-pillar.
The DM-100 has a 4-button USB remote that allows it to be configured and controlled so mounting it in the instrument cluster meant it could still be manipulated.
The DM-6 gauge has 3 touch-spots that allow it to be controlled so it needs to be accessable.
To fit the DM100 gauge into the instrument cluster I needed to do the following:
* remove the DM-100 bezel (this causes the gauge to fall apart so I had to be careful with it)
* cut a notch into the rear white plastic housing to slide the gauge's cable into (previously I had cut a hole there to pass the SpeedHut gauge's cables through)
* "Dremel-down" the two original gauge mount points so that the gauge sat at the right level (when the cluster is re-assembled, it must press down on the PLX gauge's plastic face edges to ensure that it sits securely in the gauge's "cup" - that's what the original PLX bezel was doing)
* add two rubber "strips" to ensure that the gauge was centred correctly
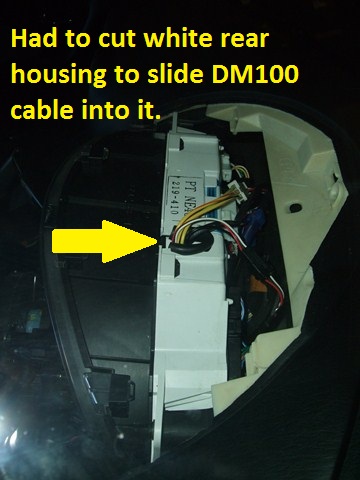
When I fired it up initially, without the engine running, the oil pressure thermostat buzzer started screaming loudly - when the engine's not running, there's no oil pressure - DUH! I wish I'd thought of that initially, then I would have wired up an LED instead. For now I've disconnected the power to the buzzer.
I'm not even going to try and fool you into thinking this install worked "right off the bat". There are a lot of connections required and it took quite a bit of trouble shooting to track down connectivity issues and lots of searching on the PLX forums to configure the system.
So how's the DM-100 gauge look?
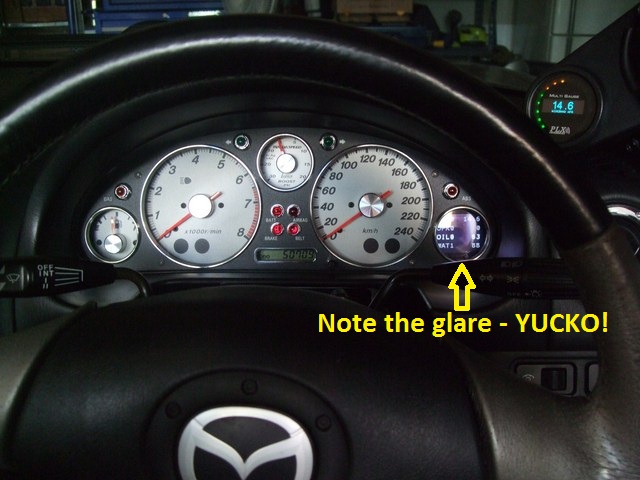
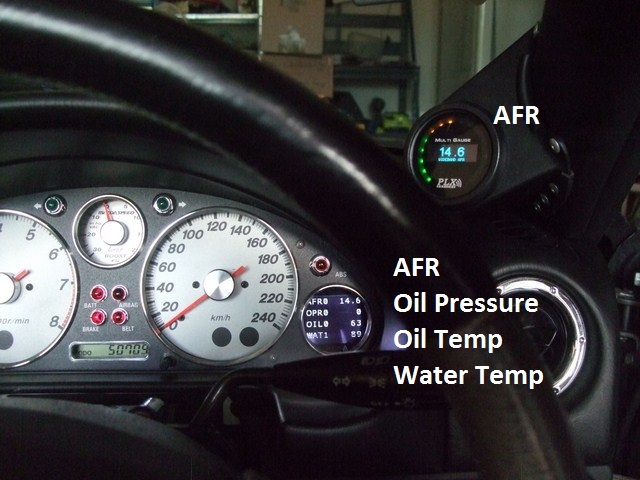
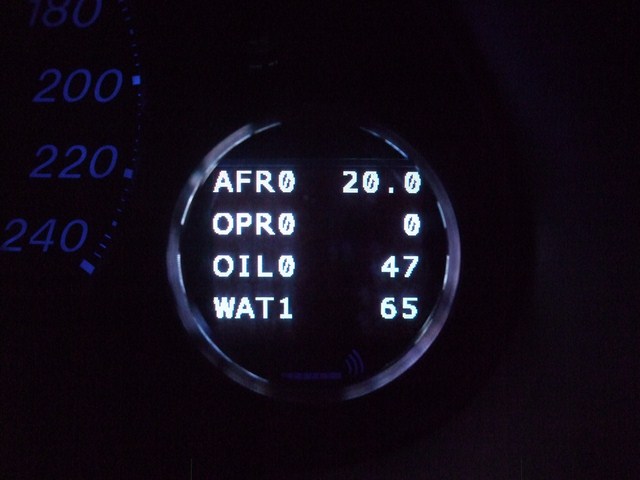
Note: Oil Pressure is set to zero since the engine wasn't running when these photos were taken.
Unfortunately glare is an issue with the DM-100 gauge. A polarised film over the gauge, or even polarised sunglasses may help - must try this.
When viewed from the driver's seat, not directly in front of the DM-100 gauge, you cannot see the extreme top left and bottom left corners - not really an issue.
Initially I configured the 4-parameter view to use increasingly darker shades of blue (to match my dashboard LEDs) which looked fantastic at night but was almost unreadable during the day so now I've simply set them all to white which is more readable (when there is direct sunlight on the gauge, shading it with your fingers is necessary which is easy to do in this location since your hand is typically in that spot on the steering wheel anyway).
I'll probably use this 4-parameter view mostly (I configured it to display AFR, Oil Pressure, Oil Temperature and Water Temperature) but there are other useful views:
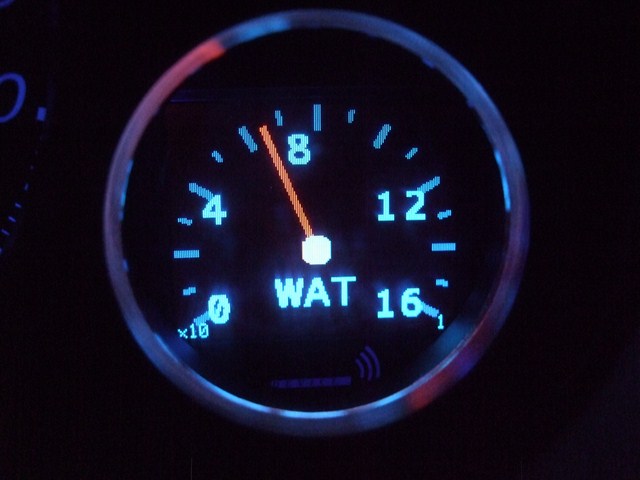
Single sensor analog view (unreadble with this colour scheme in day):
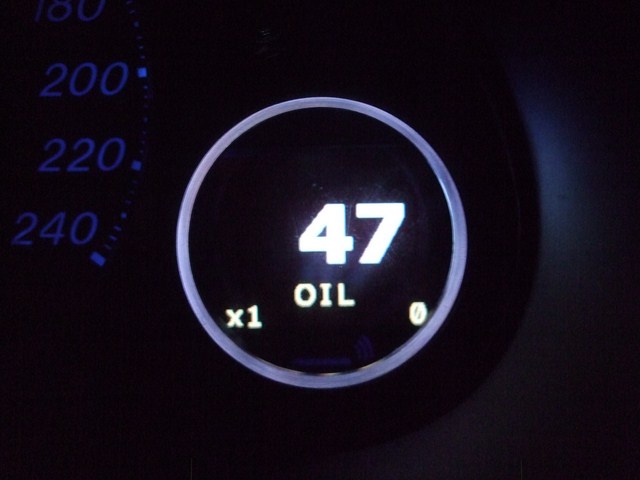
Single sensor digital view (easily readable in this colour scheme during the day):
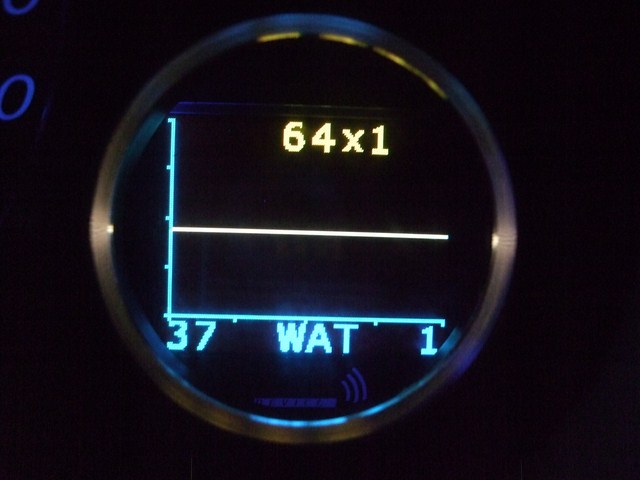
Single sensor realtime graph view (almost unreadable in the day):
There is also a customisable gauge for a single sensor but this is unreadable during the day. You can create your own animations for this or download existing ones from PLX.

You can configure the DM-100 sensor to poll 4 OBDII values too.
Unfortunately Battery Voltage is not reported by our OBDII port
The Adaptronic e440 passes a dummy/fixed AIT value to the factory ECU so that value is useless for me.
Water temperature IS reported so I really didn't need to install the Maruha adapter for the water temperature sensor, I could have used the OBDII value. I may purchase another PLX temperature sensor and install that in the Air Intake or somewhere useful, then wire it to my new harness.
There's not a lot of useful information so I've configured the OBDII polled sensors as:
* Water Temperature
* Narrowband O2
* Engine Load
* Engine Timing
The USB remote can be a bit finicky at times. The right button is tricky to press at times, the other 3 are OK though.
What about the DM-6 gauge?
The DM-6 gauge can display information from a single sensor, any of the sensor module sensors or OBDII monitored sensors (these can be cycled through using the gauge's left-most touch-spot). The current digital value, real-time plot and max/min values can be displayed (these can be cycled through using the right-most touch-spot).
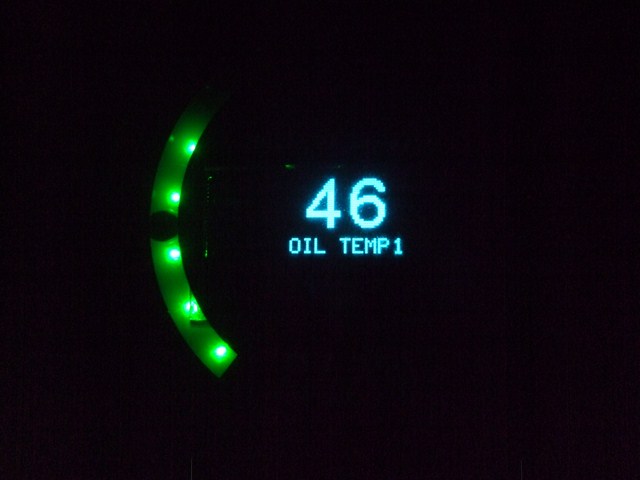
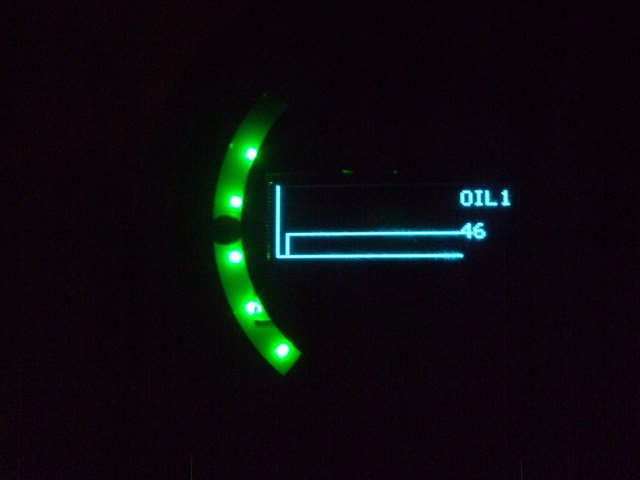
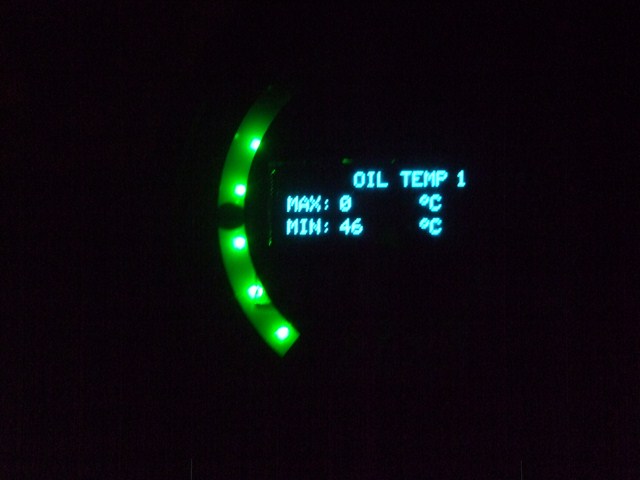
Note: The MAX value is set to zero here since I had just turned the engine off, then on again without starting it.
This gauge IS readable during the day.
Watching the AFR real-time plot is interesting.
Here's todays reported values, first values are hot@Idle, second are hot@3000rpm - looks OK:
* Oil Pressure(psi): 25-27 61-62
* Oil Temp(C): 92-95 88-91
* WaterTemp(C): 87-89 82
Was it worth it?
I think so.
* I'm not a fan of gauges scattered throughout the cabin since many end up in hard-to-view locations so they're virtually useless anyway.
* These gauges are mounted in easily viewable locations and I can see a lot of values all at once.
* I've now gotten rid of another useless gauge in my car and replaced it with something of use.
* Having immediate access to Min/Max values is useful.
What could be improved?
* Fix the glare issue on the DM-100 gauge.
* Make the USB remote less finicky. I think I'm going to make something a bit more mechanical/reliable and mount it in my foglight switch location since I now no longer have foglights and don't need it.
* Implement Day/Night mode to allow sexy colours at night and boring white/readable colours during the day.
