Here is another great resource
http://www.miata.net/garage/timingbelt.htmlAnd a list of torques
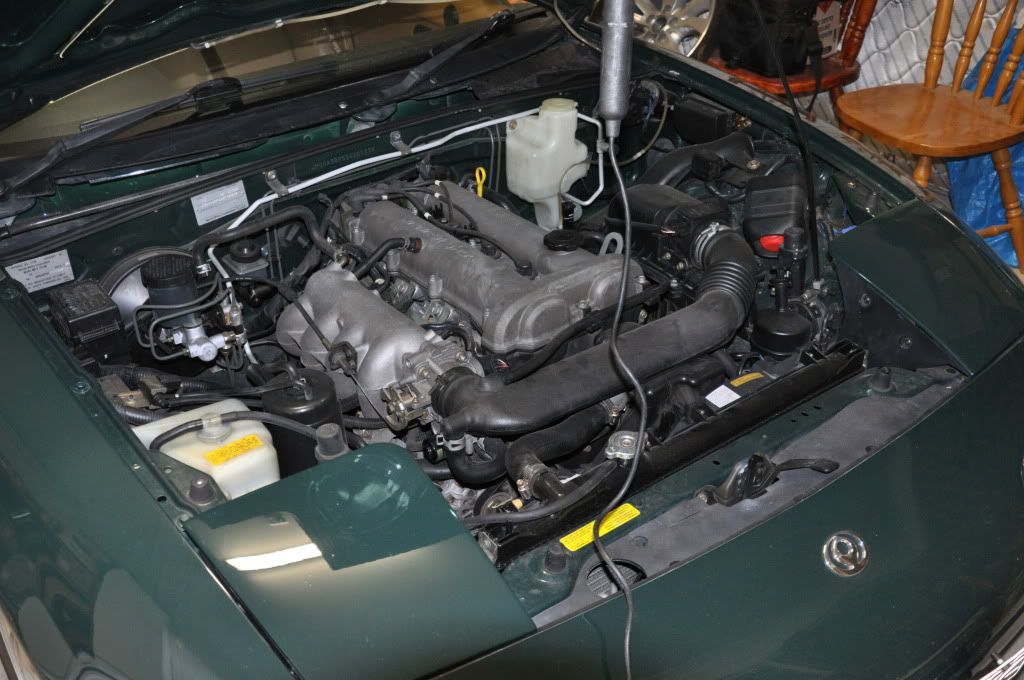
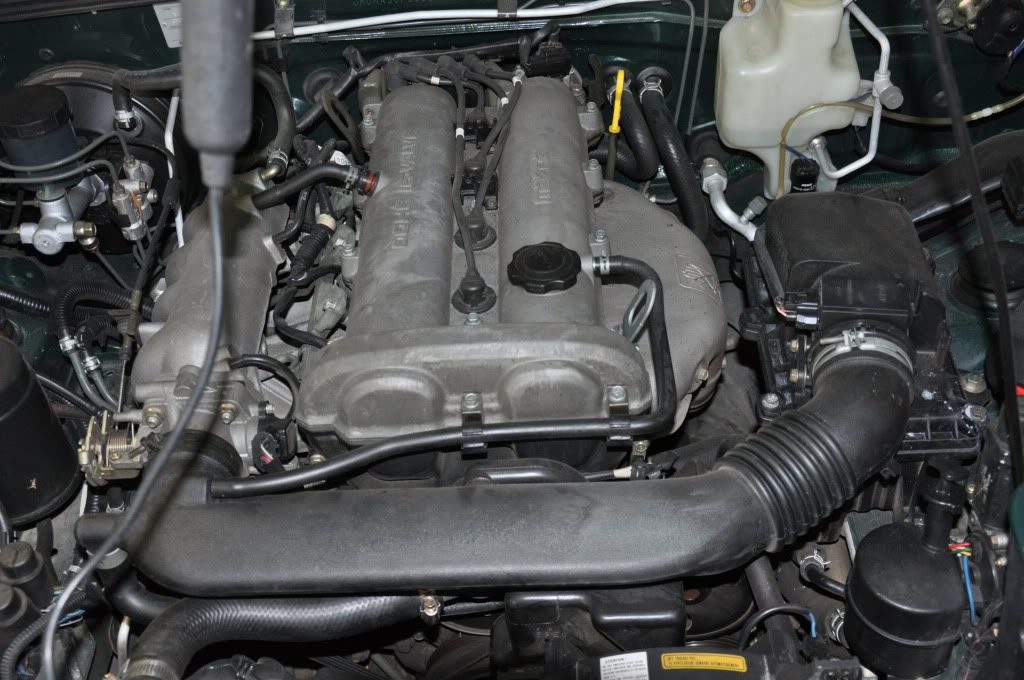
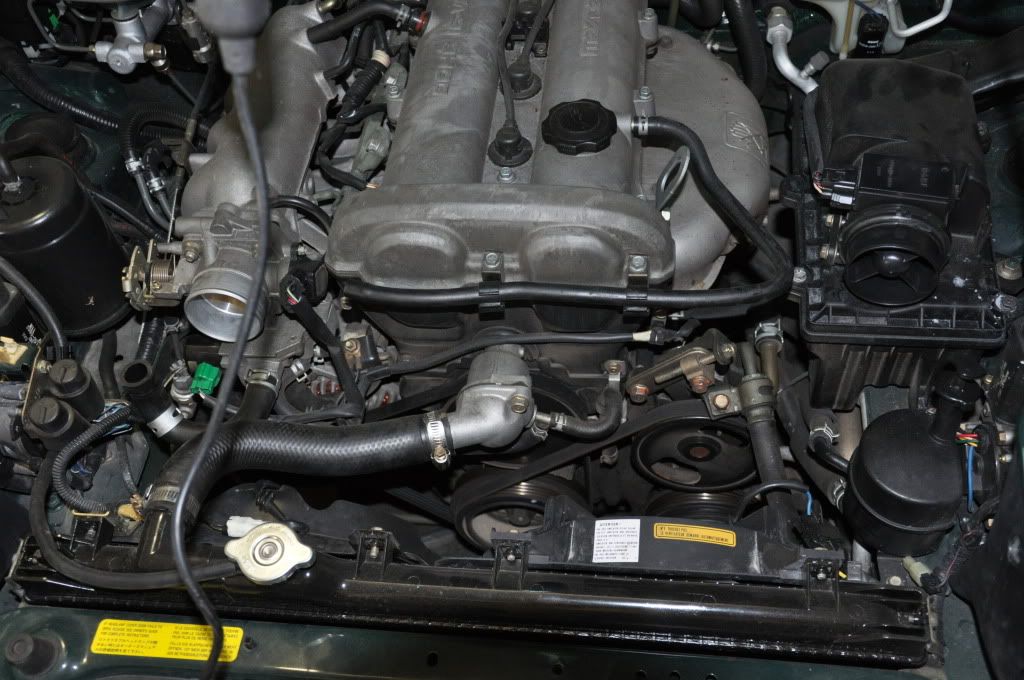
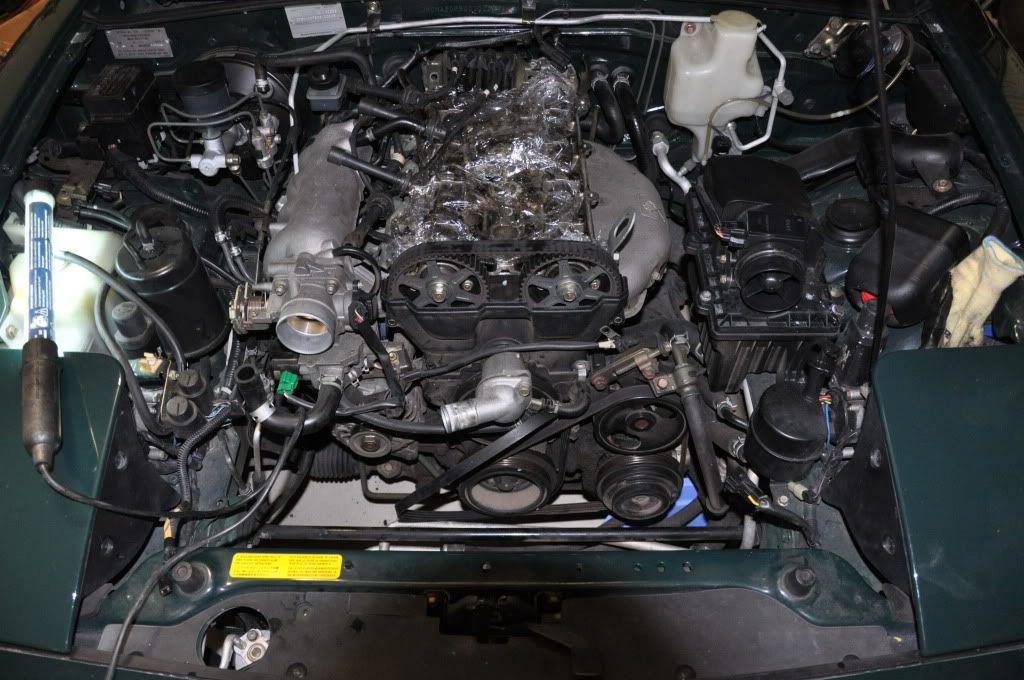
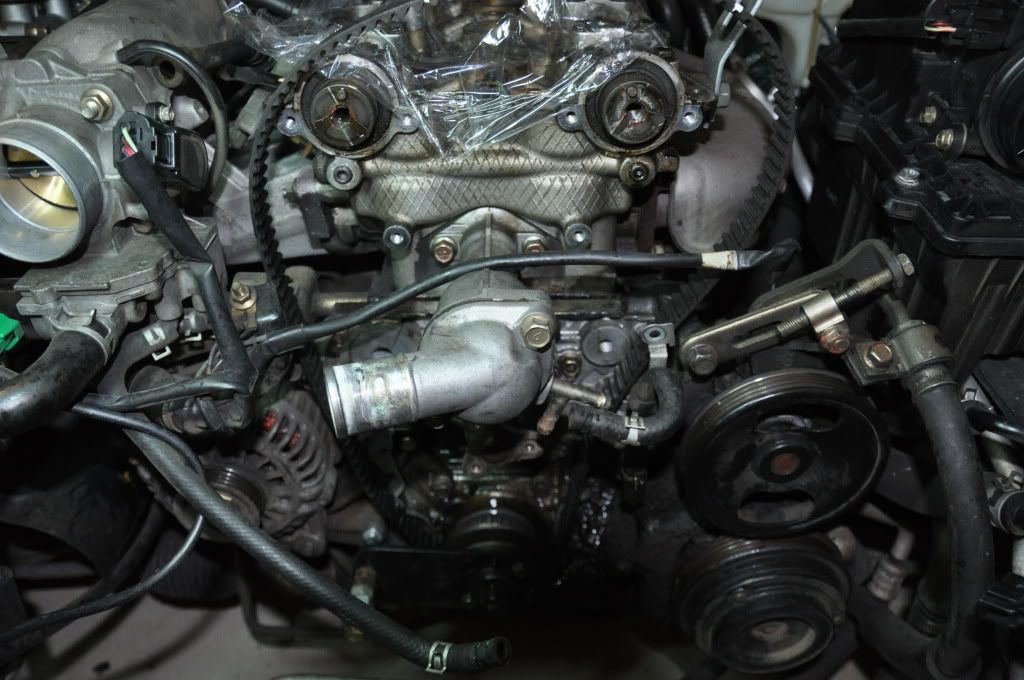
http://www.miata.net/garage/torque.htmlAnyway, I continued taking parts and covers off the front. Before that the PS/AC belt came off after loosening three bolts on the PS pump. After that the water pump pulley and the cover below it.
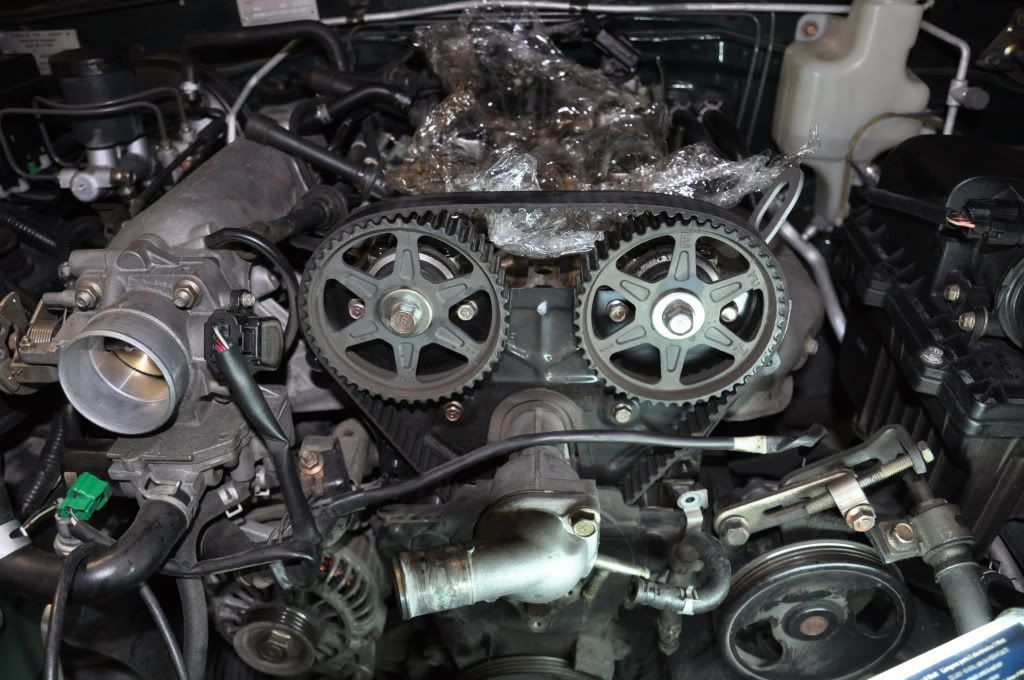
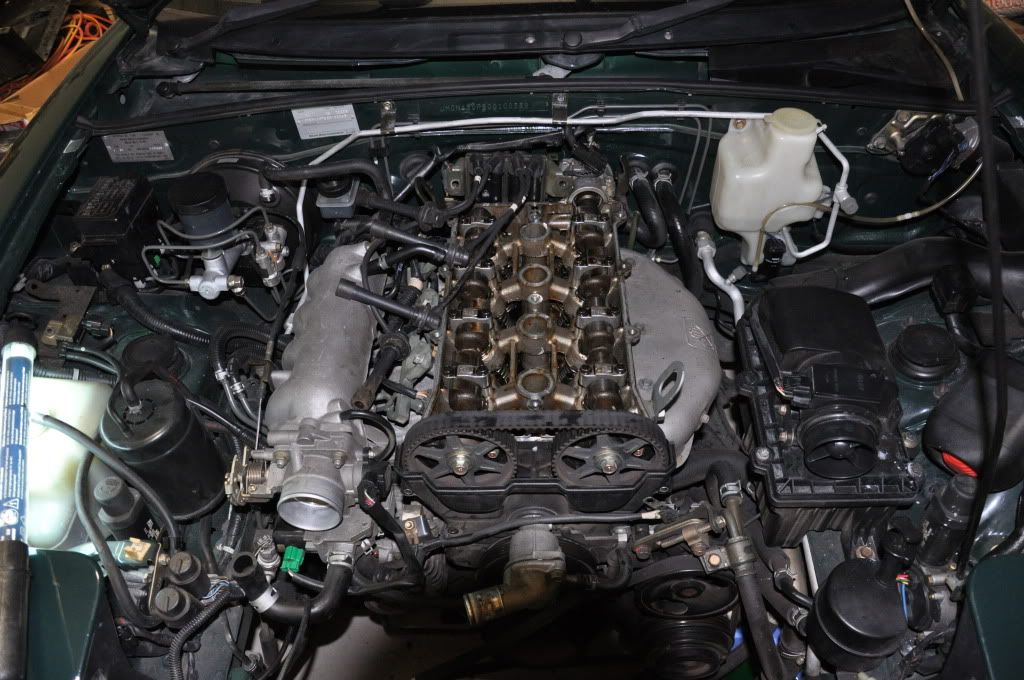
In all 3 plastic pieces make up the timing belt cover. I took off the remain two but before I did that I inspected and marked the cam sprockets
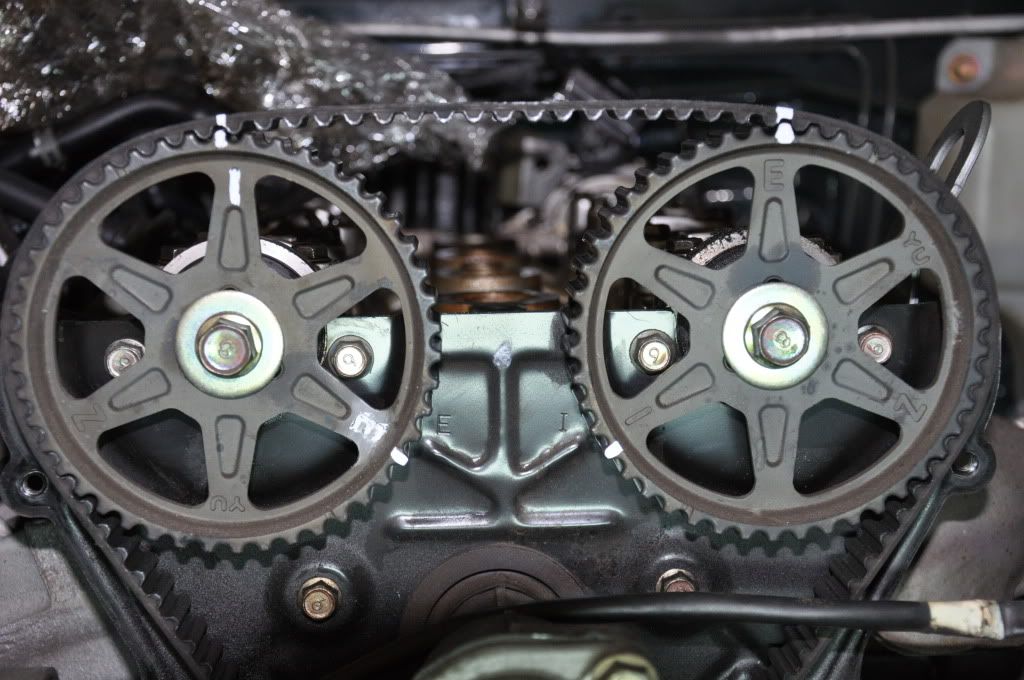
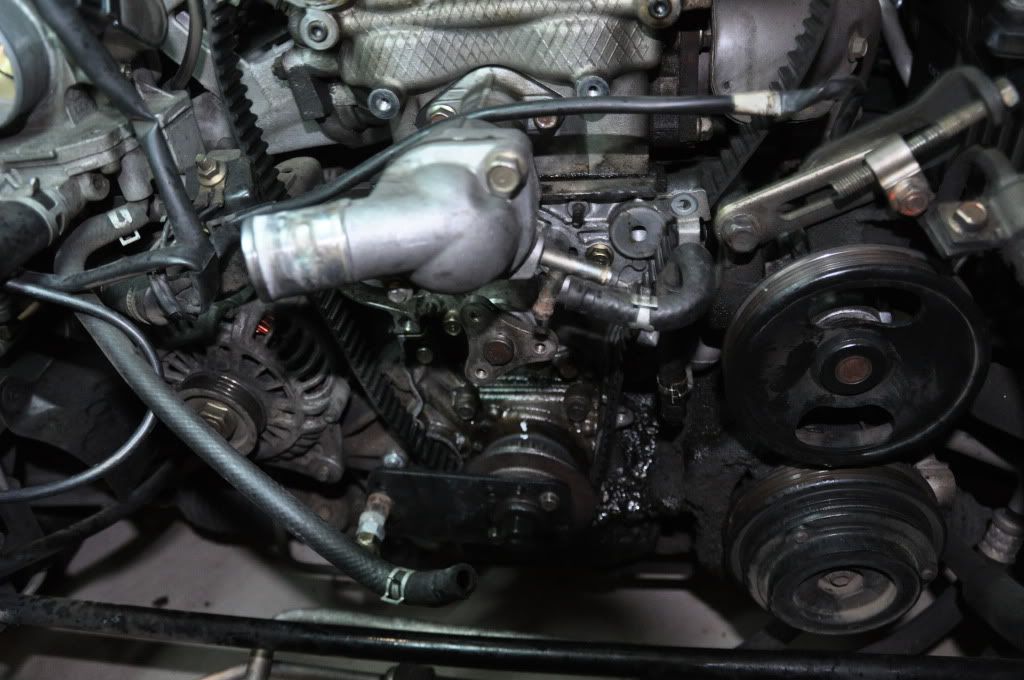
As you can see from the above image 19 teeth separated the two marks on the inlet and exhaust cam sprockets. As you may also noticed the belt was quite loose maybe because of belt stretch.
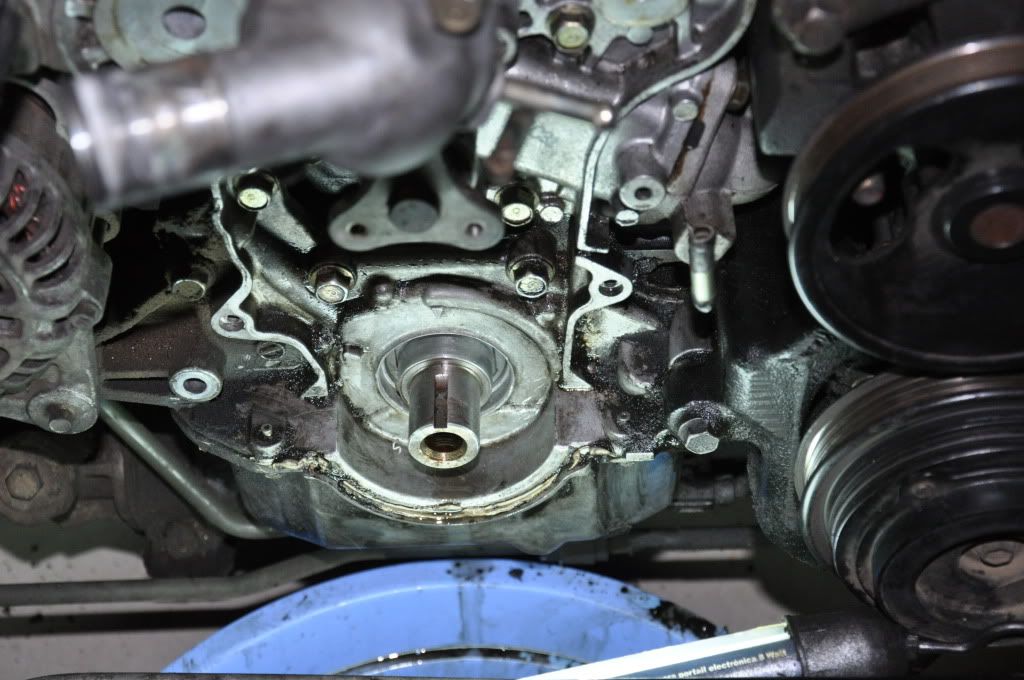
A view of the crank sprocket which was at TDC
After this I removed the cam sprockets. They were probably the tightest fit and needed my son to help me hold each camshaft with an adjustable spanner. I also removed the black plate below the camshaft sprockets.
By the way I tried the trick of holding the two camshafts with two spanners and a C clamp. After messing around for 20 minutes I gave up. Its a stupid idea and needs 4 hands and is completely unnecessary because as long as you follow a few very simple principles putting the belt back on and aligning everything is dead easy.
Then after removing the odd hoses and cables in the way I attached this great bracket that allowed me to tie the crank to the alternator pivot point to stop it rotating. The bracket was lent to me by a forum member. Anyway it can be bought from
http://www.rennenmetal.com. It made removing the crank bolt surprisingly easy.
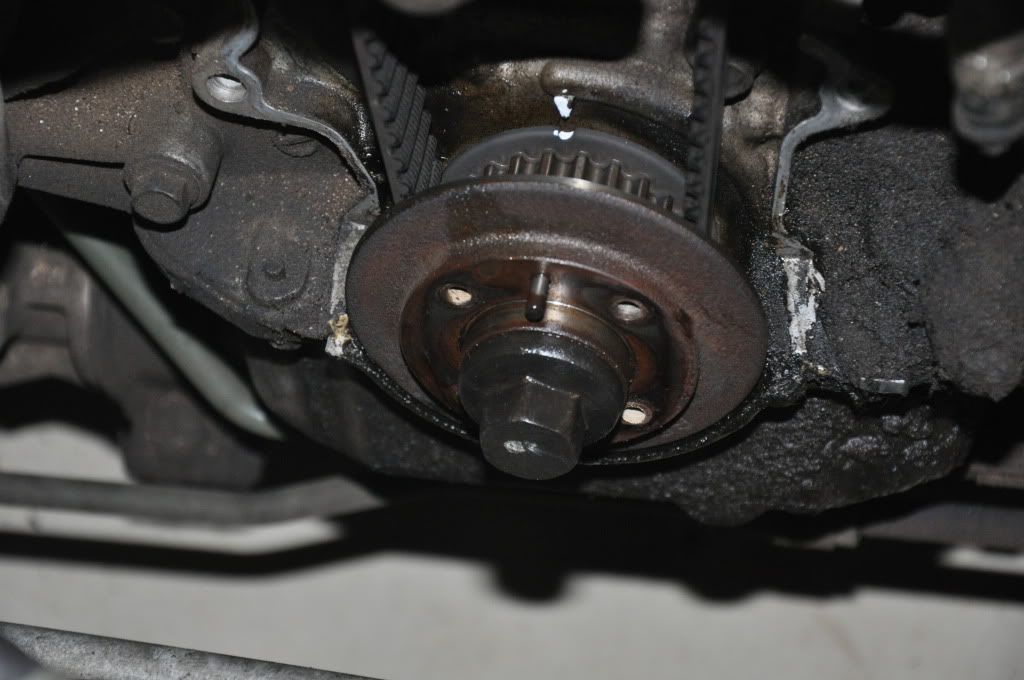
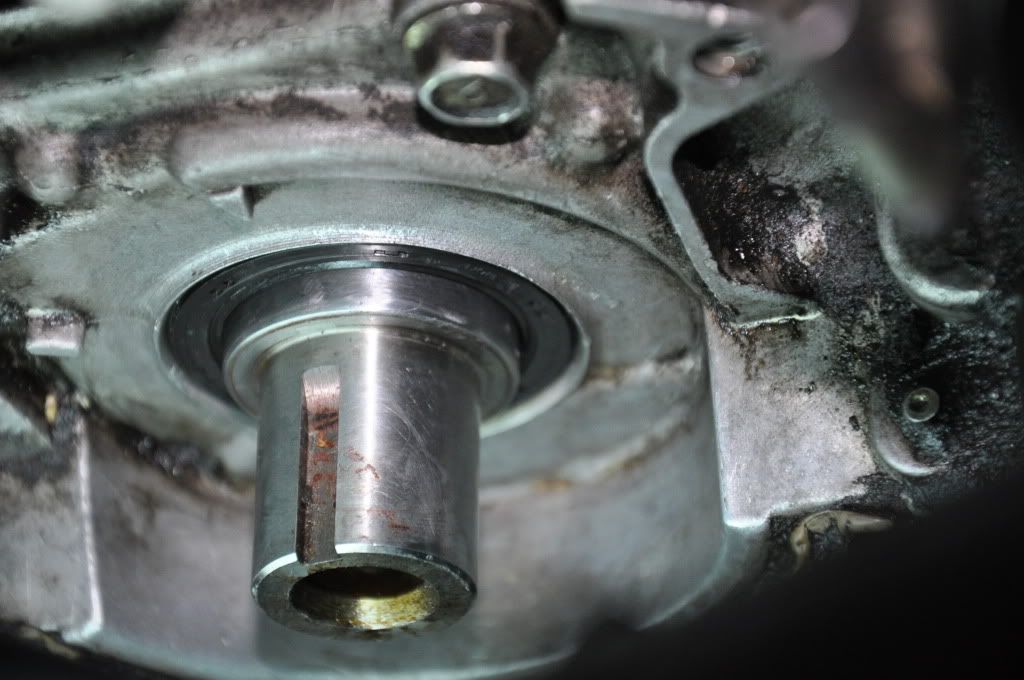
After removing the crank bolt I wiggled a steel hub off the front of the crank sprocket and took out the key. After that the crank sprocket came off easy
All the while I had been dreading undoing the crank bolt the most. All I did was use a good sidchrome 21mm socket and a breaker bar with an old vacuum cleaner pipe over it to make the moment arm about 1m long. Then I carefully braced myself and pulled. The bolt moved slowly but surely. I removed the seal by carefully drilling in it and inserting a screw and pulling. On reflection its something I would advise great caution in. It is probably a better idea to apply a screw driver wrapped in duct tape on the outer periphery of the seal near the top. If you scratch this area it will probably not leak while if you scratch the crank deep enough it can leak.
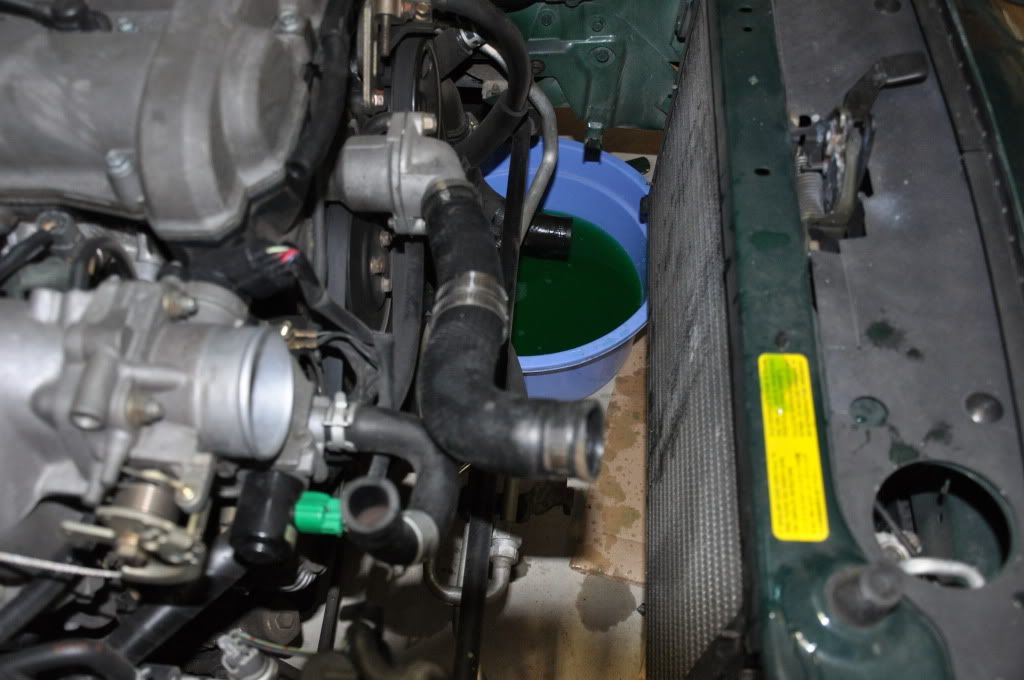
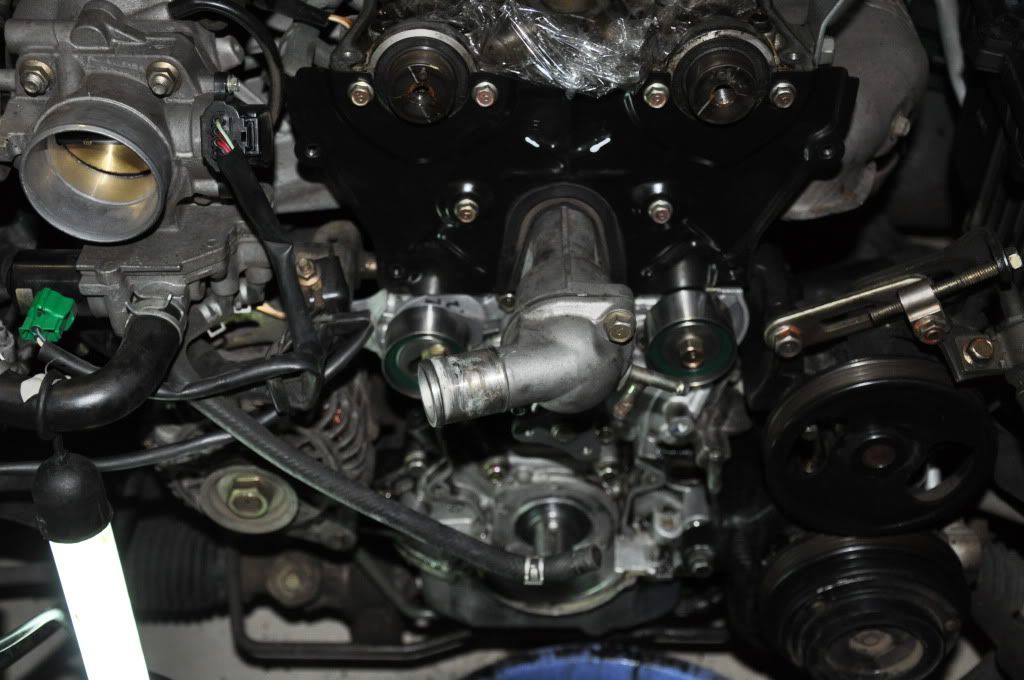
After that the water pump came off. It was fairly easy including undoing the bolts for the inlet pipe.
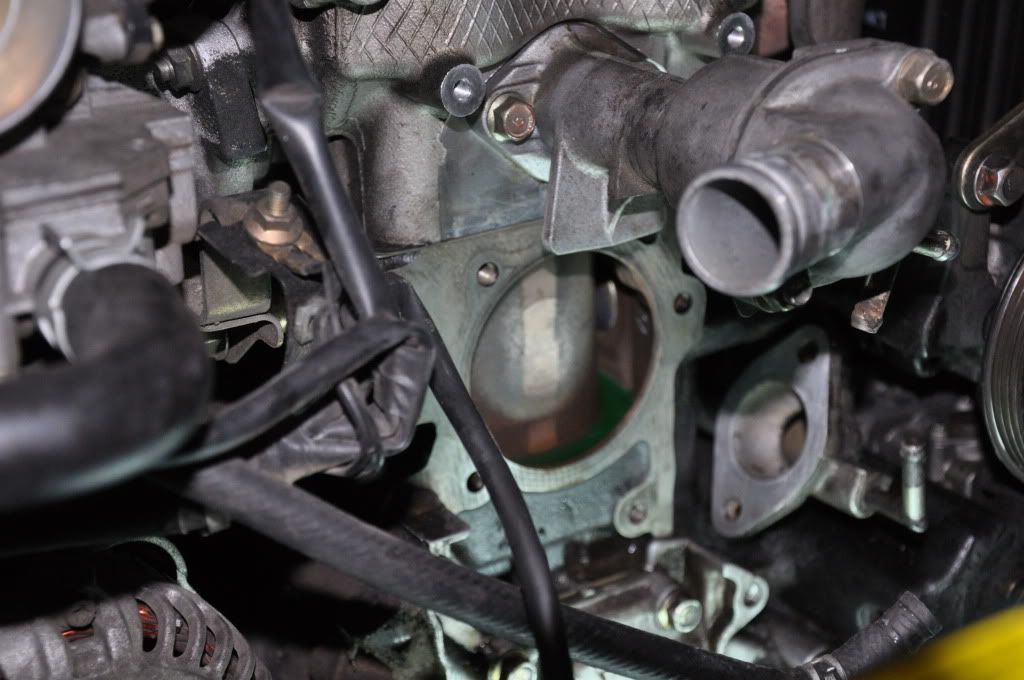
To pull the inlet pipe forward so I could at the O ring on the heater return pipe (directly behind it) I undid the pivot bolt on the power steering pump and moved it out of the way. Changing the O ring was easy.
After cleaning the mounting surfaces I added gasket silicon to make the gasket stick to the new water pump and installed. Before I did that I pushed the inlet pipe back towards the fire wall so it would engage with the heater pipe.
Then I pushed the new seal in. Before I did it I applied some oil on the inside of the seal and the slightest bit of oil on the periphery. I then pushed it in by hand and then lightly tapped it till it bottomed out.
.
Then came the black cover with the timing marks that fits under the cam sprockets. Then I fitted and torqued the idler pulley and then the tensioner pulley and spring. I pushed the tensioner pulley as hard to the left as possible and lightly tightened the bolt.
After this came the cam sprockets. At this point I made sure the crank was at TDC and installed the crank sprockets back on the end of the camshafts using the little pin as a guide and making sure I was installing the one I had taken off the inlet cam shaft and same for the exhaust side.
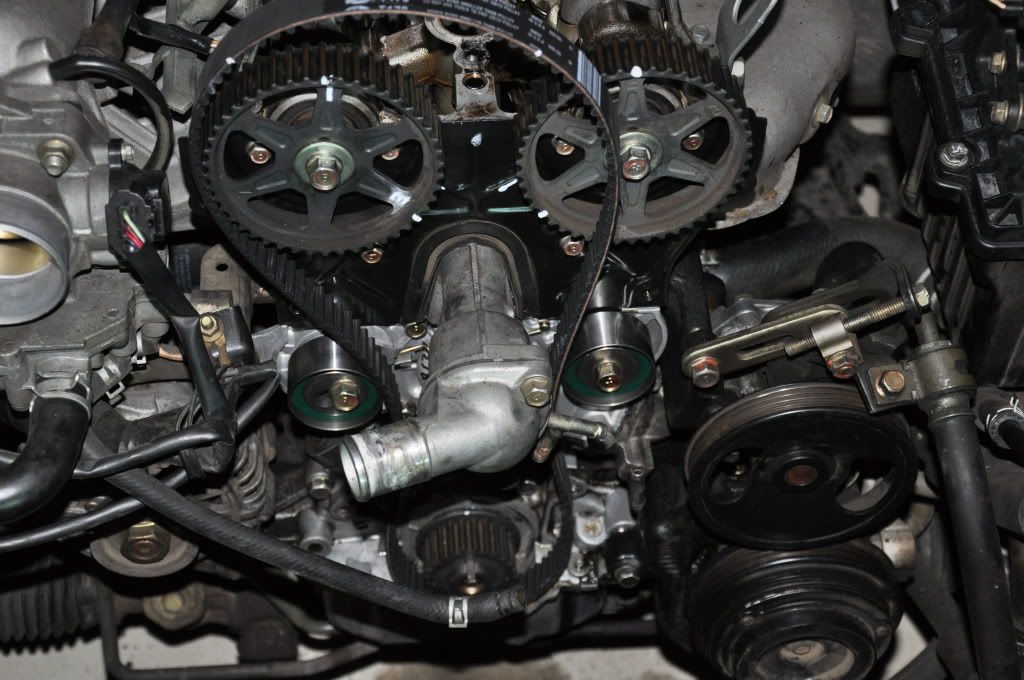
At this point both the cam shaft pulleys were slightly askew. Following the advice from miatamecca I turned the crank sprocket to line up with the mark above it so it was at TDC and wrapped the timing belt around it and held it in place with folded cardboard stuck under the crank sprocket. Then I fed the belt under the idler pulley making sure there was no slack between the crank and idler. Then holding the belt in my right hand I used a spanner to turn the exhaust cam sprocket so its marks lined up and placed the belt over it. Then I held the belt on to the cam sprocket. At this point the belt was taut all the way from the crank to the exhaust cam sprocket. Then using my elbow to place pressure on the exhaust cam sprocket I used an adjustable wrench on the inlet cam to move the inlet cam so its markings lined up placed the belt over it and held it with my left hand. I counted the teeth between the markings on the two cam sprockets they were 19. Then I fed the belt around the tensioner pulley and loosened its bolt. The spring pulled any slack out of the belt. At this point I let go of the belt and pushed against the tensioner pulley a bit more and tightened it. Then I checked the marks
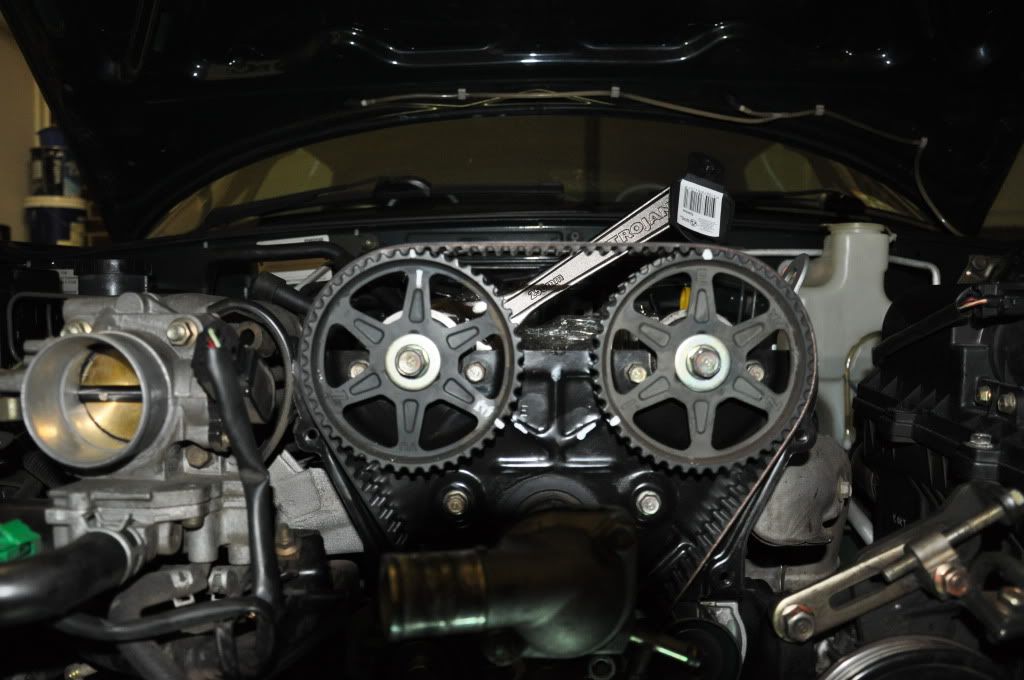
They all lined up. The next day I turned the crank clockwise four revolutions to make sure the belt was properly located. Then I installed the key and the pulley and torqued the nut.