Emily's 04 VR SE
Moderators: timk, Stu, zombie, Andrew, The American, Lokiel, -alex, miata, StanTheMan, greenMachine, ManiacLachy, Daffy
- Aussie Stig
- Stig
- Posts: 540
- Joined: Wed Aug 10, 2011 9:14 pm
Re: Emily's NA6 V-Special Roadster
Let us know if the Mazdaspeed mounts cause unwanted harshness.
It is a known fact that 50% of people are of less than average intelligence
-
- Racing Driver
- Posts: 1720
- Joined: Wed Aug 03, 2011 5:57 pm
- Vehicle: NB SE
- Location: Sydney
Re: Emily's NA6 V-Special Roadster
Matt wrote:Didn't see an oil pick up when you were putting the sump sealant on. Did you remember to fit it?
hahahahahahaha oh dear that would not have been funny if that was forgotten. No it definitely went in, here is a pic of the mx5 vs astina.
Aussie Stig wrote:Let us know if the Mazdaspeed mounts cause unwanted harshness.
Will do, but I reckon even new stock replacements would be more firm, due my my stock ones being so used and flexible and cracked haha.
-
- Racing Driver
- Posts: 1720
- Joined: Wed Aug 03, 2011 5:57 pm
- Vehicle: NB SE
- Location: Sydney
Re: Emily's NA6 V-Special Roadster
Fuel Pump Replacement
Quite a few reasons to do this, hoping this was the last thing that was causing my difficult starts.
Also figured a bigger one couldn't hurt with the new larger engine, and I do have more plans power wise
Step 1: mark fuel lines, would not be good to get these mixed up
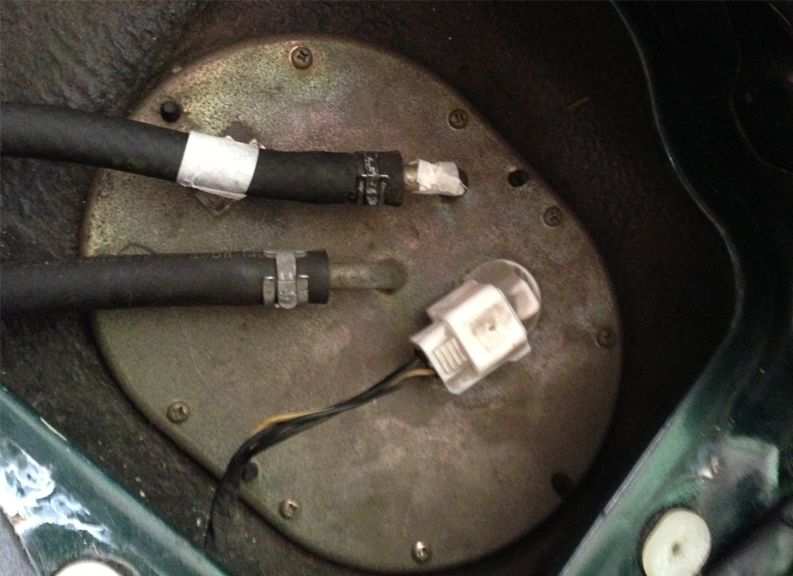
Step 2: couldn't get the damn thing off, and didnt fancy pointing the heat gun at the fuel tank.
I dipped some rags into a cup of boiling water and wrapped them around the hose. Worked great!
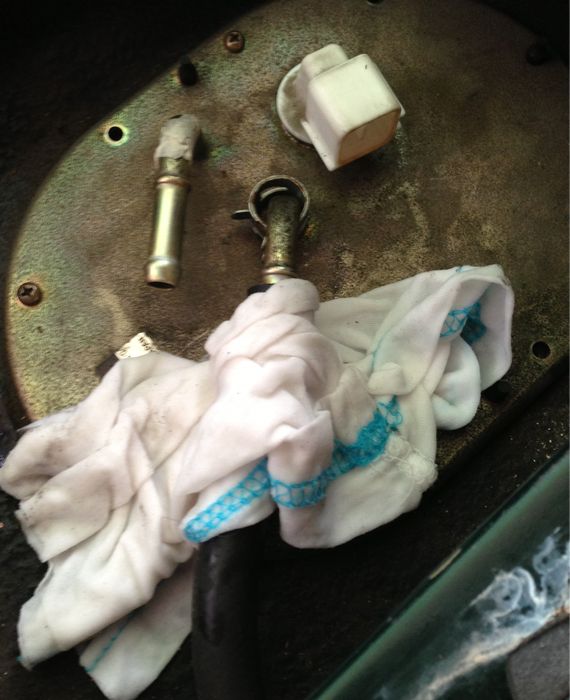
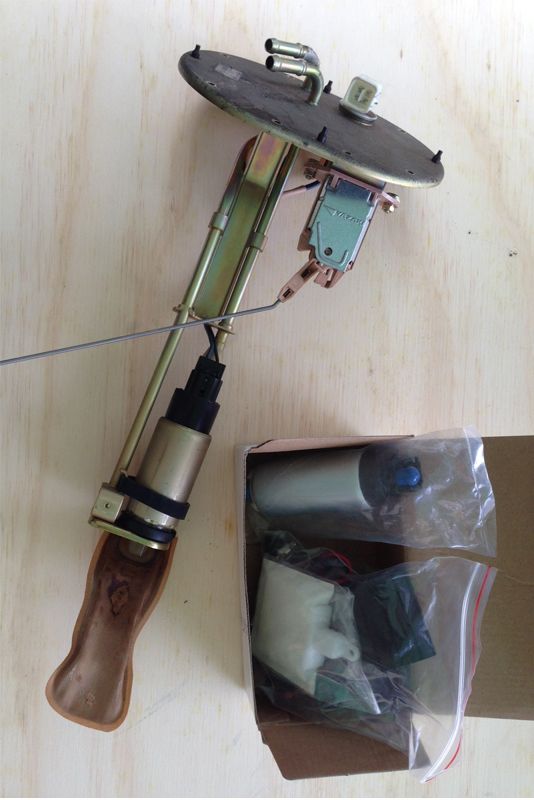
Stock fuel pump assembly and new kit.
Heaps of crap around the plug
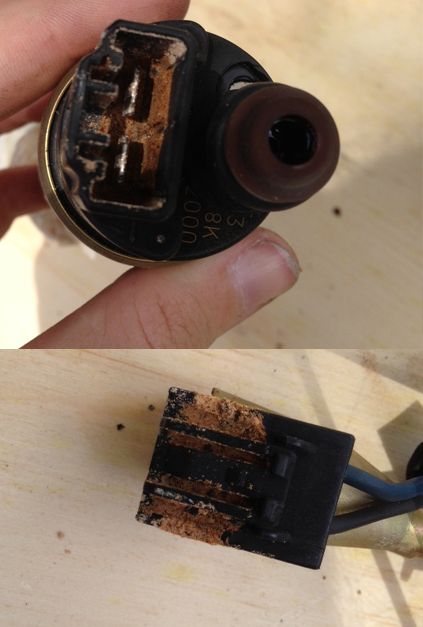
This is where the problems started. This was suposed plug and play kit, but really didn't fit at all.
I first tried transferring to the new pump, the 3 stock clips that secure the pump to the metal spout.
That worked ok, but when the new pump was pushed up into the bellmouth, the seal was very loose and the total length was different, so the lower retaining metal base didn't fit back on.
So I had to bring out the angle grinder...
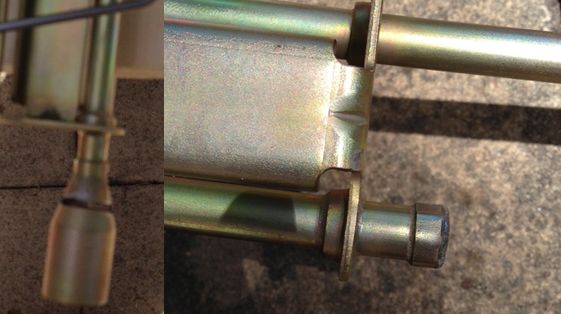
I cut the majority off with the grinder, then used a dremel and hand file to sculpt a barb on the tip.
The kit came with a hose and 2 clamps, and after abit of google-image research, alot of other Miata fuel pumps are secured like this, so it should be ok.
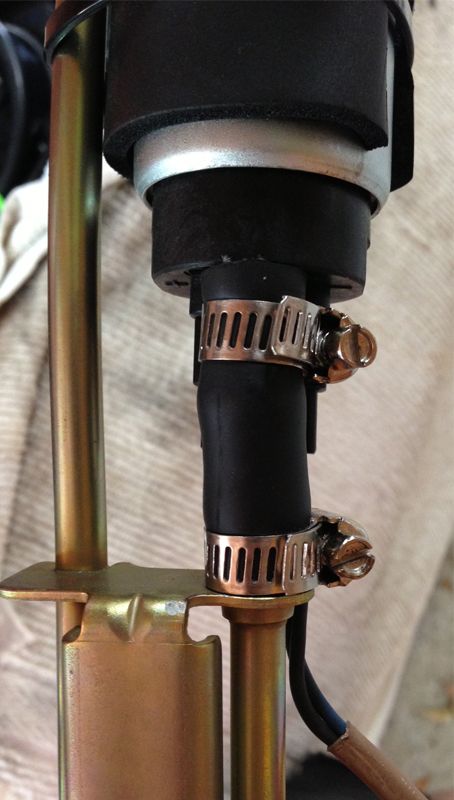
Also, the little filter bag was the wrong orientation, so when I tried to lower the assembly back into the fuel tank, it hit the side and I could not get the lid closed. So I had to reuse the original bag :/
Does anyone have any experience with this? Am I completely insane and its on upside down inside out and thats why it didnt fit?
Oh yeah, why the hell would my fuel tank have wreckers writing on it...
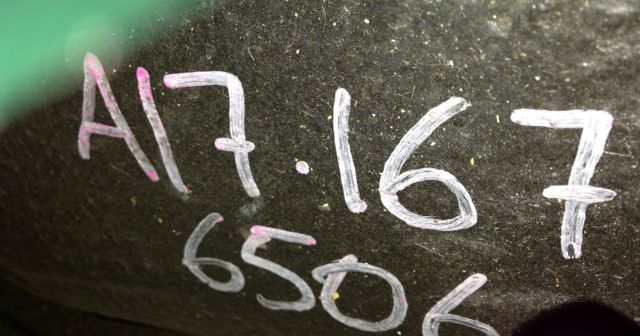
-
- Racing Driver
- Posts: 1720
- Joined: Wed Aug 03, 2011 5:57 pm
- Vehicle: NB SE
- Location: Sydney
Re: Emily's NA6 V-Special Roadster
Engine Build pt. 2
I put on the fuel rail and injectors and inlet manifold next.
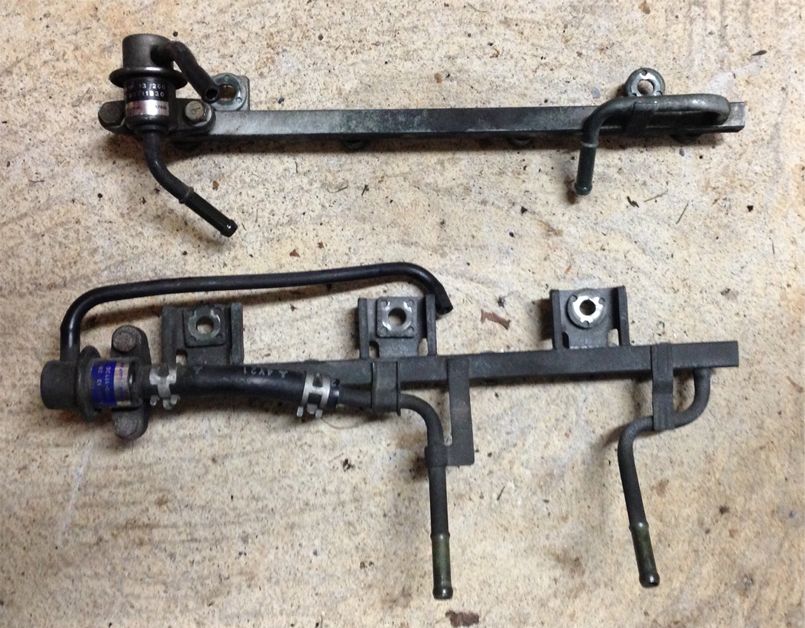
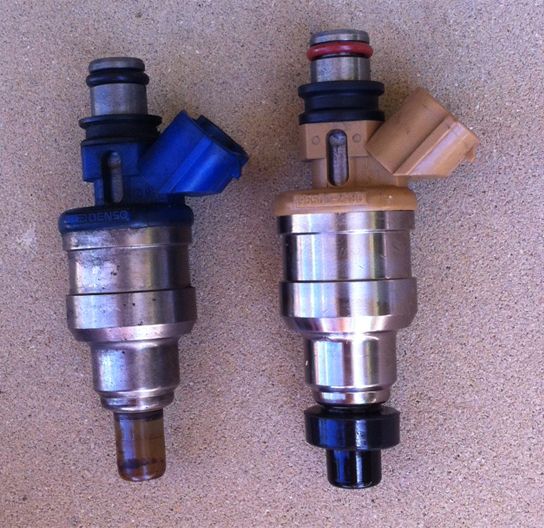
I sourced some completely refurbished NA8 injectors from an American Miata,
here is a comparison between old and new
There is quite noticeable differences between NA6 and NA8 fuel rails.
You could technically use the Astina fuel rail, but it meant bending the fuel hard lines, and I didnt really want to do that,
so I sourced this from a Japanese Roadster, because
It was only 300 yen
6 vs. 8
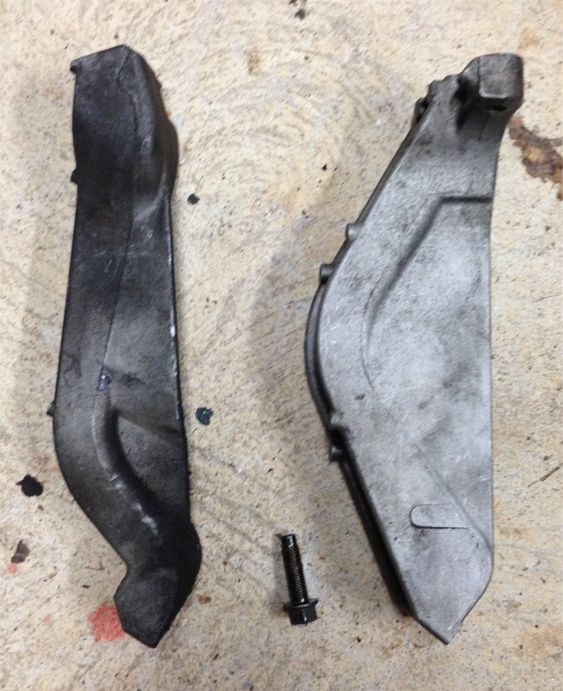
Another random part you have to get when swapping to 1.8 is the inlet manifold support brace.
6 vs. 8
You will have to buy 2 long bolts to secure it to the actual manifold, the NA6 only has 1 and its too short.
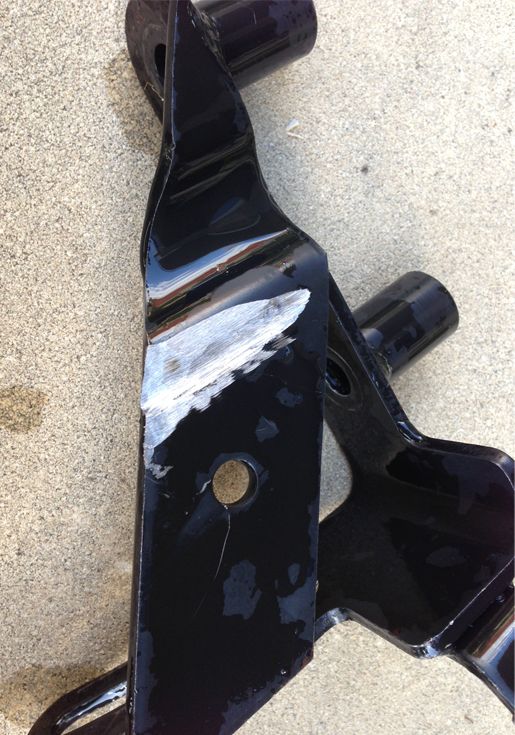
I am using my NA6 water pump and alternator mounting bracket.
The bracket has to be ground away to fit under the NA8 inlet manifold.
- taminga16
- Speed Racer
- Posts: 3617
- Joined: Thu Aug 06, 2009 12:22 am
- Vehicle: NC
- Location: Central Victoria
Re: Emily's NA6 V-Special Roadster
Emily,
I am really enjoying this thread, well doing (it is ongoing after all) and the dirt under the fingernails, enough to drive a young boy mad and an old man such as myself to his list of stuff that needs doing.
Best.
Greg.
I am really enjoying this thread, well doing (it is ongoing after all) and the dirt under the fingernails, enough to drive a young boy mad and an old man such as myself to his list of stuff that needs doing.
Best.
Greg.
When you turn your car on, does it return the favour?
-
- Racing Driver
- Posts: 1720
- Joined: Wed Aug 03, 2011 5:57 pm
- Vehicle: NB SE
- Location: Sydney
Re: Emily's NA6 V-Special Roadster
thanks! yeah its pretty on going, and i think it will never be finished, because i'm always adding things to my list of things I want to do to it haha.
- taminga16
- Speed Racer
- Posts: 3617
- Joined: Thu Aug 06, 2009 12:22 am
- Vehicle: NC
- Location: Central Victoria
Re: Emily's NA6 V-Special Roadster
emily_mxV wrote:thanks! yeah its pretty on going, and i think it will never be finished, because i'm always adding things to my list of things I want to do to it haha.
Learn a new thing every day, for we are far too long looking at the lid.
GRB.
When you turn your car on, does it return the favour?
-
- Racing Driver
- Posts: 1720
- Joined: Wed Aug 03, 2011 5:57 pm
- Vehicle: NB SE
- Location: Sydney
Re: Emily's NA6 V-Special Roadster
Engine Build pt. 3
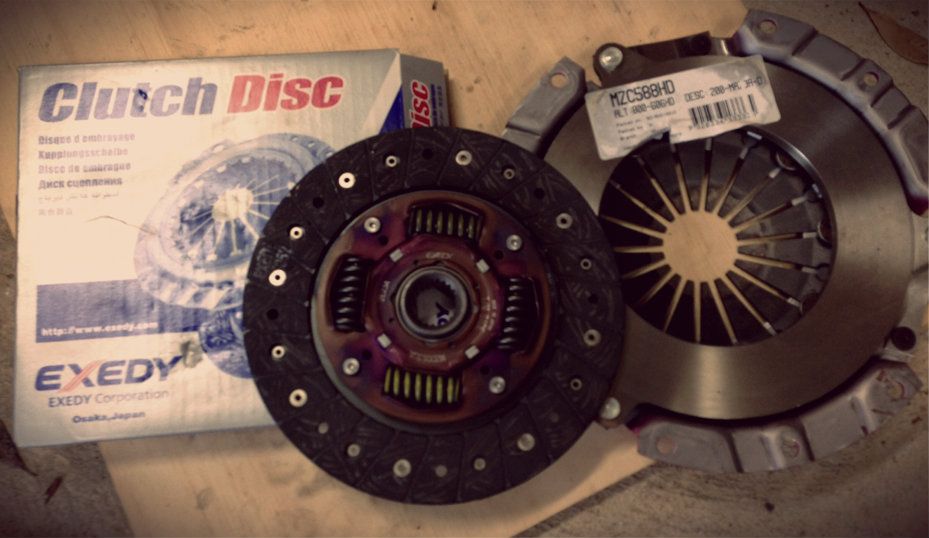
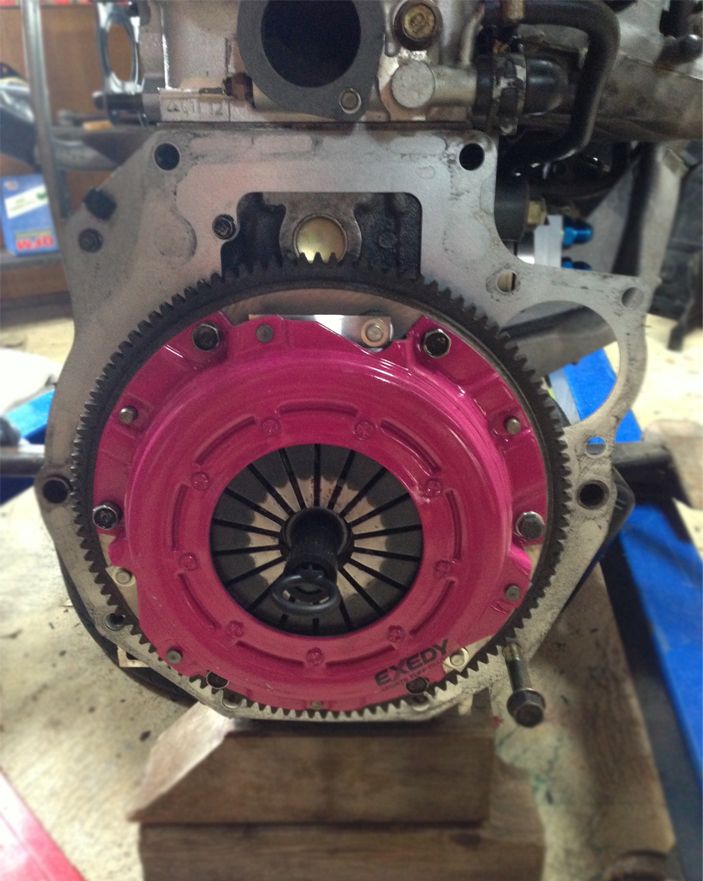
New clutch! I chose an 1.6 Exedy Sports Tuff, because I wanted something that could handle more power, and the pedal feel isn't hugely different from stock.
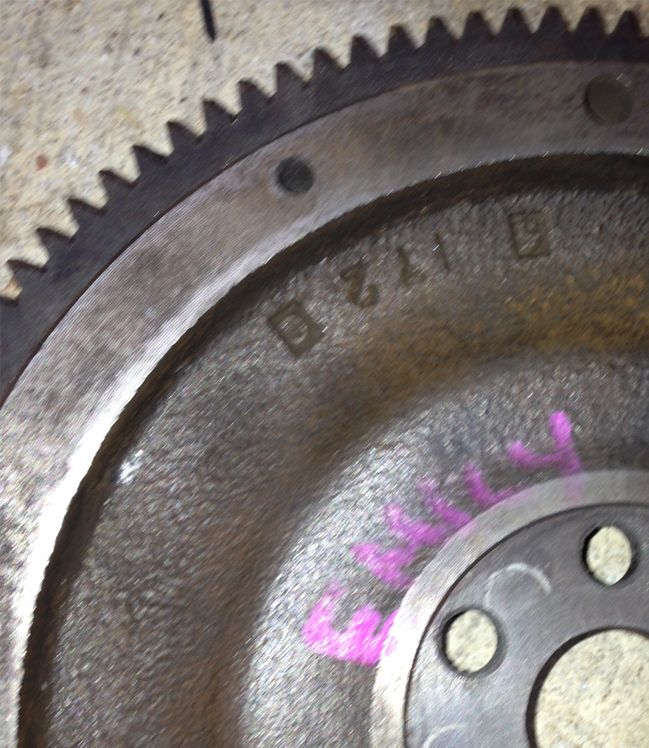
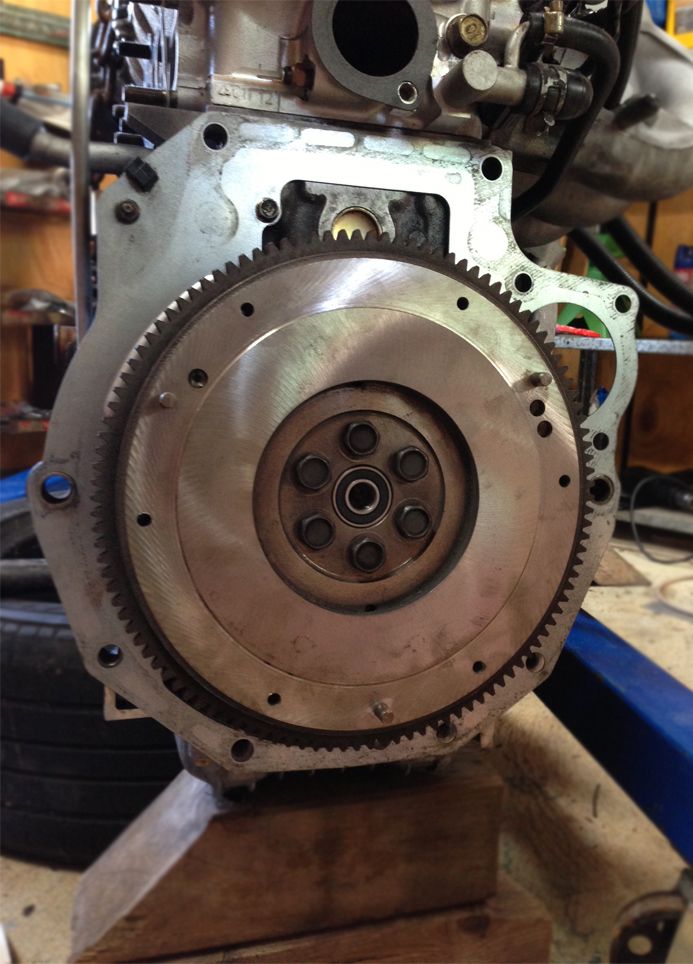
I am using my NA6 flywheel, which I had machined at Mania, came back tagged haha
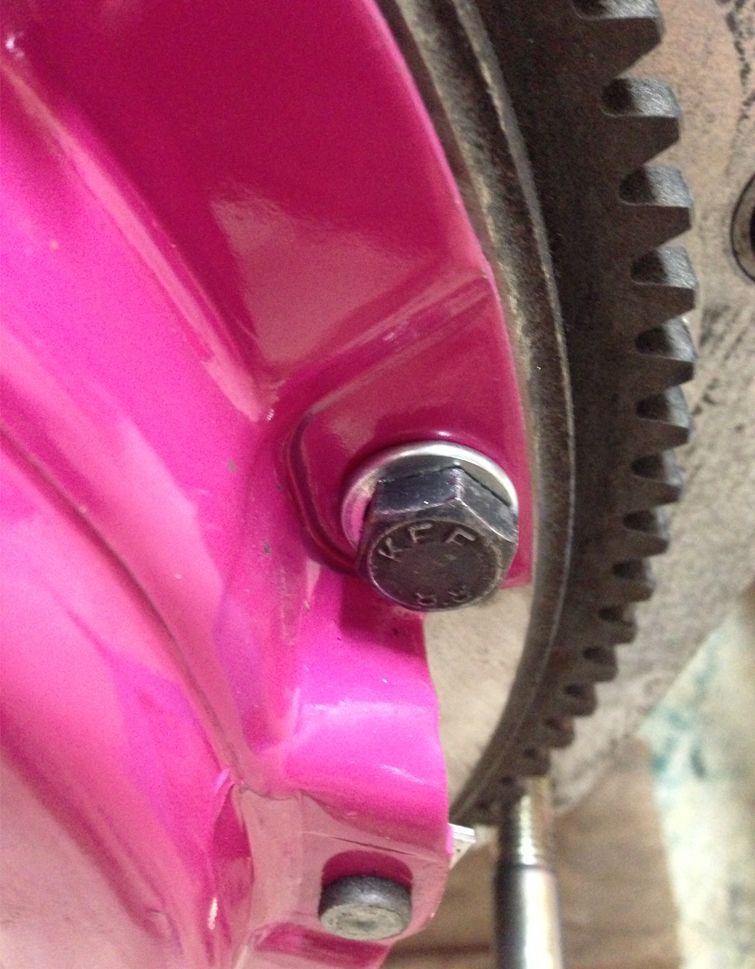
The biggest issue was my old clutch was missing one of the bolts. Yep completely missing. It was some made in Taiwan ebay spec, so has been replaced previously, by another shitty mechanic
So I went to the Covantry Fasteners and grabbed a high tensile bolt and new spring washer. I had to cut it down because it was abit too long.
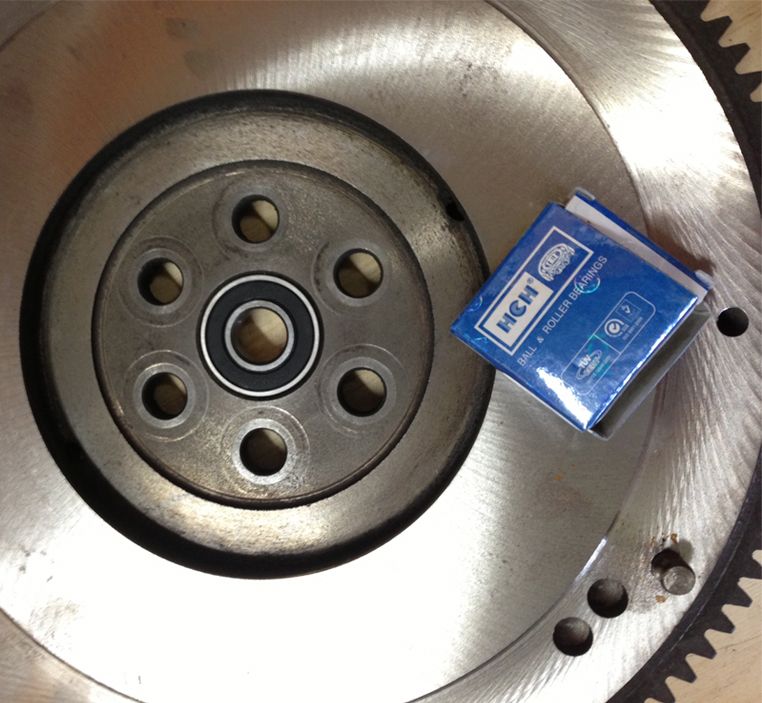
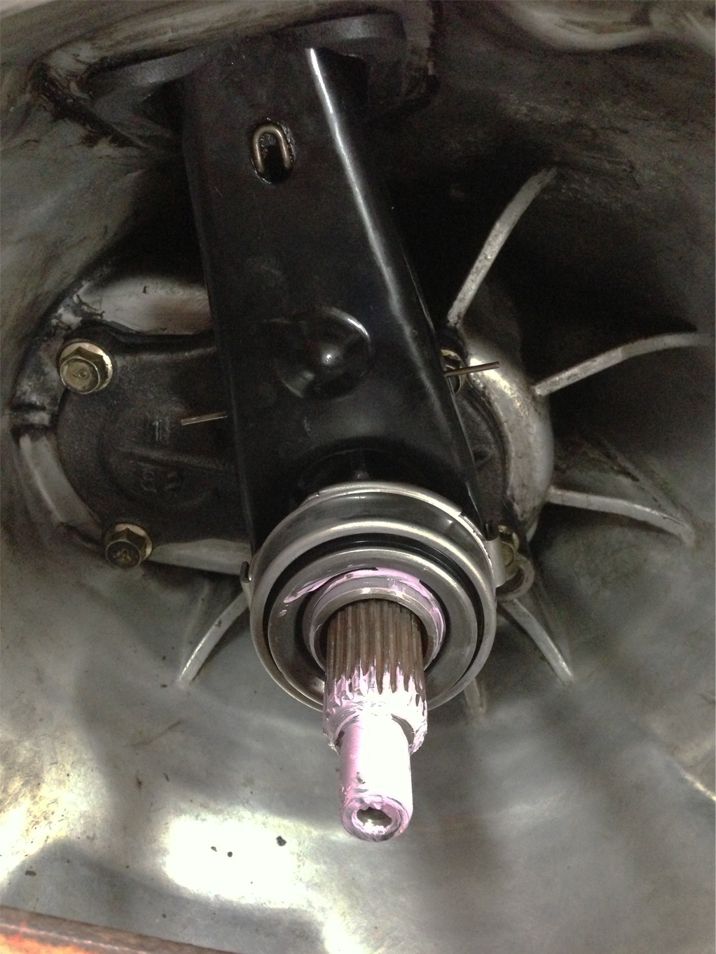
Replaced the Pilot bearing. Definitely the cutest part so far
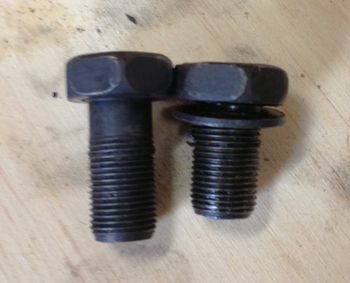
This is wierd, the Astina flywheel bolts have a washer and are shorter than the mx5's.
All torqued up.
The clutch came with a new Koyo Spigot bearing. Getting the clutch fork off and the old bearing off was so easy, the workshop manual made it out to be so hard and terrifying. Its nice when the new things just actually fit. Happens rarely haha.
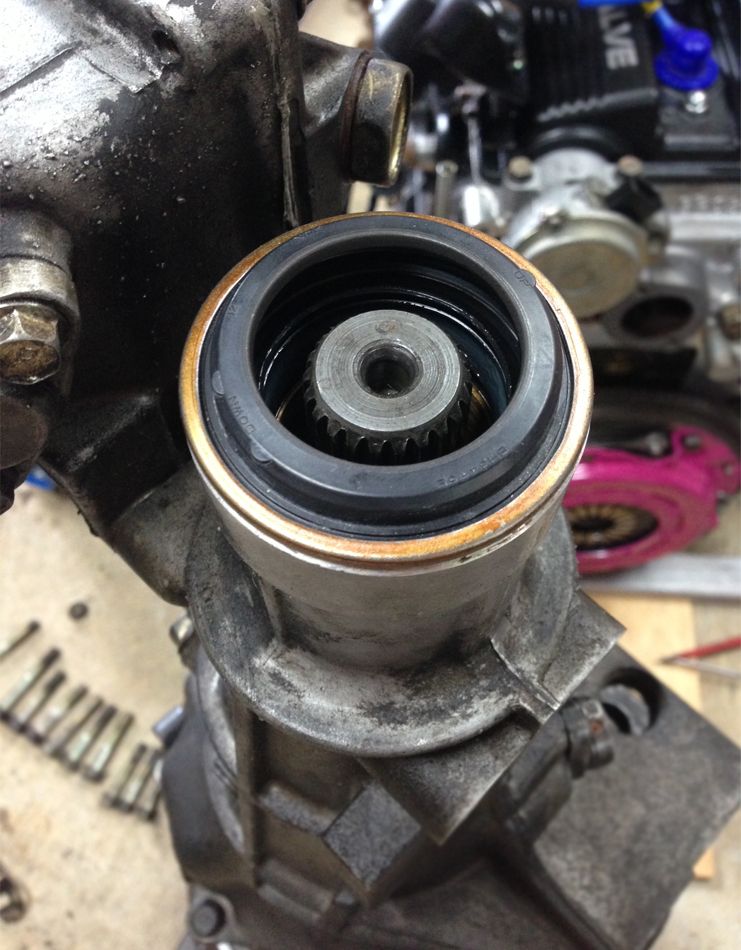
Replaced the gearbox seal also
If you think red calipers add kilowatts, try a PINK CLUTCH!
-
- Fast Driver
- Posts: 283
- Joined: Sat Apr 03, 2010 9:44 am
- Location: Gold Coast, QLD
- Okibi
- Speed Racer
- Posts: 10899
- Joined: Thu Aug 21, 2003 11:00 am
- Vehicle: NB SE
- Location: Perth, Western Australia
- Contact:
Re: Emily's NA6 V-Special Roadster
Use some vaseline putting those injectors and don't over tighten the fuel rail .. reminds me I need a new injector
If you had access to a car like this, would you take it back right away? Neither would I.
-
- Racing Driver
- Posts: 1720
- Joined: Wed Aug 03, 2011 5:57 pm
- Vehicle: NB SE
- Location: Sydney
Re: Emily's NA6 V-Special Roadster
I found it works best if you push the black spacers/seals into the head, and push the injectors into them. Then use a small bit of tape around the sides of the fuel rail spacers because they always fall. Then lay the injector wiring harness down. Then it is easy to slowly lower the fuel rail down, clicking the base of each injector in simultaneously. Then obviously plug in and take off tape, torque to (I think) 22nm.
Coolant reroute next!
- gslender
- Speed Racer
- Posts: 2330
- Joined: Sat Feb 19, 2011 10:49 pm
- Vehicle: NA6
- Location: Brisbane, QLD
Re: Emily's NA6 V-Special Roadster
emily_mxV wrote:Coolant reroute next!
Cool! What reroute are you planning to use? I'm keen to get one, but haven't decide which!
G
MX5 91 NA6 LE completely stock and loving it!
MX5 92 NA8/ITBs Silver "aka Track Beeotch"
-
- Racing Driver
- Posts: 1720
- Joined: Wed Aug 03, 2011 5:57 pm
- Vehicle: NB SE
- Location: Sydney
Re: Emily's NA6 V-Special Roadster
gslender wrote:Cool! What reroute are you planning to use? I'm keen to get one, but haven't decide which!
G
BEGI!
Coolant Re-Route
Ok so, to fully understand this, you first have to know that the mx5 engines, both B6 and BP, were designed for FRONT WHEEL DRIVE CARS! Yep, Mazda: 323, Astina, MX3, Protege, Familia; Ford Laser, and was 90% of the Kia Sephia. (probably more that i dont know of). So when they crammed it into the mx5, they thought to redesign the coolant system, moving the thermostat to the front of the head, purely for easier access.
So a re-route in an MX5, is basically putting the thermostat back to the rear of the head, where it was designed to go in the first place.
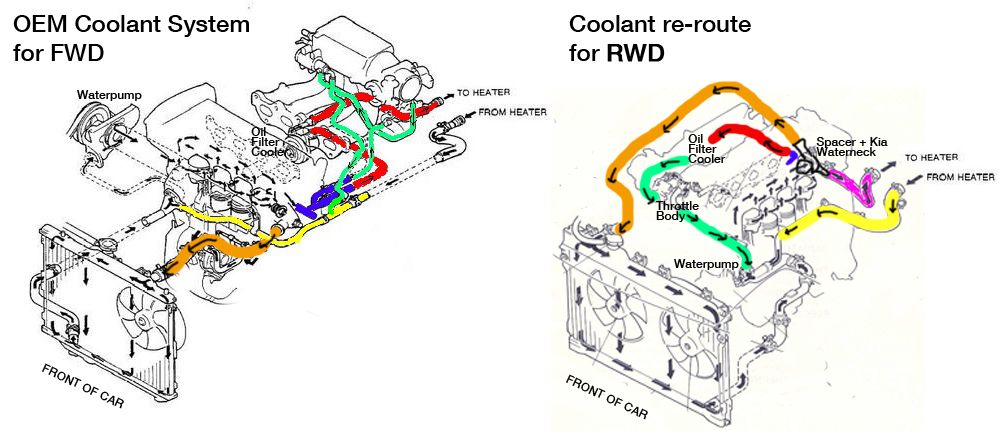
Here is my Paint diagram to further explain.
This is for 1.8L, which have an oem oil filter cooler and no cold start valve on the inlet mani.
You can see on the FWD diagram that the inlet mani/throttle body cooling (green) and the oil filter cooling (red) are separate systems; and the oil filter cooling doubles back into the heater core.
On the RWD, the oil filter coolant goes into the throttle body (red to green) and there is a separate feed for the heater core (pink). The hose going directly from the rear of the head to the radiator is the key concept here (orange).
On the FWD it is really convenient, due to the West-East configuration of the engine. On the MX5, its a bit of a trip-around-the-world
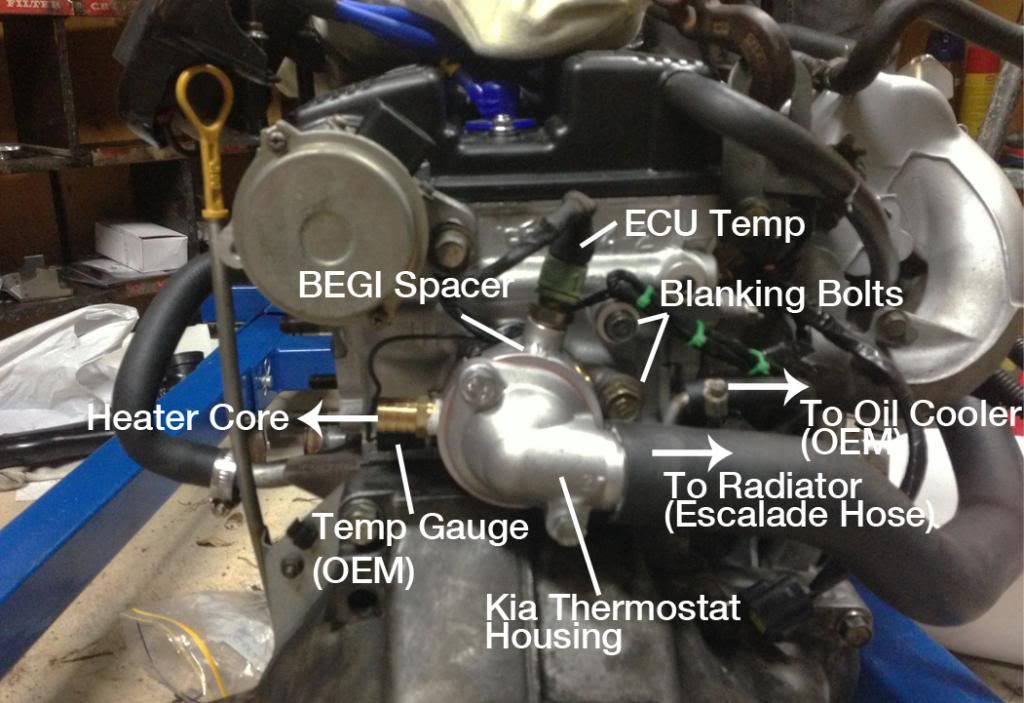
To achieve the re-route and keep the heater core, you need a spacer with a barb for the heater core and the ecu temp sensor. It is very important that the temp sensor is before the thermostat, otherwise it wont have a correct reading until the thermostat opens. Then you need a thermostat housing to hold it and direct the coolant into a hose. The hose then needs to go to the radiator. You also need to block off the front of the head.
Clear as mud?
Here is the rear or my head:
I chose to use
Begi machined spacer and heater core barb
Kia Sephia Thermostat Housing
OEM MX5 thermostat
Escalade Hose
A coolant hose from a HUGE american SUV into a tiny Miata? Yep!
Many thanks to MiataTurbo.net for this insight, and my dad for picking it up in California when he went there on a business trip.
Dayco part no: E71989
Autozone part no: XL-1215
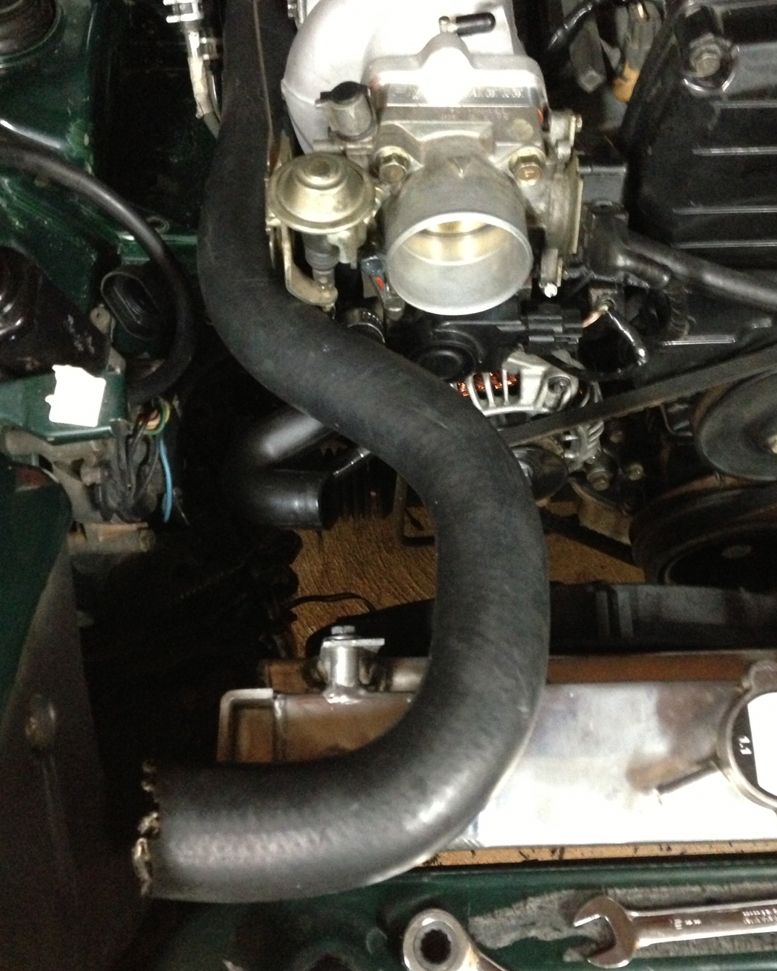
This is a very long hose that fits from the new waterneck at the rear, around the inlet mani and to the rad inlet.
Here is a pic of the un-cut hose, and how PERFECTLY in fits in the engine bay and lines up with the rad inlet...
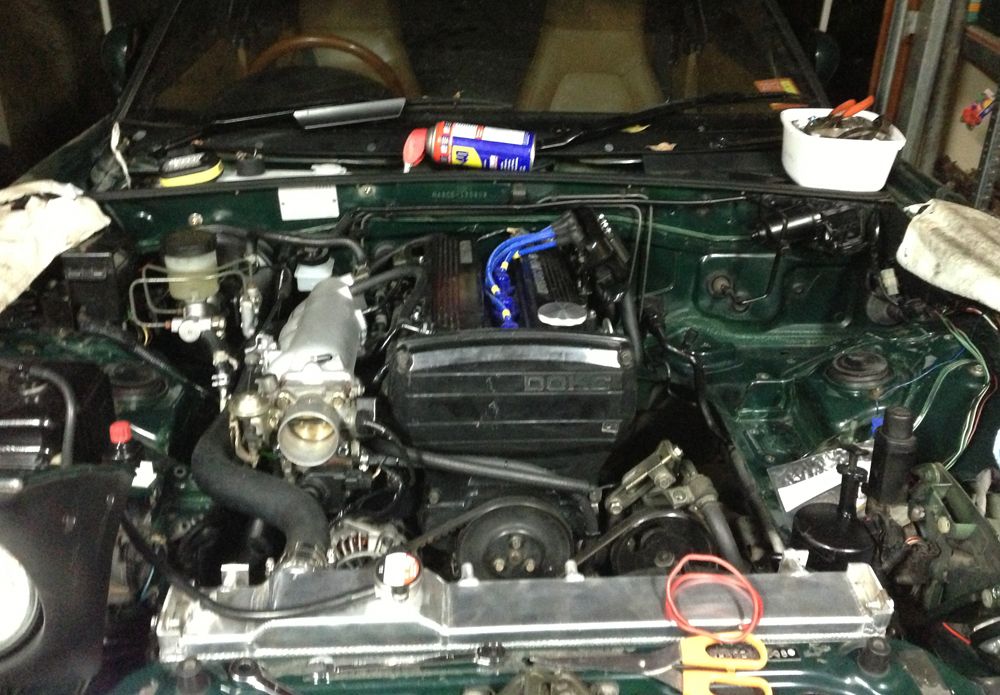
and the final result...
YOU CANNOT GET MORE OEM LOOKING THAN THAT!!!
only leaves 1 issue for a oem 1.6L ecu and wiring, no port for the fan sensor!
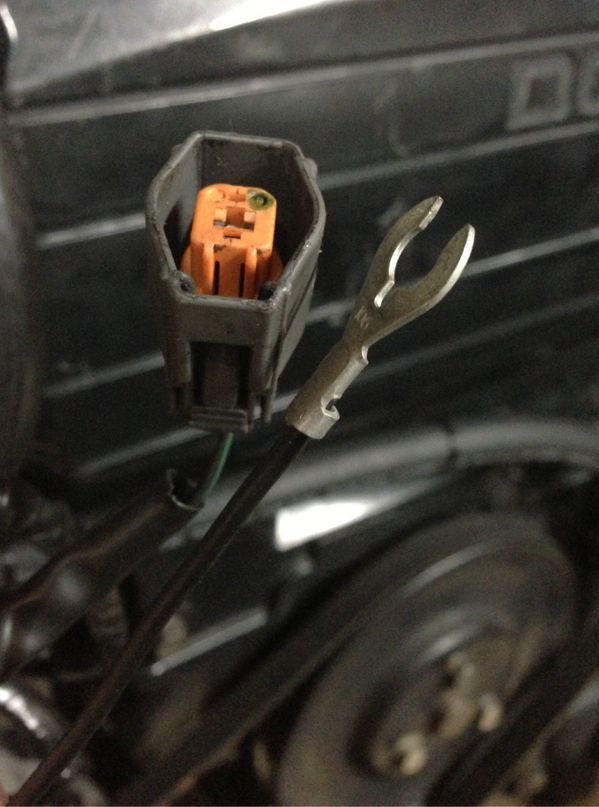
I just cut off the connector and grounded the wire, this causes the fans to always be on when the ignition is on.
When I get a stand-alone ecu, it will control the fans from the ecu temp sensor, like the oem 1.8's do.
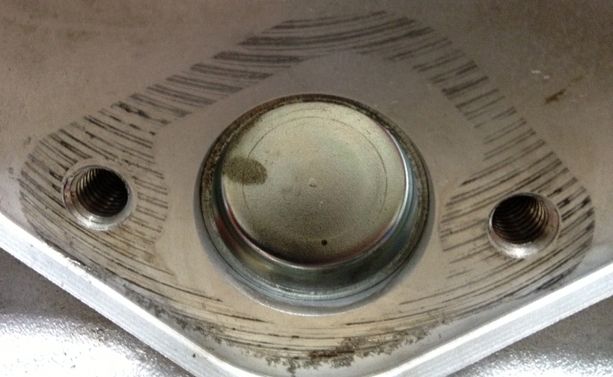
As I am using a FWD engine, I already have an oem welsh plug at the front of the head
- gslender
- Speed Racer
- Posts: 2330
- Joined: Sat Feb 19, 2011 10:49 pm
- Vehicle: NA6
- Location: Brisbane, QLD
Re: Emily's NA6 V-Special Roadster
Nice write up!
G
G
MX5 91 NA6 LE completely stock and loving it!
MX5 92 NA8/ITBs Silver "aka Track Beeotch"
-
- Racing Driver
- Posts: 1720
- Joined: Wed Aug 03, 2011 5:57 pm
- Vehicle: NB SE
- Location: Sydney
Re: Emily's NA6 V-Special Roadster
Thanks!
Figuring that out was definitely the hardest thing about the 1.6 > 1.8 and FWD > RWD conversions haha
Who is online
Users browsing this forum: No registered users and 40 guests