12/09/2019
OEM Fuel System refresh and overhaul
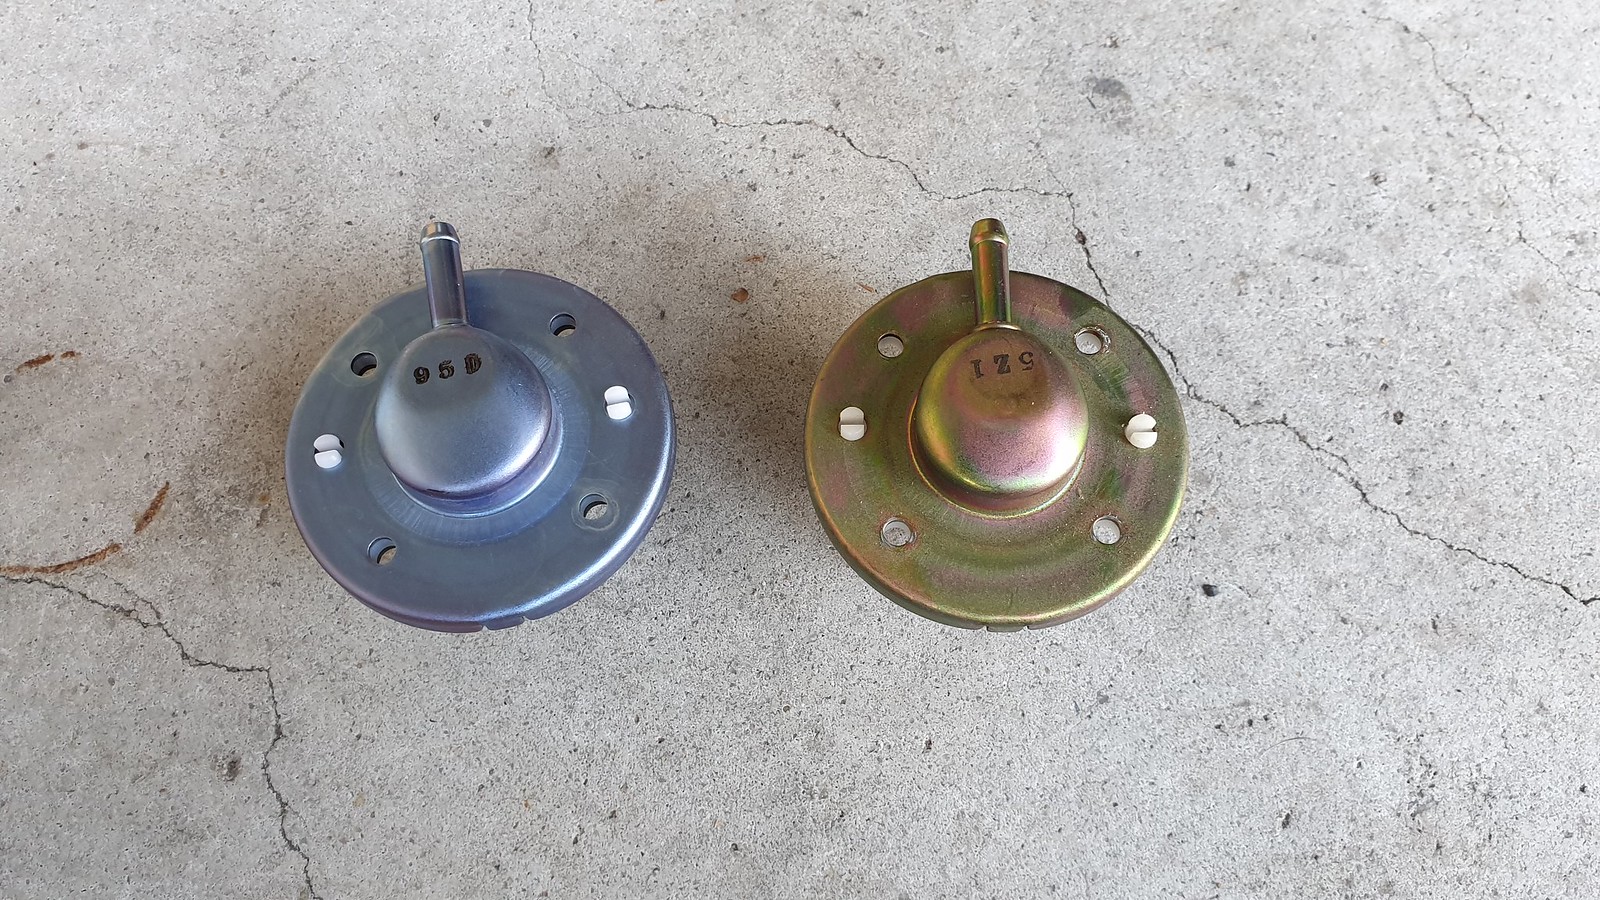
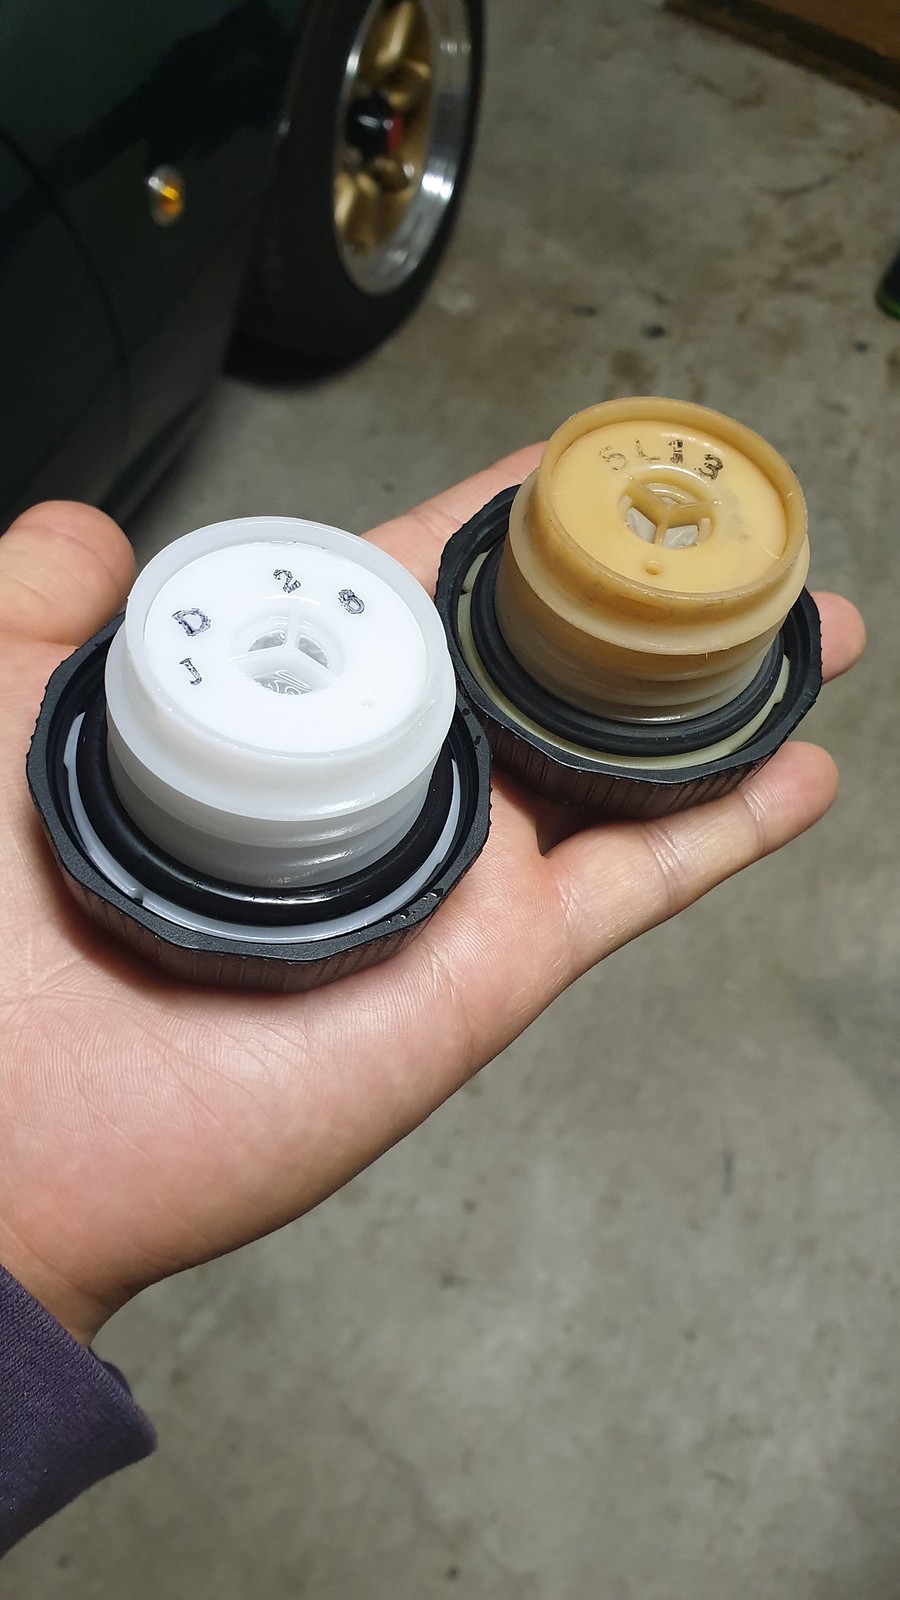
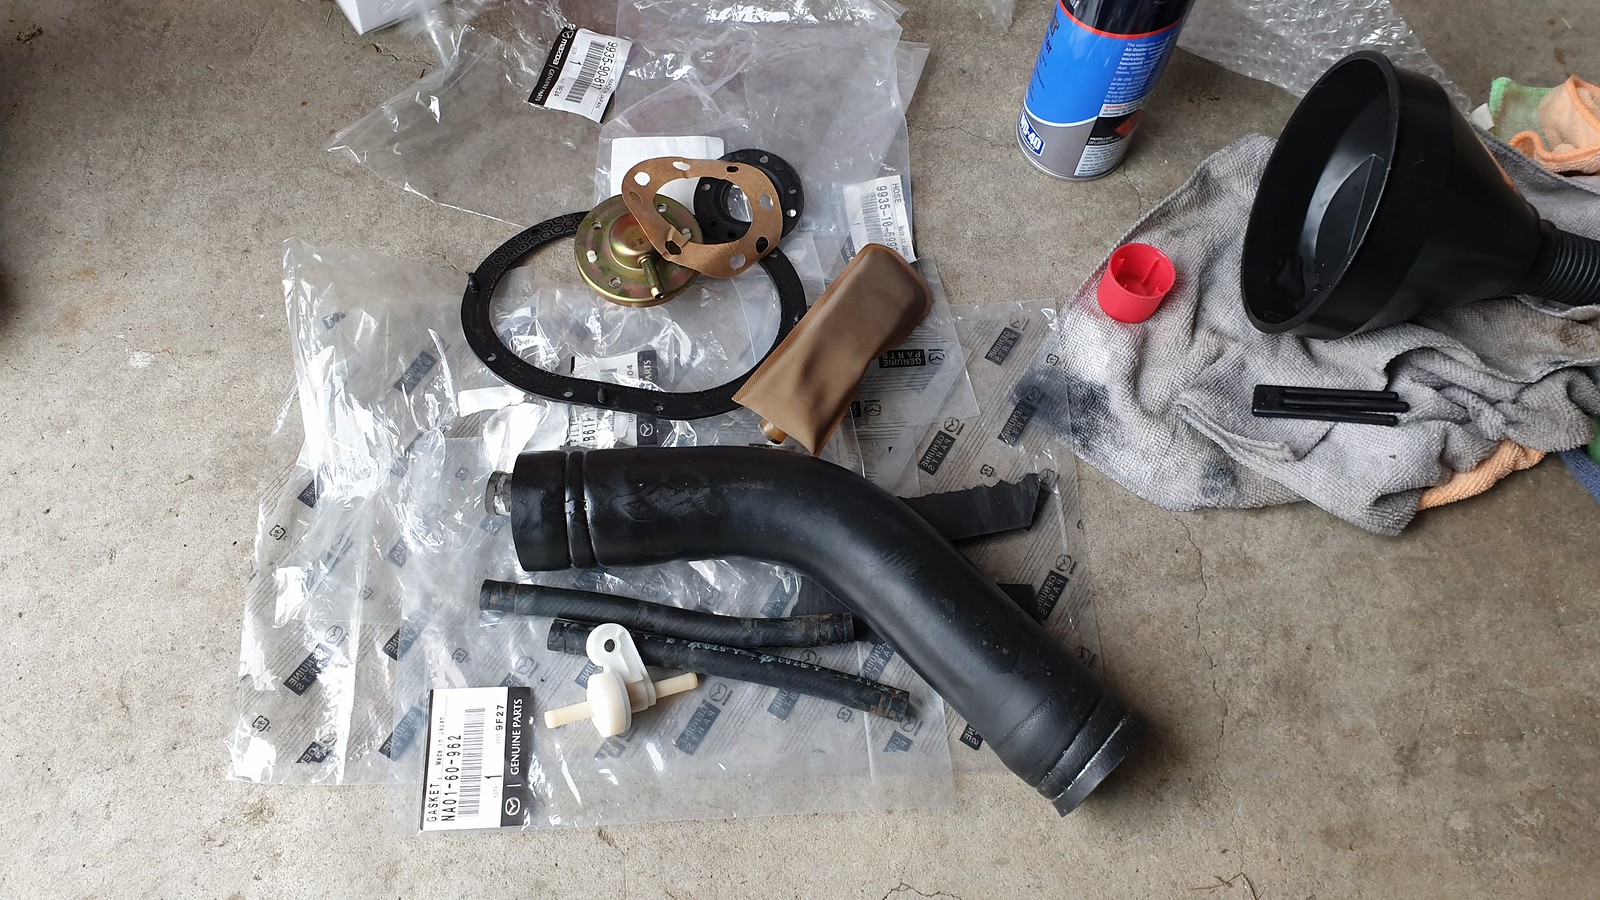
Decided to do a full fuel system overhaul. Given that the car is 23 years old, I decided to replace everything to do with the fuel setup. This means the fuel vapour valves and lines, fuel pump sock filter, assembly gaskets, fuel feed and return lines, filler pipe and gasket and a new fuel cap. All parts used were all genuine OEM Mazda parts.
Getting ready. Removing everything.
Seats out, let's clean a little bit.
OEM Freshness.
Fuel hose has done its duty for the last 23 years.
Old VS New.
Done.
All the old stuff which is going straight to the bin.
Many thanks to my friend Zico who helped source these parts and have them sent over to me and who also helped and assisted with the install.
1996 BRG NA8C Build Thread
Moderators: timk, Stu, zombie, Andrew, The American, Lokiel, -alex, miata, StanTheMan, greenMachine, ManiacLachy, Daffy
-
- Fast Driver
- Posts: 196
- Joined: Sat Dec 12, 2015 10:32 pm
- Vehicle: NA8
-
- Fast Driver
- Posts: 196
- Joined: Sat Dec 12, 2015 10:32 pm
- Vehicle: NA8
Re: 1996 BRG NA8C Build Thread
19/10/2019
Mazdaspeed Front & Rear Sway Bars
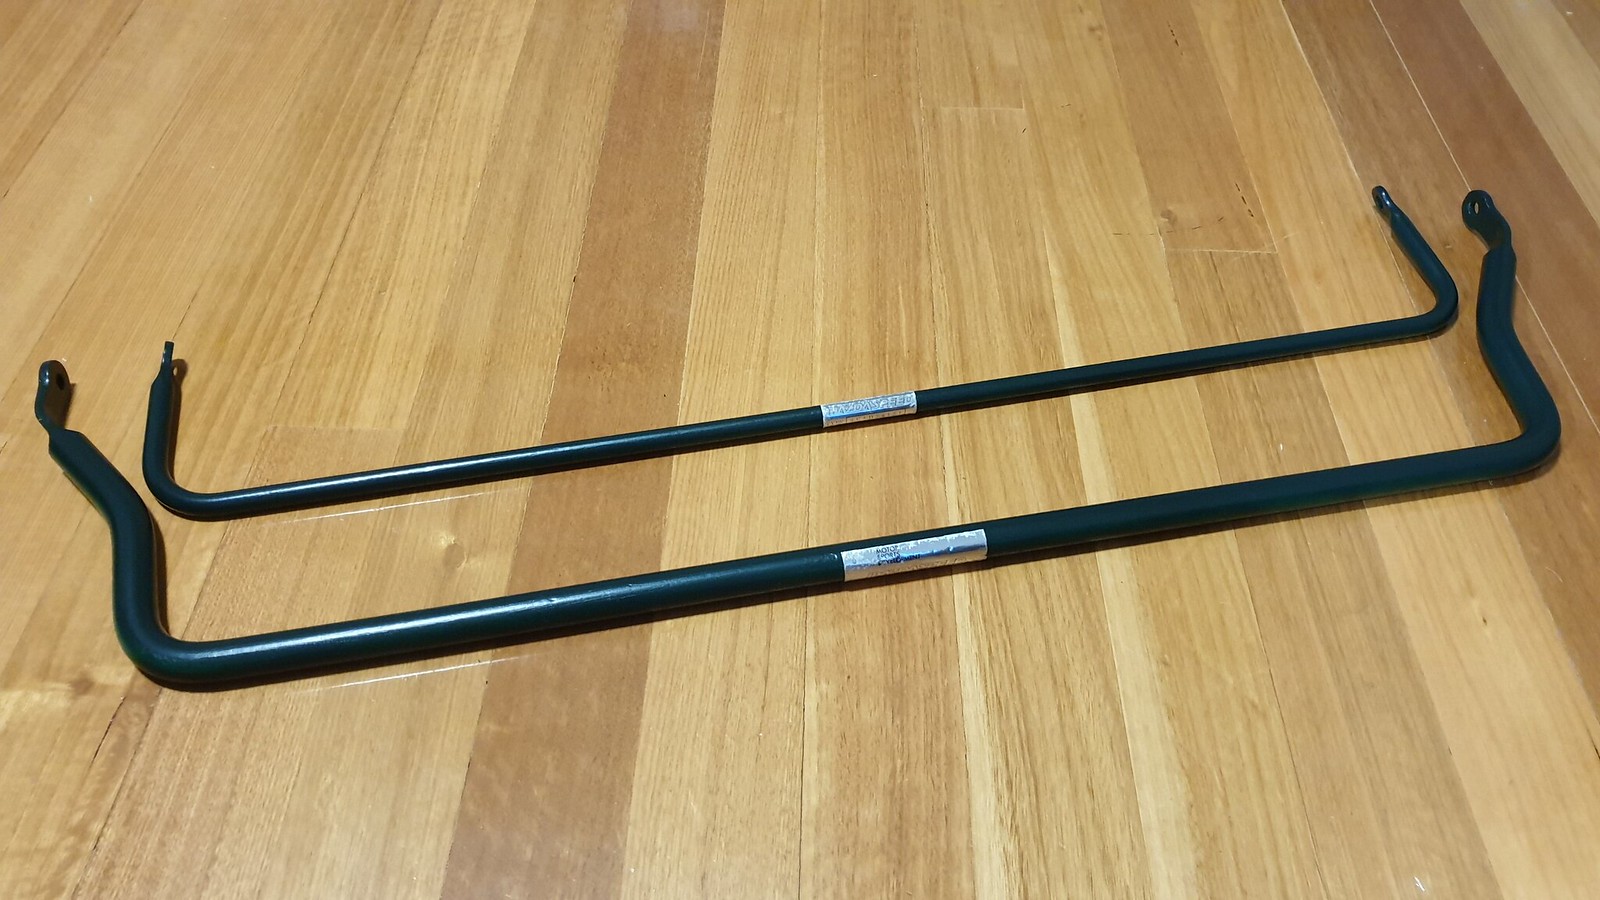
I was able to get a set of these Mazdaspeed sway bars, thanks to my friend Zico. I had always wanted to get a set. However, with most discontinued Mazdaspeed items, it was becoming harder and harder to come by. Zico sent me a link from Yahoo Japan Auctions one day letting me know that a set of front and rear Mazdaspeed sway bars were available and needless to say, I decided to jump on them.
When I got my hands on it, I realised that there was slight surface rust and a little bit of corrosion on the sway bars. Not to worry, as I had already planned to refurbish these anyway. Why did I bother doing this when they wouldn't be noticed by anybody once installed, you may ask? It's because if I had installed it as is, although other people might not know that there was surface rust on the sway bars, I will...and eventually, it'll eat away at me. If something can be made better or fixed/cleaned up before it goes in, you best believe I'm going to take that route, even if it means taking a long, tedious road to get there.
The process to refurbish these sway bars wasn't hard. It just took a Dremel with a sanding bit, some etch primer, degreaser and spray paint, patience, time and care. I had originally wanted to get rid of the Mazdaspeed logo on the sway bars and have a new one made up, however I realised that it wasn't a sticker. It's more like a plaque affixed on the sway bar itself. I decided to mask it up and leave it as it since it was in relatively good condition considering the age. Plus, it means that there would be something authentic and still original left on the sway bars from when Mazdaspeed were producing these items way back when.
Using the Dremel, I sanded the sway bars back down to the bare metal. Then, I used a couple of layers of etch primer before sanding it back with some 400 grit sandpaper to smooth out any rough patches and to get it ready for paint. For the paint, I used the same paintcode as the car (i.e "HU", which is British Racing Green/Neo Green). Mazdaspeed items are usually green and I thought it would compliment the car well once it was resprayed in this colour.
Surface rust.
Mazdaspeed logo.
In the process of sanding the corrosion/surface rust and back down to bare metal on the rear sway bar.
Closeup of work in progress.
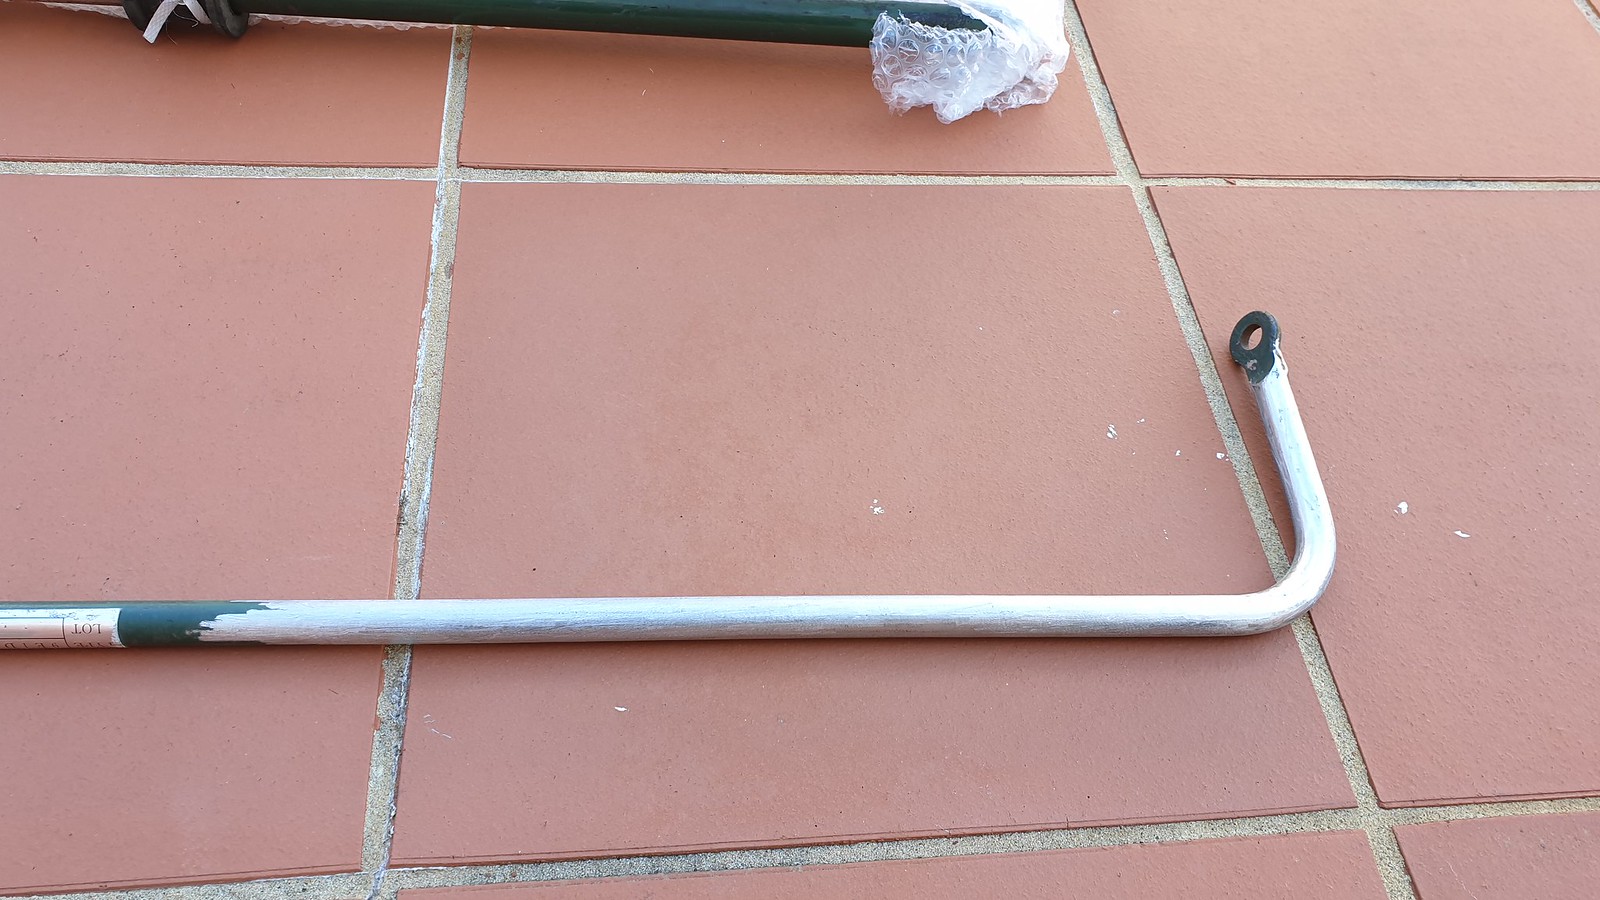
Rear sway bar fully sanded back and ready to go.
Comparison shot of a fully stripped back sway VS original.
Sanding away.
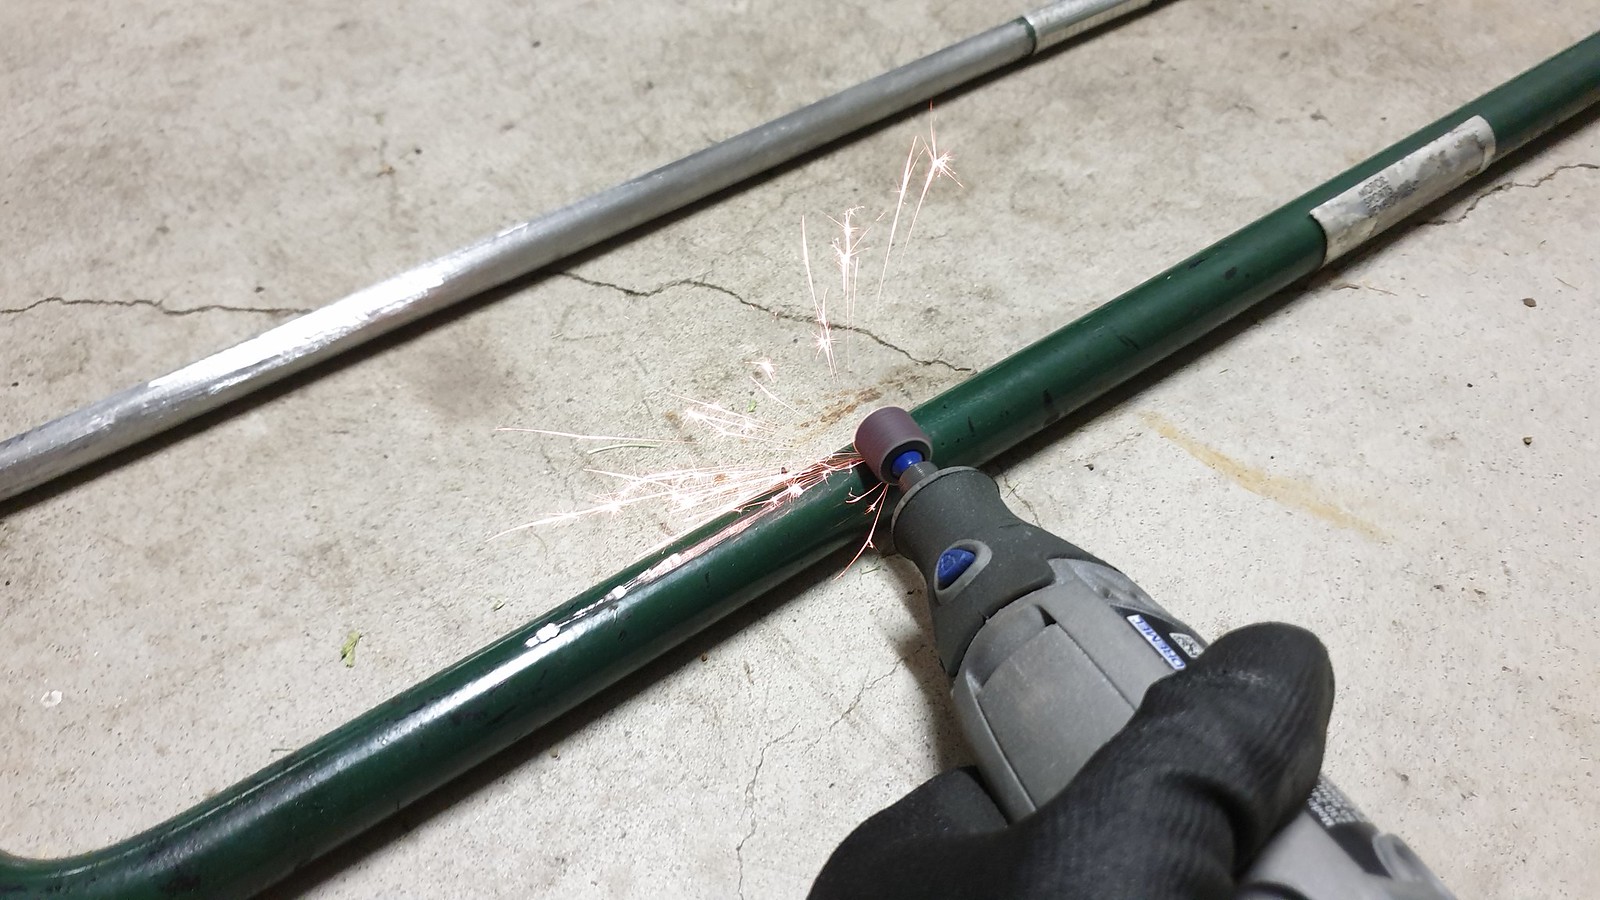
Done. Ready for some etch primer and then paint.
Degreaser to get rid of fingerprints, oils, anything else off the sway bar before the primer is applied.
Mazdaspeed.
Taped up, ready for paint.
Not the most sophisticated setup here, but hey, it works!
Three layers of etch primer before getting it sanded back and smoothed out with 400 grit sand paper.
First layer of green on the sway bar.
Letting it dry before applying further coats.
Finished product. One set of refurbished Mazdaspeed sway bars.
It turned out better than I had originally anticipated. Can't wait to install these. Once I get new bushings for these, I'll be looking to put these on ASAP. Many thanks again to Zico for helping me source these sway bars.
Mazdaspeed Front & Rear Sway Bars
I was able to get a set of these Mazdaspeed sway bars, thanks to my friend Zico. I had always wanted to get a set. However, with most discontinued Mazdaspeed items, it was becoming harder and harder to come by. Zico sent me a link from Yahoo Japan Auctions one day letting me know that a set of front and rear Mazdaspeed sway bars were available and needless to say, I decided to jump on them.
When I got my hands on it, I realised that there was slight surface rust and a little bit of corrosion on the sway bars. Not to worry, as I had already planned to refurbish these anyway. Why did I bother doing this when they wouldn't be noticed by anybody once installed, you may ask? It's because if I had installed it as is, although other people might not know that there was surface rust on the sway bars, I will...and eventually, it'll eat away at me. If something can be made better or fixed/cleaned up before it goes in, you best believe I'm going to take that route, even if it means taking a long, tedious road to get there.
The process to refurbish these sway bars wasn't hard. It just took a Dremel with a sanding bit, some etch primer, degreaser and spray paint, patience, time and care. I had originally wanted to get rid of the Mazdaspeed logo on the sway bars and have a new one made up, however I realised that it wasn't a sticker. It's more like a plaque affixed on the sway bar itself. I decided to mask it up and leave it as it since it was in relatively good condition considering the age. Plus, it means that there would be something authentic and still original left on the sway bars from when Mazdaspeed were producing these items way back when.
Using the Dremel, I sanded the sway bars back down to the bare metal. Then, I used a couple of layers of etch primer before sanding it back with some 400 grit sandpaper to smooth out any rough patches and to get it ready for paint. For the paint, I used the same paintcode as the car (i.e "HU", which is British Racing Green/Neo Green). Mazdaspeed items are usually green and I thought it would compliment the car well once it was resprayed in this colour.
Surface rust.
Mazdaspeed logo.
In the process of sanding the corrosion/surface rust and back down to bare metal on the rear sway bar.
Closeup of work in progress.
Rear sway bar fully sanded back and ready to go.
Comparison shot of a fully stripped back sway VS original.
Sanding away.
Done. Ready for some etch primer and then paint.
Degreaser to get rid of fingerprints, oils, anything else off the sway bar before the primer is applied.
Mazdaspeed.
Taped up, ready for paint.
Not the most sophisticated setup here, but hey, it works!
Three layers of etch primer before getting it sanded back and smoothed out with 400 grit sand paper.
First layer of green on the sway bar.
Letting it dry before applying further coats.
Finished product. One set of refurbished Mazdaspeed sway bars.
It turned out better than I had originally anticipated. Can't wait to install these. Once I get new bushings for these, I'll be looking to put these on ASAP. Many thanks again to Zico for helping me source these sway bars.
Who is online
Users browsing this forum: No registered users and 34 guests