Jetstream Flush Lights
Posted: Sun Sep 27, 2015 6:55 pm
Pulled the pin on these during the REV9 group buy. The main purpose is to duct/ram air into the ITB's and it was impossible with the OEM popup lights.
The OEM setup (with FRP covers) weight in at 4.587kg each side, the Jetstream weigh in at 1.040kg.
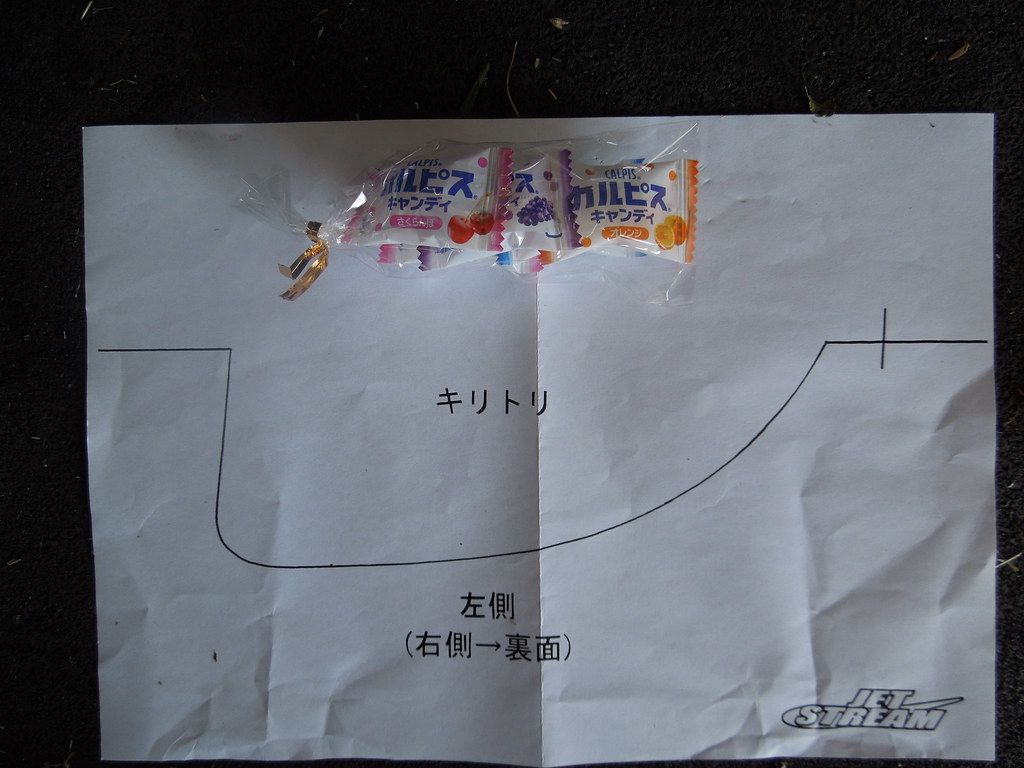
What you get! Whilst the instructions are for non English readers they were not really needed. I ran a few copies of the template off so as to not destroy the one included. The kit does require you to reuse your existing H4 bulbs. I made the decision to not reuse the HID projector bulbs and go back to 'normal' lights. The Dapper lighting kit has already been put aside for a forum member...
 DSCN2746 by Eipeip, on Flickr
 DSCN2749 by Eipeip, on Flickr
 DSCN2747 by Eipeip, on Flickr
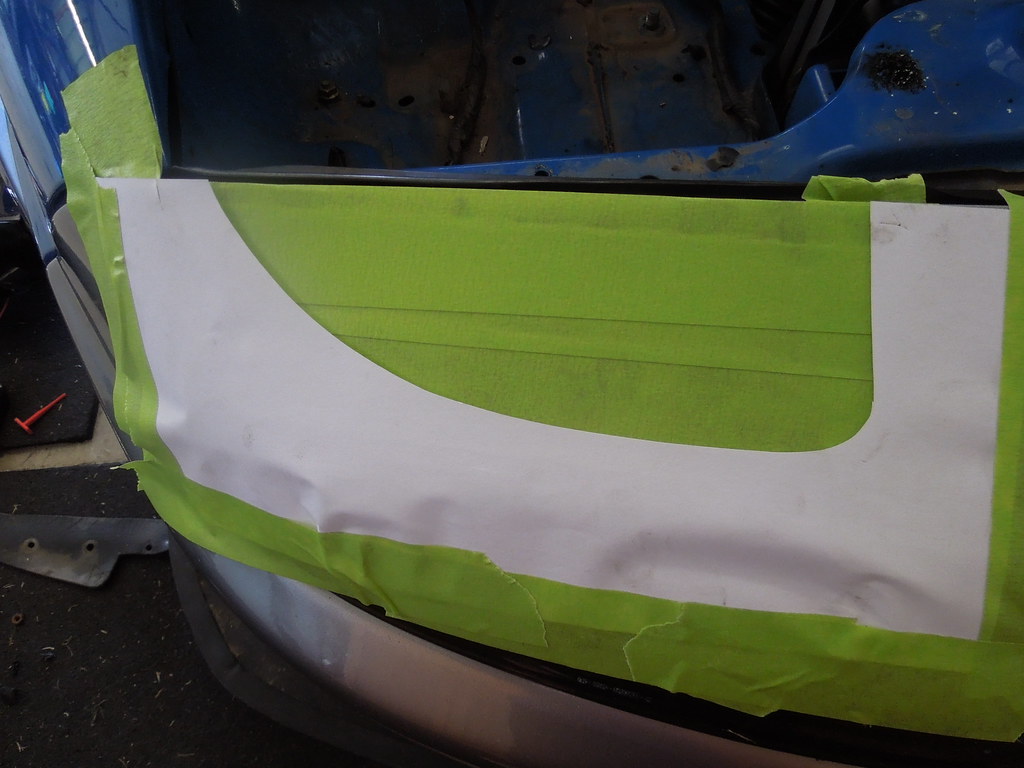
The marking out.. Is this going to be like my air vent in the hard top, will I regret this...
 DSCN2750 by Eipeip, on Flickr
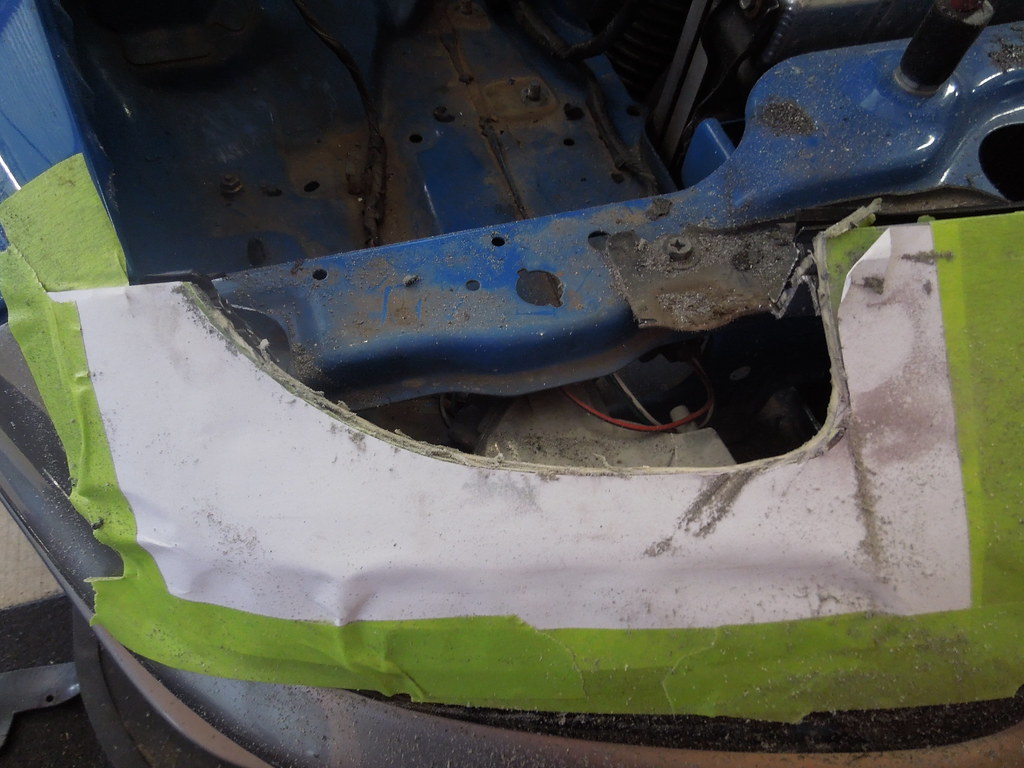
The first cut is the deepest. For the first side I used a dremel with cutting disc. However I ended out using the air body saw to finish it off and it was so much easier!
 DSCN2751 by Eipeip, on Flickr
Installed
 DSCN2756 by Eipeip, on Flickr
 DSCN2755 by Eipeip, on Flickr
View with 1 installed (not screwed down) and the existing
 DSCN2752 by Eipeip, on Flickr
 DSCN2753 by Eipeip, on Flickr
Both sides installed and wired in (plug and play)
 DSCN2764 by Eipeip, on Flickr
This was at about 1300 inside the shed
 DSCN2763 by Eipeip, on Flickr
Now the issues found.
1. Can't use the OEM bonnet prop, need to find an alternative.
2. Coolant bottle fouls drivers side plug.
 DSCN2757 by Eipeip, on Flickr
 DSCN2758 by Eipeip, on Flickr
I have not had a chance to align the lights and take them for a night time ride as the car is back at Plus getting a pre WTAC service. Also need to mount the coolant overflow bottle so as to not rely upon cable ties.
All up it was a mornings work and it was very simple, the template was accurate and it saves me having to loose some weight so off to McDonalds for a coffee and ice cream.
The OEM setup (with FRP covers) weight in at 4.587kg each side, the Jetstream weigh in at 1.040kg.
What you get! Whilst the instructions are for non English readers they were not really needed. I ran a few copies of the template off so as to not destroy the one included. The kit does require you to reuse your existing H4 bulbs. I made the decision to not reuse the HID projector bulbs and go back to 'normal' lights. The Dapper lighting kit has already been put aside for a forum member...
 DSCN2746 by Eipeip, on Flickr
 DSCN2749 by Eipeip, on Flickr
 DSCN2747 by Eipeip, on Flickr
The marking out.. Is this going to be like my air vent in the hard top, will I regret this...
 DSCN2750 by Eipeip, on Flickr
The first cut is the deepest. For the first side I used a dremel with cutting disc. However I ended out using the air body saw to finish it off and it was so much easier!
 DSCN2751 by Eipeip, on Flickr
Installed
 DSCN2756 by Eipeip, on Flickr
 DSCN2755 by Eipeip, on Flickr
View with 1 installed (not screwed down) and the existing
 DSCN2752 by Eipeip, on Flickr
 DSCN2753 by Eipeip, on Flickr
Both sides installed and wired in (plug and play)
 DSCN2764 by Eipeip, on Flickr
This was at about 1300 inside the shed
 DSCN2763 by Eipeip, on Flickr
Now the issues found.
1. Can't use the OEM bonnet prop, need to find an alternative.
2. Coolant bottle fouls drivers side plug.
 DSCN2757 by Eipeip, on Flickr
 DSCN2758 by Eipeip, on Flickr
I have not had a chance to align the lights and take them for a night time ride as the car is back at Plus getting a pre WTAC service. Also need to mount the coolant overflow bottle so as to not rely upon cable ties.
All up it was a mornings work and it was very simple, the template was accurate and it saves me having to loose some weight so off to McDonalds for a coffee and ice cream.


