How to rebuild your alternator (54K unfriendly)
Posted: Thu Nov 28, 2013 9:44 pm
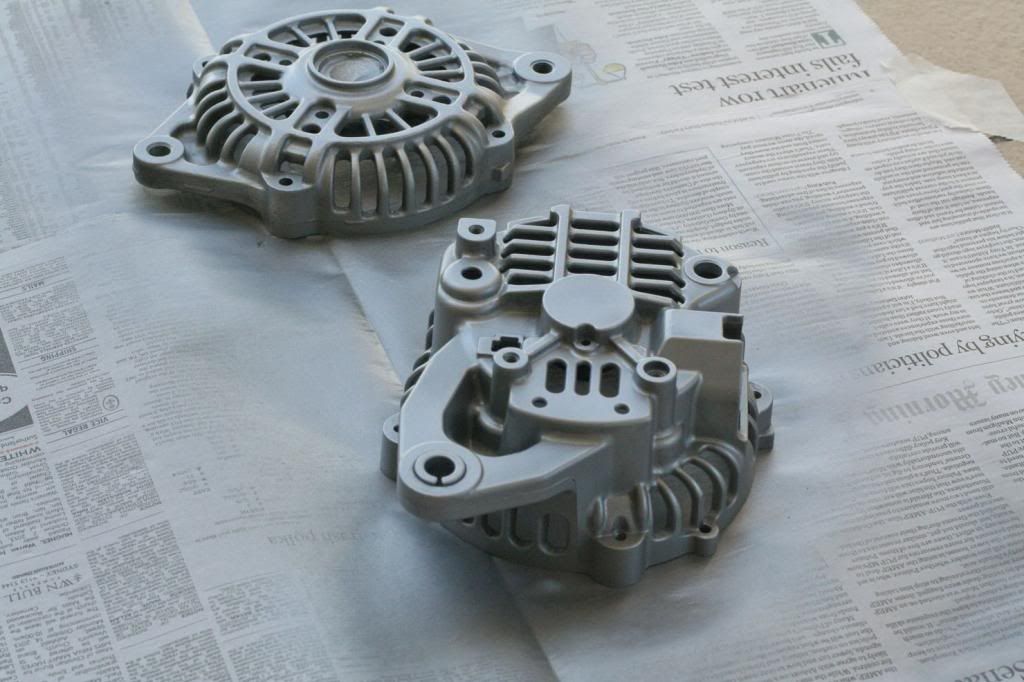
Hey guys, thought I'd write this up. It all started with me just wanting to clean the two alloy case halves up, nek minute I'm ordering new bushes and bearings.
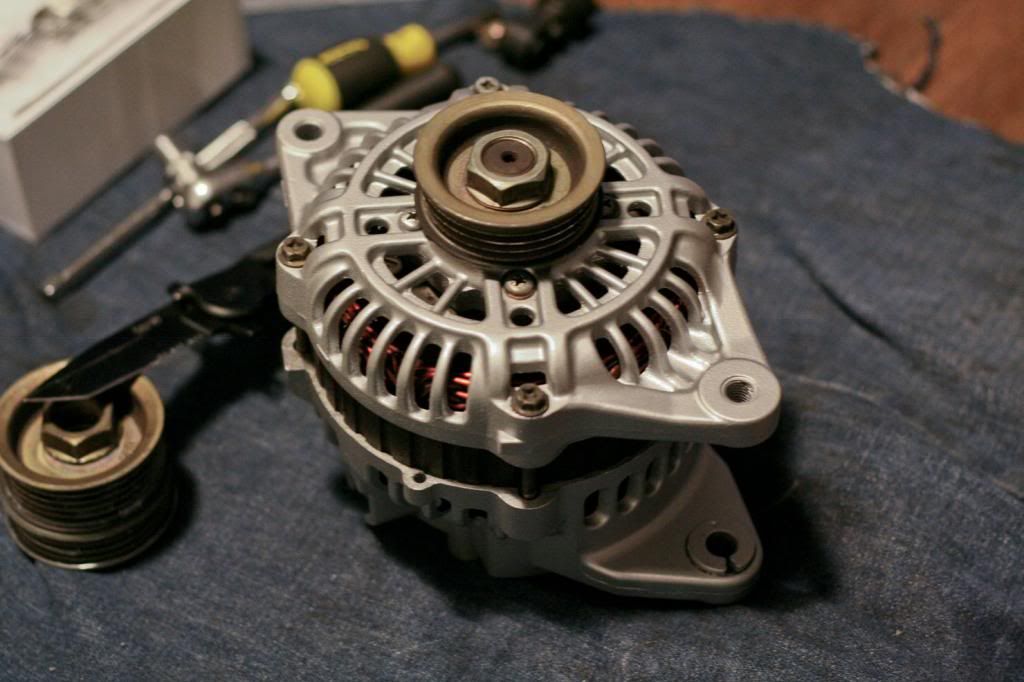
Okay lets start off, this is a NA8 alternator, its a Mitsubishi A2T80391.
I ordered the brushes off eBay, and bearings I got from a local bearing store.
The front bearing is a quite a common size, the 6303. Dimensions are 17mm I.D x 47mm O.D x 14mm height
The rear bearing is a 140419, 8mm I.D x 23mm O.D x 14mm height.
I didn't get any pics, but the easiest way to get your alternator pulley off is to wrap an old belt around it or grip it with mechanic gloves, and zap it the nut off with a rattle gun.
Then mark the outer casings so you can line it up again when you put it back together.

Remove these 4x 8mm bolts holding the two halves together

Give the mounting arms a tap with a hammer and the top half should come off. Be careful as the rotor can fall out, and damaging it.

Once the rotor and the top half is off, give the lower half a tap with the hammer and the stator should seperate from the lower casing. Be careful here as the stator is attached to the rectifier/regulator unit. You want to tap it just enough to seperate it from the casing but not too hard that you rip the wires from the rectifier unit.

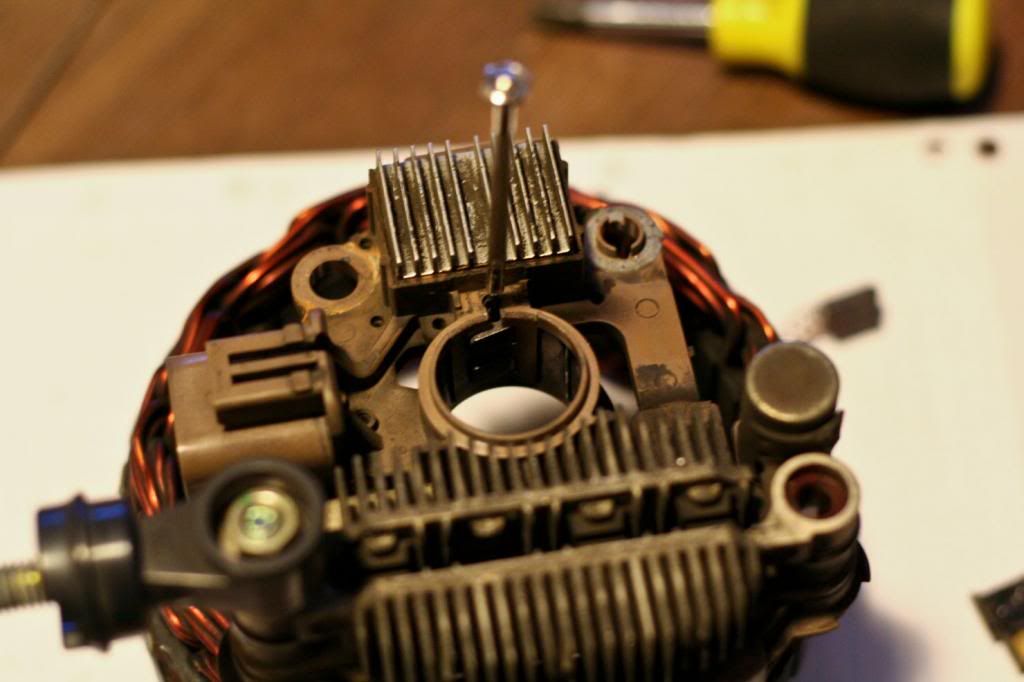
Now you can go ahead and remove the rectifier and voltage regulator unit. Remove the three screws holding it in.

And then the 10mm at the back, if there's a cover on it, pop it off.

Now, remove the front bearing plate, and drift the bearing out

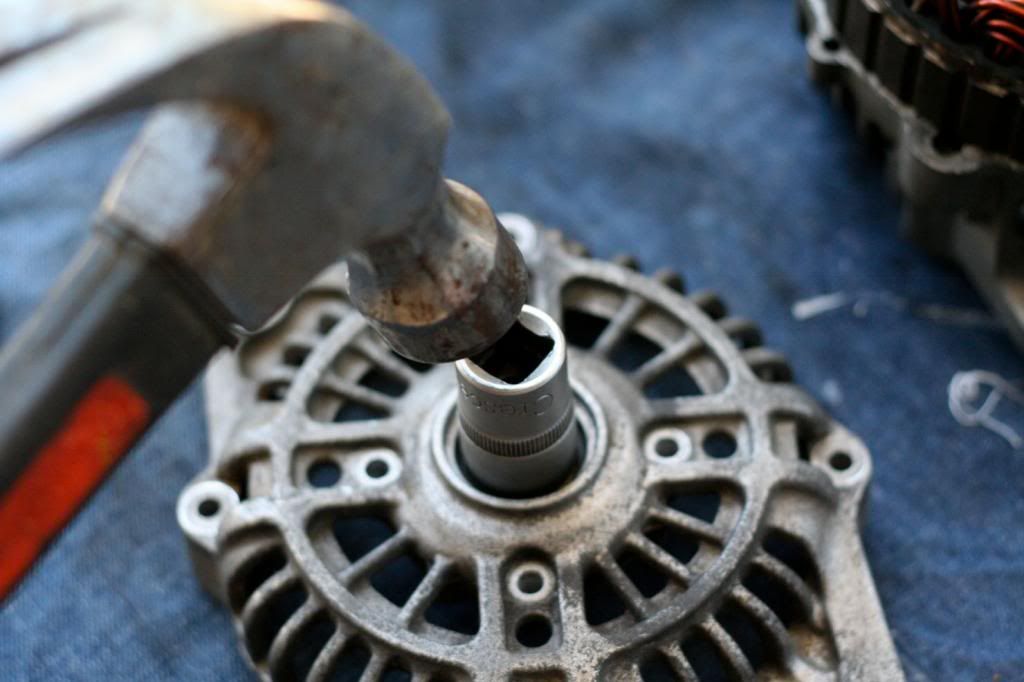
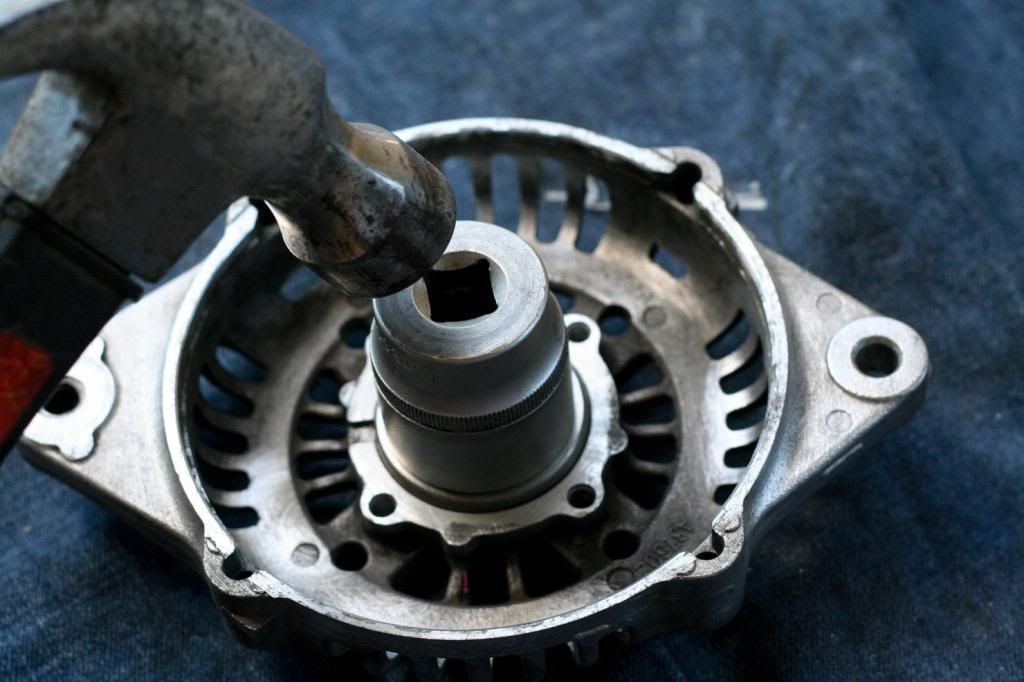
And drive the new bearing in.
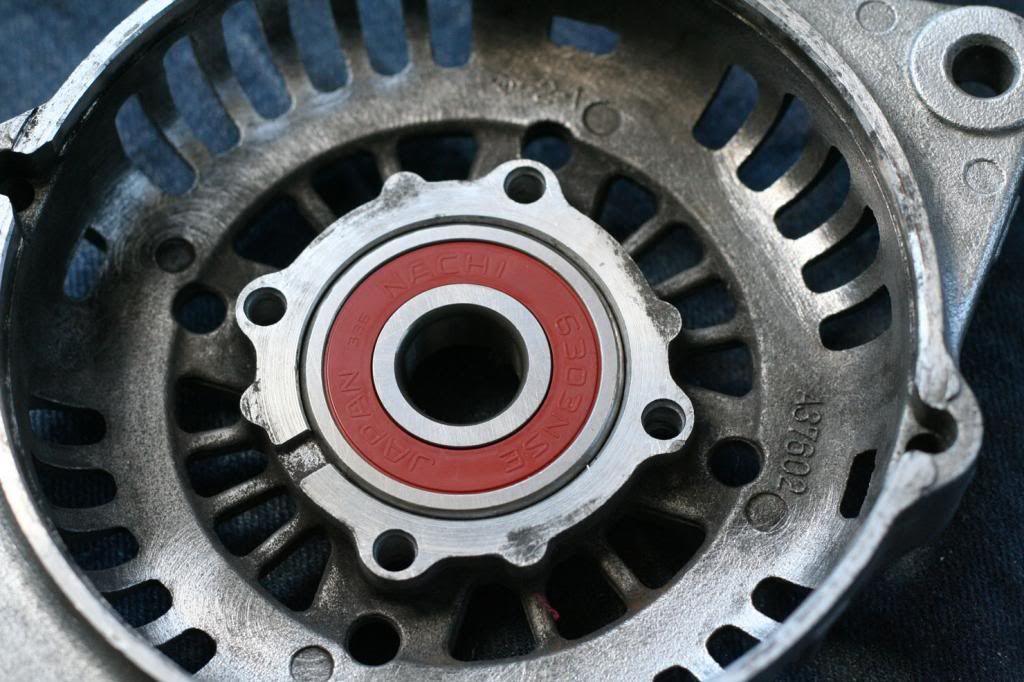
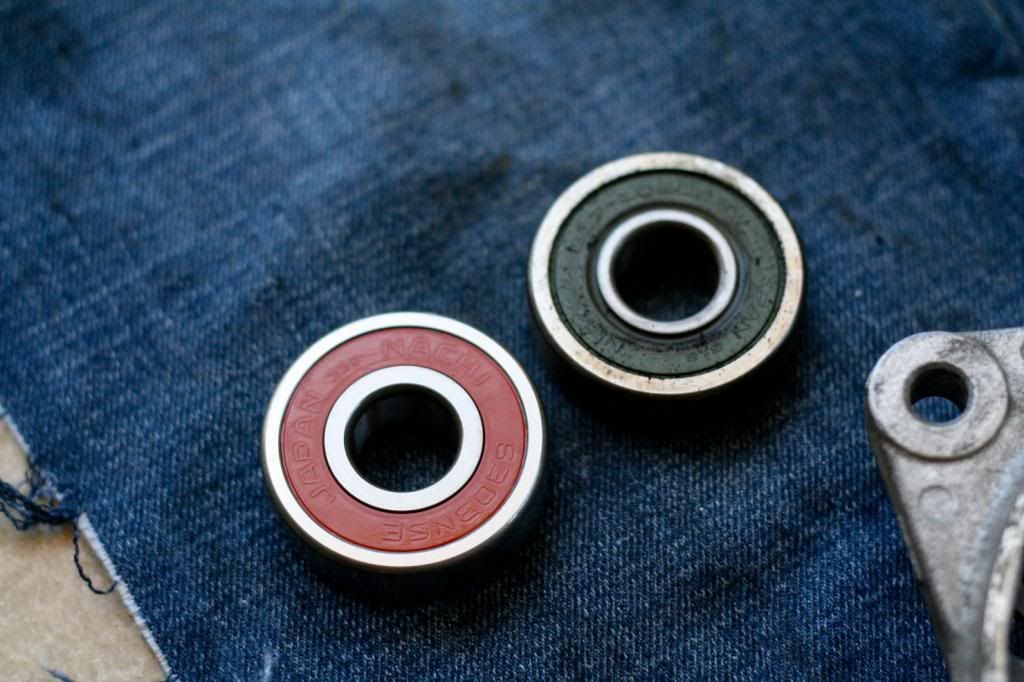
New vs old
The rear bearing, use a 3-jaw puller to pull it off. I didn't manage to get any pics at this stage, was too involved and forgot.
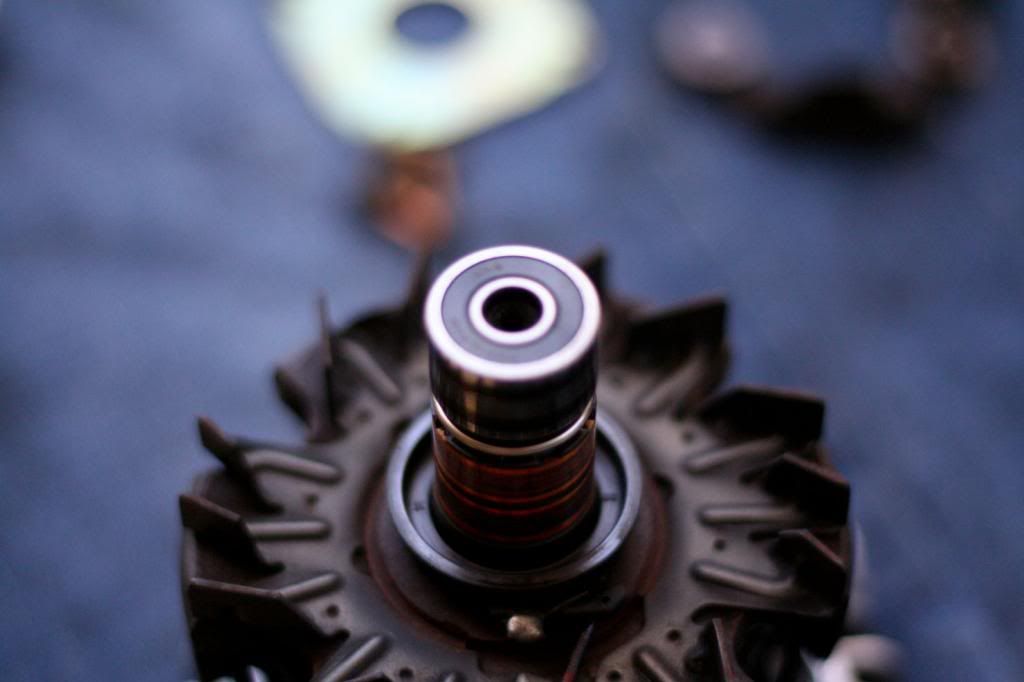
This is the rear bearing
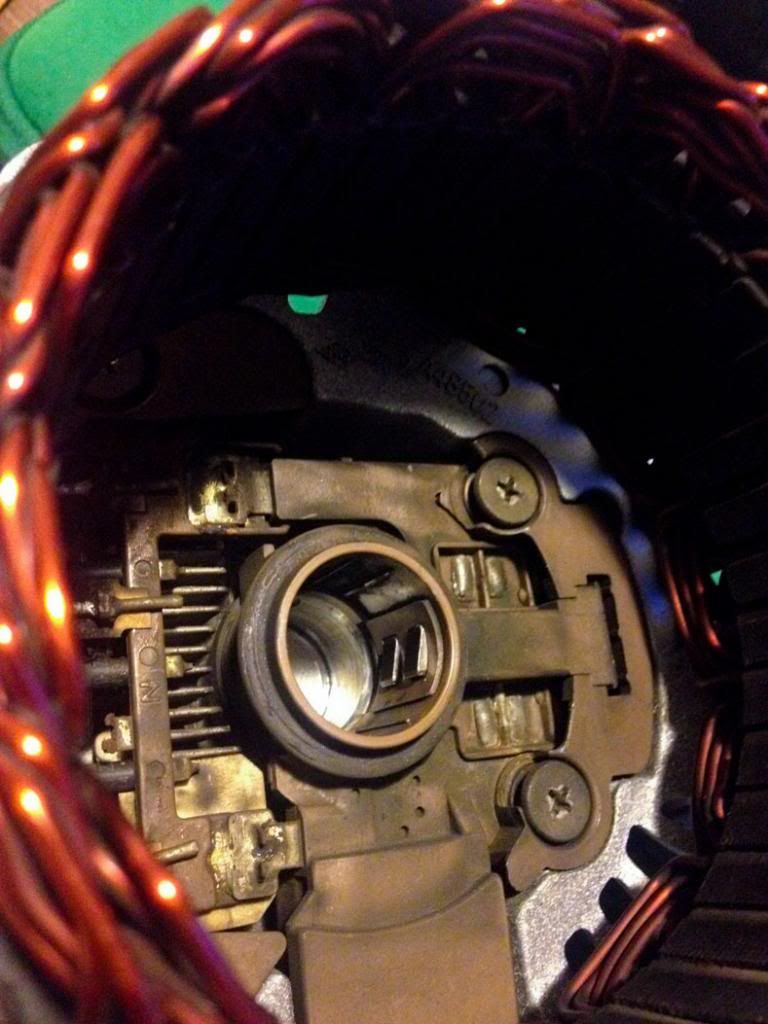
The rectifier/regulator unit
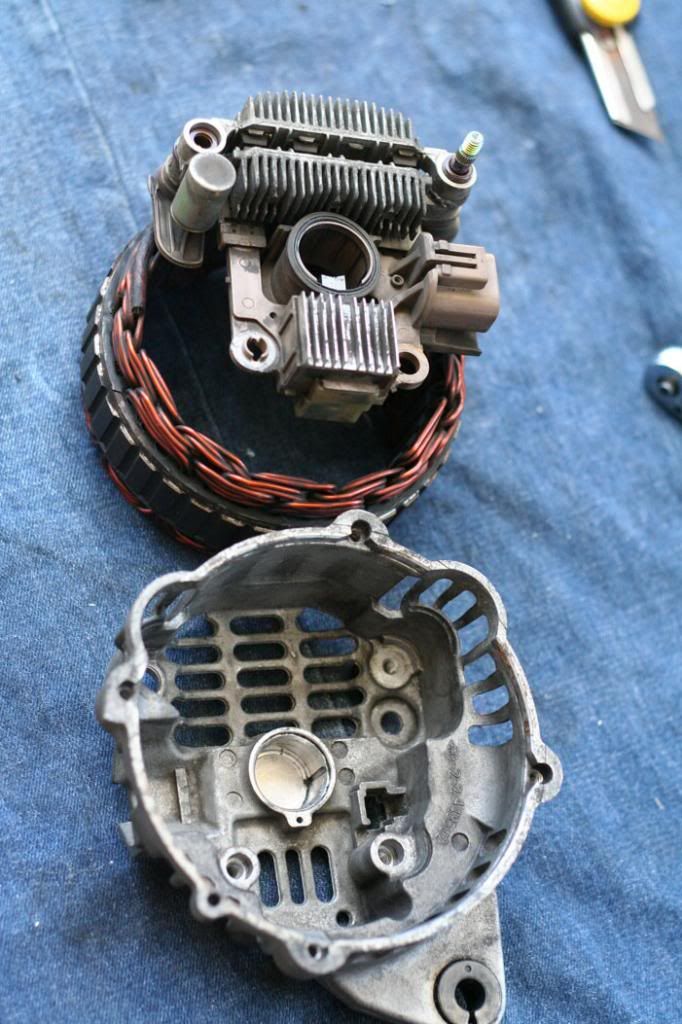
I followed these steps to test my rectifier/regulator, and all was in good working order.

Now onto the brushes, found these guys on eBay for $4.50 posted.
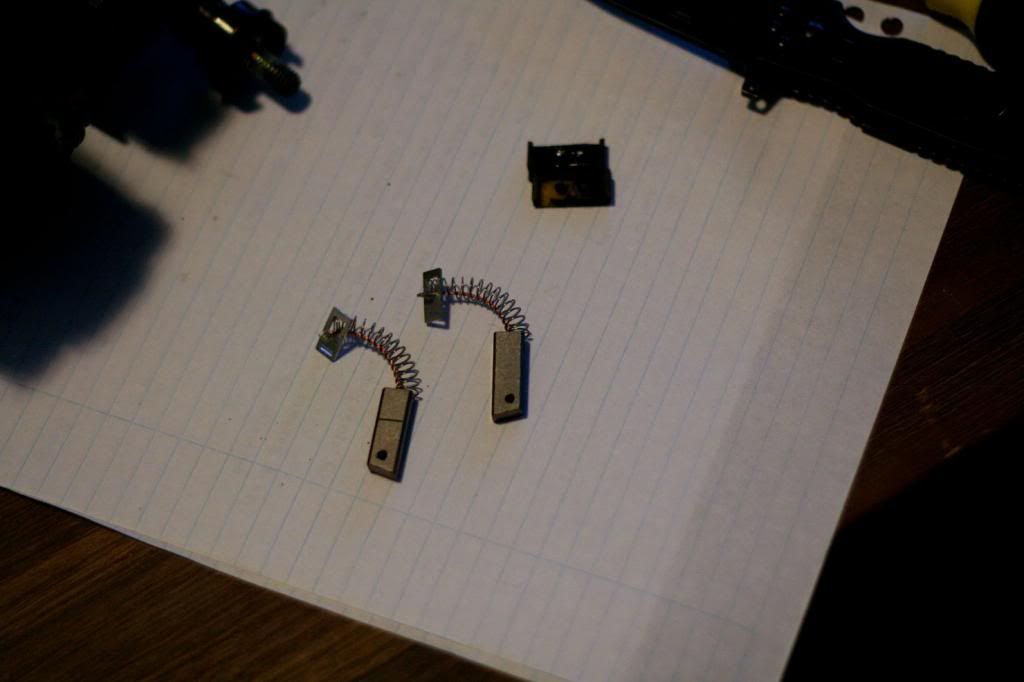
Pop the plastic cover off to expose the brushes
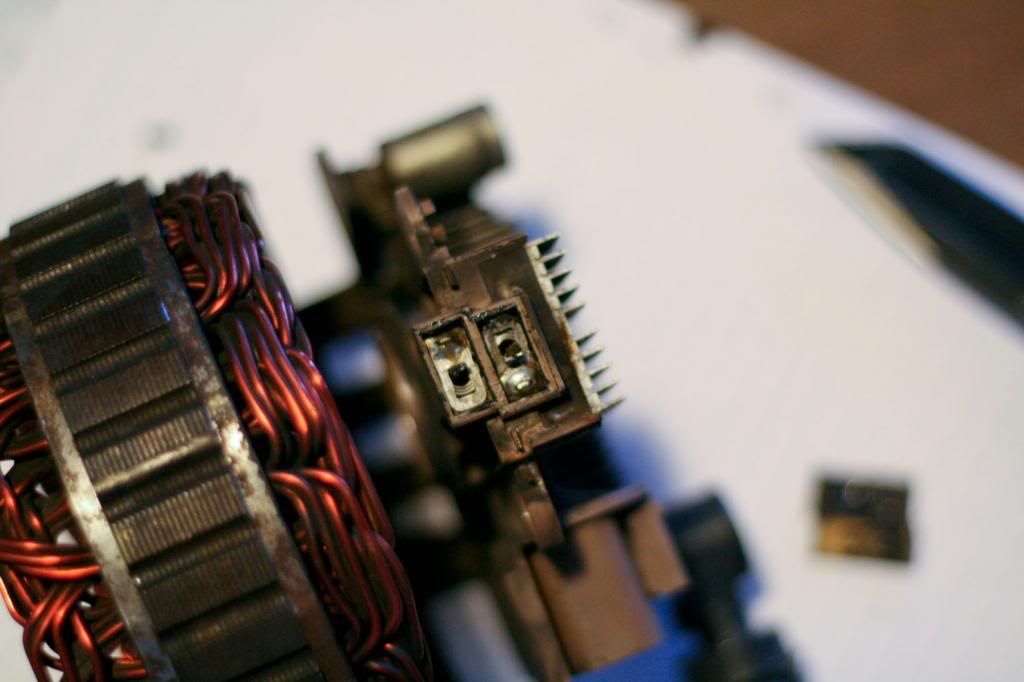
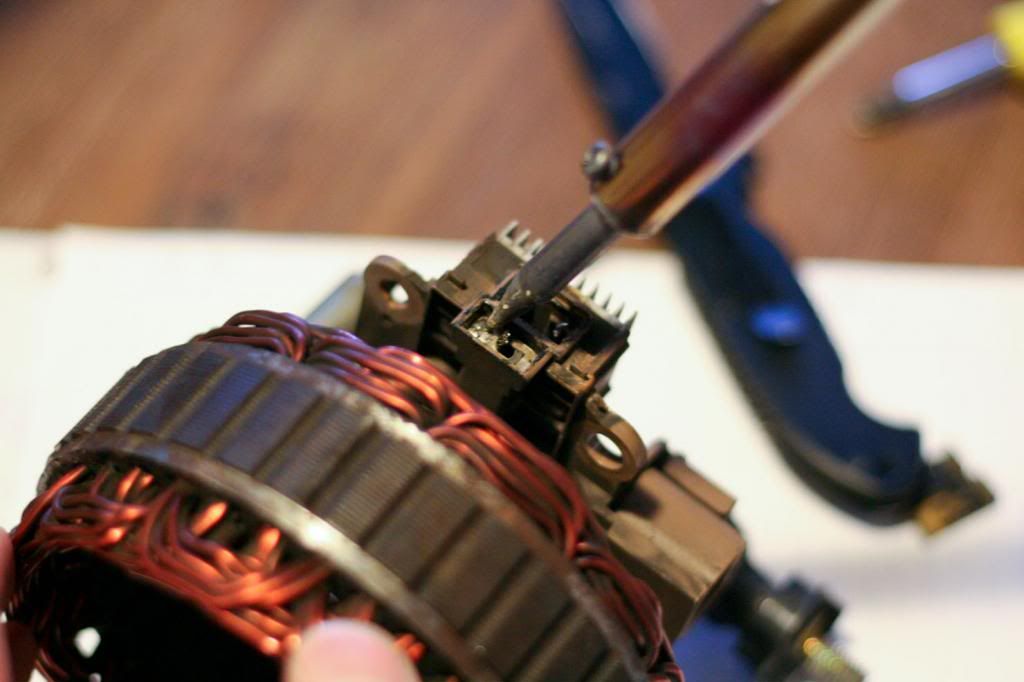
Using a soldering iron, melt the solder and the top of the plate holding the brushes will pop out.
Hey presto!
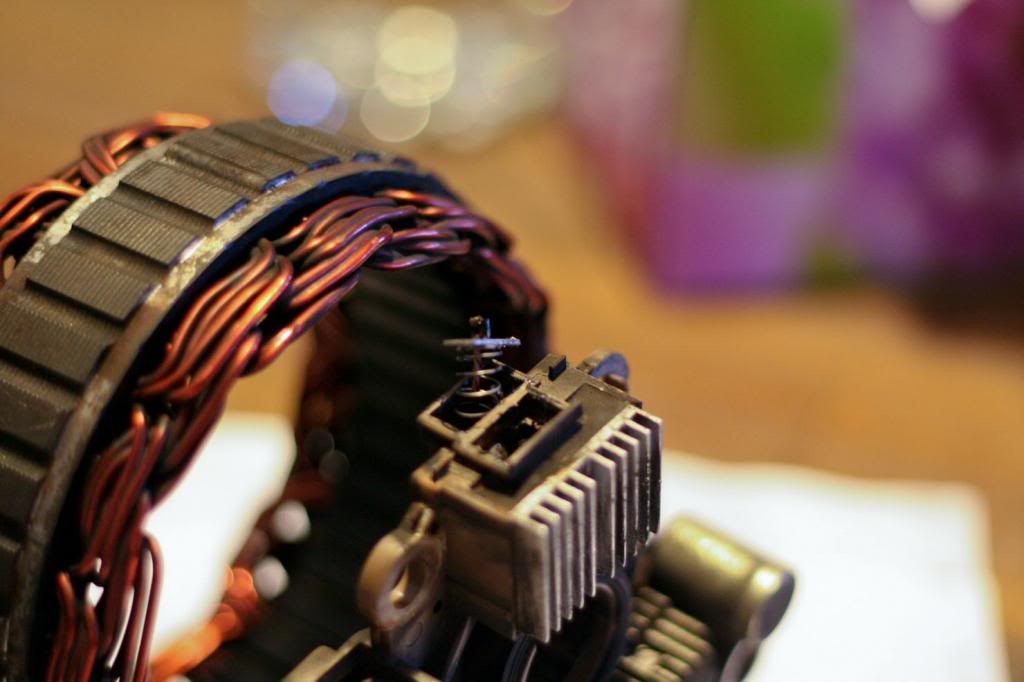
And solder the new ones in
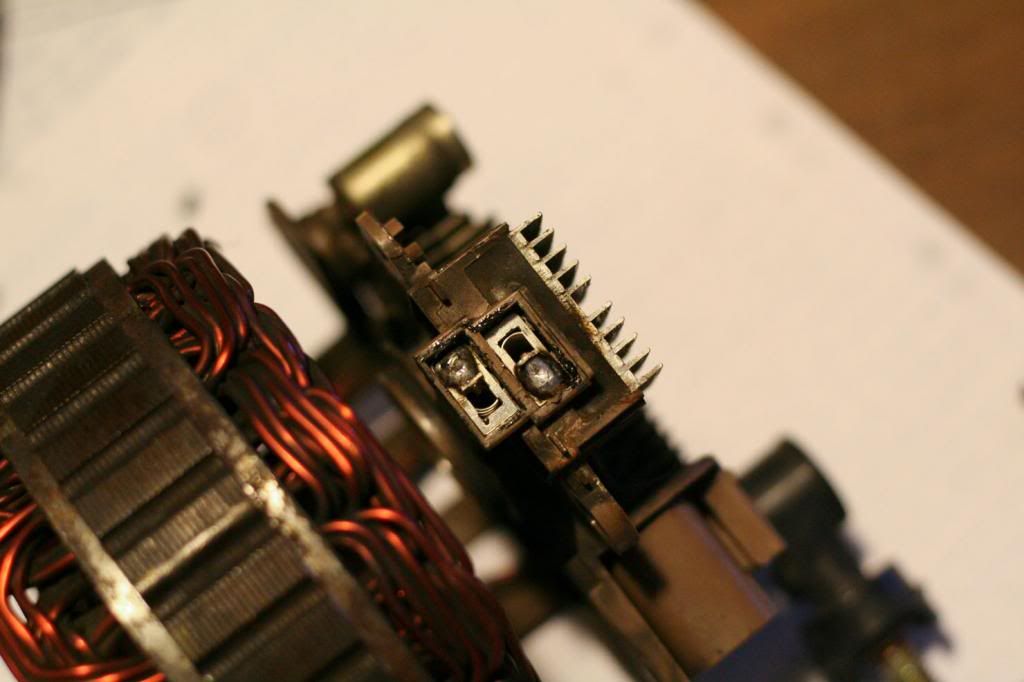
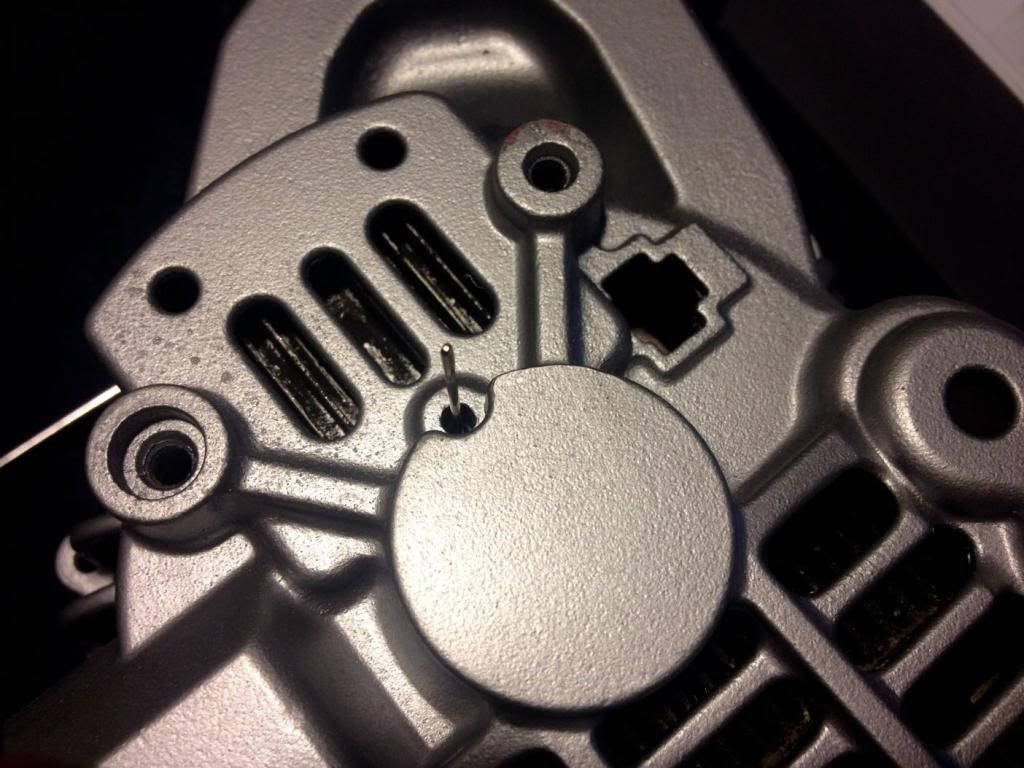
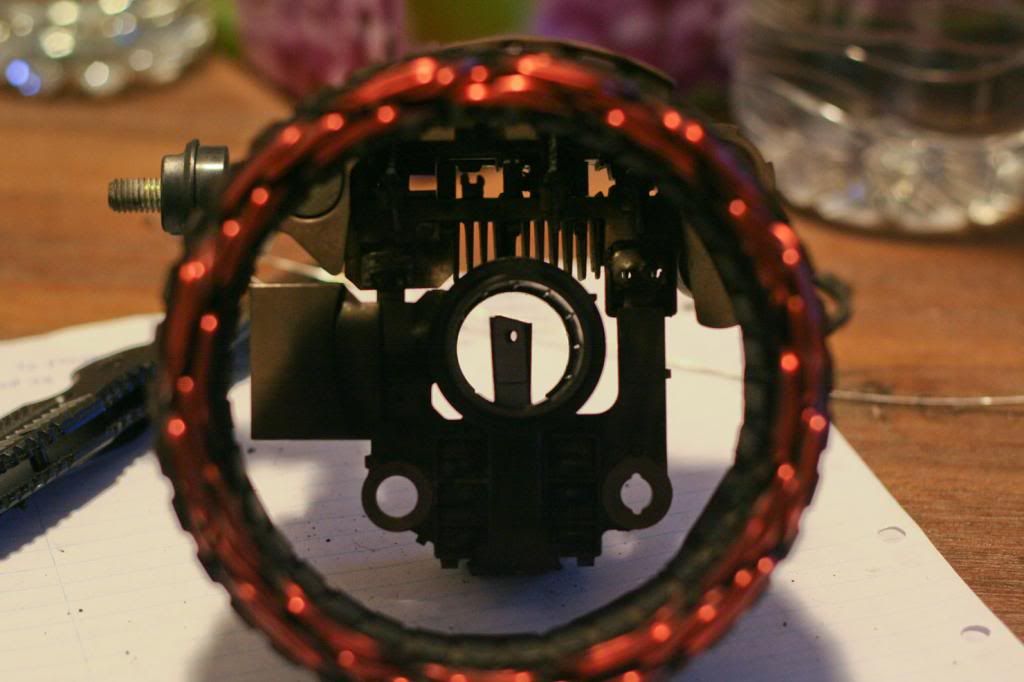
Make sure these holes line up, because you will use that to hold the brushes down to insert the rotor. Also, I'd recommend giving the slip rings and rough once over with some fine sand paper, just roughing the surface up a little.
Okay lets start off, this is a NA8 alternator, its a Mitsubishi A2T80391.
I ordered the brushes off eBay, and bearings I got from a local bearing store.
The front bearing is a quite a common size, the 6303. Dimensions are 17mm I.D x 47mm O.D x 14mm height
The rear bearing is a 140419, 8mm I.D x 23mm O.D x 14mm height.
I didn't get any pics, but the easiest way to get your alternator pulley off is to wrap an old belt around it or grip it with mechanic gloves, and zap it the nut off with a rattle gun.
Then mark the outer casings so you can line it up again when you put it back together.

Remove these 4x 8mm bolts holding the two halves together

Give the mounting arms a tap with a hammer and the top half should come off. Be careful as the rotor can fall out, and damaging it.

Once the rotor and the top half is off, give the lower half a tap with the hammer and the stator should seperate from the lower casing. Be careful here as the stator is attached to the rectifier/regulator unit. You want to tap it just enough to seperate it from the casing but not too hard that you rip the wires from the rectifier unit.

Now you can go ahead and remove the rectifier and voltage regulator unit. Remove the three screws holding it in.

And then the 10mm at the back, if there's a cover on it, pop it off.

Now, remove the front bearing plate, and drift the bearing out


And drive the new bearing in.


New vs old

The rear bearing, use a 3-jaw puller to pull it off. I didn't manage to get any pics at this stage, was too involved and forgot.
This is the rear bearing

The rectifier/regulator unit

I followed these steps to test my rectifier/regulator, and all was in good working order.

Now onto the brushes, found these guys on eBay for $4.50 posted.

Pop the plastic cover off to expose the brushes

Using a soldering iron, melt the solder and the top of the plate holding the brushes will pop out.

Hey presto!

And solder the new ones in

Make sure these holes line up, because you will use that to hold the brushes down to insert the rotor. Also, I'd recommend giving the slip rings and rough once over with some fine sand paper, just roughing the surface up a little.


